


本文参加http://www.imooc.com/wiki/springbootlesson/swagger2.html进行编写,这个链接非常适合初学者,言简意赅,通俗易懂。美中不足的是某些依赖版本比较低,开发者若用的版本比较高的话,写法有变,初学者采坑比较多,不过还好,查问题百度。由于我使用的springfox-swagger2 版本3.0.0过高而引起的错误,在此记录一下
1.Spring Boot 中使用 Swagger2 流程
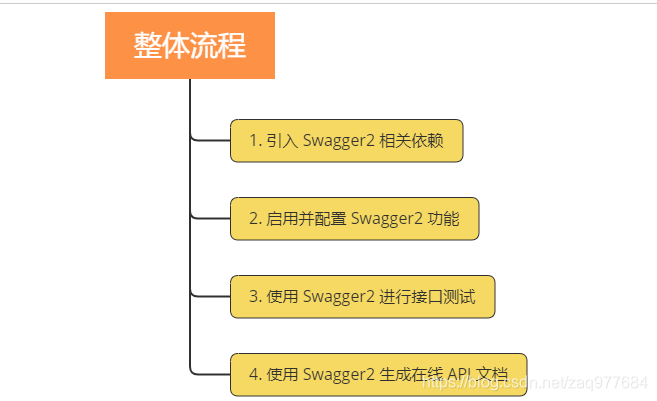
2.在配置文件中引入 Swagger2 相关依赖
<!-- 添加swagger2相关功能 -->
<dependency>
    <groupId>io.springfox</groupId>
    <artifactId>springfox-swagger2</artifactId>
    <version>3.0.0</version>
</dependency>
<!-- 添加swagger-ui相关功能 -->
<dependency>
    <groupId>io.springfox</groupId>
    <artifactId>springfox-swagger-ui</artifactId>
    <version>3.0.0</version>
</dependency>
<dependency>
    <groupId>io.springfox</groupId>
    <artifactId>springfox-boot-starter</artifactId>
    <version>3.0.0</version>
</dependency>
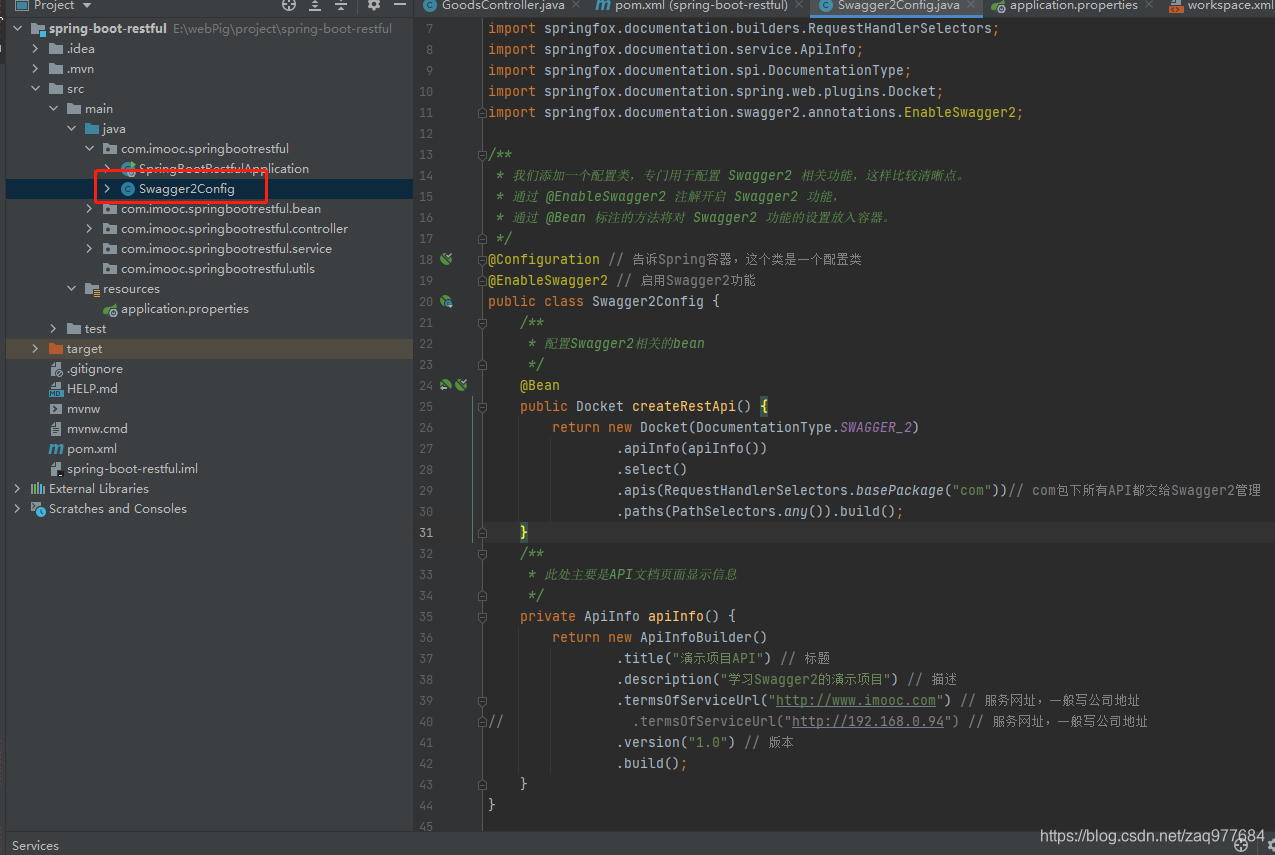
3.启用并配置 Swagger2 功能
/**
 * 我们添加一个配置类,专门用于配置 Swagger2 相关功能,这样比较清晰点。
 * 通过 @EnableSwagger2 注解开启 Swagger2 功能,
 * 通过 @Bean 标注的方法将对 Swagger2 功能的设置放入容器。
 */
@Configuration // 告诉Spring容器,这个类是一个配置类
@EnableSwagger2 // 启用Swagger2功能
public class Swagger2Config {
    /**
     * 配置Swagger2相关的bean
     */
    @Bean
    public Docket createRestApi() {
        return new Docket(DocumentationType.SWAGGER_2)
                .apiInfo(apiInfo())
                .select()
                .apis(RequestHandlerSelectors.basePackage("com"))// com包下所有API都交给Swagger2管理
                .paths(PathSelectors.any()).build();
    }

    /**
     * 此处主要是API文档页面显示信息
     */
    private ApiInfo apiInfo() {
        return new ApiInfoBuilder()
                .title("演示项目API") // 标题
                .description("学习Swagger2的演示项目") // 描述
                .termsOfServiceUrl("http://www.imooc.com") // 服务网址,一般写公司地址
                .version("1.0") // 版本
                .build();
    }
}
4.使用 Swagger2 进行接口测试
此时我们启动项目,然后访问 http://127.0.0.1:8080/swagger-ui/index.html或http://localhost:8080/swagger-ui/index.html即可打开自动生成的可视化测试页面,如下图。
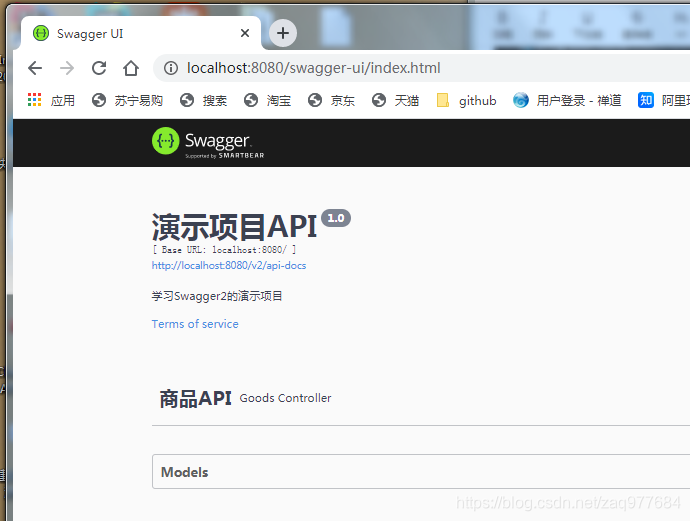
注意点:springfox-swagger2 3.x以上默认的文档路径是
http://127.0.0.1:8080/swagger-ui/index.html或http://localhost:8080/swagger-ui/index.html
而不是访问 http://127.0.0.1:8080/swagger-ui.html
由于是新手,访问一直不成功,捣腾时间比较久,不过还好,坑踩多了,自然而然就懂得多了。


 2477
2477


 被折叠的 条评论
为什么被折叠?
被折叠的 条评论
为什么被折叠?
 到【灌水乐园】发言


