


本文主要是尚硅谷的js定时器的一些总结吧
首先我们创建几个按钮和两个模块
 <button id="but02">点击按钮box1向左移动</button>


    <button id="but01">点击按钮box1向右移动</button>


    <button id="but03">点击按钮box2向左移动</button>


    <button id="but04">点击按钮box2向右移动</button>

    <br><br>

    <div id="box1" class="box1"></div>

    <br><br><br><br><br><br><br><br>

    <div id="box2" class="box2"></div>
然后我们开始写js
- 为上面的元素在js里面都新建引用
 var box1 = document.getElementById("box1");

        var box2 = document.getElementById("box2");

        var but01 = document.getElementById("but01");

        var but02 = document.getElementById("but02");

        var but03 = document.getElementById("but03");

        var but04 = document.getElementById("but04");
- 为上面的buttom节点新建点击事件
 but01.onclick = function () {
            move(box1, "left", 10, 50, 800);
        }
        but02.onclick = function () {
            move(box1, "left", 10, 50, 0);
        }

        but03.onclick = function () {
            move(box2, "left", 10, 50, 0);
        }

        but04.onclick = function () {
            move(box2, "left", 10, 50, 800);
        }
- 最后我们写这个封装起来的js函数
  /**
         * obj:对象名
         * attr:方向
         * speed:移动的速度
         * interval:移动的频率,即定时器的频率
         * 目标值
        */
        function move(obj, attr, speed, interval, target) {

            console.log(obj);
            clearInterval(obj.timer);


            if (parseInt(getStyle(obj, attr)) > target) {
                speed = -speed;
            }

            obj.timer = setInterval(() => {
                // var left = box1.offsetLeft;

                var positionValue = parseInt(getStyle(obj, attr));

                obj.style[attr] = positionValue + speed + 'px';

                var positionValueNew = positionValue + speed;

                if ((speed > 0 && positionValueNew >= target) || (speed < 0 && positionValue <= target)) {

                    obj.style[attr] = target + 'px';

                    clearInterval(timer);

                }
            }, interval);
        }
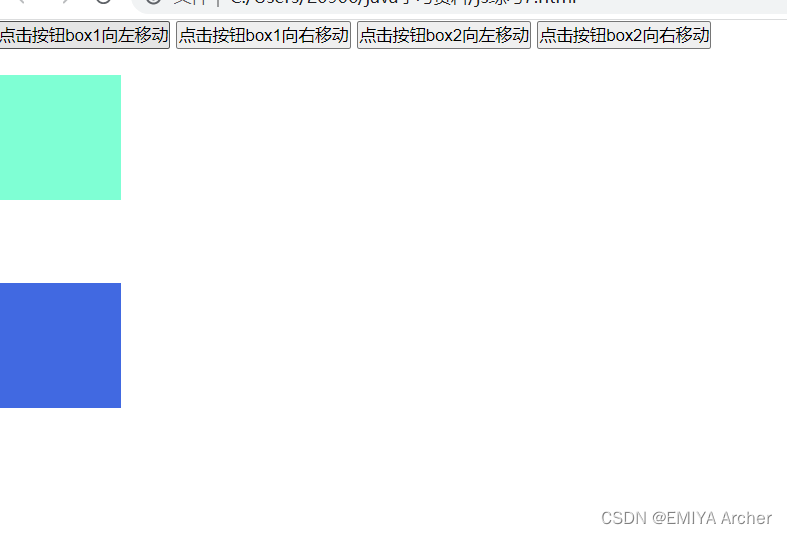
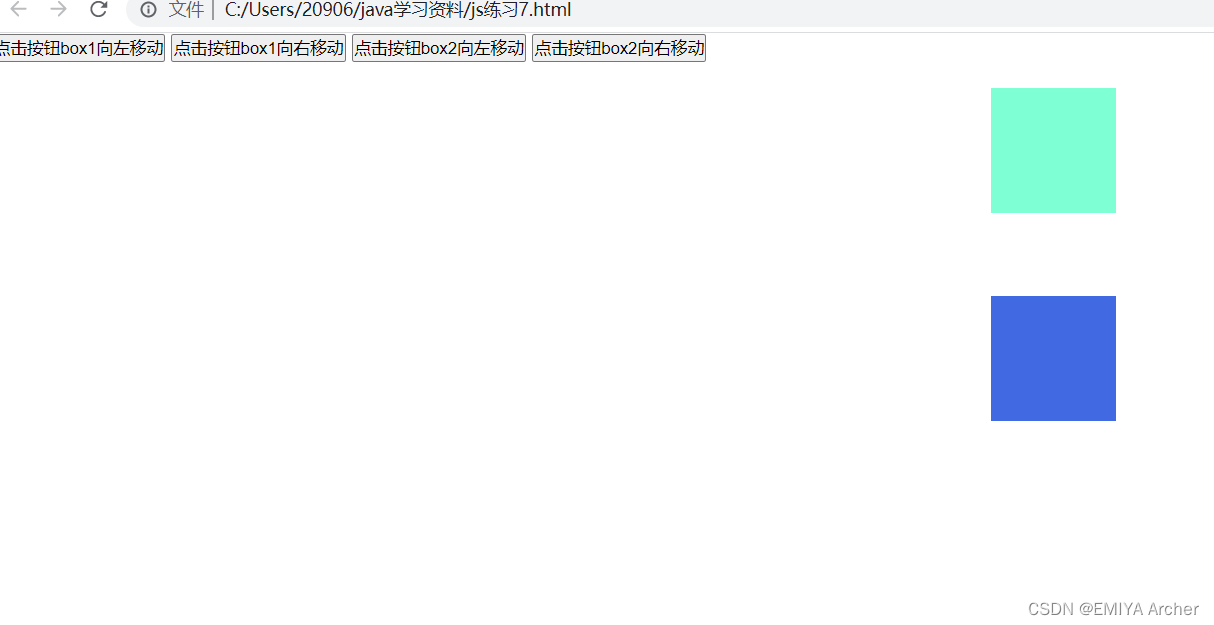
这样我们就能实现效果了,效果如下:


 1154
1154


 被折叠的 条评论
为什么被折叠?
被折叠的 条评论
为什么被折叠?
 到【灌水乐园】发言


