一、ButterKnife的简介:
在开发过程中,我们总是会写大量的findViewById和点击事件,像初始view、设置view监听这样简单而重复的操作让人觉得特别麻烦,当然不会偷懒的程序员不是好程序员,自然也出现了相应的解决方案--依赖注入
而ButterKnife则是依赖注入中相对简单易懂的很不错的开源框架,(其实ButterKnife也不算严格意义上的依赖注入,后面文章中会做分析)。但ButterKnife作为JakeWharton大神写的注解框架被广泛应用于android开发中,自然也有它的过人之处。
二、使用方法
导入ButterKnife至项目中
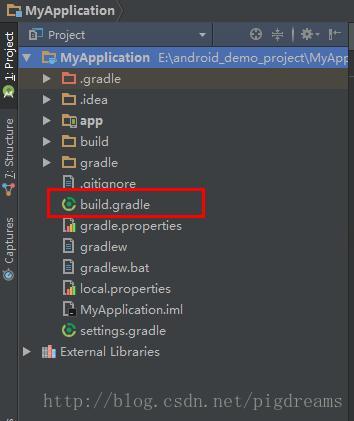
1.在工程的build.gradle中导入butterknife插件 (看清楚了,是工程得bulid.gradle,不是app下得)
buildscript {
repositories {
jcenter()
}
dependencies {
classpath 'com.android.tools.build:gradle:2.3.0'
//加入下面这段代码
classpath 'com.jakewharton:butterknife-gradle-plugin:8.5.1'
}
}
allprojects {
repositories {
jcenter()
}
}
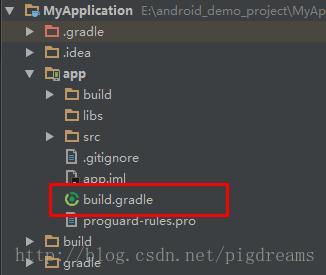
2.在项目的build.gradle中添加butterknife的插件,即是app中的builde.gradle (app下得bulid.gradle)
apply plugin: 'com.android.application'
apply plugin: 'com.jakewharton.butterknife'
3.在项目的build.gradle中添加依赖,然后同步项目,即可下载butterknife库至项目中
dependencies {
compile fileTree(dir: 'libs', include: ['*.jar'])
compile 'com.android.support:appcompat-v7:25.2.0'
compile 'com.jakewharton:butterknife:8.5.1'
annotationProcessor 'com.jakewharton:butterknife-compiler:8.5.1'
}简单使用butterknife初始化控件
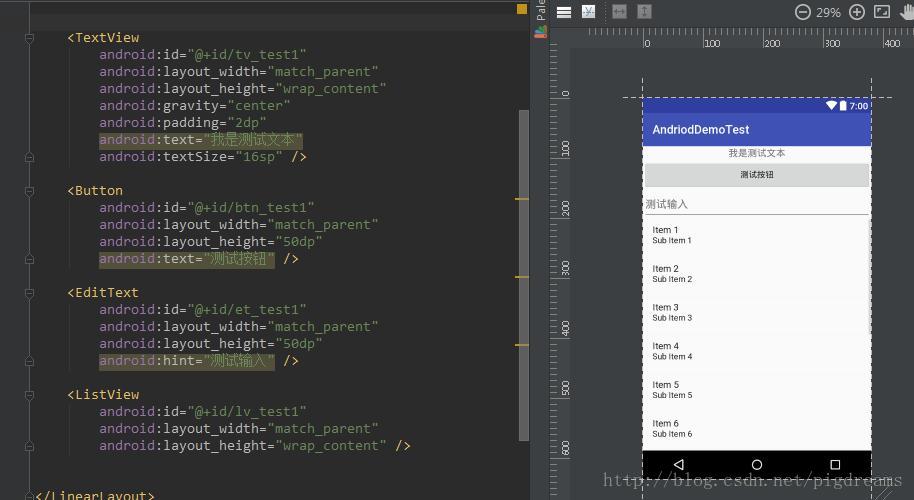
1.创建一个android工程,布局如下
2.在activity中的oncreate()方法里初始化butterknife框架
注意初始化要放在setView()之后
@Override
protected void onCreate(Bundle savedInstanceState) {
super.onCreate(savedInstanceState);
setContentView(R.layout.activity_butter_knife_test);
ButterKnife.bind(this);
}
3.查找TextView与Button
public class ButterKnifeTestActivity extends AppCompatActivity {
@BindView(R.id.tv_test1)
private TextView tvTest;
@BindView(R.id.btn_test1)
private Button btnTest;
@Override
protected void onCreate(Bundle savedInstanceState) {
super.onCreate(savedInstanceState);
setContentView(R.layout.activity_butter_knife_test);
ButterKnife.bind(this);
}
}
4.测试控件是否被正确初始化
tvTest.setText("文本控件已被初始化")
btnTest.setText("按钮被初始化")所以ButterKnife使用中有哪些注意的:
- Activity ButterKnife.bind(this);必须在setContentView();之后,且父类bind绑定后,子类不需要再bind
- Fragment ButterKnife.bind(this, mRootView);
- 属性布局不能用private or static 修饰,否则会报错
- setContentView()不能通过注解实现。
- ButterKnife已经更新到版本7.0.1了,以前的版本中叫做@InjectView了,而现在改用叫@Bind,更加贴合语义。
- 在Fragment生命周期中,onDestoryView也需要Butterknife.unbind(this)
- ButterKnife不能再你的library module中使用哦!!这是因为你的library中的R字段的id值不是final类型的,但是你自己的应用module中确是final类型的。针对这个问题,有人在Jack的github上issue过这个问题,他本人也做了回答,点击这里。


 1万+
1万+

 被折叠的 条评论
为什么被折叠?
被折叠的 条评论
为什么被折叠?
 到【灌水乐园】发言


