


1.输出文件的文件名
使用substitution(可替换模板字符串)的方式
output: {
	filename: "[name].[contenthash].js",
	...
},
2.提取引导模板
如果要验证这一块的功能,现将./src/index.js文件中异步import的方法注释,换上第一章在的代码
// async function getComponent() {
//   const element = document.createElement("div");
//   const { default: _ } = await import("lodash");
//   element.innerHTML = _.join(["Hello", "webpack"], " ");
//   return element;
// }

// getComponent().then((component) => {
//   document.body.appendChild(component);
// });

import _ from "lodash";

function component() {
  const element = document.createElement("div");

  element.innerHTML = _.join(["Hello", "webpack"], " ");

  return element;
}

document.body.appendChild(component());
执行npm run build

发现入口bundle体积很大!
接下来修改webpack.config.js文件,将node_modules中依赖部分lodash单独分至一个bundle,再把main中的lodash提取出来
module.exports = {
  ...
  optimization: {
    runtimeChunk: "single",
    splitChunks: {
      cacheGroups: {
        vendor: {
          test: /[\\/]node_modules[\\/]/,
          name: "vendors",
          chunks: "all",
        },
      },
    },
  },
};
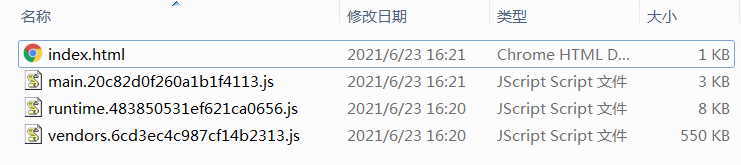
执行npm run build

已经成功地提取了依赖部分
3.模块标识符
查看修改index中的代码是否影响到依赖
第一步,增加一个文件到./src下
./src/print.js文件内容为
export default function print(text) {
  console.log(text);
};
修改./src/index.js内容为
import _ from "lodash";
import Print from "./print.js"; // new

function component() {
  const element = document.createElement("div");

  element.innerHTML = _.join(["Hello", "webpack"], " ");

  element.onclick = Print.bind(null, "Hello webpack!"); // new

  return element;
}

document.body.appendChild(component());
执行npm run build
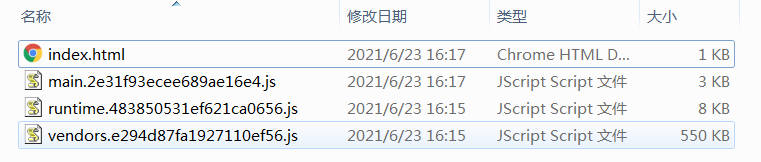
不用moduleIds修改index前
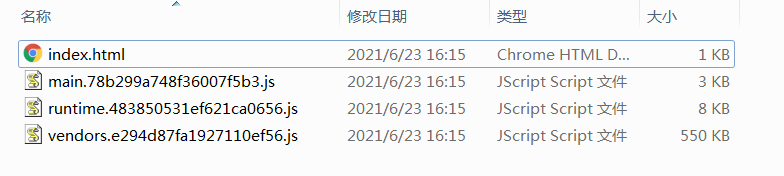
不用moduleIds修改index后
使用moduleIds修改前
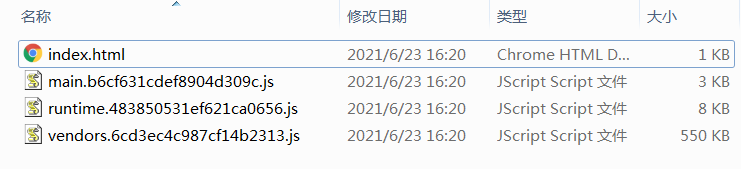
使用moduleIds修改后
这里发现没有官网所出现的情况,即使没有使用moduleIds: 'deterministic',vendors的hash值并没有变化。(猜测可能已经整合在webpack中)
为了安全一般加上这个属性
optimization: {
	moduleIds: "deterministic",
	...
},


 712
712


 被折叠的 条评论
为什么被折叠?
被折叠的 条评论
为什么被折叠?
 到【灌水乐园】发言


