


一、controller中spring mvc的跳转方式
1、第一种方式
@RequestMapping("/hello2.do")
	public String hello5(){
		return "forward:index.jsp";
}
结果: 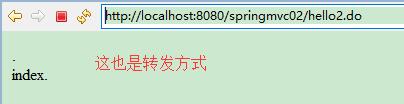
2、第二种方式
@RequestMapping("/hello3.do")
	public String hello6(){
	//重定向
	return"redirect:index.jsp";
	}
结果: 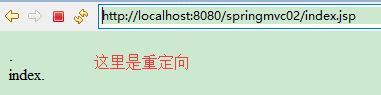
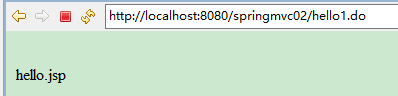
1、第三种方式(有视图解析器的情况):
@RequestMappin("/hello1.do")
	public String hello4(){
	//转发
	return "hello";
	}
结果:
还有另外三种方式在上一篇文章的最后讲过,这里就不再写了
二、数据处理
1、提交数据的处理,提交的域和处理方法的参数名一致即可
@RequestMapping("/hello.do"
public  String  hello (String name){
  System.out.println(name);
  return "redirect:index.jsp";
}
结果: 
2、提交的域名称与函数中的参数名不一致,则用以下方式:
@RequestMapping("/hello.do)
public String hello(@RequestParam("uname")String name){
  System.out.println(name);
  return "redirect:index.jsp";
}
结果:
@ReuqestParam(“uname”),uname是提交的域名称

2、提交一个对象
要求提交的表单域名和对象的属性名一致,参数使用对象即可
User.Java
public class User {
  private String name;
  private int age;
}
HelloController.java
@RequestMapping("/hello.do)
public String hello(User user){
  System.out.println(user.getName());
  return "";
}
结果: 

三、将数据显示到UI层
1、通过ModelAndView,需要视图解析器
@RequestMapping("/hello.do")
public ModelAndView hello(){
	ModelAndView mav =  new ModelAndView();
    mav.addObject("msg", "hello">);
	mav.setViewName("hello");
	return  mav;
}
2、通过ModelMap,不需要视图解析器
ModelMap需要作为处理方法的参数
@RequestMapping("/hello.do")
public String  hello (String name, ModelMap model){
 //相当于request.setAttribute("name",name);
 model.addAttribute("name", name);
 return "forward:index.jsp";
}
结果: 
index.jsp:
<body>
${name }.
<body>
显示结果为:

ModelAndView 和 ModelMap的区别:
相同点:
都可以将数据封装到表示层页面中
不同的:
ModelAndView需要视图解析器,ModelMap不需要配置
四、解决中文乱码
通过过滤器来解决中文乱码问题 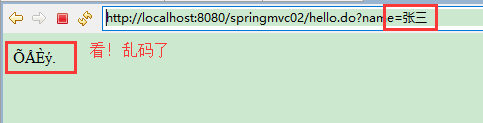
spring mvc中提供了CharacterEncodingFilter 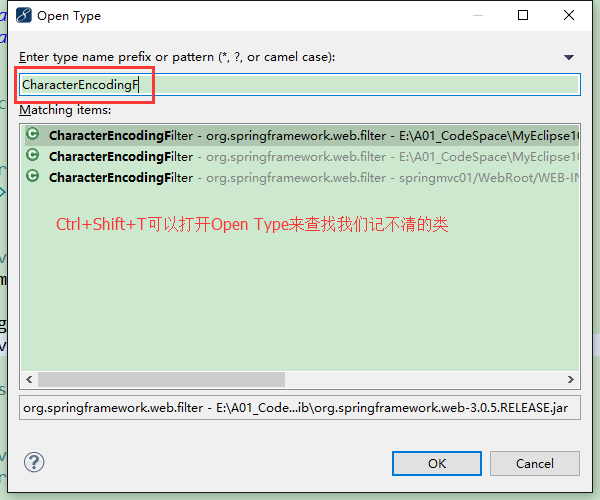
在web.xml中配置过滤器
<?xml version="1.0" encoding="UTF-8"?>
<web-app xmlns="http://java.sun.com/xml/ns/j2ee"
 xmlns:xsi="http://www.w3.org/2001/XMLSchema-instance" version="2.4"
 xsi:schemaLocation="http://java.sun.com/xml/ns/j2ee   http://java.sun.com/xml/ns/j2ee/web-app_2_4.xsd">

 <!-- 过滤器配置信息 -->
 <filter>
  <filter-name>SetCharacterEncodingFilter</filter-name>
  <!-- 过滤器设置编码文件 -->
  <filter-class>
   ssh.dlc.chp1.filter.SetCharacterEncodingFilter
  </filter-class>
  <init-param>
      <!--
       init-param元素定义了过滤器的初始化参数
       -->
   <description>给参数和值设置名称和编码类型</description>
   <param-name>encode</param-name>
   <param-value>GBK</param-value>
  </init-param>
 </filter>
 <filter-mapping>
  <!--
   filter-mapping告诉容器所有与模式向匹配的请求都应该允许通过访问控制过滤器。
   所有以.do结尾的访问都先通过过滤器文件过滤
  -->
  <filter-name>SetCharacterEncodingFilter</filter-name>
  <url-pattern>*.do</url-pattern>
 </filter-mapping>
</web-app>
五、restful风格的URL
@RequestMapping("/delete/{id}")
public String hello(@PathVariable int id){
  System.out.println(id);
  return "hello;
}
结果:控制台会输出 1 
当然,路径上可以放多个参数:
@RequestMapping("/delete/{uid}/{id}")
public String hello(@PathVariable int uid,@PathVariable int id){
 System.out.println("uid:"+uid);
 System.out.println("id:"+id);
 return "hello"
}
结果: 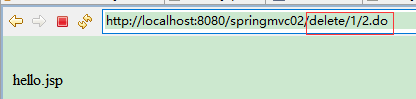

六、同一个Controller通过参数来到达不同的处理方法
(但不建议使用这种方式,应为restful风格的url就很好,没必要再使用这是方式,但有些地方确实需要用到它,所以在这里提一下)
@RequestMapping("hello")
public String hello(int flag) {
 if(flag==1) {
 return "a";
 }else {
   return "b";
       }
}
七、实现文件上传
1、通过common-fileupload来实现,导入相关jar包 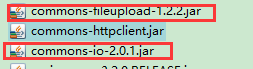
2、配置springmvc的解析器
在springmvc-servlet.xml文件中配置:
	<!-- SpringMVC中的上传文件配置,在这里配置上传文件大小限制不够灵活,建议使用jQuery框架来配置,这样可以节省服务器的压力 -->
	<bean id="multipartResolver"
		class="org.springframework.web.multipart.commons.CommonsMultipartResolver">
		<property name="defaultEncoding" value="utf-8" />
		<property name="maxUploadSize" value="10485760000" />
		<property name="maxInMemorySize" value="40960" />
	</bean>
uploadfile.jsp:上传单个文件
<form action="" method="post" enctype="multipart/form-data">
     <input type="file" name="file" value="选择文件"/>
     <input id="submit_form" type="submit" class="btn btn-success save" value="保存"/>
</form>
FileuploadCotroller.java
@RequestMapping(value = "/upload")
    public ModelAndView upload(MultipartFile file, HttpServletRequest request) {
        String idStr = request.getParameter("thingsparse_id");

        ThingsParse thingParse = new ThingsParse();//将被存储于mongodb的实例

        String filePath = "";// 文件路径
        if (!file.isEmpty()) {
            File temp = new File("");
            filePath = temp.getAbsolutePath() + "\\" + file.getOriginalFilename();

            BufferedOutputStream out;
            try {
                out = new BufferedOutputStream(new FileOutputStream(new File(filePath)));

                out.write(file.getBytes());
                out.flush();
                out.close();
            } catch (FileNotFoundException e) {
                e.printStackTrace();
            } catch (IOException ex) {
                ex.printStackTrace();
            }

        }
结果:

八、json处理
接口返回json格式使用注解
@ResponseBody


 328
328

 被折叠的 条评论
为什么被折叠?
被折叠的 条评论
为什么被折叠?
 到【灌水乐园】发言


