


一、准备工作
1、下载虚拟机(VMware)
版本:VMware Workstation Pro 16
2、下载基于Linux的CentOS
版本:CentOS-7-x86_64-DVD-2009.iso
3、国内主要可信镜像站
镜像站名称 | 网络地址 |
阿里云 | |
网易 | |
搜狐 | |
北京理工大学 | |
重庆大学(http) | |
重庆大学(https) | |
大连东软信息大学 | |
南京大学 | |
南京邮电大学(http) | |
南京邮电大学(https) | |
上海交通大学(http) | |
上海交通大学(https) | |
清华大学(http) | |
清华大学(https) | |
中国科学技术大学(http) | |
中国科学技术大学(https) | |
北京外国语大学(http) | |
北京外国语大学(https) |
二、傻瓜式安装VMware
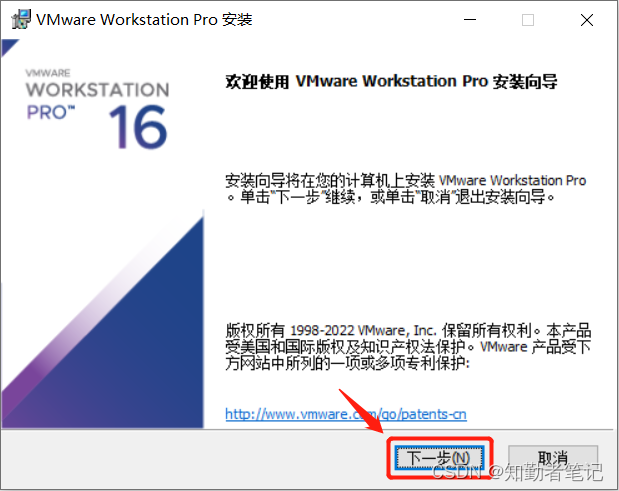
1、开始安装VMware
这里安装的是:VMware Workstation Pro 16
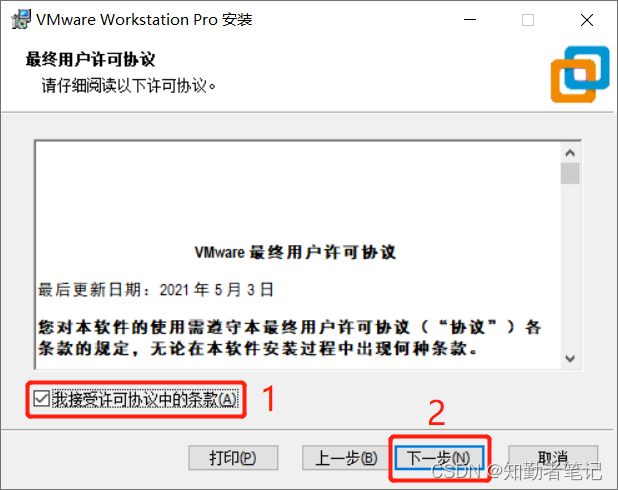
2、勾选“我接受许可协议中的条款(A)”
必须勾选接受许可协议,不然无法进行接下来的安装步骤
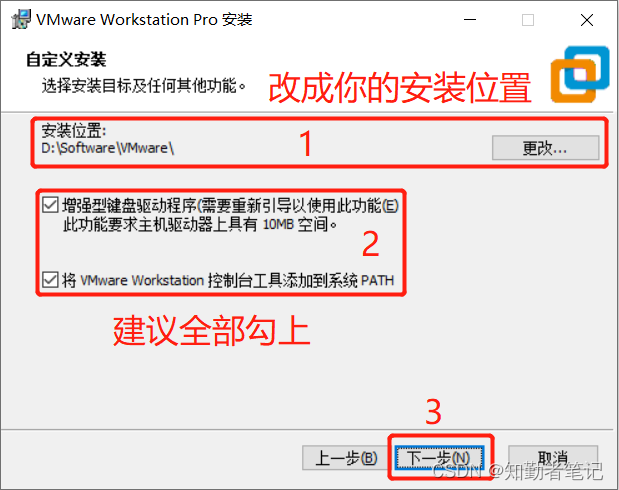
3、选择安装位置及勾选安装其他功能
安装位置是可以自定义的,建议路径中不要出现中文;其余两个功能建议全部勾选
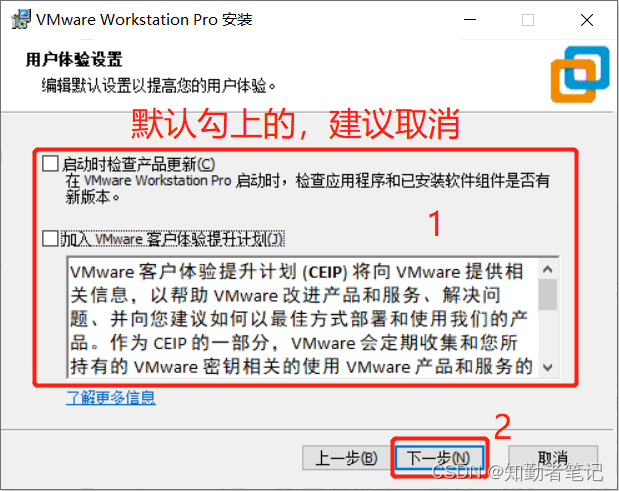
4、设置你的用户体验计划
这两个功能作用不大,建议取消勾选(默认是勾选的)
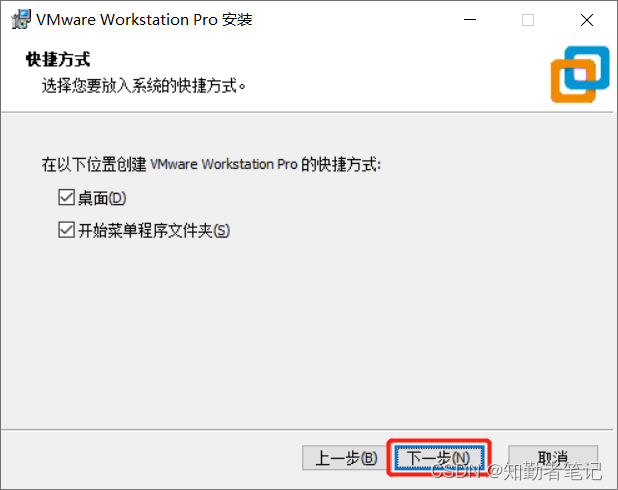
5、设置快捷方式
这里根据具体需求设置,一般直接默认就行
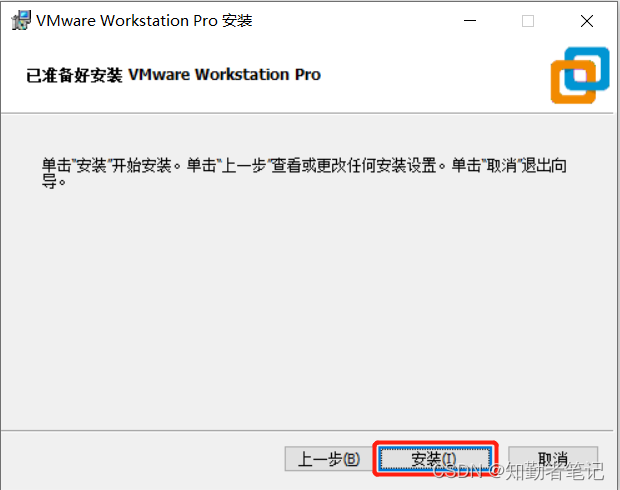
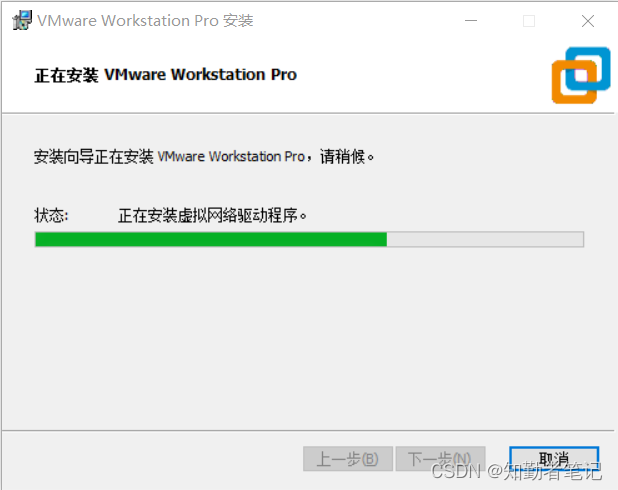
6、正式开始安装
到这一步算是安装完成了,等着就行
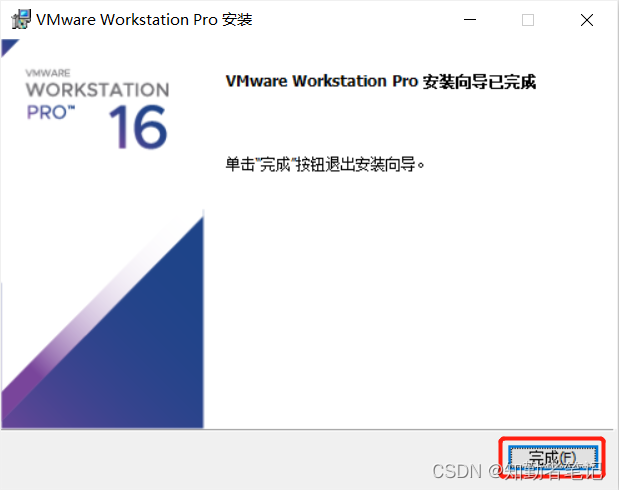
7、安装完毕
如果你不需要配置许可证,那么你只需要选择“完成(F)”就行,接下来的第八步和第九步就与你无关了(还有第十步)
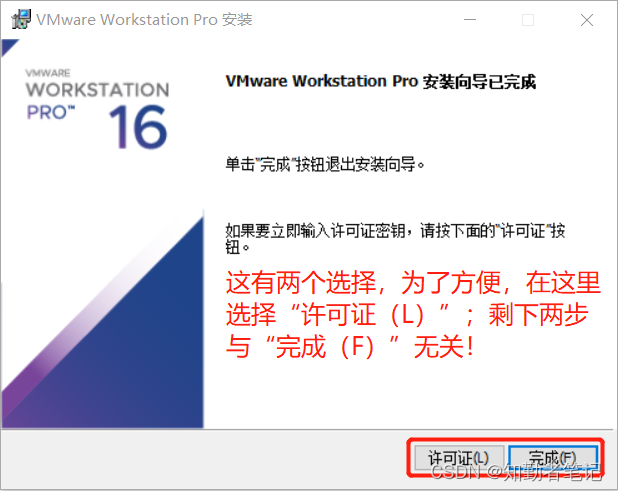
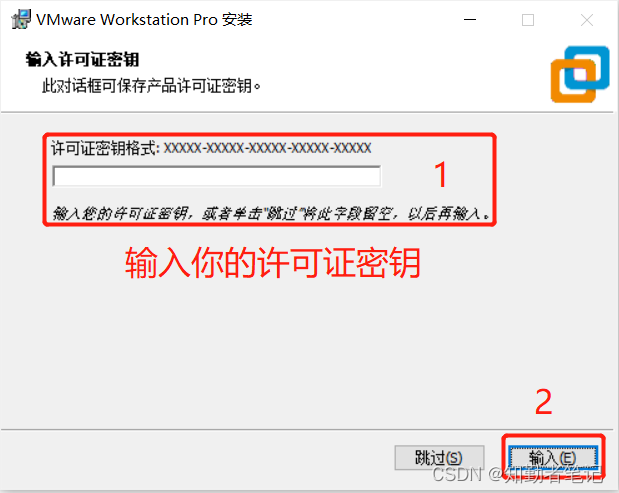
8、安装完成,开始配置许可证
密钥的话,可以上网去搜(不一定有效),也可以从官方那里购买
9、许可证配置完成
到这一步,安装和许可证配置都完成了
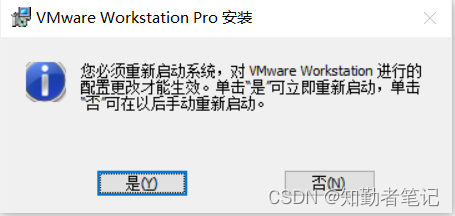
10、全部安装和设置完毕
无论你有没有配置许可证,你都需要重启你的电脑
三、虚拟机的创建和设置
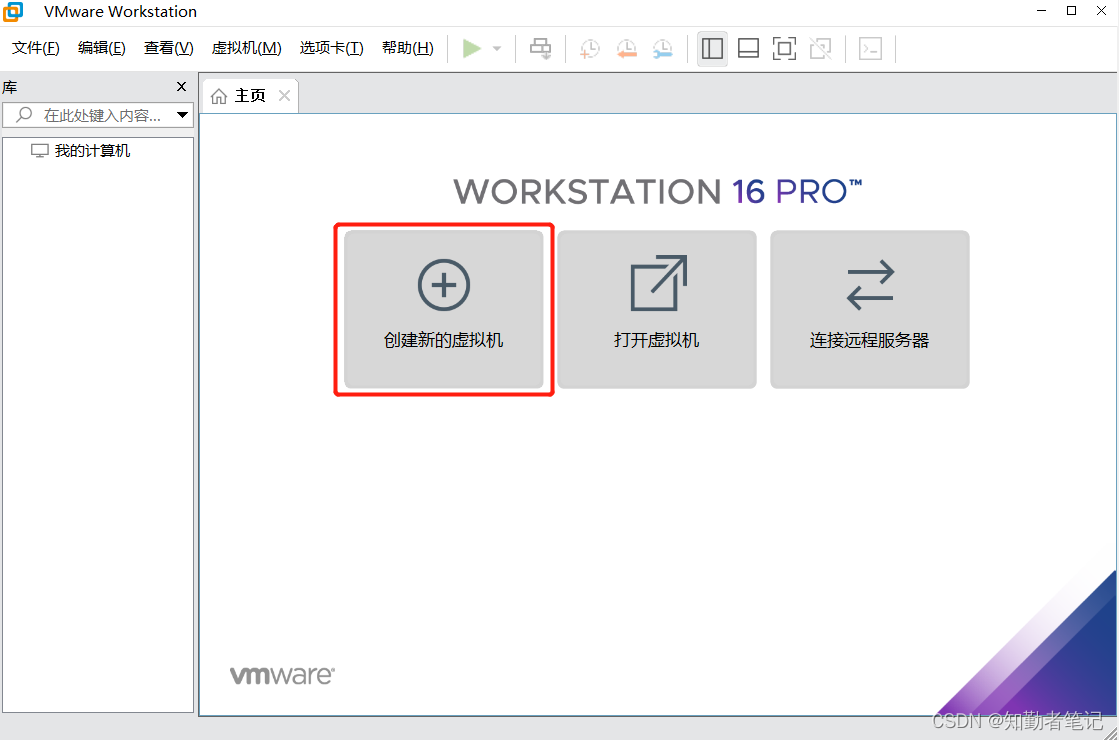
1、创建新的虚拟机
打开VMware后,可以在界面看到“创建新的虚拟机”选项,选它就行
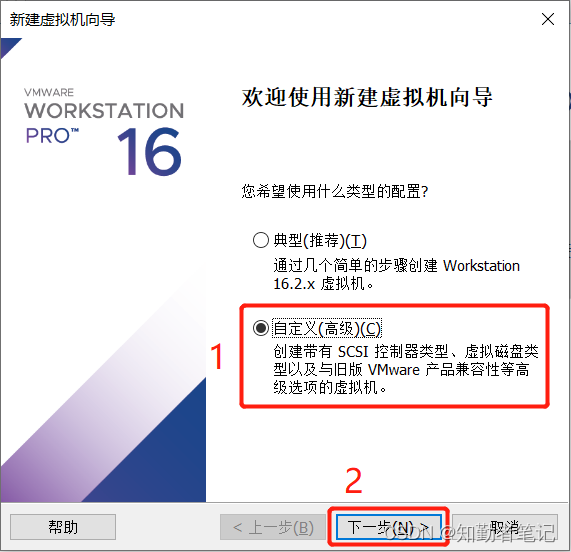
2、选择配置类型
有“经典”和“自定义”可选,这里选“自定义”,因为“自定义”兼容性更好
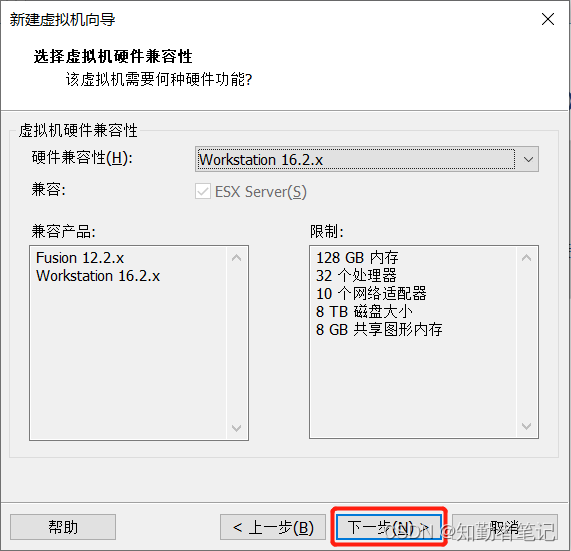
3、设置兼容性(“经典”是没有这一步骤的)
这里的配置全部默认(够用就行),直接“下一步”
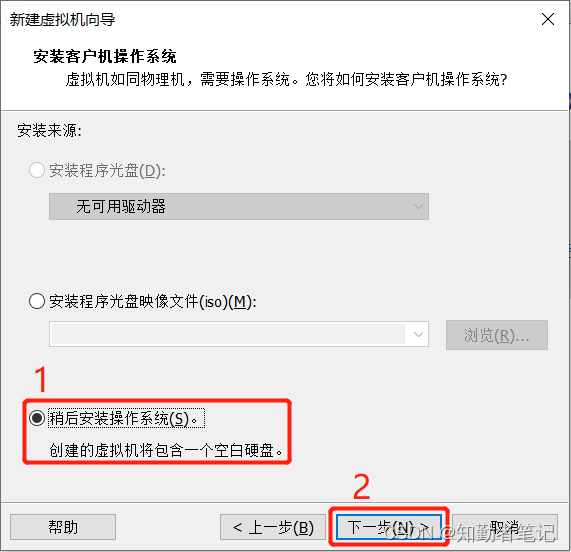
4、稍后安装客户机操作系统
这里选择“稍后安装操作系统(S)”,因为还要设置分区(主要其他的选择都没试过)
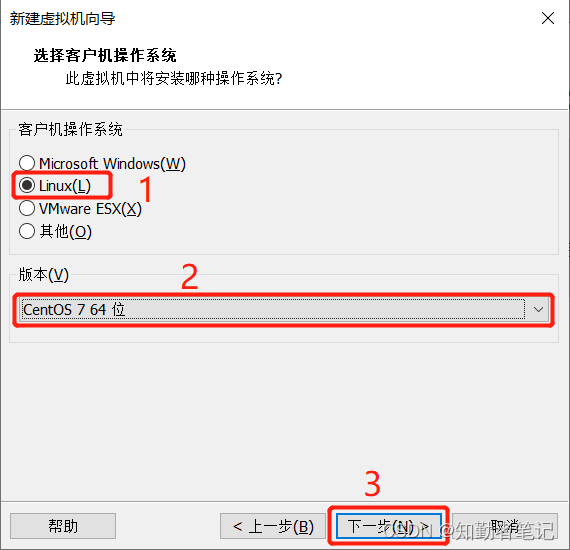
5、设置客户机的系统类型
这里选择Linux(L)的CentOS 7 64 位,你可以根据具体情况选择
6、设置虚拟机名称和存放位置
可以改动,这里没有修改,默认了

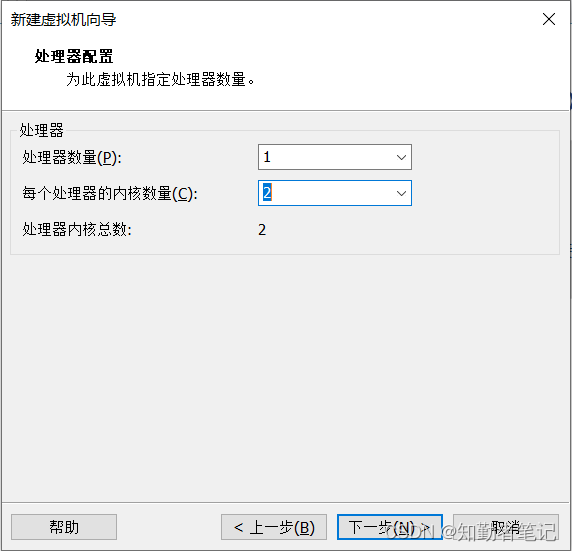
7、设置处理器配置
根据具体情况决定,这里选择一个CPU两核
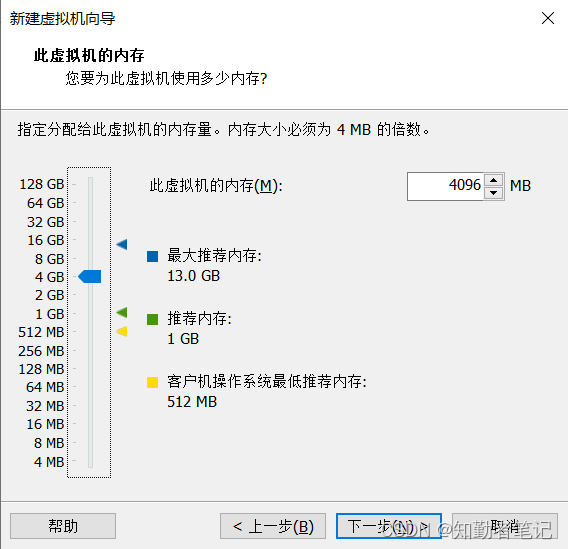
8、配置虚拟机内存
根据具体情况决定,这里给它配了4个G的内存
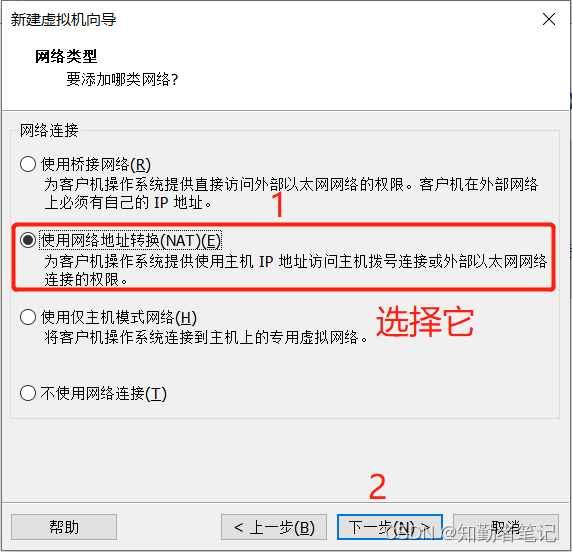
9、设置网络类型
必须选择“使用网络地址转换(NAT)(E)”,否则虚拟机可能无法使用网络;桥接模式也可以,而且桥接模式下的网站可以在其他设备访问,NAT模式不行;但不建议在这一步骤使用桥接模式,可以后期设置
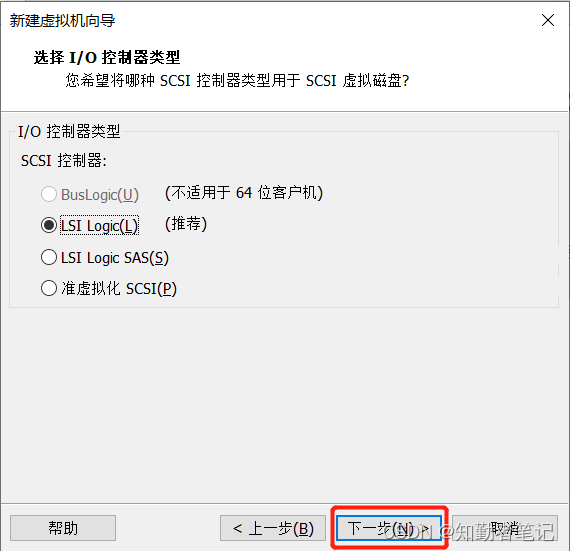
10、设置控制器类型
这里选择了“LSI Logic(L)”,这是默认的值(直接下一步就行)
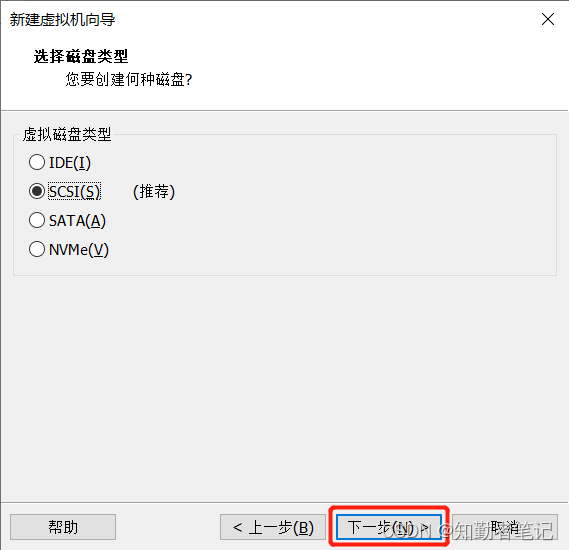
11、设置磁盘类型
这里选择了“SCSI(S)”,这是默认的值(直接下一步就行)
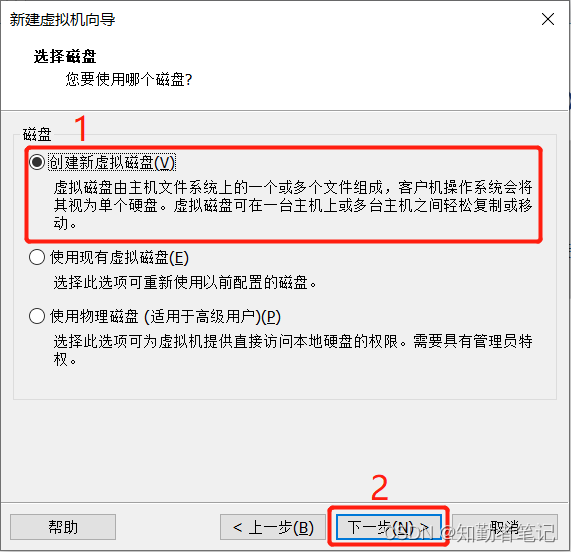
12、选择磁盘
根据具体情况决定,这里选择“创建新的虚拟磁盘(V)”
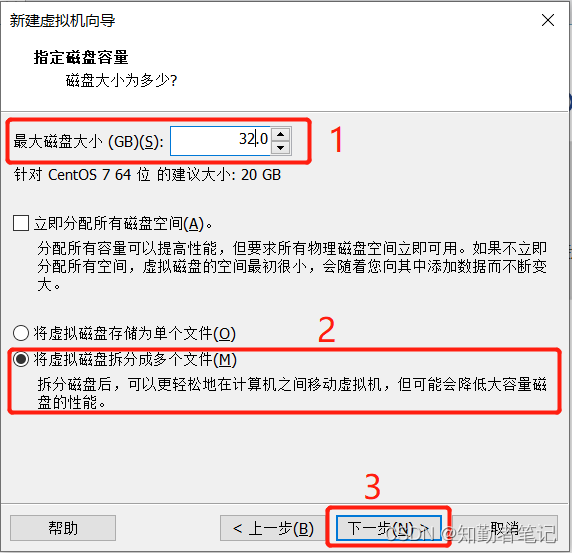
13、设置磁盘容量
大小嘛,根据具体情况决定,这里是32G;选项只选“将虚拟磁盘拆分成多个文件(M)
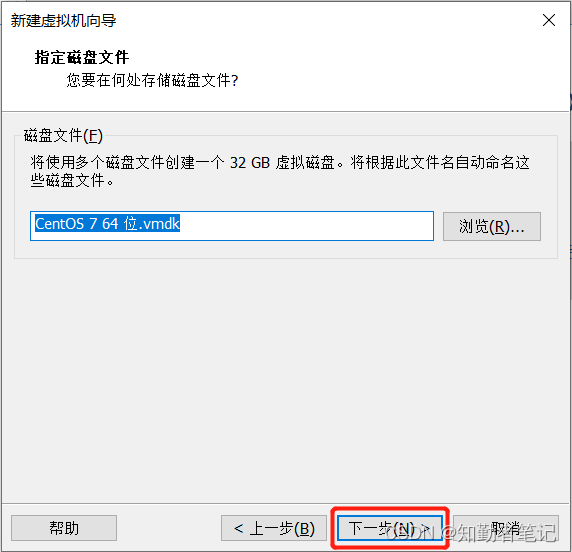
14、指定磁盘文件
这里直接”下一步“(采用默认值);当然,你也可以选择改动
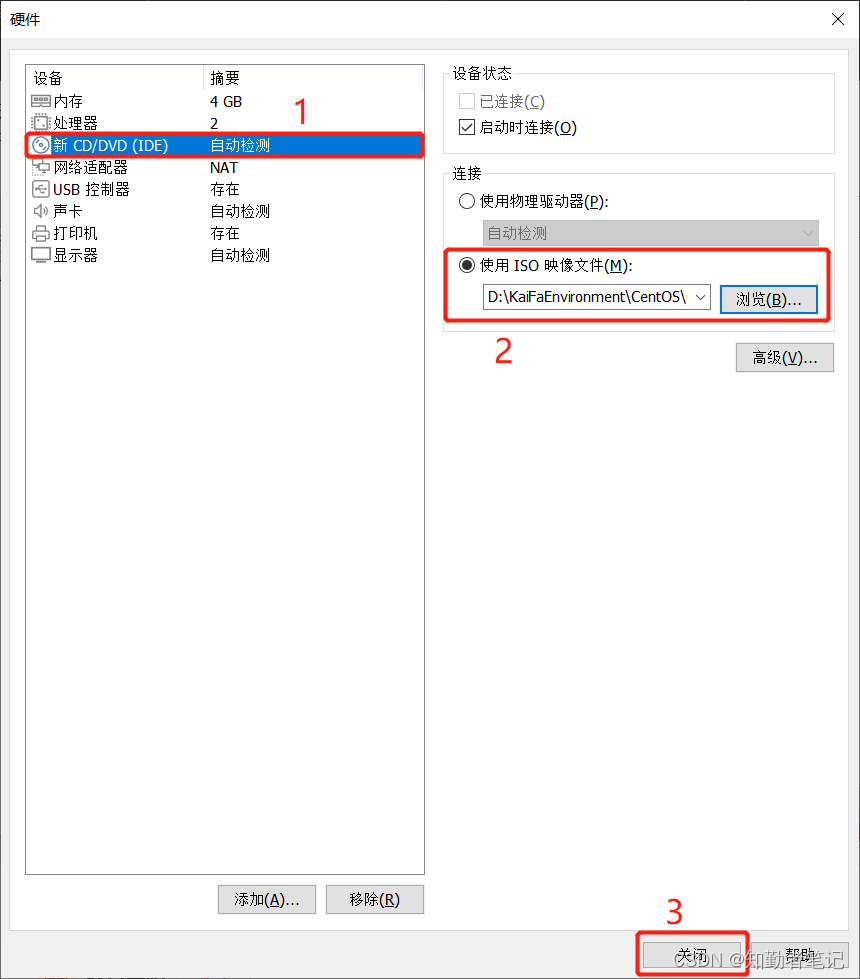
15、添加操作系统
点击“自定义硬件(C)...” -> 点击“新 CD/DVD(IDE) 自动检测” -> 选择“使用ISO映像文件(M)” -> 浏览并选择你的映像文件 -> 点击“关闭” -> 点击“完成”
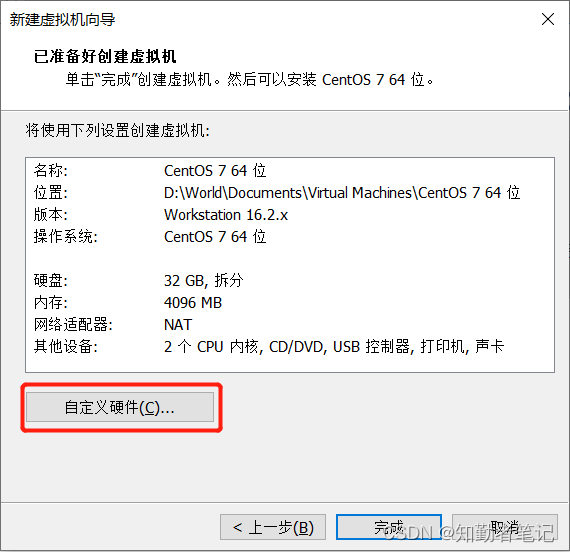
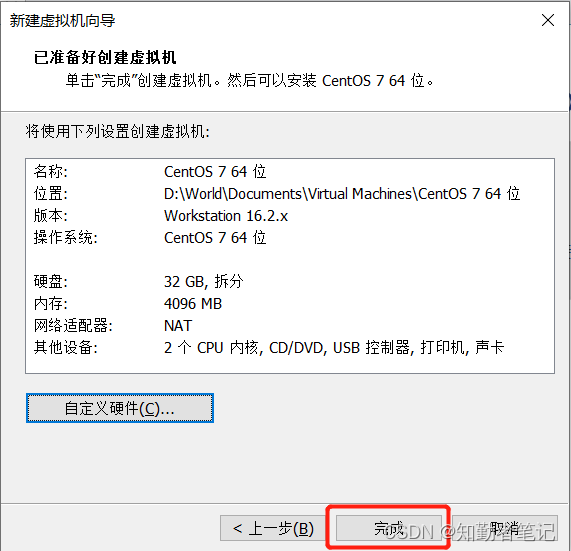
至此,虚拟机创建完毕并设置好了!
四、安装基于Linux的CentOS
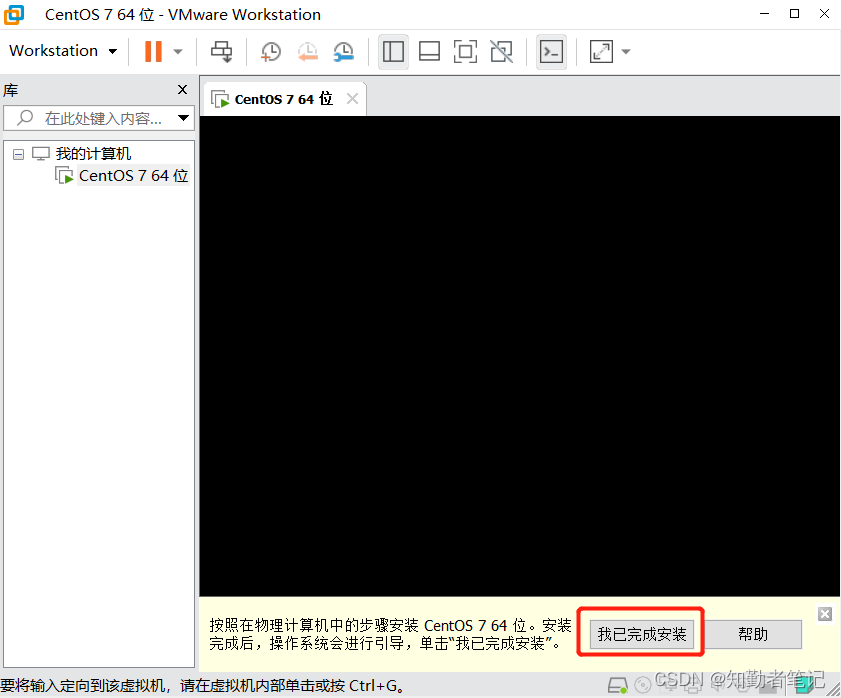
1、准备工作
开启开启虚拟机并点击“我已完成安装”

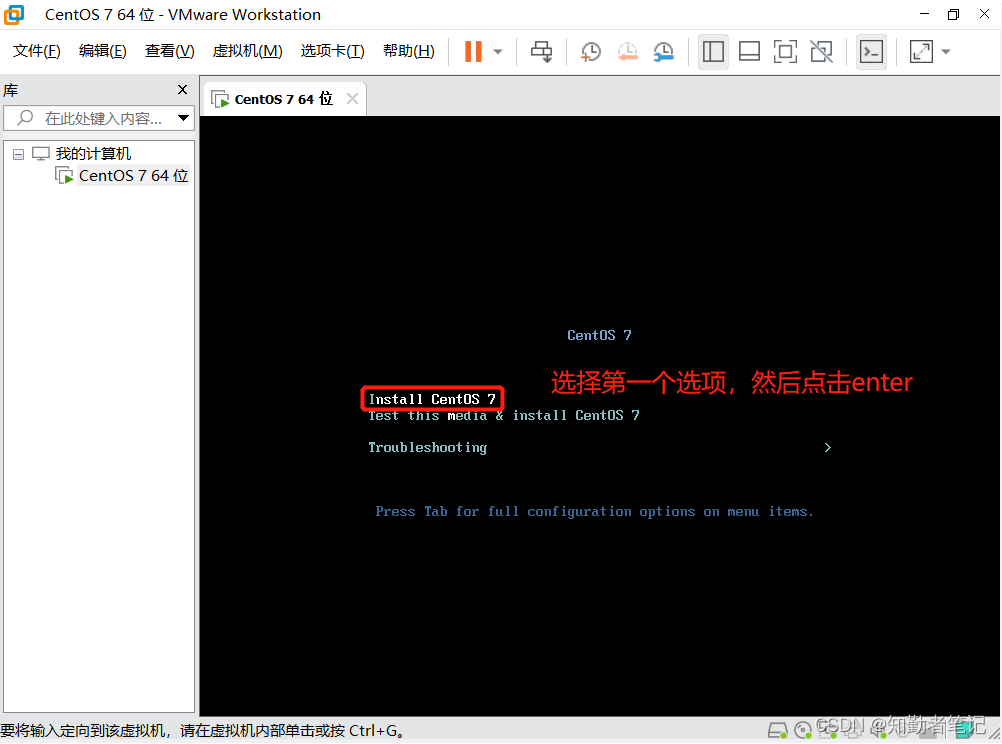
2、开始安装操作系统
通过上下键选择选中第一个(install CentOS 7并按回车键
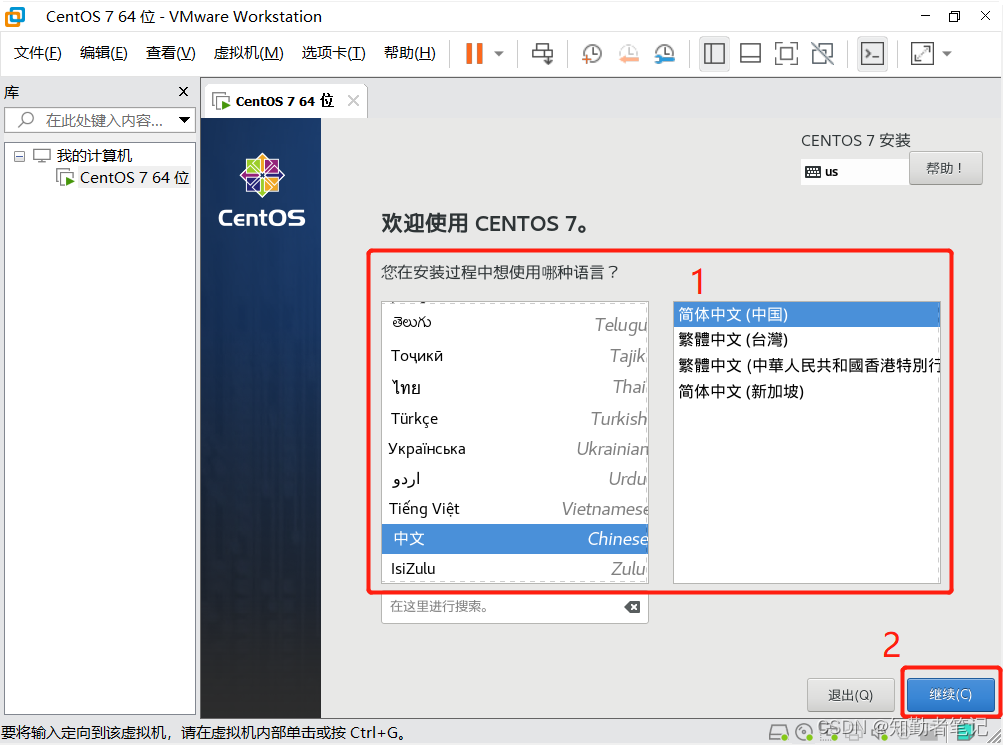
3、选择系统语言
根据具体情况选择,这里是选择中文简体
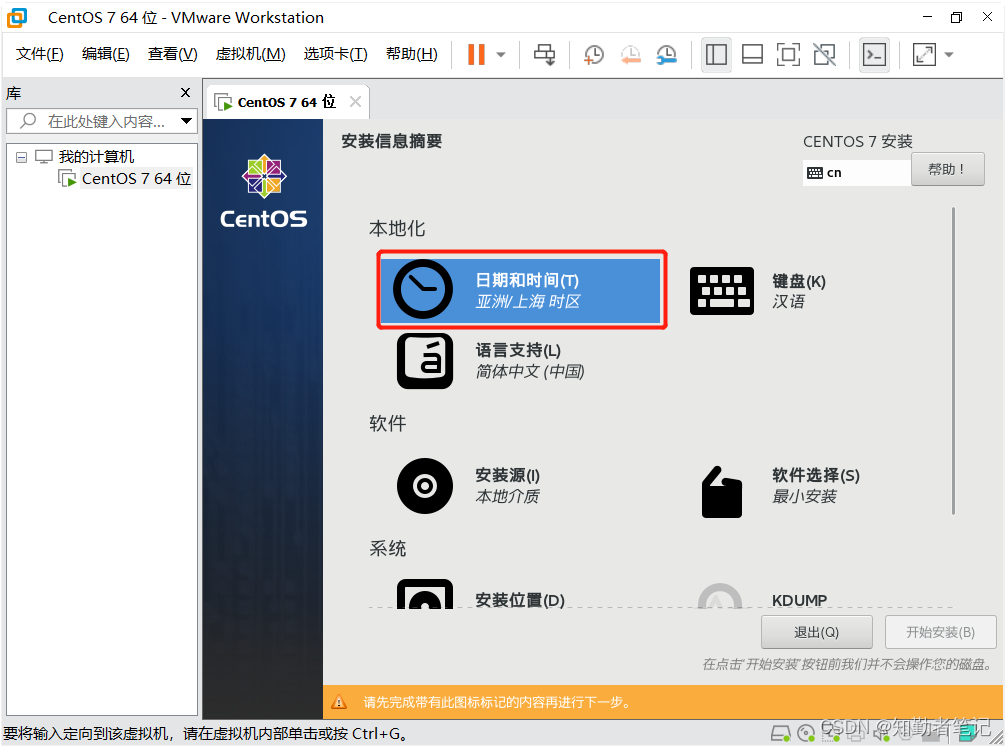
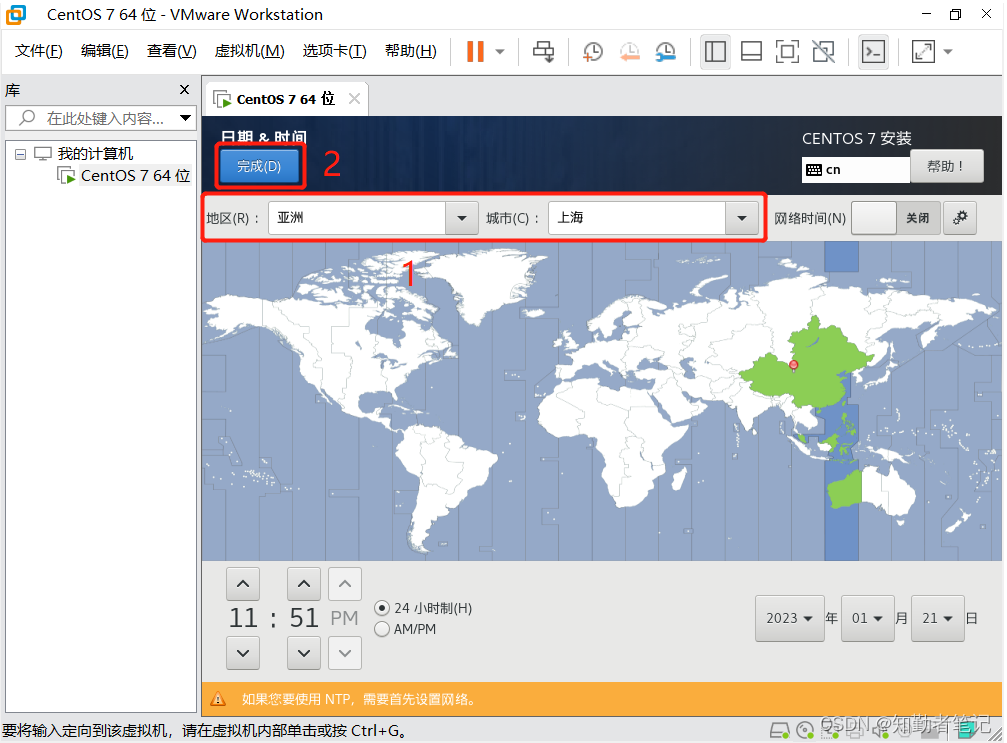
4、选择时区(设置日期和时间)
根据具体情况选择,这里是选择“亚洲-上海”
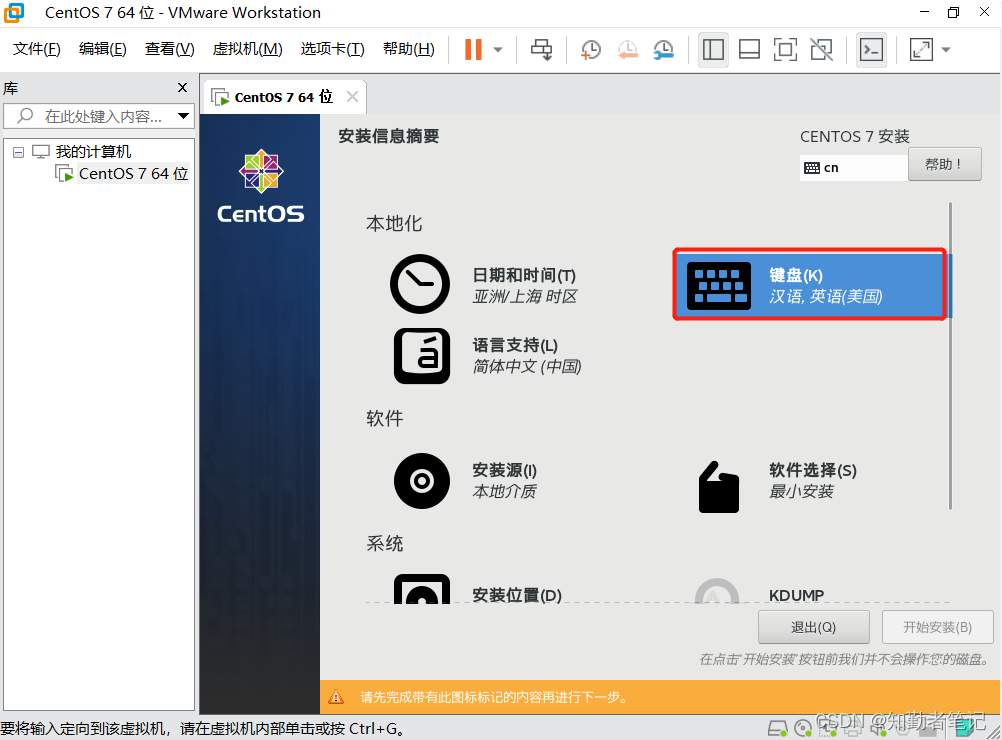
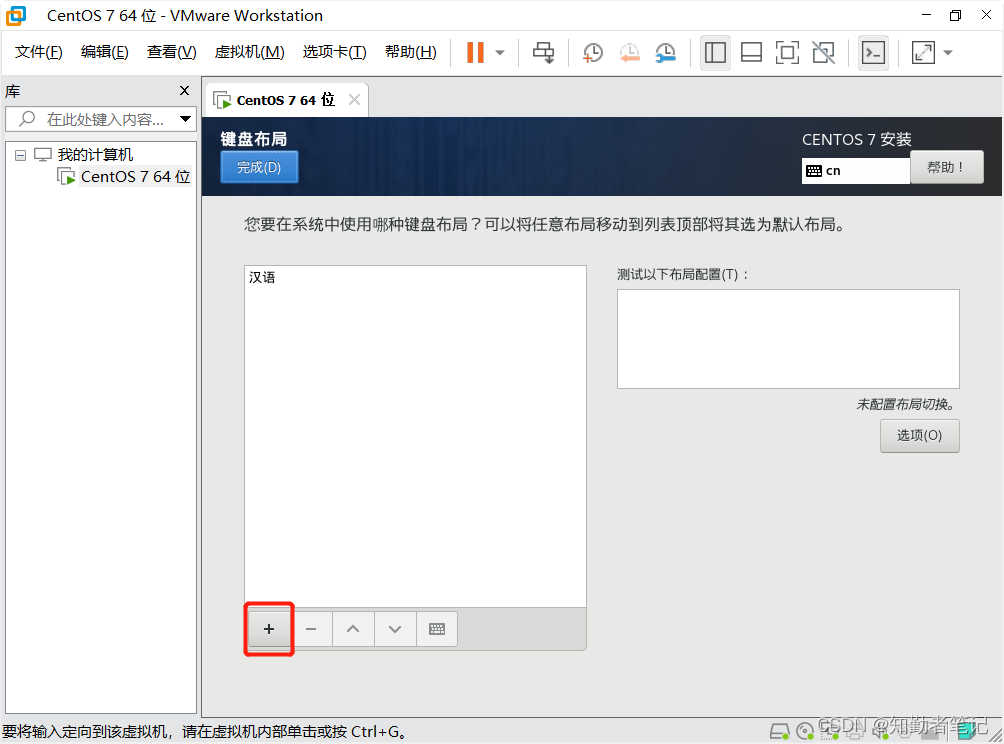
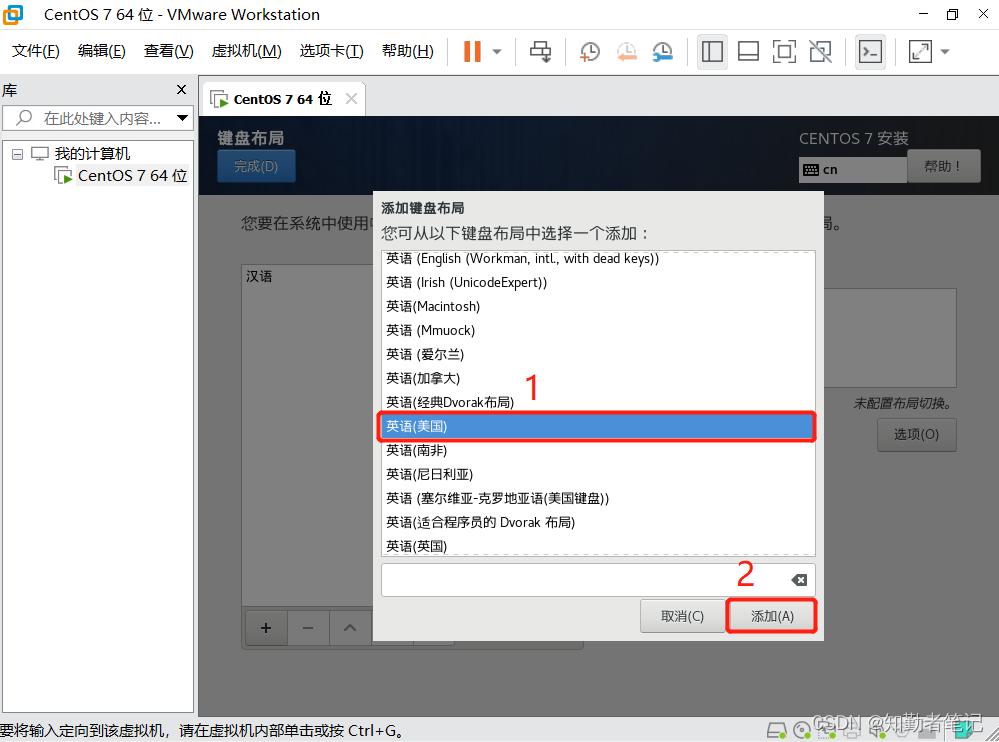
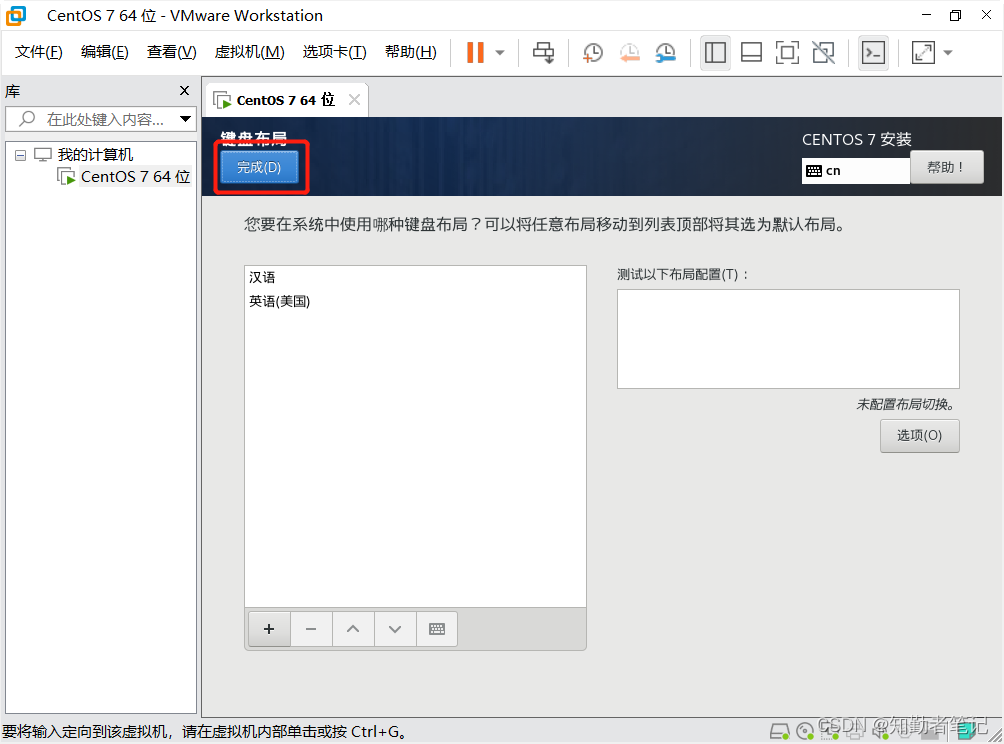
5、添加键盘布局
原本是有汉语的,但为了以后使用方便,所以这里添加了“英语(美国)”;可以不用添加的
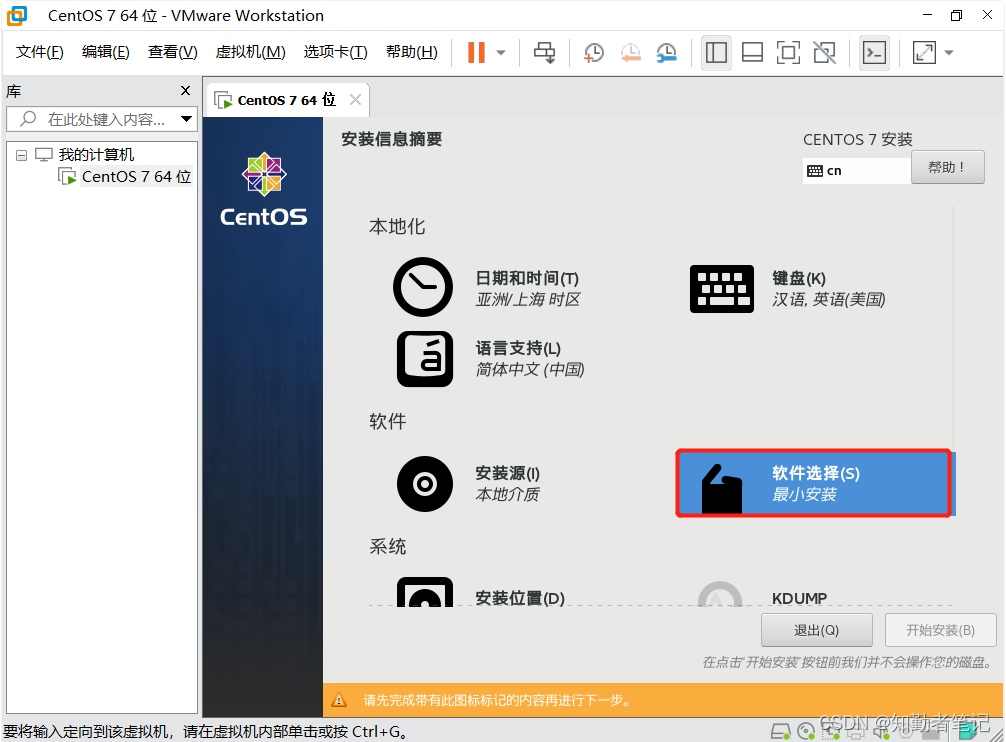
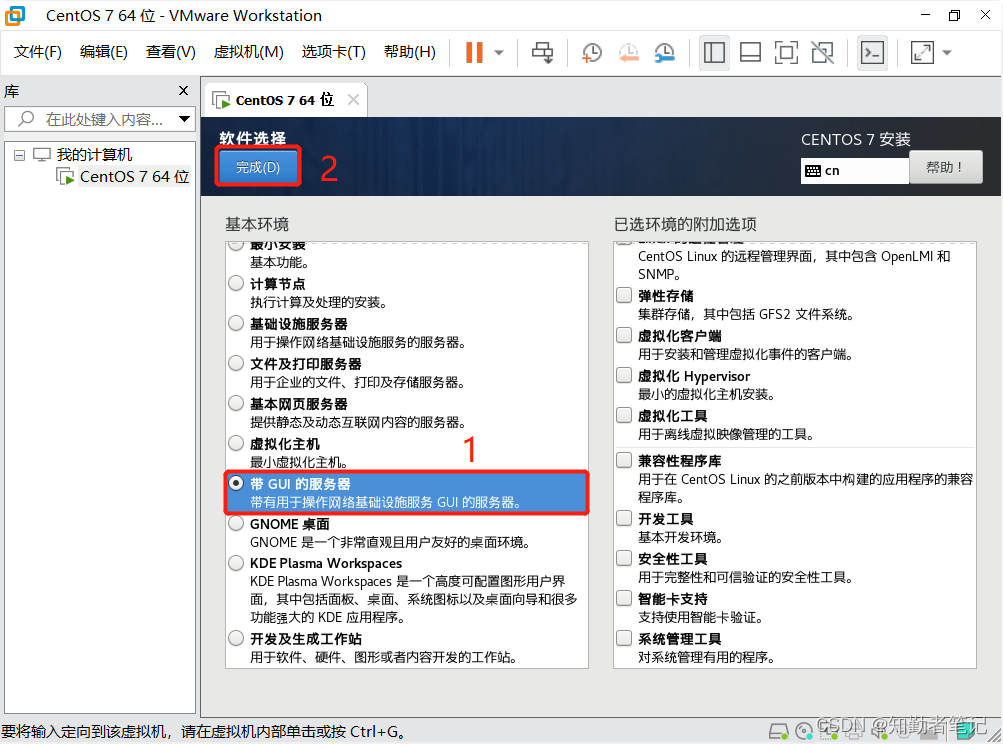
6、软件最小化
这里选择“带GUI的服务器”,因为如果不选择这个,界面会一直是一个黑乎乎的窗口
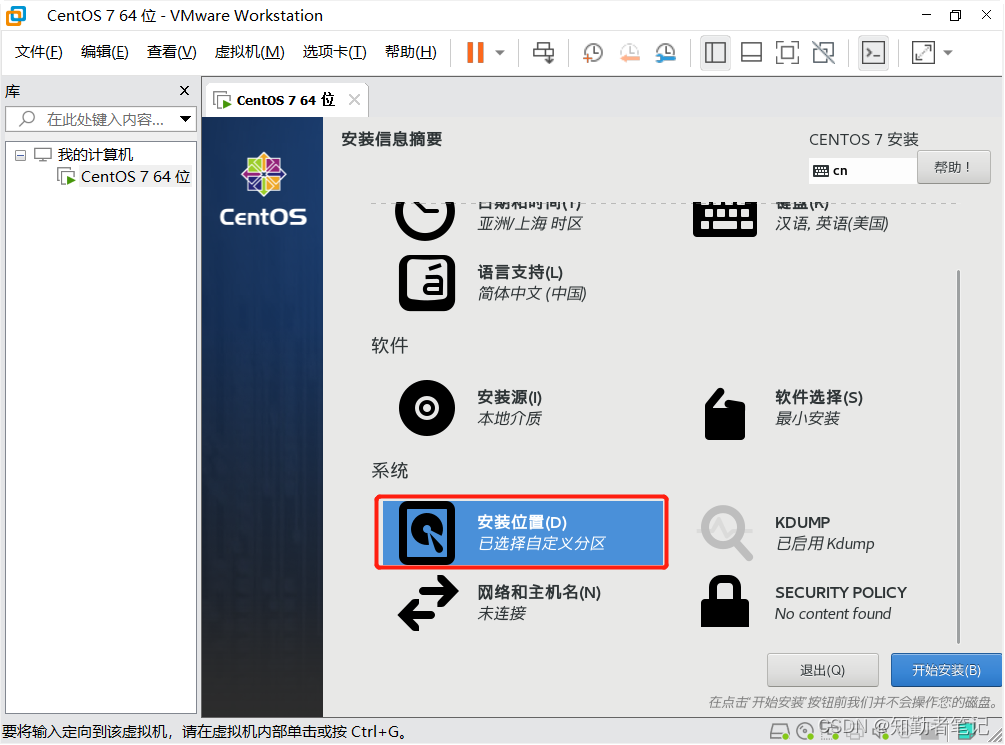
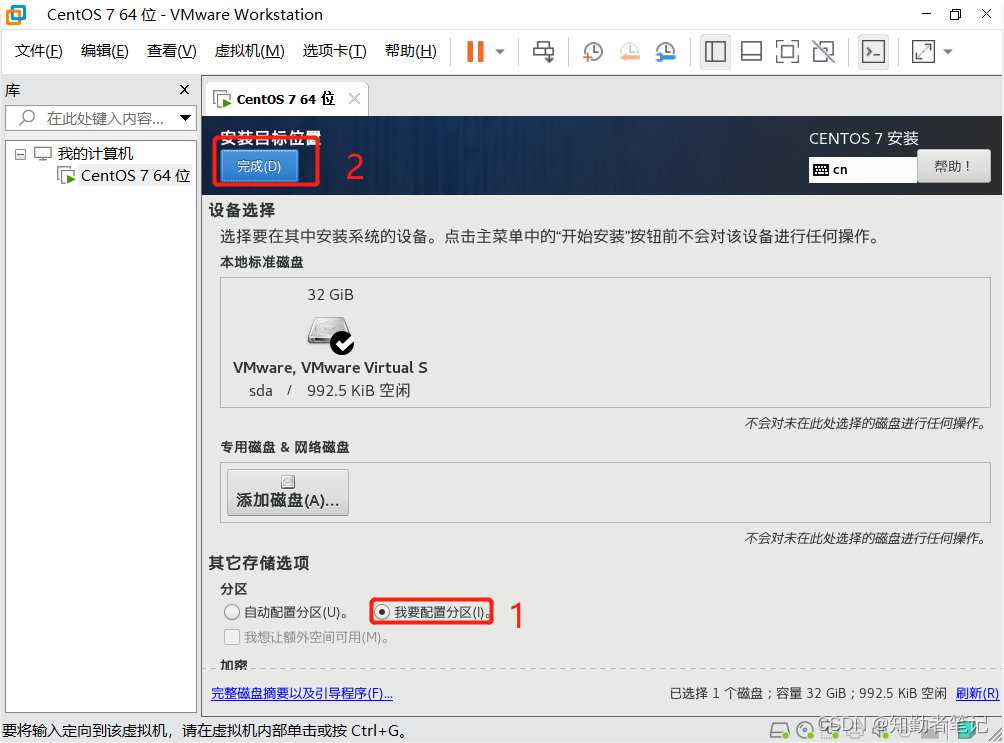
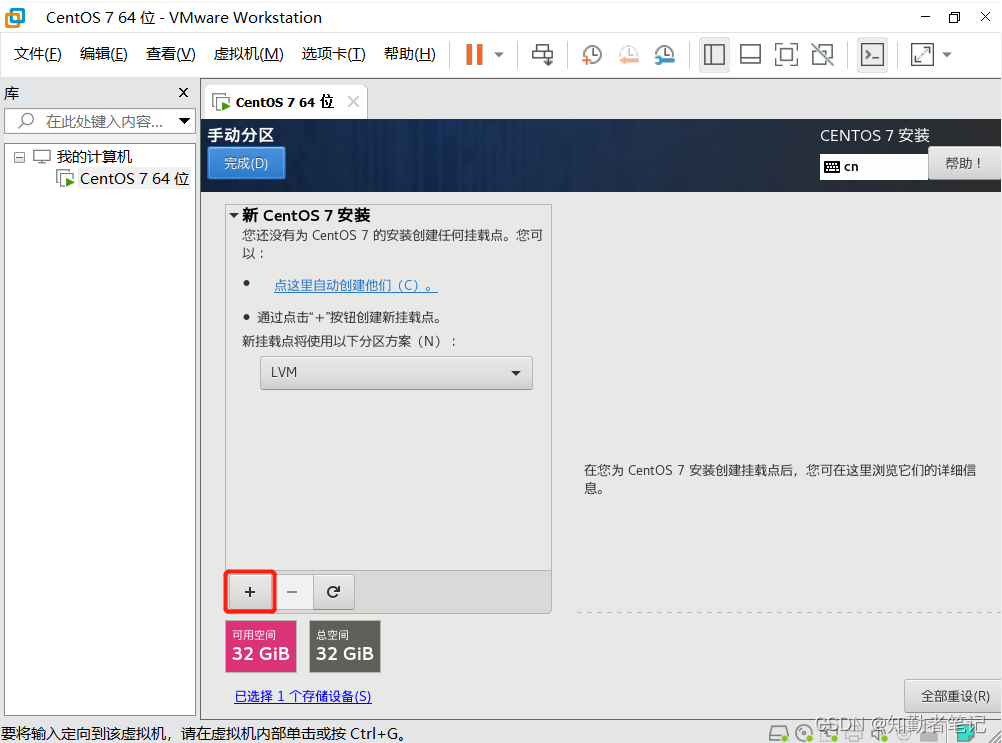
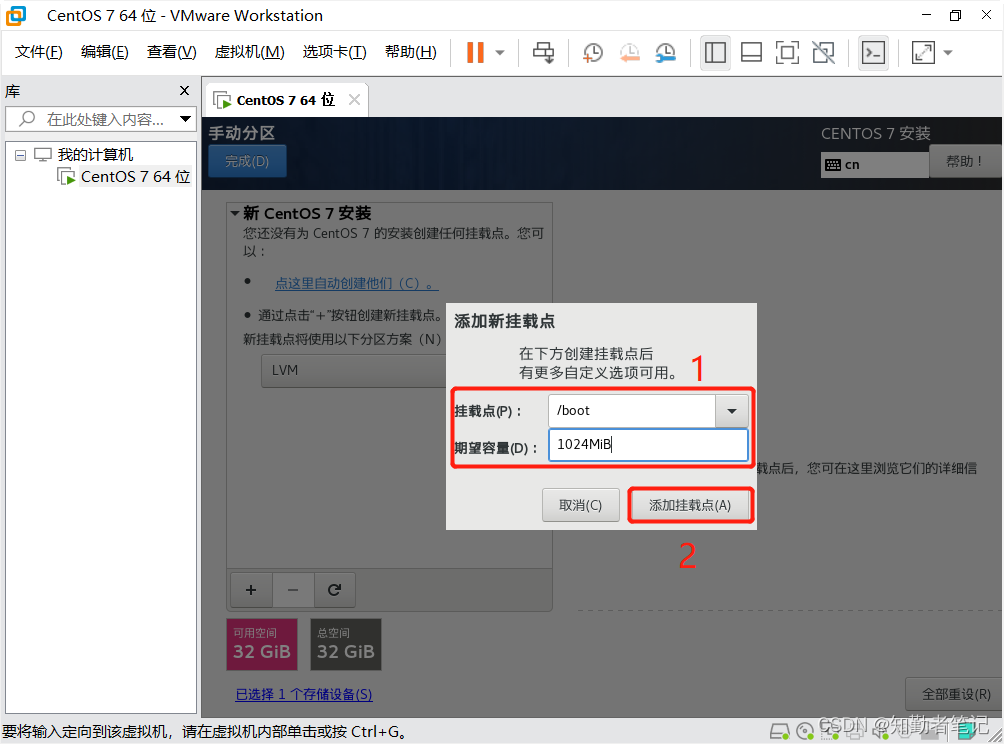
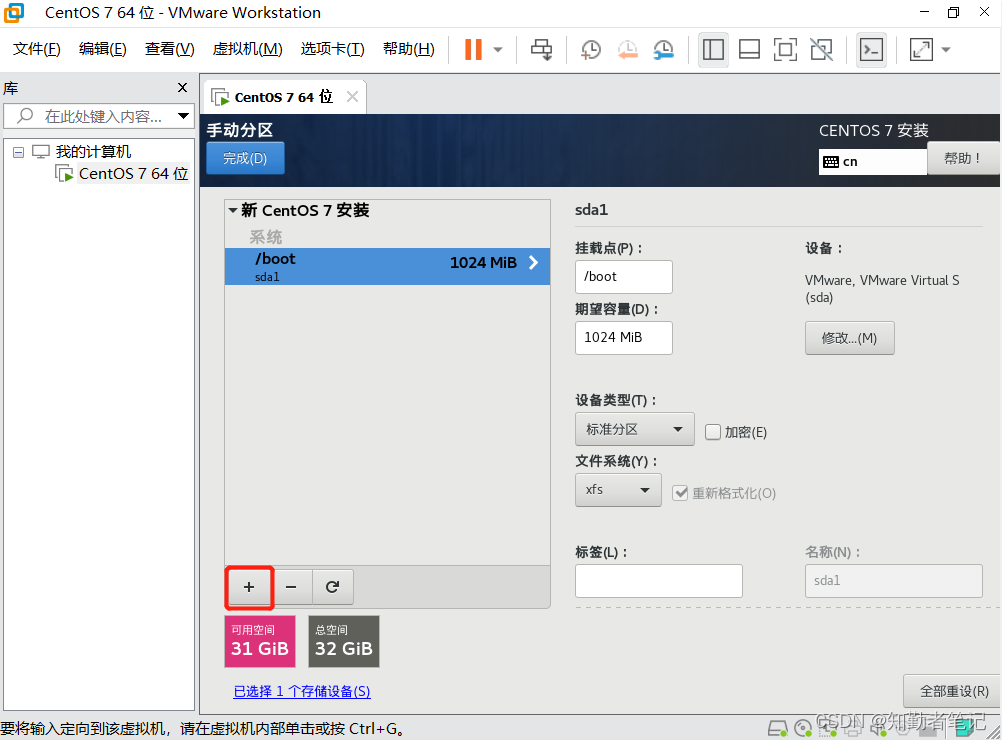
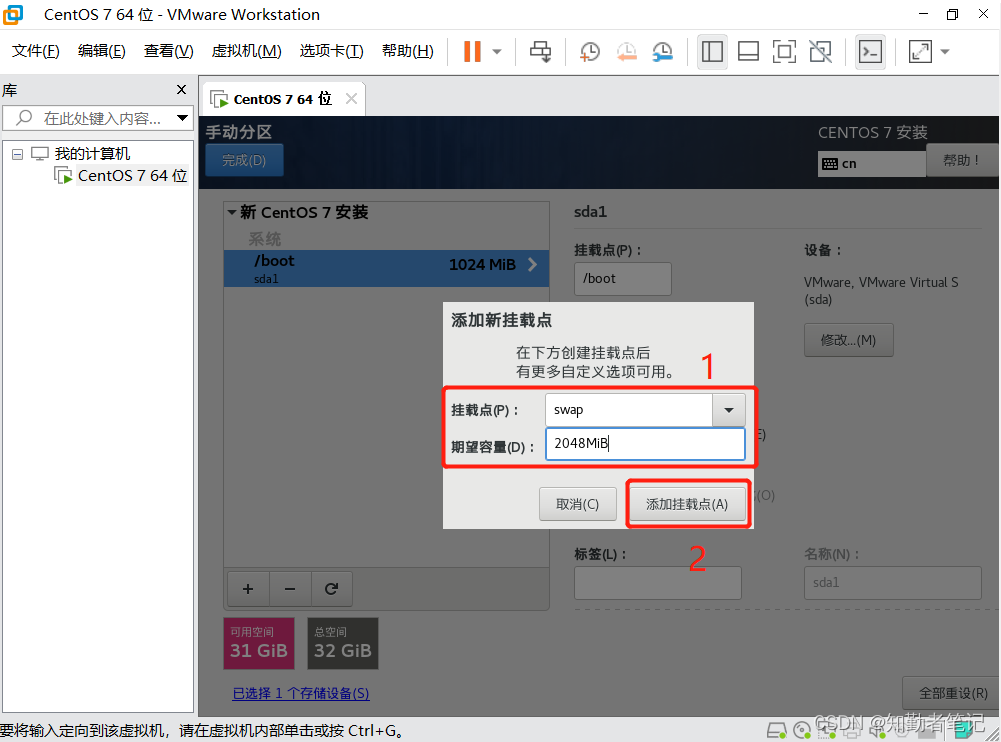
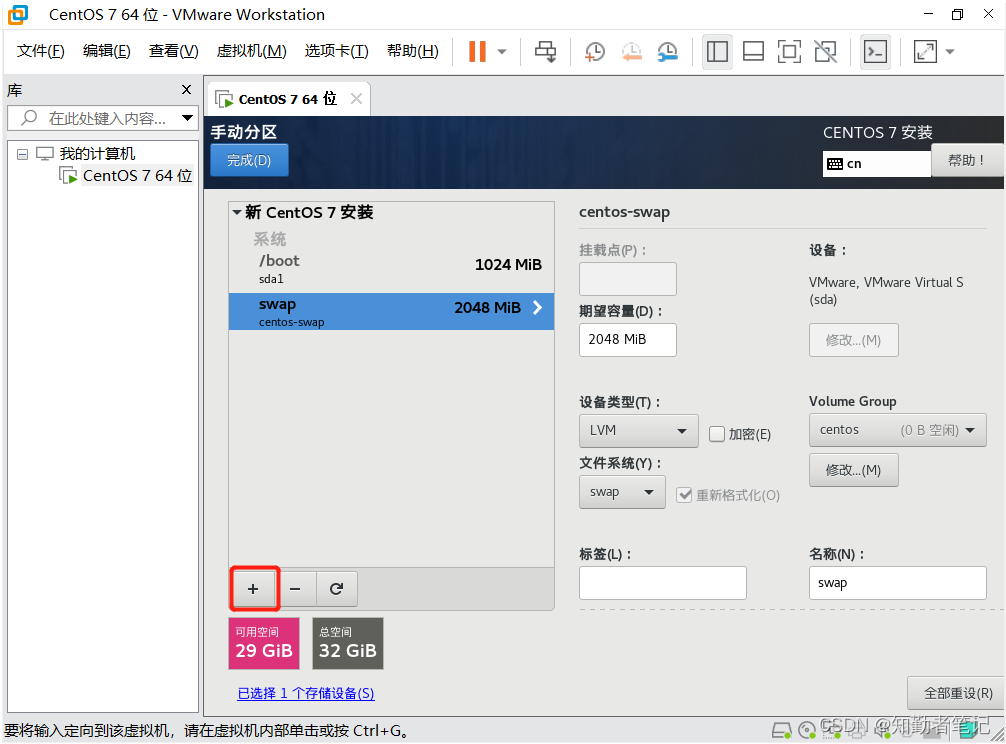
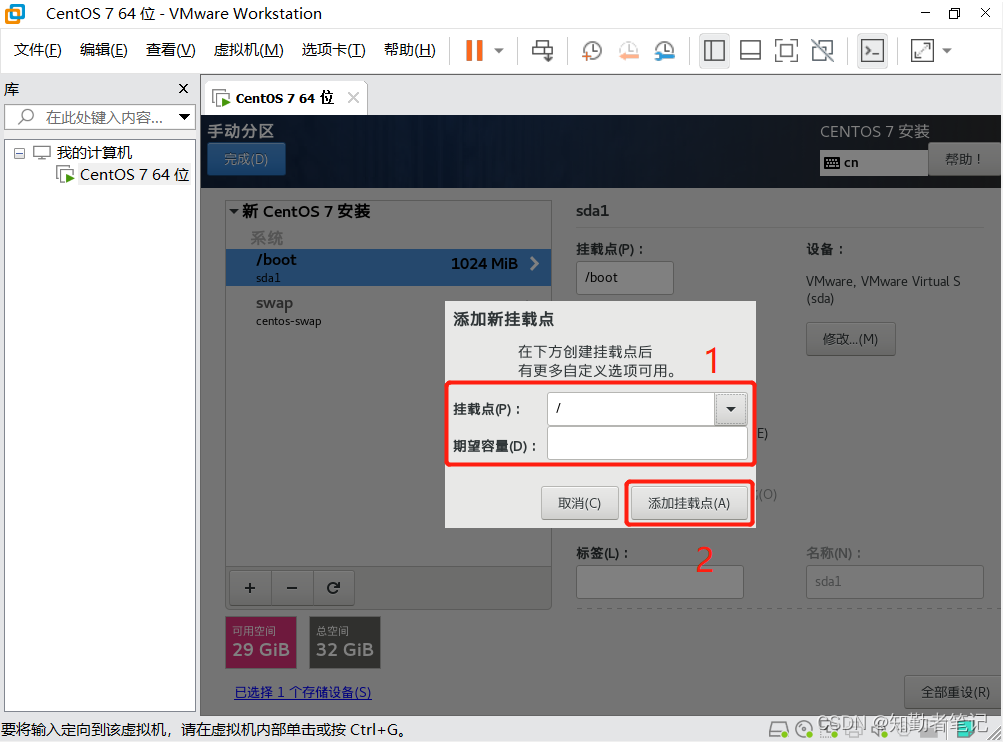
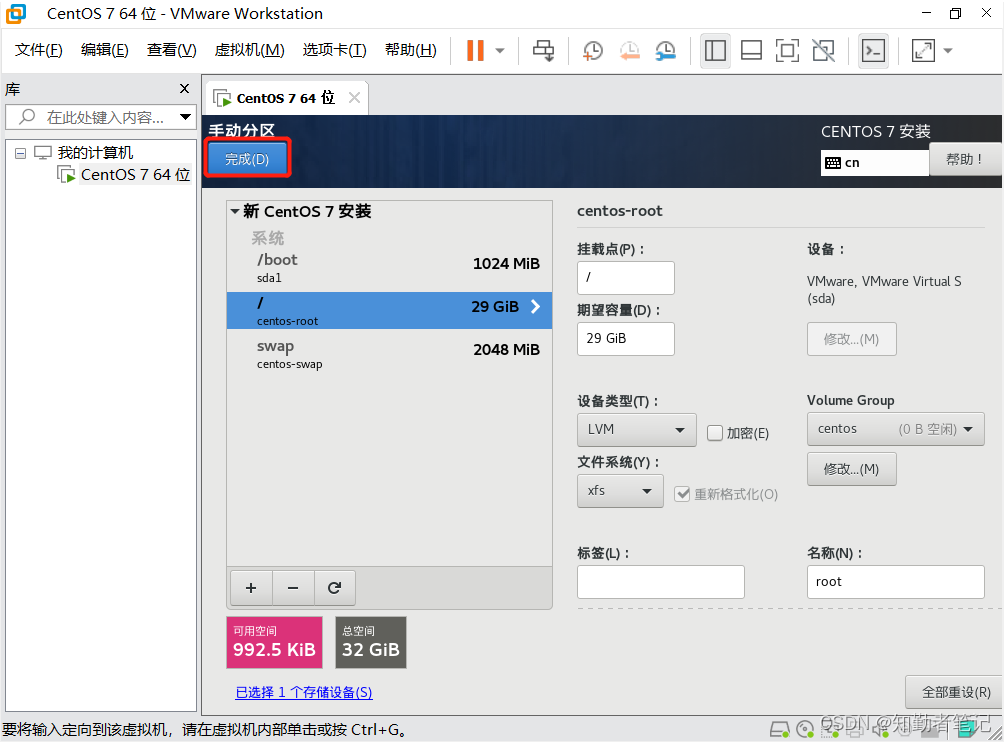
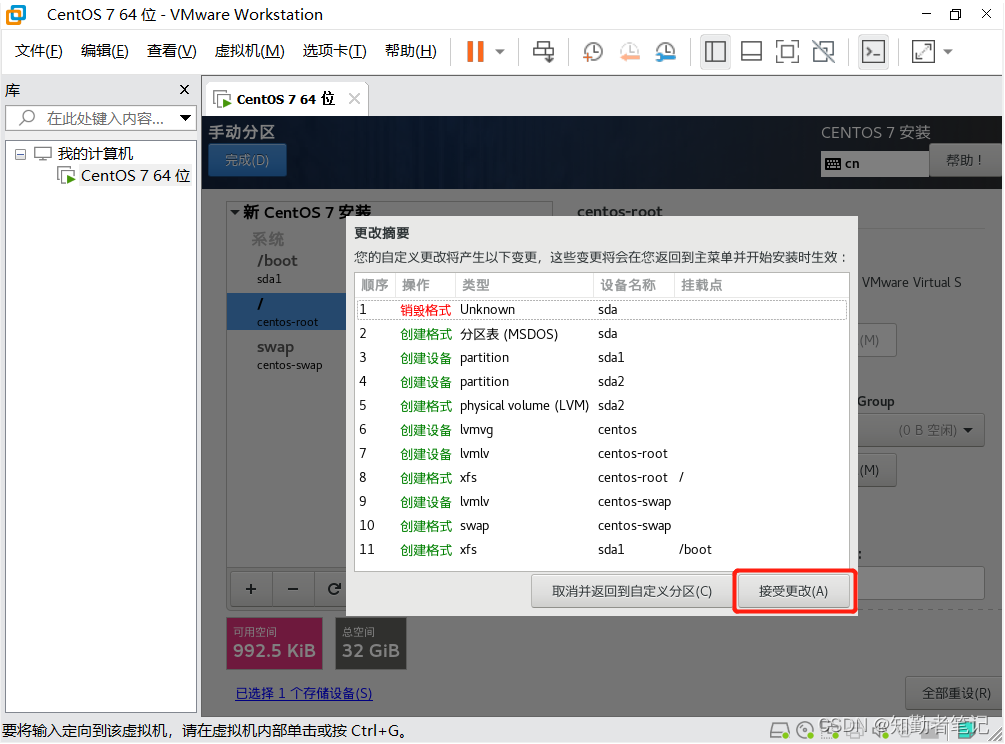
7、选择系统的安装位置和虚拟磁盘分区
可以在选择安装位置时将分区配置好;这里选择的是“我要配置分区(I)”,选了这个就会进入“手动分区”界面
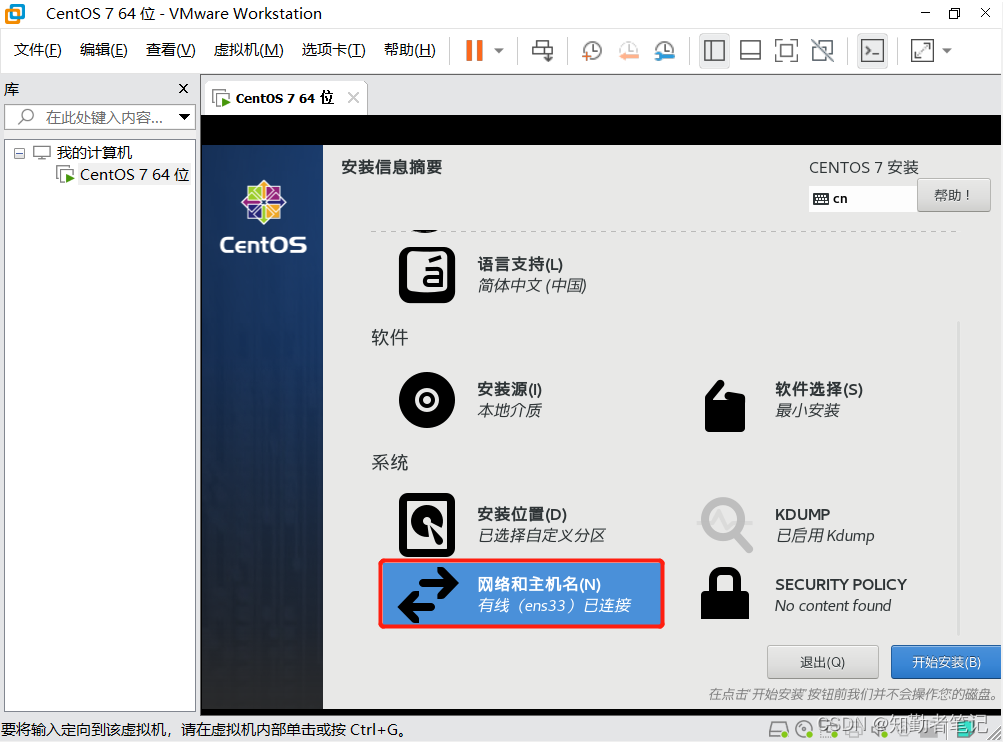
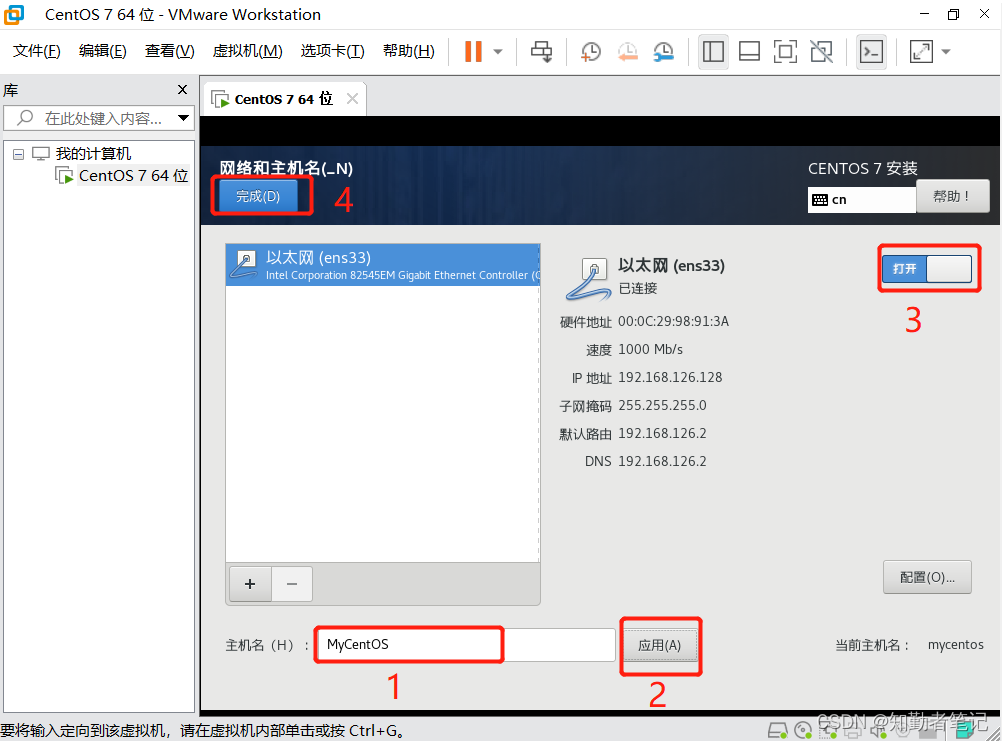
8、设置网络和主机名
主机名是可以自定义的;记得把“以太网(ens33)”打开,否则也是不能联网的
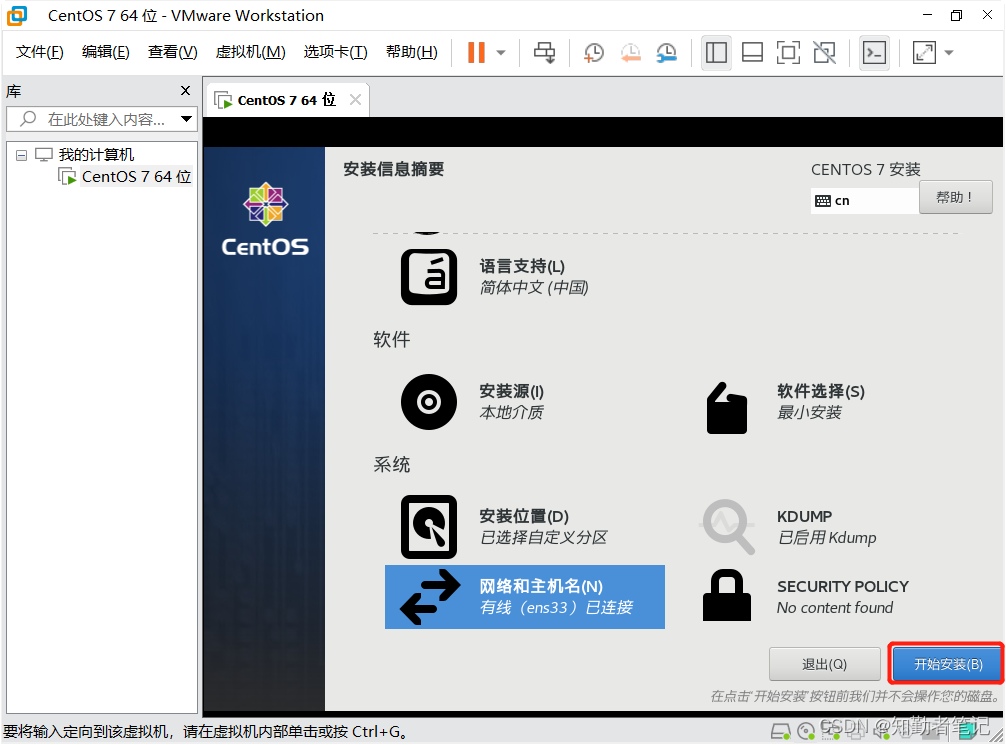
9、正式开始安装操作系统
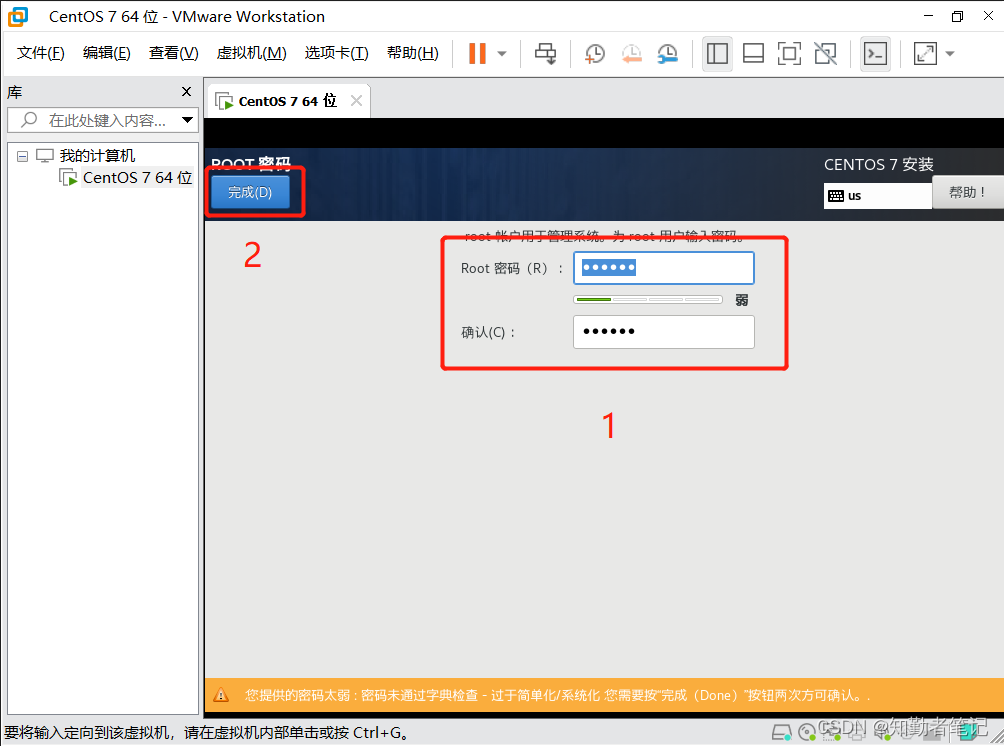
10、设置密码
在正式安装操作系统时设置密码
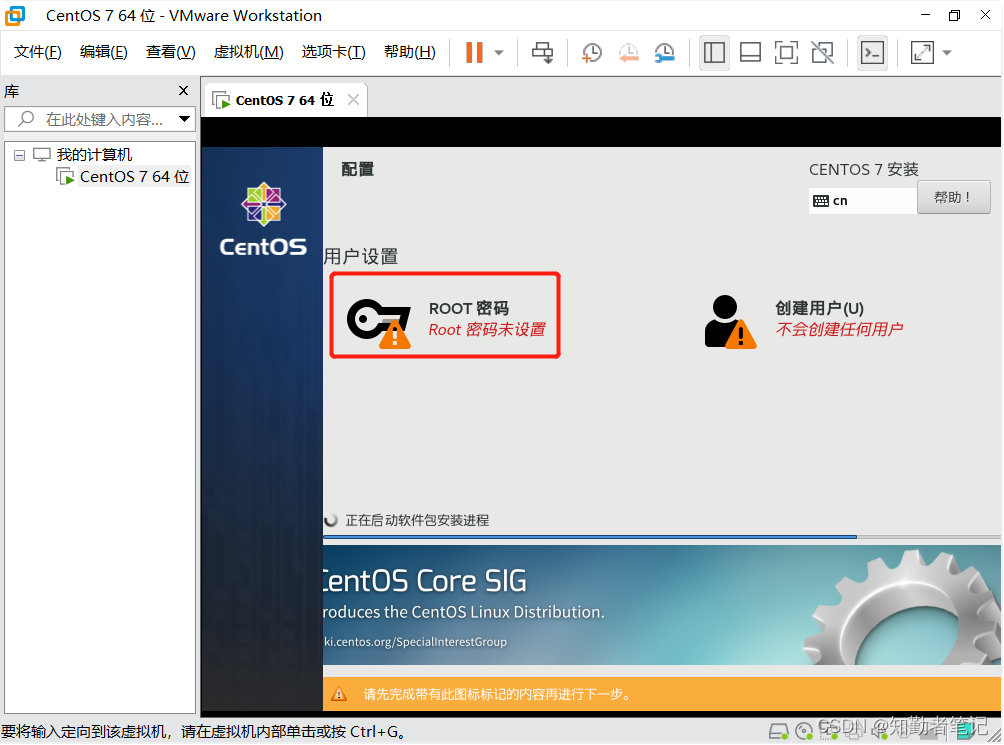
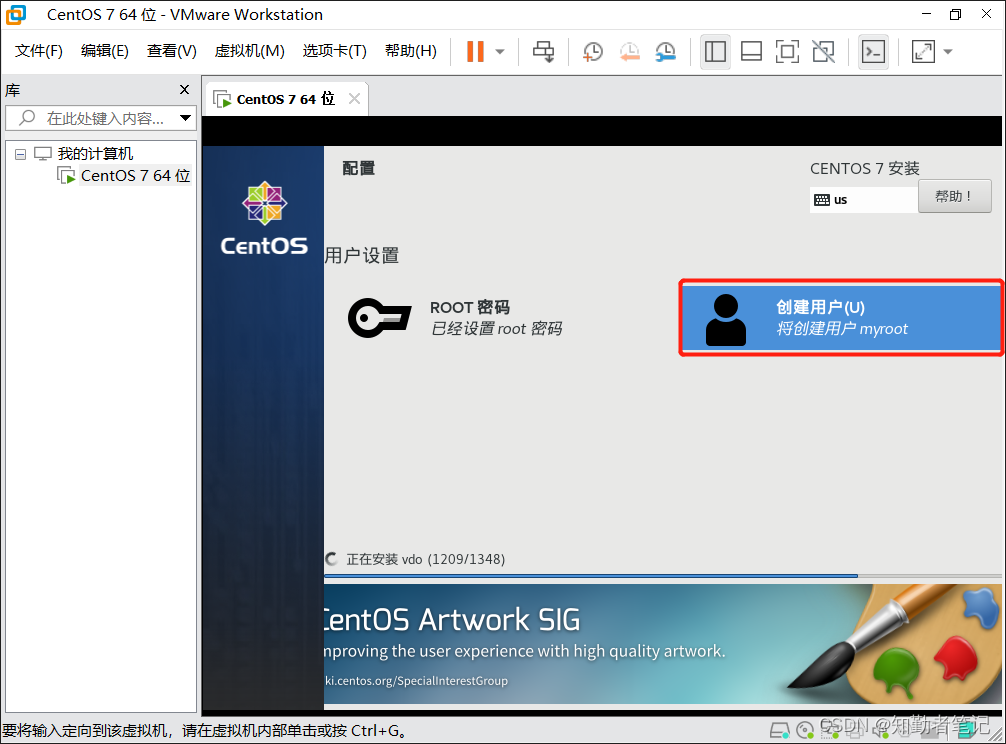
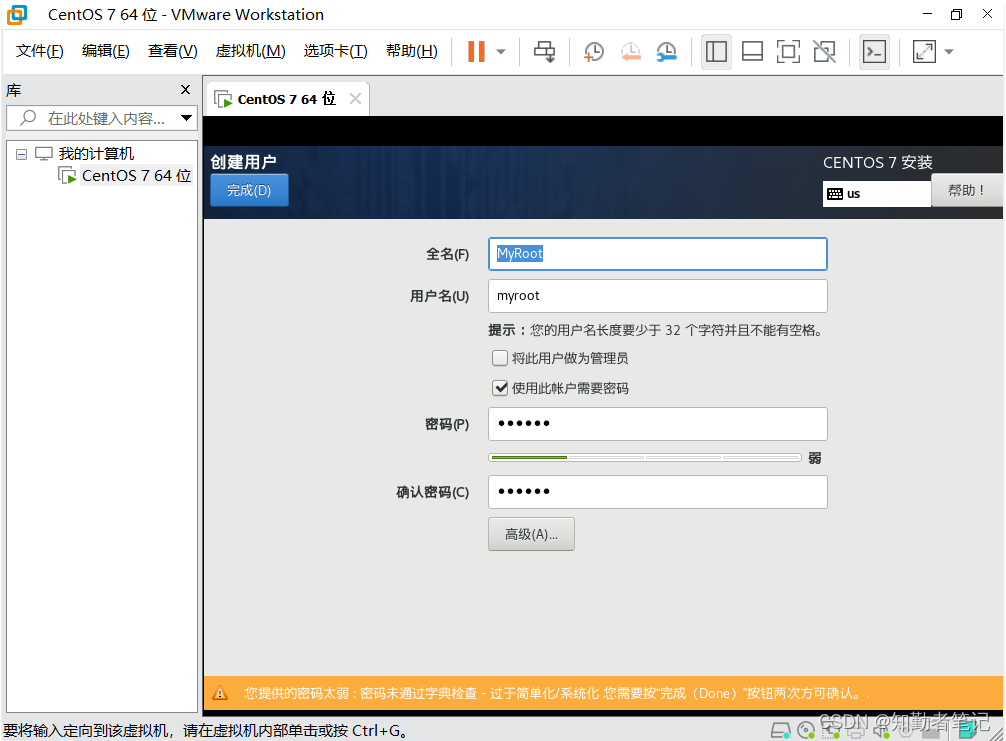
11、创建用户
在正式安装操作系统时创建用户
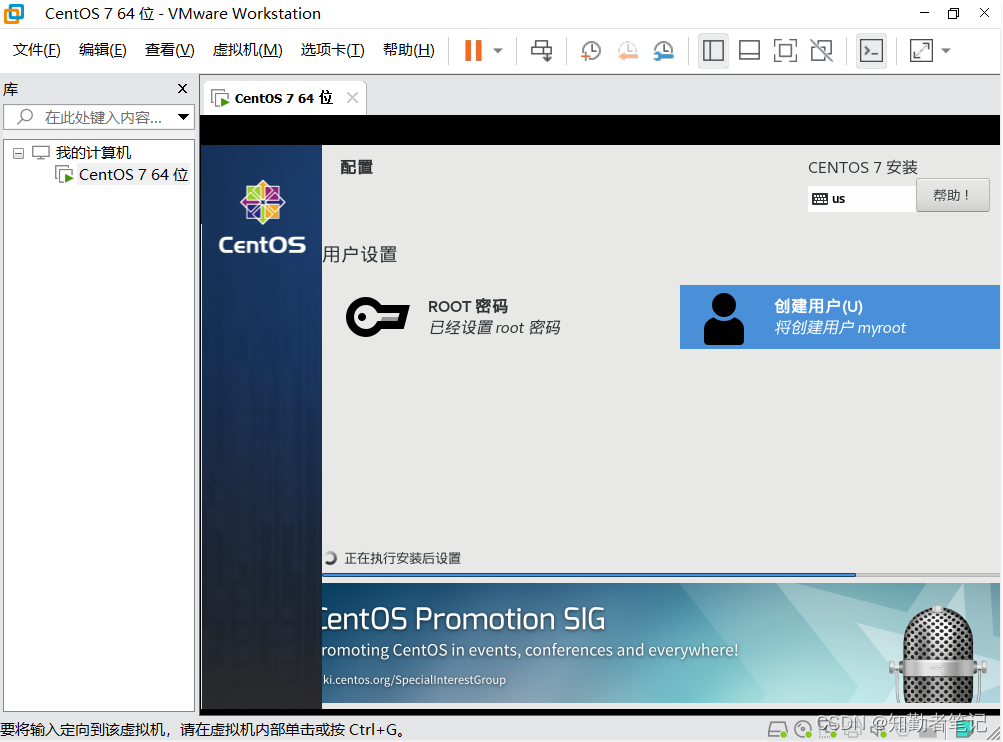
12、漫长的安装
13、操作系统安装完毕
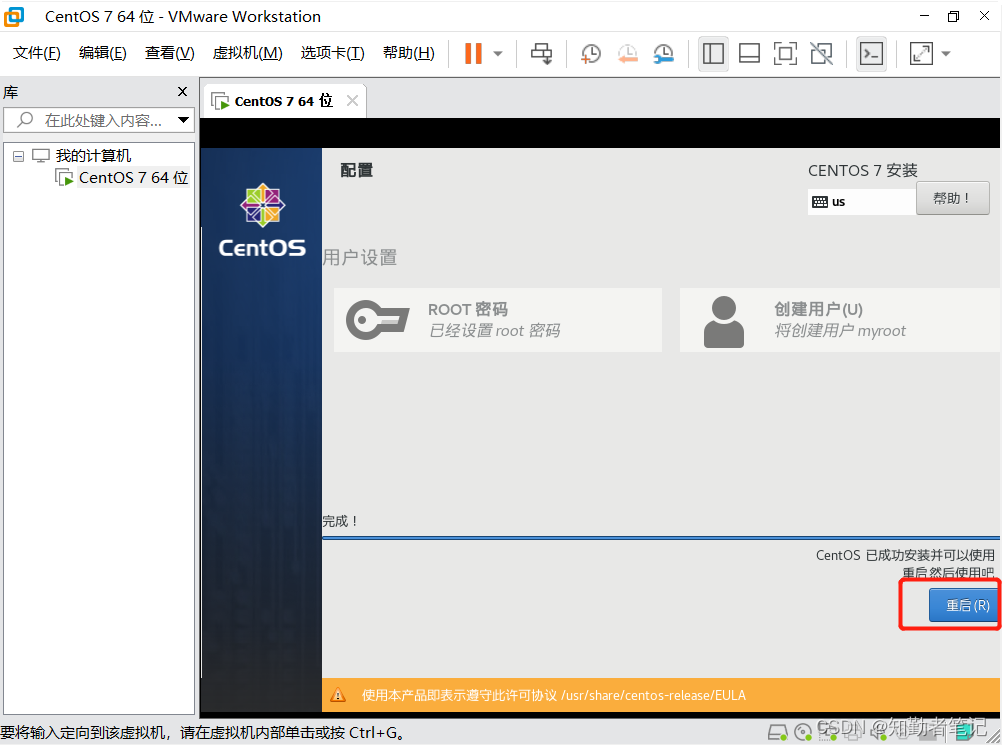
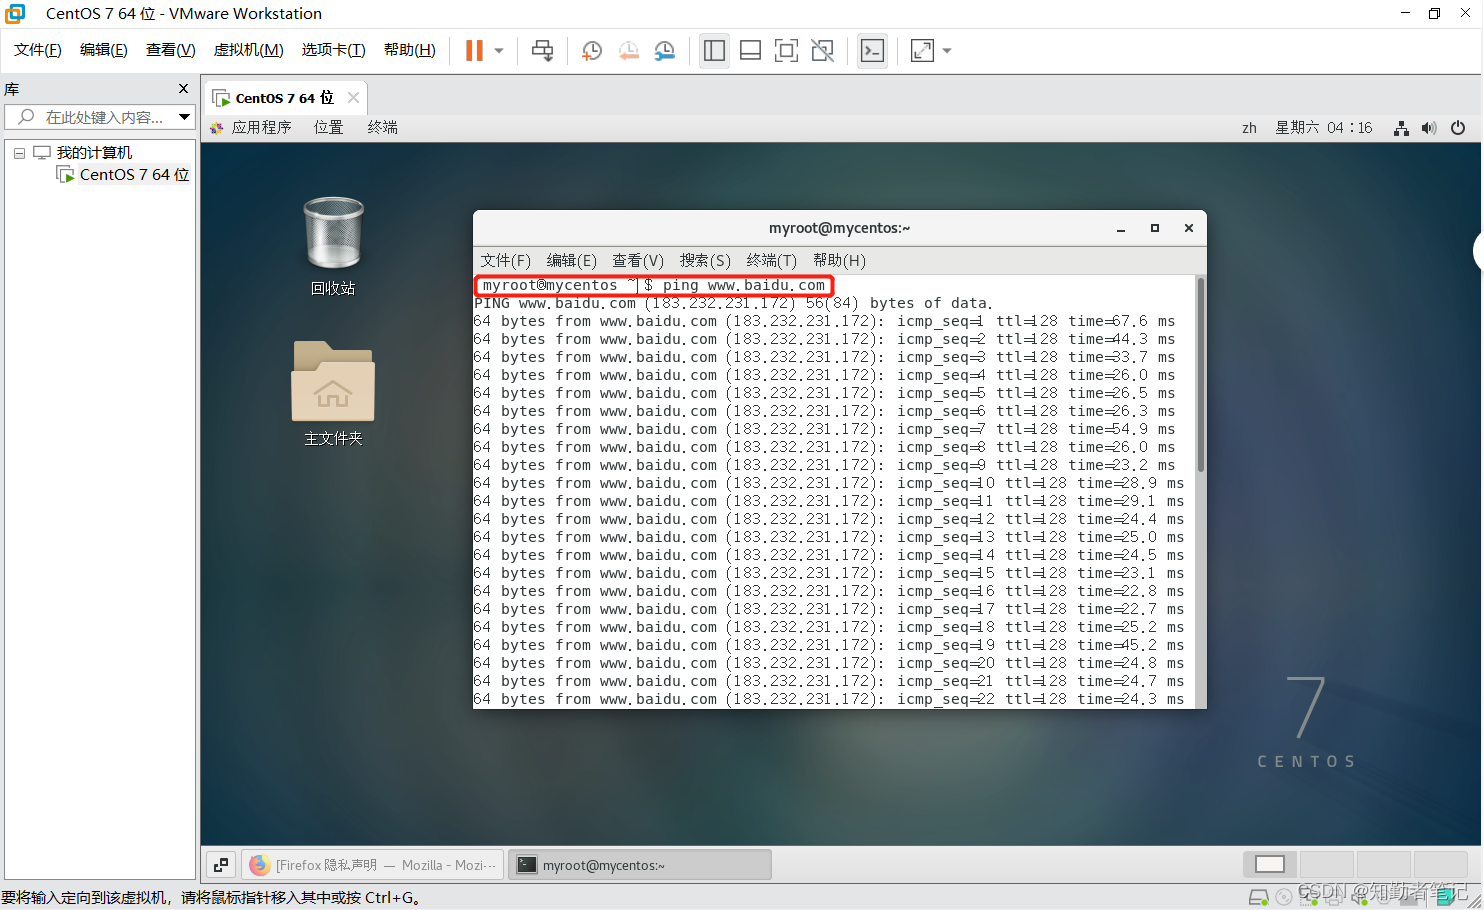
五、ping百度,测试联网
1、如图,它是成功的,它可以联网
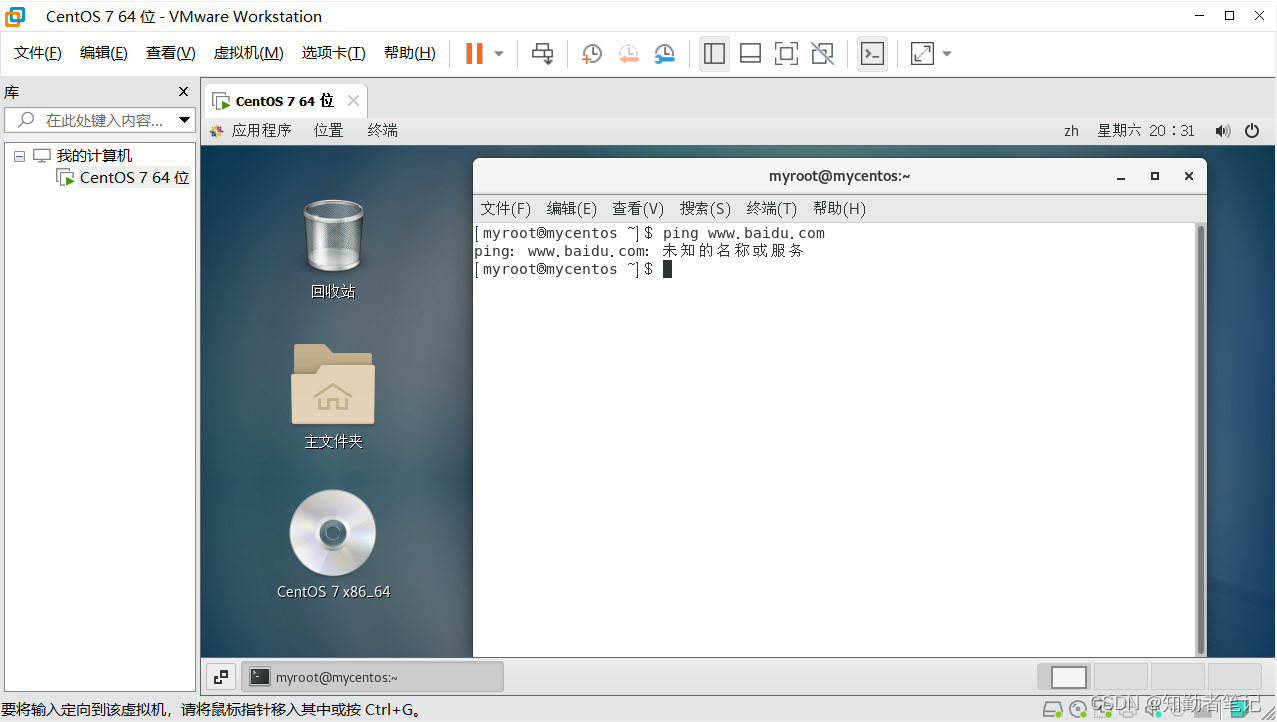
2、如图,它是失败的,它无法联网
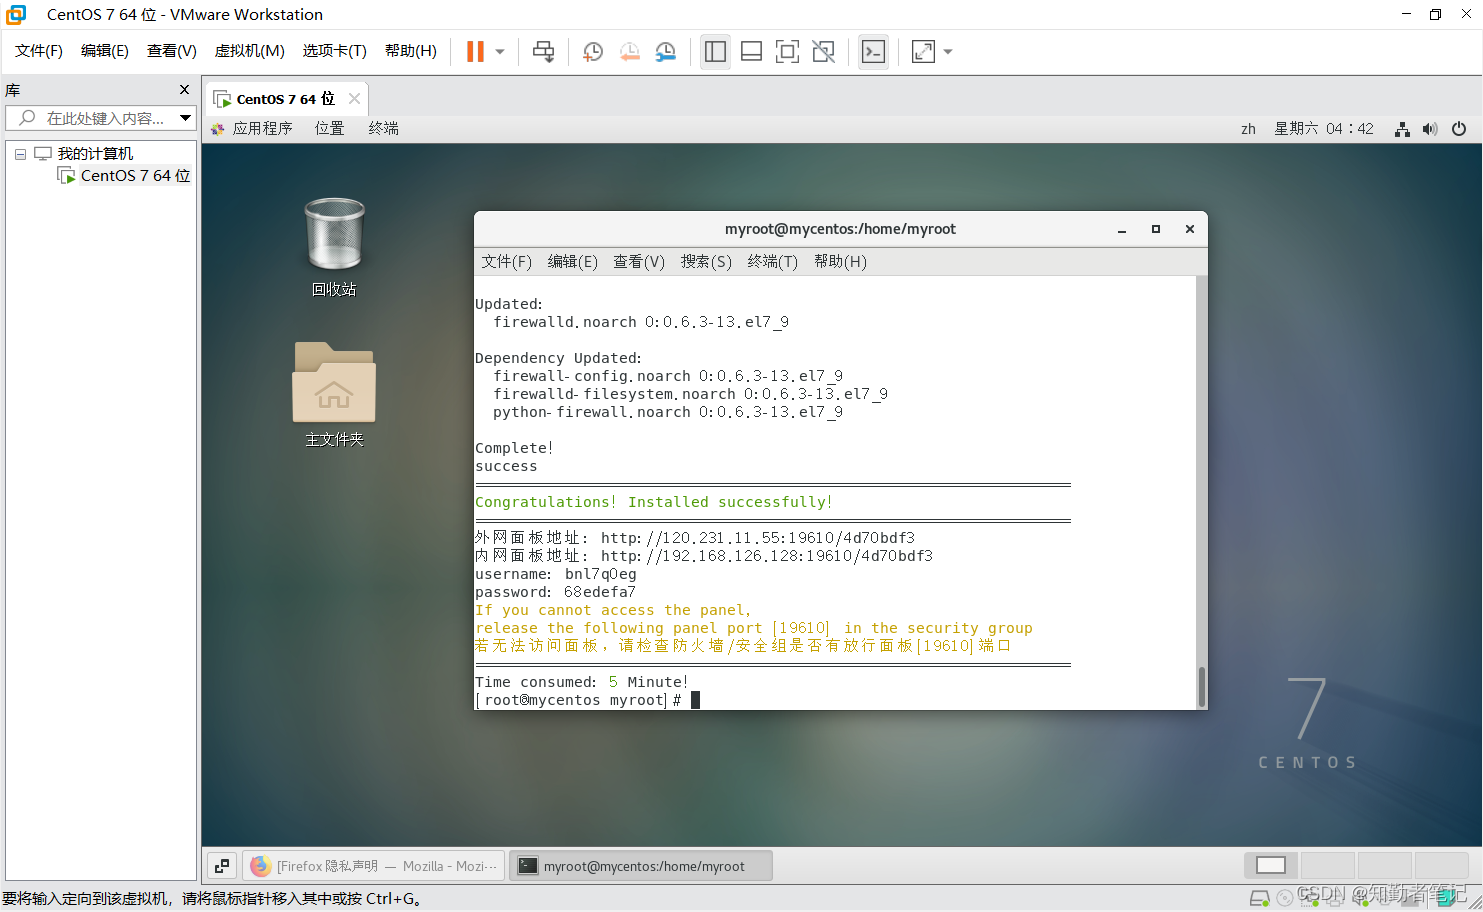
六、安装宝塔面板(可以不装)
1、切换到root账号
打开终端输入命令su后按下回车键,然后输入root密码(密码是不显示的)
2、输入以下命令进行安装
yum install -y wget && wget -O install.sh http://download.bt.cn/install/install_6.0.sh && sh install.sh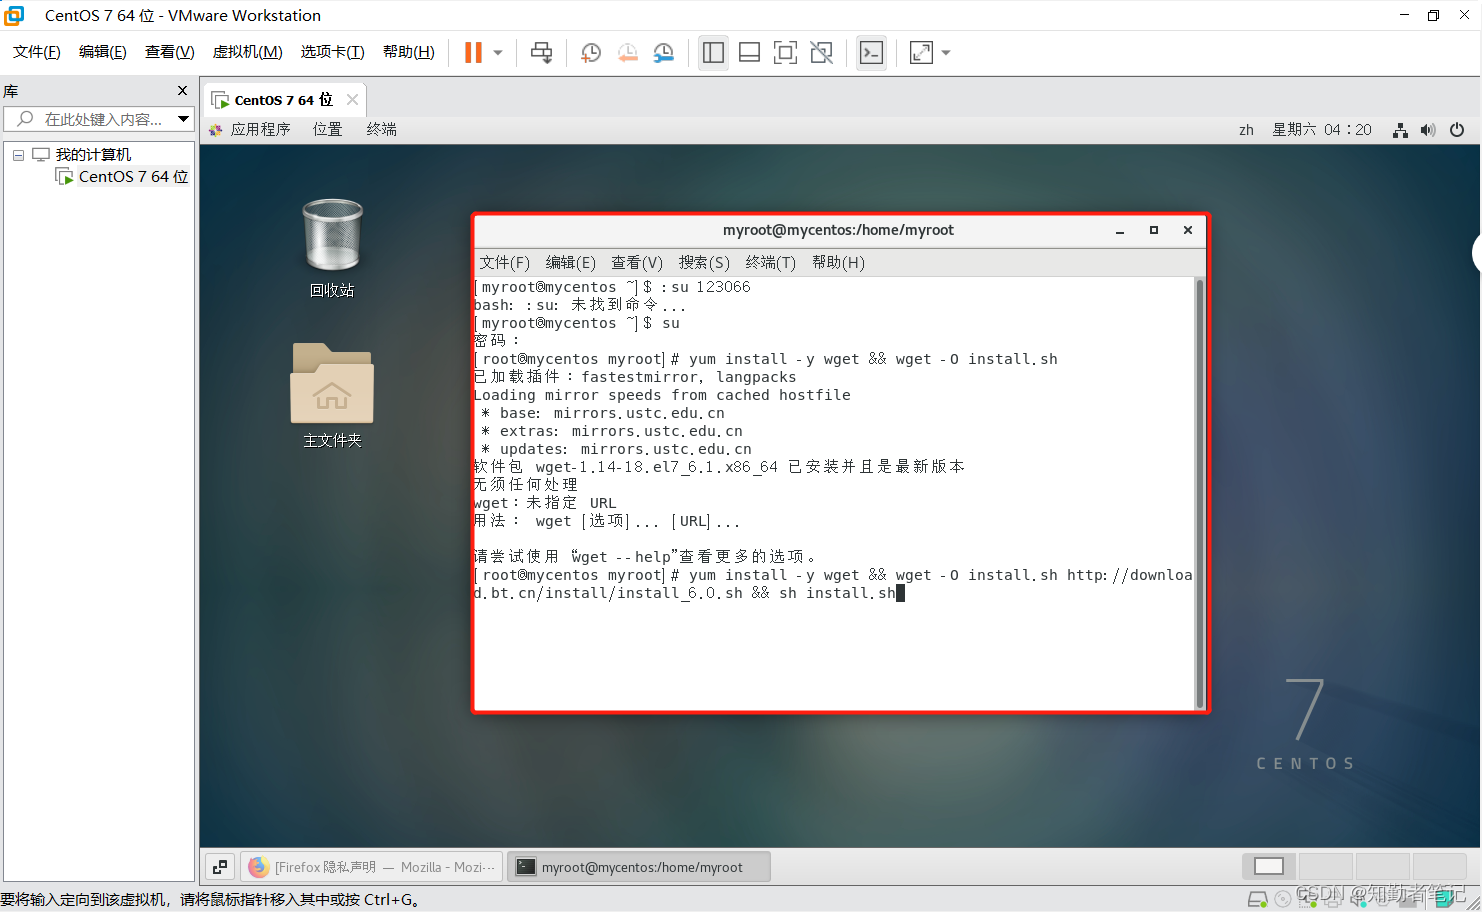

3、宝塔面板安装完成
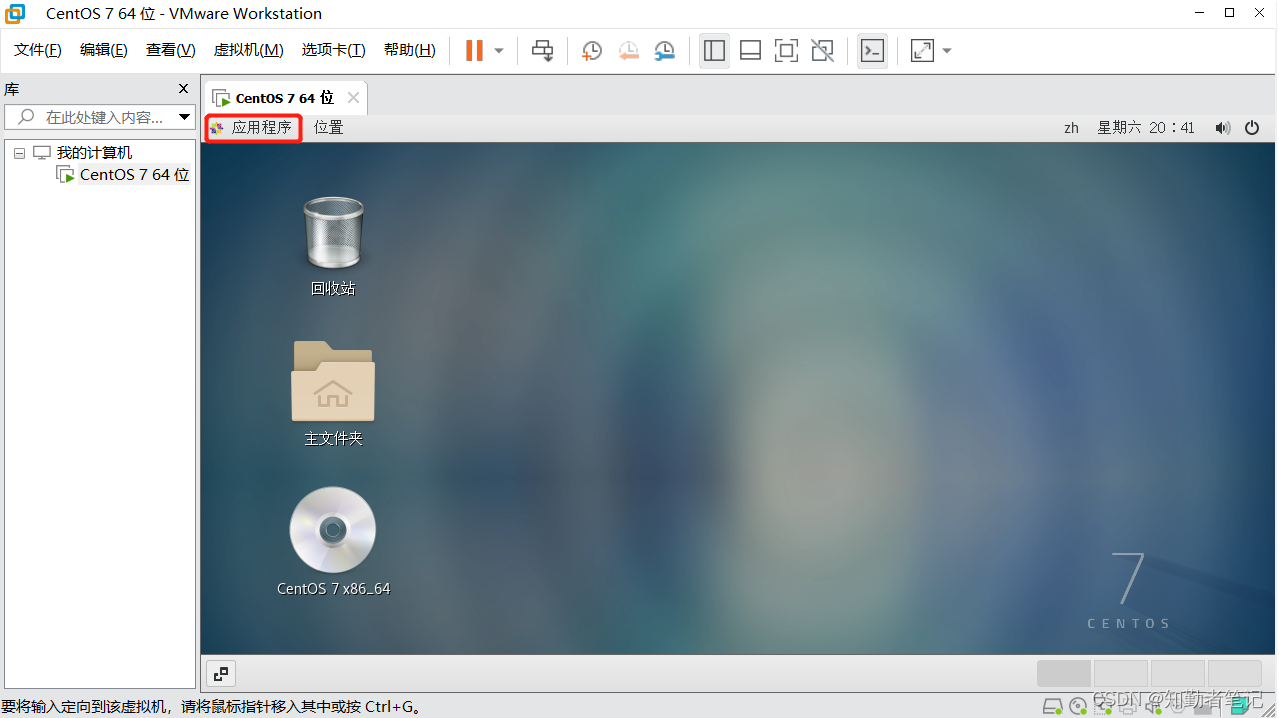
七、解决部分联网问题
1、如果第一次可以联网,后面无法联网
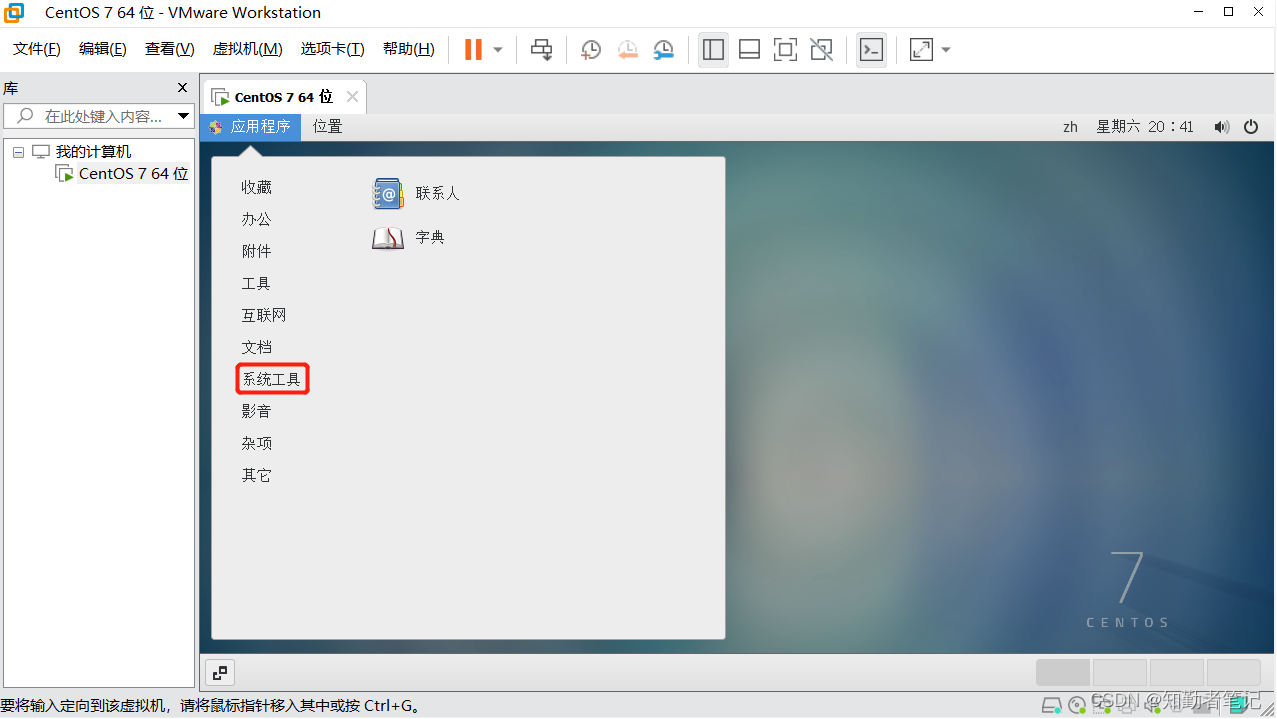
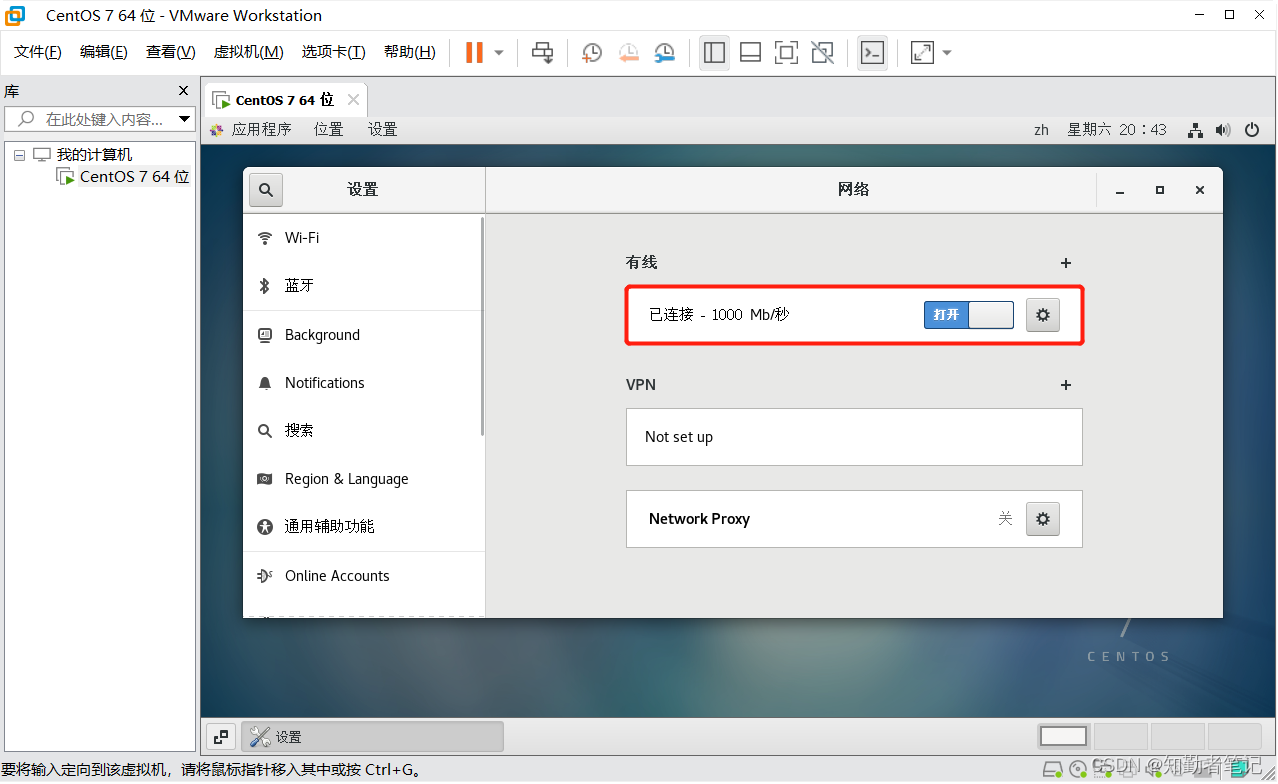
记得开启网络,虚拟机“应用程序”->“系统工具”->“设置”->“网络”


 4712
4712


 被折叠的 条评论
为什么被折叠?
被折叠的 条评论
为什么被折叠?
 到【灌水乐园】发言


