


 RecyclerView是Android 5.0推出的一种高效滚动视图容器,是ListView的增强版。本文介绍了RecyclerView的基本使用,包括添加依赖库,设置布局管理器和创建适配器。通过简单的步骤,展示如何在项目中集成并配置RecyclerView。
RecyclerView是android 5.0推出的新的控件,官方给出的说明是:
RecyclerView is a more advanced and flexible version of ListView. This widget is a container for large sets of views that can be recycled and scrolled very efficiently. Use the RecyclerView widget when you have lists with elements that change dynamically.
RecyclerView是一个更高级更灵活的ListView的版本,这个组件是一个能够包含能被有效的回收和滚动的视图(View)的大集合,当你有能被动态改变元素的列表时,使用RecycleerView组件。
这个东西真的还不错,灵活,多变。下面是基本的使用方法:
1. 在项目中加入android-support-v7-recyclerview.jar包,这个包在extras\android\support\v7\recyclerview\libs这个目录下。
2.在布局文件中加入RecyclerView。
<RelativeLayout xmlns:android="http://schemas.android.com/apk/res/android"
    xmlns:tools="http://schemas.android.com/tools"
    android:layout_width="match_parent"
    android:layout_height="match_parent"
    >

    <android.support.v7.widget.RecyclerView
        android:id="@+id/recv"
        android:layout_width="match_parent"
        android:layout_height="match_parent" />

</RelativeLayout>
3. 在Activity中这么写:
// 寻找控件
rv = (RecyclerView) findViewById(R.id.recv);
// 设置线性布局管理器
rv.setLayoutManager(new LinearLayoutManager(this));
// 设置表格布局管理器
rv.setLayoutManager(new GridLayoutManager(this, 2));
// 设置交错布局管理器(类似瀑布流的布局)
rv.setLayoutManager(new StaggeredGridLayoutManager(2, OrientationHelper.VERTICAL));
// 初始化数据源
datas = new ArrayList<String>();
for (int i = 0; i < 500; i++) {
	datas.add("OKWEI - " + i);
}
// 设置适配器
rv.setAdapter(new MyAdapter());
3个布局管理器,选一个就好。适配器的代码如下:
public class MyAdapter extends RecyclerView.Adapter<ViewHolder> {

		@Override
		public int getItemCount() {
			return datas == null ? 0 : datas.size();
		}

		@Override
		public void onBindViewHolder(ViewHolder vh, int position) {
			TextView t = ((MyViewHolder)vh).tv;
			/******************************************************************************
			 * 这段是为了看瀑布流效果而添加的
			LinearLayout.LayoutParams lp = (LinearLayout.LayoutParams) t.getLayoutParams();
			lp.height = position % 2 == 0 ? 100 : 50;
			t.setLayoutParams(lp);
			t.setBackgroundColor(position % 2 == 0 ? 0xff00ff00 : 0xff00ffff);
			*******************************************************************************/
			t.setText(datas.get(position));
		}

		@Override
		public ViewHolder onCreateViewHolder(ViewGroup parent, int position) {
			return new MyViewHolder(LayoutInflater.from(MainActivity.this).inflate(R.layout.item_view, parent, false));
		}

    }

    class MyViewHolder extends RecyclerView.ViewHolder {

    	public TextView tv;

		public MyViewHolder(View v) {
			super(v);
			tv = (TextView) v.findViewById(R.id.tv);

			tv.setOnClickListener(new OnClickListener() {

				@Override
				public void onClick(View v) {
					Toast.makeText(MainActivity.this, getPosition() + "", Toast.LENGTH_SHORT).show();
				}
			});
		}

    }
R.layout.item_view的代码如下:
<?xml version="1.0" encoding="utf-8"?>
<LinearLayout xmlns:android="http://schemas.android.com/apk/res/android"
    android:layout_width="match_parent"
    android:layout_height="match_parent"
    android:orientation="vertical" >

    <TextView
        android:id="@+id/tv"
        android:layout_width="200dp"
        android:layout_height="50dp"
        android:background="#ff0"
        />

</LinearLayout>
最后看看运行的结果:
// 设置线性布局管理器
rv.setLayoutManager(new LinearLayoutManager(this));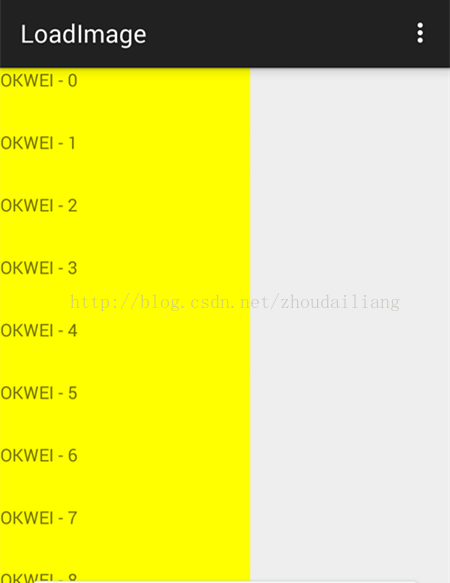
// 设置表格布局管理器
rv.setLayoutManager(new GridLayoutManager(this, 2));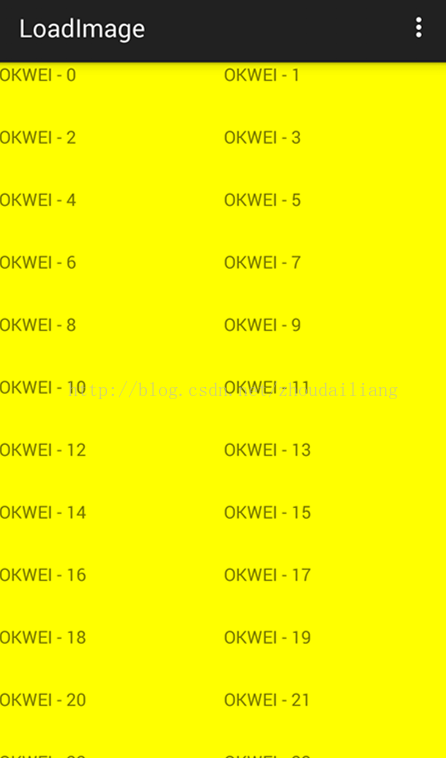
// 设置交错布局管理器(类似瀑布流的布局)
rv.setLayoutManager(new StaggeredGridLayoutManager(2, OrientationHelper.VERTICAL));
这就是今天要的效果。


 3336
3336

 被折叠的 条评论
为什么被折叠?
被折叠的 条评论
为什么被折叠?
 到【灌水乐园】发言


