


📫作者简介:zhz小白
公众号:小白的Java进阶之路
专业技能:
1、Java基础,并精通多线程的开发,熟悉JVM原理
2、熟悉Java基础,并精通多线程的开发,熟悉JVM原理,具备⼀定的线上调优经验
3、熟悉MySQL数据库调优,索引原理等,⽇志原理等,并且有出过⼀篇专栏
4、了解计算机⽹络,对TCP协议,滑动窗⼝原理等有⼀定了解
5、熟悉Spring,Spring MVC,Mybatis,阅读过部分Spring源码
6、熟悉SpringCloud Alibaba体系,阅读过Nacos,Sentinel,Seata,Dubbo,Feign,Gateway核⼼源码与设计,⼆次开发能⼒
7、熟悉消息队列(Kafka,RocketMQ)的原理与设计
8、熟悉分库分表ShardingSphere,具有真实⽣产的数据迁移经验
9、熟悉分布式缓存中间件Redis,对其的核⼼数据结构,部署架构,⾼并发问题解决⽅案有⼀定的积累
10、熟悉常⽤设计模式,并运⽤于实践⼯作中
11、了解ElasticSearch,对其核⼼的原理有⼀定的了解
12、了解K8s,Jekins,GitLab
13、了解VUE,GO
14、⽬前有正在利⽤闲暇时间做互游游戏,开发、运维、运营、推销等
本人著作git项目:https://gitee.com/zhouzhz/star-jersey-platform,有兴趣的可以私聊博主一起编写,或者给颗star
领域:对支付(FMS,FUND,PAY),订单(OMS),出行行业等有相关的开发领域
🔥如果此文还不错的话,还请👍关注、点赞、收藏三连支持👍一下博主~
文章目录
- 前提回顾:其实这篇文章我不太想写,因为正常工作中,基本上天天都在用,写了也没啥意思,但是为了保证整个目录的以后成一个体系,我还是花时间去写了。
1、@Autowired(类型自动装配)
- 作用:从容器中查找符合属性类型的对象自动注入属性中。用于代替中的依赖注入配置。
- 作用域:属性上方、setter方法上方、构造方法上方,参数,注解
1.1、源码
首先我们先看一下@Autowired的底层实现
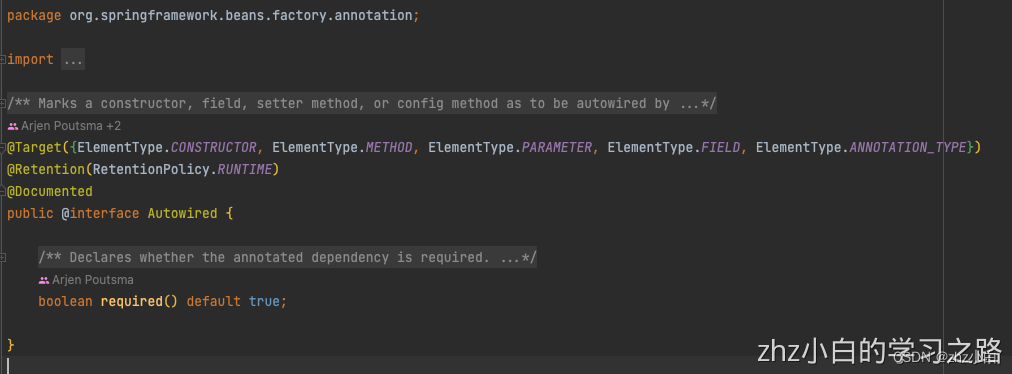
- 说明
- 1、@Autowired注解默认是优先按照类型(类.class)去容器中找对应的组件,若找到则就赋值。相当于是调用了如下这个方法:
applicationContext.getBean(类名.class);
- 容器 中有多个对象匹配类型时,会找beanId等于属性名的对象,找不到会报错。这时就相当于是调用了如下这个方法:
applicationContext.getBean("组件的id");
1.2、使用
1.2.1、属性上方
- @Autowired写在属性上方进行依赖注入时,可以省略setter方法
例子如下:
@Component
    public class StudentService {
        @Autowired
        private StudentDao studentDao;

        public Student findStudentById(int id) {
            return studentDao.findById(id);
        }
    }

@Test
    public void t2(){
        ApplicationContext ac = new
            ClassPathXmlApplicationContext("bean.xml")
            ;
        StudentService studentService = (StudentService)ac.getBean("studentService");
        System.out.println(studentService.findStudentById(1));
}
1.2.2、setter方法上方
@Component
    public class StudentService {

        private StudentDao studentDao;

        @Autowired
        public void setStudentDao(StudentDao studentDao) {
            this.studentDao = studentDao;
        }

        public Student findStudentById(int id) {
            return studentDao.findById(id);
        }
    }

@Test
    public void t2(){
    ApplicationContext ac = new
        ClassPathXmlApplicationContext("bean.xml")
        ;
    StudentService studentService = (StudentService)ac.getBean("studentService");
    System.out.println(studentService.findStudentById(1));
}
- 当@Autowired注解标注在方法上时,Spring容器在创建当前对象的时候,就会调用相应的方法为对象赋值。如果标注的方法存在参数时,那么方法使用的参数和自定义类型的值,需要从IOC容器中获取。
1.2.3、构造方法上方
@Component
    public class StudentService {

        private StudentDao studentDao;

        @Autowired
        public StudentService(StudentDao studentDao) {
            this.studentDao = studentDao;
        }

        public Student findStudentById(int id) {
            return studentDao.findById(id);
        }
    }

@Test
    public void t2(){
    ApplicationContext ac = new
        ClassPathXmlApplicationContext("bean.xml")
        ;
    StudentService studentService = (StudentService)ac.getBean("studentService");
    System.out.println(studentService.findStudentById(1));
}
- 使用@Autowired注解标注在构造方法上时,构造方法中的参数对象也是从IOC容器中获取的。
- 使用@Autowired注解标注在构造方法上时,如果组件中只有一个有参构造方法,那么这个有参构造方法上的@Autowired注解可以省略,并且参数位置的组件还是可以自动从IOC容器中获取。
1.3、总结
- 如果方法只有一个IOC容器中的对象作为参数,当@Autowired注解标注在这个方法的参数上时,我们可以将@Autowired注解省略掉。也就说@Bean注解标注的方法在创建对象的时候,方法参数的值是从IOC容器中获取的,此外,标注在这个方法的参数上的@Autowired注解可以省略。
- 其实,我们用到最多的还是把@Autowired注解标注在方法位置,即使用@Bean注解+方法参数这种形式,此时,该方法参数的值从IOC容器中获取,并且还可以默认不写@Autowired注解,因为效果都是一样的,都能实现自动装配!
2、@Qualifier(名称自动装配)
- 作用:在按照类型注入对象的基础上,再按照bean的id(名称)注入
- 作用域:@Qualifier必须和@Autowired一起使用。
2.1、源码
首先我们看一下@Qualifier的源码
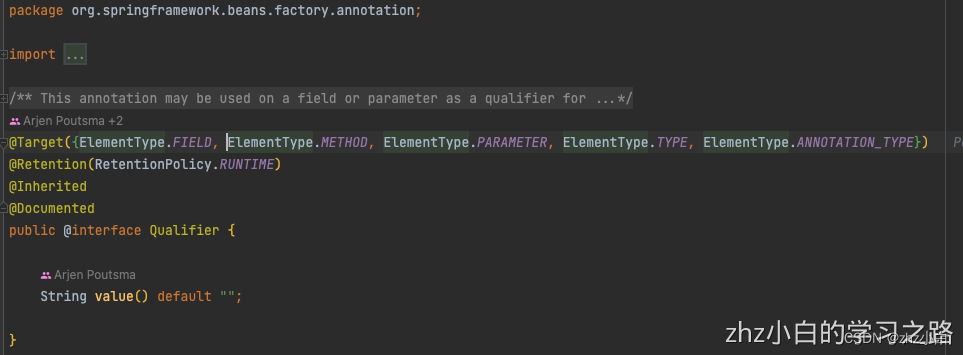
- @Autowired是根据类型进行自动装配的,如果需要按名称进行装配,那么就需要配合@Qualifier注解来使用
2.2、使用
@Component
    public class StudentService {
        @Autowired
        @Qualifier("studentDaoImpl2")
        private StudentDao studentDao;
        public Student findStudentById(int id){
            return studentDao.findById(id);
        }
    }
3、@Primary
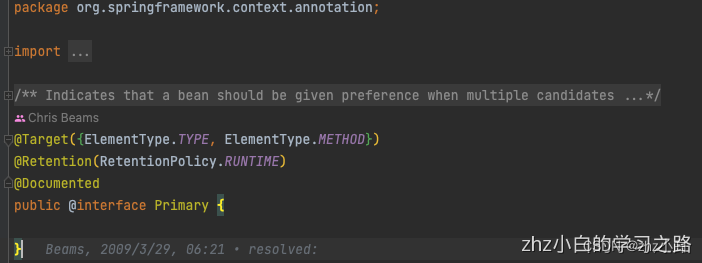
- 对同一个接口而言,可能会有几种不同的实现类,而在默认只会采取其中一种实现的情况下,就可以使用@Primary注解来标注优先使用哪一个实现类。
3.1、源码
3.2、使用场景(多数据源)
3.2.1、application.properties配置
spring.datasource.first.url = jdbc:mysql://192.168.0.1:3306/test1?autoReconnect=true&useUnicode=true&characterEncoding=utf-8&serverTimezone=GMT&useSSL=false
spring.datasource.first.username = root
spring.datasource.first.password = 123456
spring.datasource.first.driverClassName = com.mysql.jdbc.Driver

spring.datasource.second.url = jdbc:mysql://192.168.0.2:3306/test1?autoReconnect=true&useUnicode=true&characterEncoding=utf-8&serverTimezone=GMT&useSSL=false
spring.datasource.second.username = root
spring.datasource.second.password = 123456
spring.datasource.second.driverClassName = com.mysql.jdbc.Driver

#获取连接时验证
spring.datasource.first.test-on-borrow=true
#验证连接的有效性
spring.datasource.first.test-while-idle=true
#空闲连接回收的时间间隔,和test-while-idle一起使用
spring.datasource.first.time-between-eviction-runs-millis=300000
#连接池空闲连接的有效时间
spring.datasource.first.min-evictable-idle-time-millis=1800000
spring.datasource.first.test-on-return=true
spring.datasource.first.validation-query=SELECT 1

#获取连接时验证
spring.datasource.second.test-on-borrow=true
#验证连接的有效性
spring.datasource.second.test-while-idle=true
#空闲连接回收的时间间隔,和test-while-idle一起使用
spring.datasource.second.time-between-eviction-runs-millis=300000
#连接池空闲连接的有效时间
spring.datasource.second.min-evictable-idle-time-millis=1800000
spring.datasource.second.test-on-return=true
spring.datasource.second.validation-query=SELECT 1
3.2.2、config配置
每个数据源都需要一个配置类。同时dao包和mapping包下需要分别再分成first包和second包存放对应的Mapper文件和xml文件。
3.2.2.1、FirstDataSourceConfig
@Configuration
@MapperScan(basePackages = "com.test.dao.first", sqlSessionFactoryRef = "firstSqlSessionFactory")
public class FirstDataSourceConfig{

    @Primary
    @Bean(name = "firstDataSource")
    @ConfigurationProperties(prefix = "spring.datasource.first")
    public DataSource firstDataSource(){
        return DataSourceBuilder.create().build();
    }

    @Bean(name = "firstSqlSessionFactory")
    public SqlSessionFactory sqlSessionFactory(@Qualifier("firstDataSource") Datasource dataSource) throws Exception {
        SqlSessionFactoryBean bean = new SqlSessionFactoryBean();
        bean.setDataSource(dataSource);
        bean.setMapperLocations(new PathMatchingResourcePatternResolver()
                .getResources("classpath*:mapping/first/*.xml"));
        return bean.getObject();
    }

    @Bean(name = "firstSqlSessionTemplate")
    public SqlSessionTemplate firstSqlSessionTemplate(@Qualifier("firstSqlSessionFactory") SqlSessionFactory sqlSessionFactory){
        return new SqlSessionTemplate(sqlSessionFactory);
    }
}
3.2.2.2、SecondDataSourceConfig
@Configuration
@MapperScan(basePackages = "com.test.dao.second", sqlSessionFactoryRef = "secondSqlSessionFactory")
public class SecondDataSourceConfig{
    @Primary
    @Bean(name = "secondDataSource")
    @ConfigurationProperties(prefix = "spring.datasource.second")
    public DataSource secondDataSource(){
        return DataSourceBuilder.create().build();
    }

    @Bean(name = "secondSqlSessionFactory")
    public SqlSessionFactory sqlSessionFactory(@Qualifier("secondDataSource") Datasource dataSource) throws Exception {
        SqlSessionFactoryBean bean = new SqlSessionFactoryBean();
        bean.setDataSource(dataSource);
        bean.setMapperLocations(new PathMatchingResourcePatternResolver()
                .getResources("classpath*:mapping/second/*.xml"));
        return bean.getObject();
    }

    @Bean(name = "secondSqlSessionTemplate")
    public SqlSessionTemplate
    secondSqlSessionTemplate(@Qualifier("secondSqlSessionFactory") SqlSessionFactory sqlSessionFactory){
        return new SqlSessionTemplate(sqlSessionFactory);
    }
}
3.2.2.3、将mapper和xml文件分包放置
将first和second数据源相关的maper和xml文件分别放在dao包和mapping包下的first和second目录中。这个时候就已经可以连接数据库测试了,可以从不同数据源的mapper中操作数据。


 1067
1067


 被折叠的 条评论
为什么被折叠?
被折叠的 条评论
为什么被折叠?
 到【灌水乐园】发言


