


在前面文章中介绍了用 webrtc 打开摄像头并进行画面预览,但这只是有自己的画面,要达到实时通信的目标,还需要另一方的摄像头画面。
简单起见,可以同时打开手机的前后摄像头模拟远程实时通信的画面效果。
当然,不是所有的手机都支持双摄像头同时打开的,经过测试也就小米手机比较合适,比如小米 MIX2S 和小米11系列等。其他手机厂商可能在底层做了某些限制,即使代码上同时调用了前后摄像头,但最终只有一个有画面返回。
具体的代码过程和前面的文章没太大区别,在一个 activity 上布局两个 SurfaceViewRenderer 分别显示前后摄像头画面,然后调用摄像头往这两个控件上填充内容就行。
显示画面布局如下:
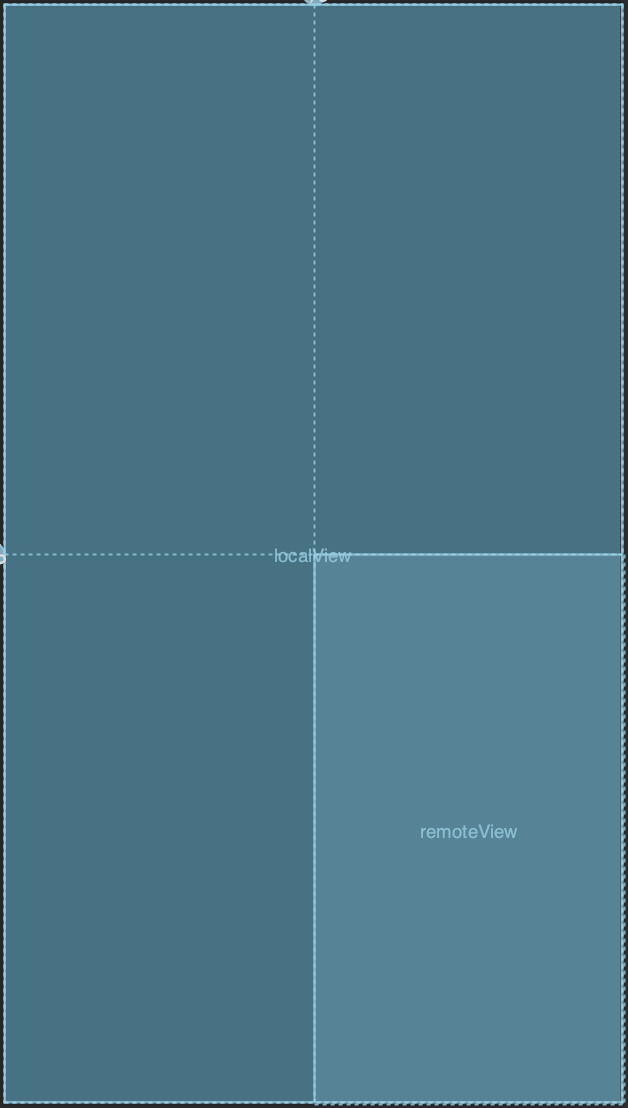
localView 显示前置摄像头内容,remoteView 显示后摄像头内容。
创建 VideoCapturer 摄像头代码如下
private fun createVideoCapture(isFront:Boolean): VideoCapturer? {
    val enumerator = Camera1Enumerator(false)
    val deviceNames = enumerator.deviceNames

    for (deviceName in deviceNames) {
        if (if (isFront) enumerator.isFrontFacing(deviceName) else enumerator.isBackFacing(deviceName)) {
            val videoCapturer: VideoCapturer? = enumerator.createCapturer(deviceName, null)
            if (videoCapturer != null) {
                return videoCapturer
            }
        }
    }
    return null
}
根据参数来选择不同的摄像头。
启用双摄像头同时预览代码如下:
localView = findViewById(R.id.localView)
remoteView = findViewById(R.id.remoteView)

val options = PeerConnectionFactory.InitializationOptions.builder(this).createInitializationOptions();
PeerConnectionFactory.initialize(options)
factory = PeerConnectionFactory.builder().createPeerConnectionFactory()

val eglBaseContext = EglBase.create().eglBaseContext
val surfaceTextureHelper = SurfaceTextureHelper.create("CaptureThread", eglBaseContext)

videoCapture = createVideoCapture(true)

videoSource = videoCapture?.isScreencast?.let { factory.createVideoSource(it) }

videoCapture?.initialize(surfaceTextureHelper, applicationContext, videoSource?.capturerObserver)
videoCapture?.startCapture(480, 640, 30)

localView.setMirror(true)
localView.init(eglBaseContext, null)

videoTrack = factory.createVideoTrack("101",videoSource)
videoTrack?.addSink(localView)

// remote view
val remoteSurfaceTextureHelper = SurfaceTextureHelper.create("CaptureThread", eglBaseContext)
remoteVideoCapture = createVideoCapture(false)
remoteVideoSource = remoteVideoCapture?.isScreencast?.let { factory.createVideoSource(it) }

remoteVideoCapture?.initialize(remoteSurfaceTextureHelper,applicationContext,remoteVideoSource?.capturerObserver)
remoteVideoCapture?.startCapture(480,640,30)

remoteView.setMirror(false)
remoteView.init(eglBaseContext,null)

remoteVideoTrack = factory.createVideoTrack("202",remoteVideoSource)
remoteVideoTrack?.addSink(remoteView)
创建摄像头和创建轨道的代码在前一节都已经使用过了,同时启用前后摄像头只不过是将启用单个摄像头的代码重复了一遍,甚至可以将启用摄像头的代码抽出一个方法,就不用写两遍了。
每个摄像头的画面都对应一路视频轨道 videoTrack ,两个轨道之间是没有任何交集的,各自显示自己的内容。
机型允许的条件下,运行应用就可以同时看到前后画面了。
当然,这里只是做一个简单的演示,和实时通信的效果还差得远呢,后续就会让这两个轨道之间互为羁绊,显示对方的画面,达到通信的效果。
这篇文章就先讲到这里,持续更新中,Github 仓库地址后续会给出。
WebRTC 系列文章

技术交流,欢迎加我微信:ezglumes ,拉你入技术交流群。

推荐阅读:
觉得不错,点个在看呗~


 84
84


 被折叠的 条评论
为什么被折叠?
被折叠的 条评论
为什么被折叠?
 到【灌水乐园】发言


