


目录
一、案例演示——启动与停止服务
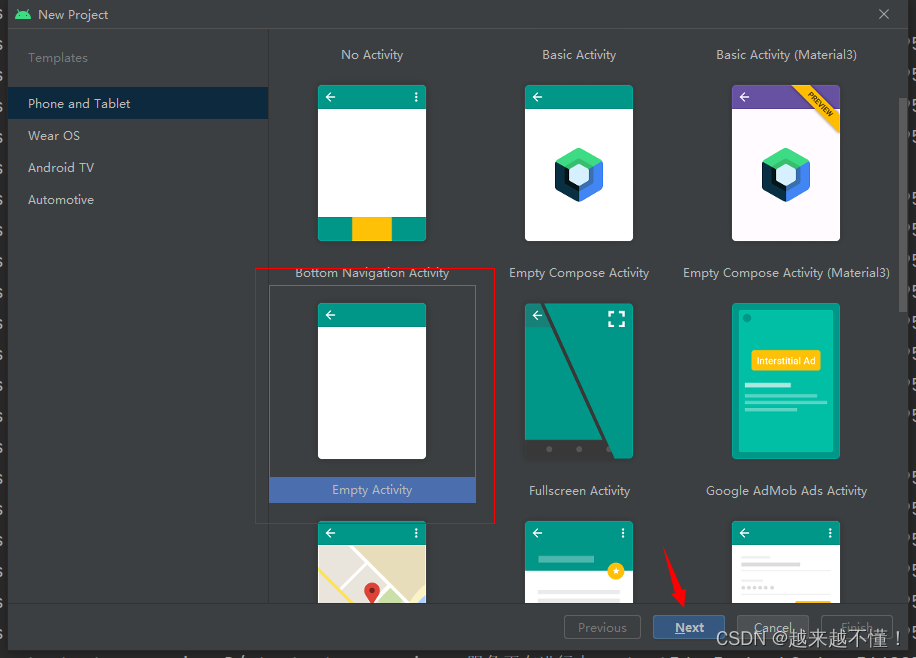
1、创建安卓应用
- 选择模板

- 完善项目信息

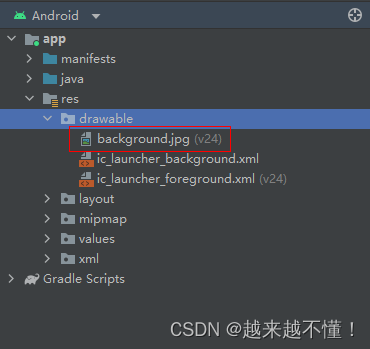
2、添加背景图片
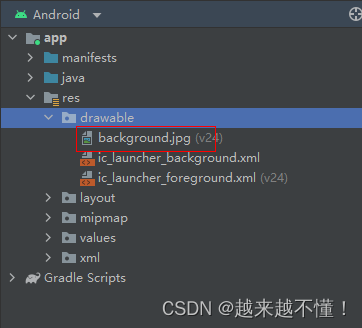
3、定义字符串资源文件变量
- 源代码
<resources>
    <string name="app_name">启动与停止服务</string>
    <string name="explicitly_start_service">显式启动服务</string>
    <string name="implicitly_start_service">隐式启动服务</string>
    <string name="stop_service">停止服务</string>
</resources>
4、编写主布局资源文件
- 源代码
<?xml version="1.0" encoding="utf-8"?>
<LinearLayout xmlns:android="http://schemas.android.com/apk/res/android"
    xmlns:tools="http://schemas.android.com/tools"
    android:layout_width="match_parent"
    android:layout_height="match_parent"
    android:background="@drawable/background"
    android:orientation="vertical"
    android:gravity="center"
    tools:context=".MainActivity">

    <Button
        android:id="@+id/btnExplicitlyStartService"
        android:layout_width="200dp"
        android:layout_height="wrap_content"
        android:text="@string/explicitly_start_service"
        android:onClick="doExplicitlyStartService"
        android:textSize="20sp"/>

    <Button
        android:id="@+id/btnImplicitlyStartService"
        android:layout_width="200dp"
        android:layout_height="wrap_content"
        android:text="@string/implicitly_start_service"
        android:onClick="doImplicitlyStartService"
        android:textSize="20sp"/>

    <Button
        android:id="@+id/btnStopService"
        android:layout_width="200dp"
        android:layout_height="wrap_content"
        android:text="@string/stop_service"
        android:onClick="doStopService"
        android:textSize="20sp"/>
</LinearLayout>
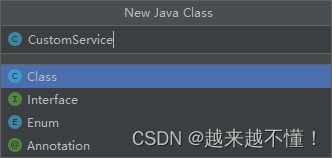
5、创建自定义服务类


- 源代码
package net.zs.start_stop_service;

import android.app.Service;
import android.content.Intent;
import android.os.IBinder;
import android.util.Log;

import androidx.annotation.Nullable;

public class CustomService extends Service {

    private final String TAG = "start_stop_service"; // 标记
    private Thread thread; // 线程
    private boolean isRunning; // 线程循环控制变量

    @Override
    public void onCreate() {
        super.onCreate();
        Log.d(TAG, "CustomService.onCreate() invoked.");
    }

    @Override
    public int onStartCommand(Intent intent, int flags, final int startId) {
        Log.d(TAG, "CustomService.onStartCommand() invoked.");
        // 设置线程循环控制变量为真
        isRunning = true;
        // 判断意图是否为空
        if (intent != null) {
            // 创建线程
            thread = new Thread(new Runnable() {
                @Override
                public void run() {
                    while (isRunning) {
                        Log.d(TAG, "服务正在进行中……startId: " + startId + ", hashCode: " + CustomService.this.hashCode());
                        try {
                            Thread.sleep(1000);
                        } catch (InterruptedException e) {
                            e.printStackTrace();
                        }
                    }
                }
            });
            // 启动线程
            thread.start();
        }
        // 设置服务的非粘性
        return Service.START_NOT_STICKY;
    }

    @Nullable
    @Override
    public IBinder onBind(Intent intent) {
        return null;
    }

    @Override
    public void onDestroy() {
        super.onDestroy();
        Log.d(TAG, "CustomService.onDestroy() invoked.");
        isRunning = false;
        thread = null; // 销毁线程
        stopSelf(); // 停止服务
    }
}
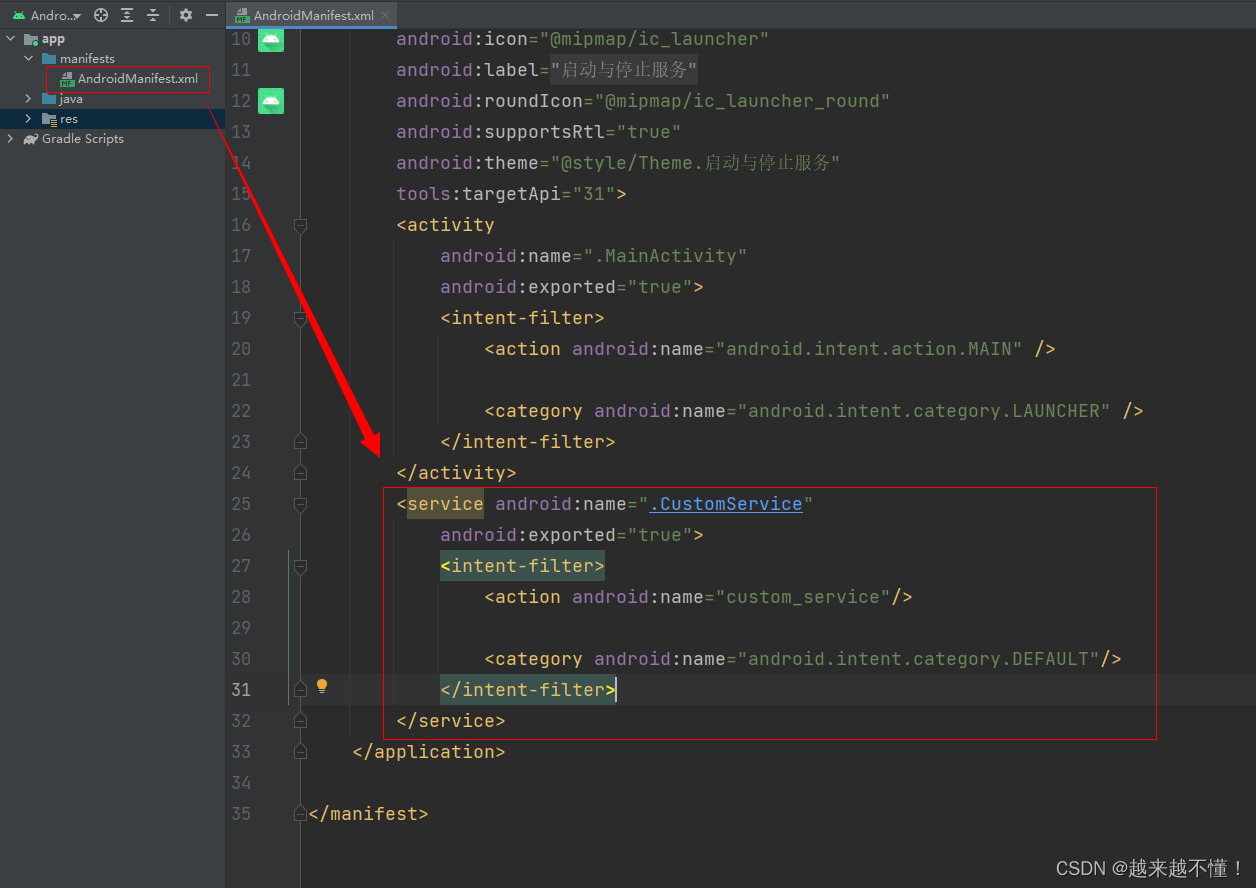
6、在项目清单文件里注册自定义服务类
7、编写主界面类
- 源代码
package net.zs.start_stop_service;

import android.content.Intent;
import android.os.Bundle;
import android.view.View;

import androidx.appcompat.app.AppCompatActivity;

public class MainActivity extends AppCompatActivity {

    @Override
    protected void onCreate(Bundle savedInstanceState) {
        super.onCreate(savedInstanceState);
        // 利用布局资源文件设置用户界面
        setContentView(R.layout.activity_main);
    }

    /**
     * 显式启动服务
     *
     * @param view
     */
    public void doExplicitlyStartService(View view) {
        // 创建启动指定服务的意图
        Intent intent = new Intent(this, CustomService.class);
        // 按照意图启动指定服务
        startService(intent);
    }

    /**
     * 隐式启动服务
     *
     * @param view
     */
    public void doImplicitlyStartService(View view) {
        // 创建意图
        Intent intent = new Intent();
        // 设置意图动作(暗号或频道)
        intent.setAction("custom_service");
        // 设置意图包名
        intent.setPackage(getPackageName());
        // 按照意图启动服务
        startService(intent);
    }

    /**
     * 停止服务
     *
     * @param view
     */
    public void doStopService(View view) {
        // 创建启动指定服务的意图
        Intent intent = new Intent(this, CustomService.class);
        // 按意图停止服务
        stopService(intent);
    }
}
8、运行程序,查看效果
- 启动显示服务 + 停止服务的效果

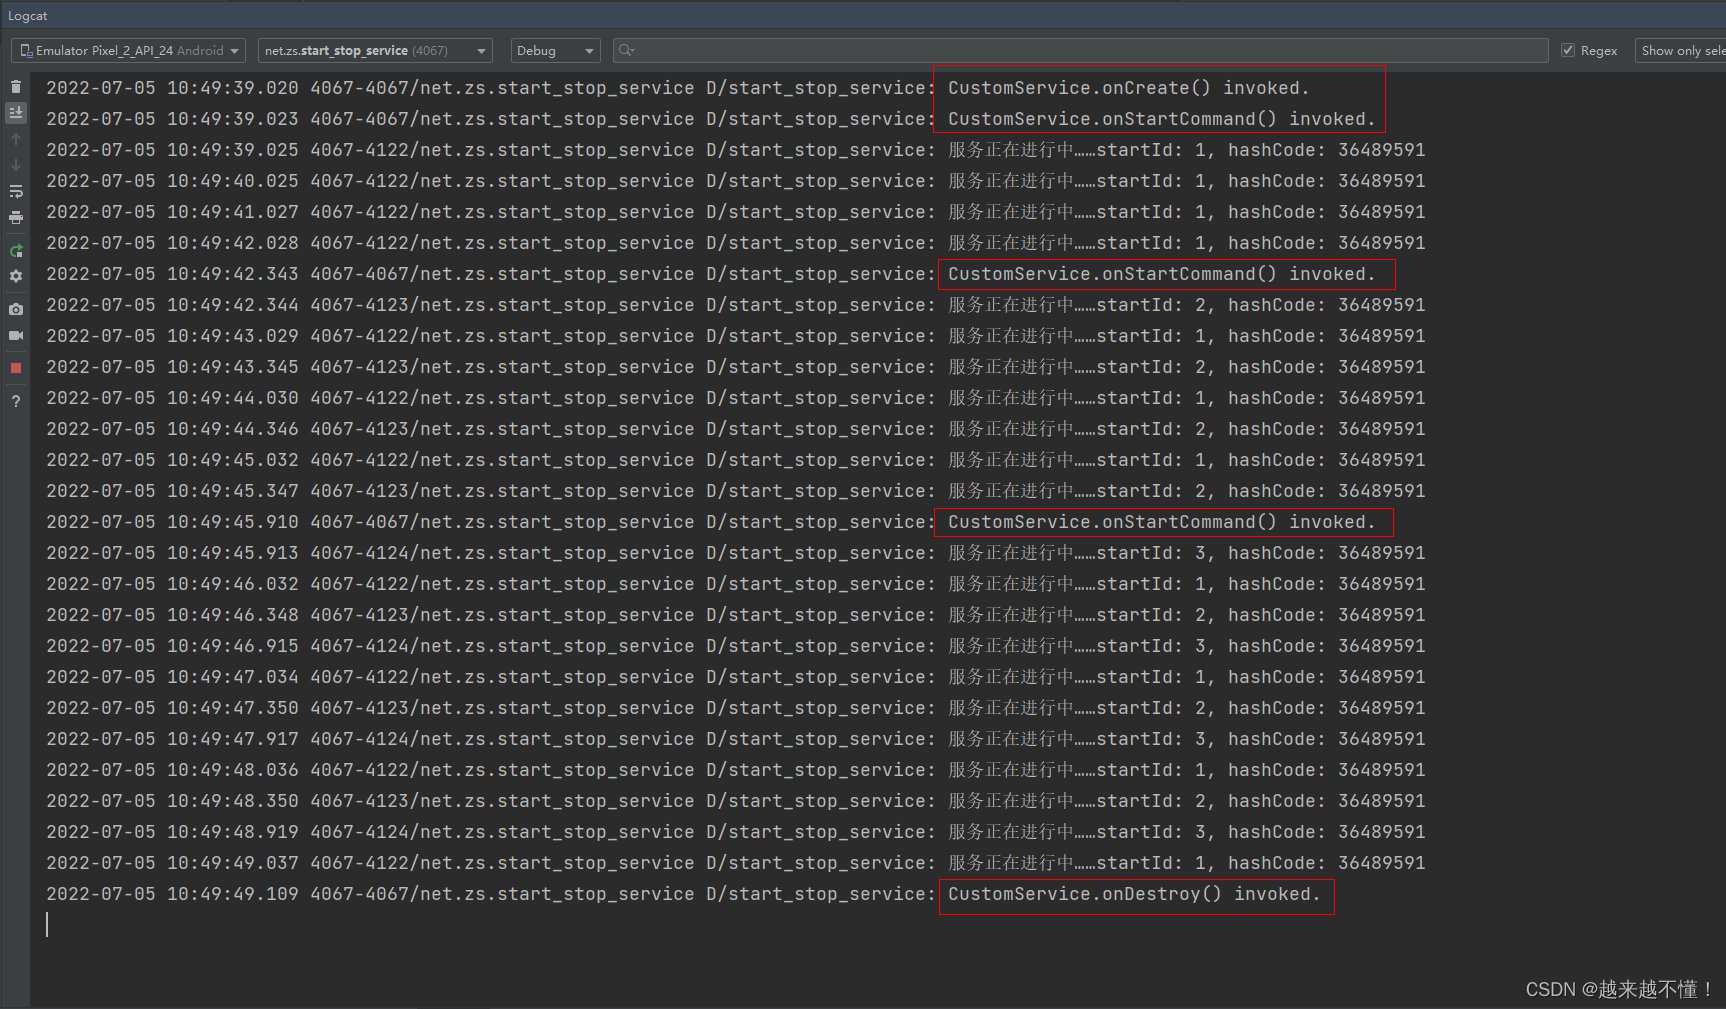
- 隐式启动服务 + 停止服务的效果


二、案例演示——绑定与解绑服务
1、创建安卓应用
- 选择模板
- 完善项目信息

2、添加背景图片
3、定义字符串资源文件变量
<resources>
    <string name="app_name">绑定与解绑服务</string>
    <string name="bind_service">绑定服务</string>
    <string name="unbind_service">解绑服务</string>
</resources>
4、编写主布局资源文件代码
<?xml version="1.0" encoding="utf-8"?>
<LinearLayout xmlns:android="http://schemas.android.com/apk/res/android"
    xmlns:tools="http://schemas.android.com/tools"
    android:layout_width="match_parent"
    android:layout_height="match_parent"
    android:background="@drawable/background"
    android:gravity="center"
    android:orientation="vertical"
    tools:context=".MainActivity">

    <Button
        android:id="@+id/btnBindService"
        android:layout_width="200dp"
        android:layout_height="wrap_content"
        android:onClick="doBindService"
        android:text="@string/bind_service"
        android:textSize="20sp" />

    <Button
        android:id="@+id/btnUnbindService"
        android:layout_width="200dp"
        android:layout_height="wrap_content"
        android:onClick="doUnbindService"
        android:text="@string/unbind_service"
        android:textSize="20sp" />
</LinearLayout>
5、创建自定义服务类

- 源代码
package net.zs.bind_unbind_service;

import android.app.Service;
import android.content.Intent;
import android.os.Binder;
import android.os.IBinder;
import android.util.Log;

import androidx.annotation.Nullable;

public class CustomService extends Service {

    private final String TAG = "bind_unbind_service"; // 标记

    @Override
    public void onCreate() {
        super.onCreate();
        Log.d(TAG, "CustomService.onCreate() invoked.");
    }

    @Override
    public int onStartCommand(Intent intent, int flags, int startId) {
        return super.onStartCommand(intent, flags, startId);
    }

    @Override
    public void onDestroy() {
        super.onDestroy();
        Log.d(TAG, "CustomService.onDestroy() invoked.");
    }

    @Nullable
    @Override
    public IBinder onBind(Intent intent) {
        Log.d(TAG, "CustomService.onBind() invoked.");
        // 获取从窗口传递进来的数据
        String message = intent.getStringExtra("message");
        // 显示数据
        Log.d(TAG, "恭喜,成功绑定服务!主窗口传递的数据:" + message);
        // 返回绑定器对象
        return new Binder();
    }
}
6、在项目清单文件里注册自定义服务类

7、编写主界面类
- 源代码
package net.zs.bind_unbind_service;

import androidx.appcompat.app.AppCompatActivity;

import android.app.Service;
import android.content.ComponentName;
import android.content.Intent;
import android.content.ServiceConnection;
import android.os.Bundle;
import android.os.IBinder;
import android.util.Log;
import android.view.View;

public class MainActivity extends AppCompatActivity {

    private final String TAG = "bind_unbind_service"; // 标记
    private ServiceConnection conn; // 服务连接对象

    @Override
    protected void onCreate(Bundle savedInstanceState) {
        super.onCreate(savedInstanceState);
        setContentView(R.layout.activity_main);
    }

    /**
     * 绑定服务
     */
    public void doBindService(View view) {
        // 创建意图,显式指明要绑定的服务
        Intent intent = new Intent(MainActivity.this, CustomService.class);
        // 让意图携带数据
        intent.putExtra("message", "安卓开发真是有趣~");
        // 创建服务连接对象
        conn = new ServiceConnection() {
            @Override
            public void onServiceConnected(ComponentName name, IBinder service) {
                Log.d(TAG, "服务已经连接~");
            }

            @Override
            public void onServiceDisconnected(ComponentName name) {
                Log.d(TAG, "服务断开连接~");
            }
        };
        // 按意图绑定服务
        bindService(intent, conn, Service.BIND_AUTO_CREATE);
    }

    /**
     * 解绑服务
     */
    public void doUnbindService(View view) {
        // 判断服务连接是否为空
        if (conn != null) {
            // 解绑服务
            unbindService(conn);
        }
    }

    /**
     * 销毁窗口时解绑服务
     */
    @Override
    public void onDestroy() {
        super.onDestroy();
        // 判断服务连接是否为空
        if (conn != null) {
            //解绑服务
            unbindService(conn);
        }
    }
}
8、运行程序,查看效果


 1万+
1万+


 被折叠的 条评论
为什么被折叠?
被折叠的 条评论
为什么被折叠?
 到【灌水乐园】发言


