


版权声明:本文为博主原创文章,未经博主允许不得转载。
一、简介:
AIDL:Android Interface Define Language(Android接口定义语言),主要用于服务端与客户端进程间通信(服务端与多客户端)
二、配置
Android Studio中使用(最好采用project模式)
1、第一类:
简单数据传递(基本数据类型,String ,List,Map)
<1>服务端配置(不需要界面)
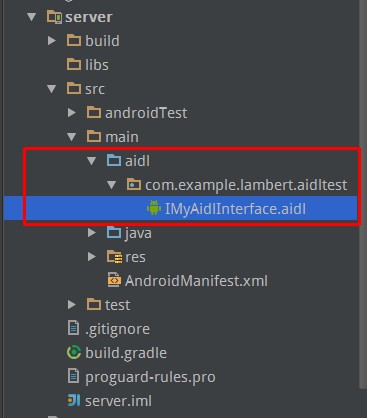
①.创建aidl自定义接口文件 —IMyAidlInterface.aidl
步骤:File –> New –> AIDL –> AIDL File
然后可以看到在src/main目录下生成了一个目录aidl,点开aidl,可以看到刚才创建的IMyAidlInterface.aidl文件
IMyAidlInterface.aidl代码如下:
- 1
- 2
- 3
- 4
- 5
- 6
- 7
- 8
- 1
- 2
- 3
- 4
- 5
- 6
- 7
- 8
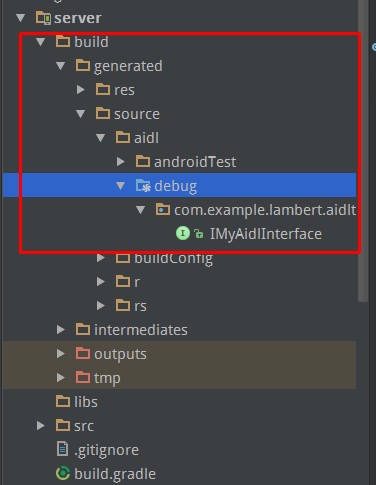
②编译(因为Android Studio不能像Eclipse那样自动编译aidl文件,所以需要手动编译)
点击Build –> Make Module’server’
然后可以看到在build/generated/source/debug/com.example.lambert.aidlproject/目录下生成了一个文件IMyAidlInterface,表示编译成功;
③编写Service
- 1
- 2
- 3
- 4
- 5
- 6
- 7
- 8
- 9
- 10
- 11
- 12
- 13
- 14
- 15
- 16
- 17
- 18
- 19
- 20
- 21
- 22
- 23
- 24
- 25
- 1
- 2
- 3
- 4
- 5
- 6
- 7
- 8
- 9
- 10
- 11
- 12
- 13
- 14
- 15
- 16
- 17
- 18
- 19
- 20
- 21
- 22
- 23
- 24
- 25
④在AndroidMenifest.xml中对Service进行配置:
- 1
- 2
- 3
- 4
- 5
- 6
- 7
- 8
- 1
- 2
- 3
- 4
- 5
- 6
- 7
- 8
到此为止,服务端配置完毕。
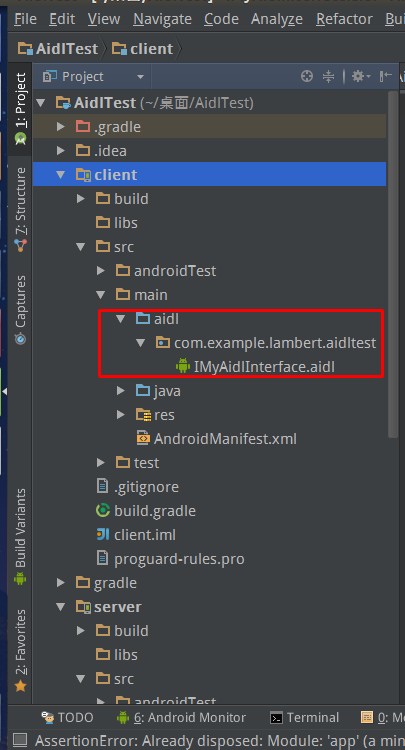
<2>客户端配置
①需要将服务端配置的整个aidl目录一并拷贝到客户端所在工程src/main目录下(包名与文件名必须与服务端一模一样)
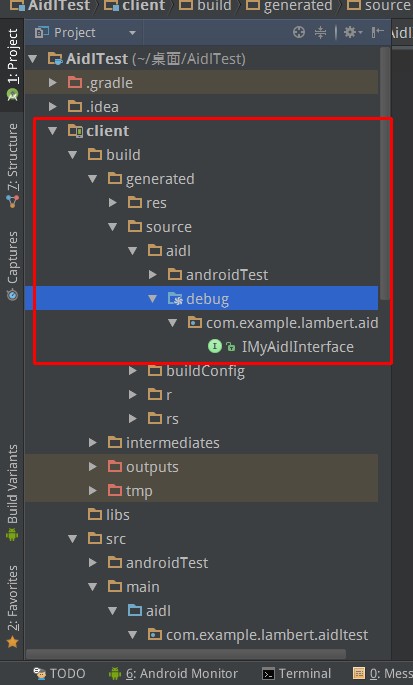
②编译(同服务端)
③绑定服务
MainActivity.Java
- 1
- 2
- 3
- 4
- 5
- 6
- 7
- 8
- 9
- 10
- 11
- 12
- 13
- 14
- 15
- 16
- 17
- 18
- 19
- 20
- 21
- 22
- 23
- 24
- 25
- 26
- 27
- 28
- 29
- 30
- 31
- 32
- 33
- 34
- 35
- 36
- 37
- 38
- 39
- 40
- 41
- 42
- 43
- 44
- 45
- 46
- 47
- 48
- 49
- 50
- 51
- 52
- 53
- 54
- 55
- 56
- 57
- 58
- 59
- 60
- 61
- 62
- 63
- 64
- 65
- 66
- 67
- 68
- 69
- 70
- 71
- 72
- 73
- 74
- 75
- 76
- 77
- 78
- 79
- 80
通过 mService = IMyAidlInterface.Stub.asInterface(service); 可以获取到服务端的代理对象,从而可以通过回调方法从服务端获取到我们所需的数据。
2.第二类:自定义复杂数据类型(Parcelable)
<1>服务端配置(不需要界面)
①.在上述aidl目录下创建复杂数据对象aidl文件(这里以Person.aidl为例)对复杂对象进行声明:
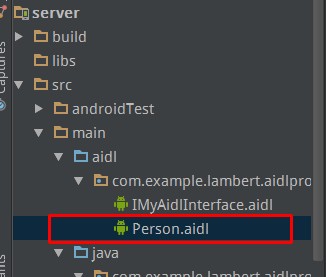
Person.aidl
- 1
- 2
- 3
- 1
- 2
- 3
②在src/main/java目录下创建Person.java文件
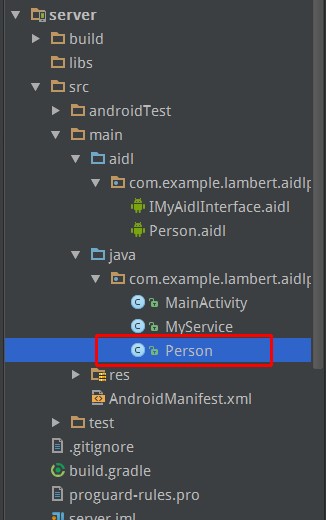
Person.java
- 1
- 2
- 3
- 4
- 5
- 6
- 7
- 8
- 9
- 10
- 11
- 12
- 13
- 14
- 15
- 16
- 17
- 18
- 19
- 20
- 21
- 22
- 23
- 24
- 25
- 26
- 27
- 28
- 29
- 30
- 31
- 32
- 33
- 34
- 35
- 36
- 37
- 38
- 39
- 40
- 41
- 42
- 43
- 44
- 45
- 46
- 47
- 48
- 49
- 50
- 51
- 52
- 53
- 54
- 1
- 2
- 3
- 4
- 5
- 6
- 7
- 8
- 9
- 10
- 11
- 12
- 13
- 14
- 15
- 16
- 17
- 18
- 19
- 20
- 21
- 22
- 23
- 24
- 25
- 26
- 27
- 28
- 29
- 30
- 31
- 32
- 33
- 34
- 35
- 36
- 37
- 38
- 39
- 40
- 41
- 42
- 43
- 44
- 45
- 46
- 47
- 48
- 49
- 50
- 51
- 52
- 53
- 54
③修改IMyAidlInterface.aidl如下:
- 1
- 2
- 3
- 4
- 5
- 6
- 7
- 8
- 9
- 10
- 1
- 2
- 3
- 4
- 5
- 6
- 7
- 8
- 9
- 10
④Service类也做出相应修改
- 1
- 2
- 3
- 4
- 5
- 6
- 7
- 8
- 9
- 10
- 1
- 2
- 3
- 4
- 5
- 6
- 7
- 8
- 9
- 10
⑤编译(同上)
到此为止,服务端配置完毕。
<2>客户端配置
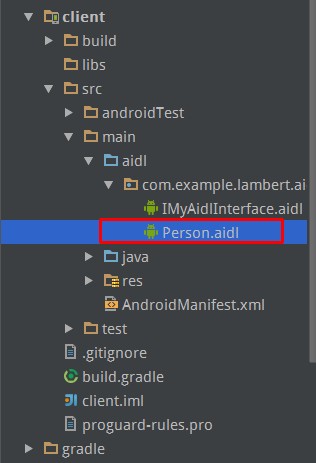
①拷贝Person.aidl和Person.java文件到客户端工程下:
Person.aidl可以拷贝到aidl目录下:
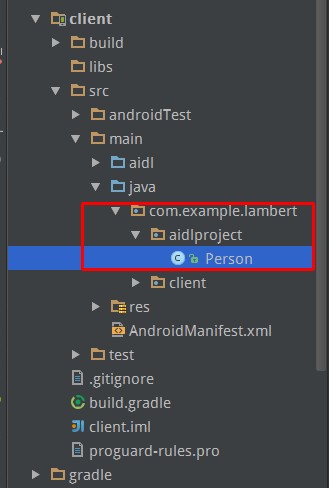
Person.java文件需要拷贝到src/main/java目录下,并且所在包名必须与服务端保持一致,但是客户端工程包名与服务端包名未必一致,所以在这里我们需要重新创建一个包com.example.lambert.aidlproject(服务端工程包名),并将Person.java文件拷贝至此;
另:IMyAidlInterface.aidl做同上修改,当然也可以直接拷贝过来
②编译(同上)
③MainActivity代码也做相应修改
- 1
- 2
- 3
- 4
- 5
- 6
- 1
- 2
- 3
- 4
- 5
- 6
客户端配置完毕。
关于AIDL在Android Studio中的使用暂且简单介绍到这里。


 4113
4113

 被折叠的 条评论
为什么被折叠?
被折叠的 条评论
为什么被折叠?
 到【灌水乐园】发言


