


一、实验目标
模仿微信“发现”页创建列表布局,学习使用Textview imageview、LinearLayout
二、实验步骤
1、搭建安卓开发环境 (1)电脑安装jdk 下载需要的jdk包并安装,同时要注意记住安装的路径,在后续的环境配置过程中会使用到。
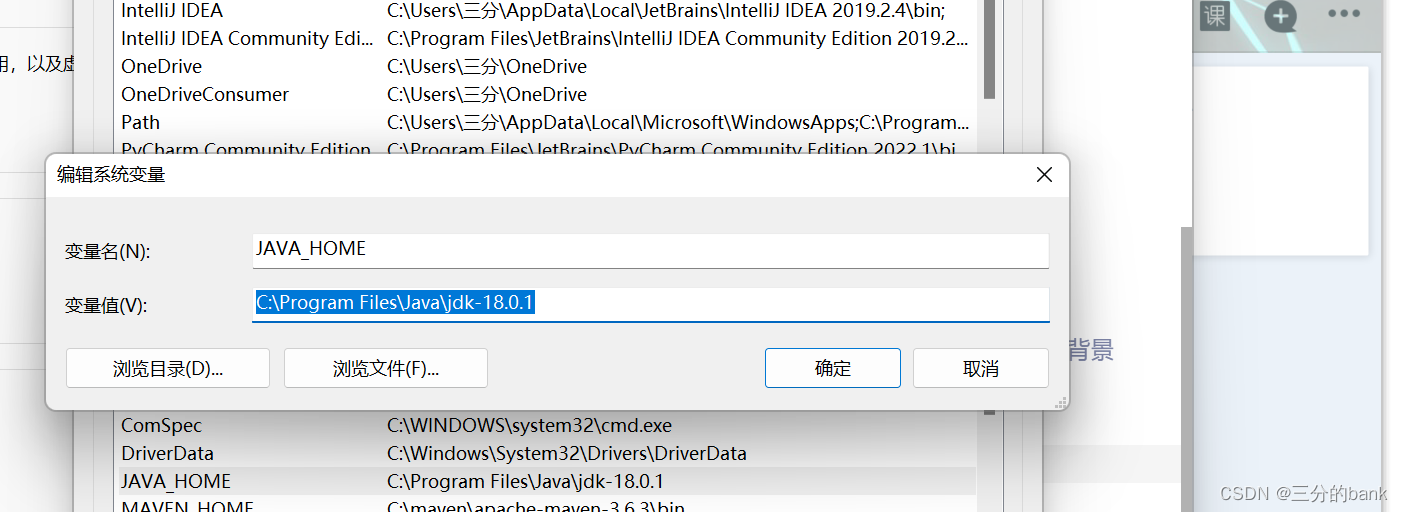
(2)配置Java环境 首先搜索高级系统设置,然后进入环境变量的设置中, 在系统环境变量下新建,其中的变量值导入已安装的jdk的路径:
配置path,选择path,然后点击编辑。 新建两个环境变量并保存: 变量1:%Java——Home%\bin 变量2:%Java_Home%jre\bin 检测一下是否配置成功: win+R打开控制台界面,输入指令Java可以获取到安装内容。
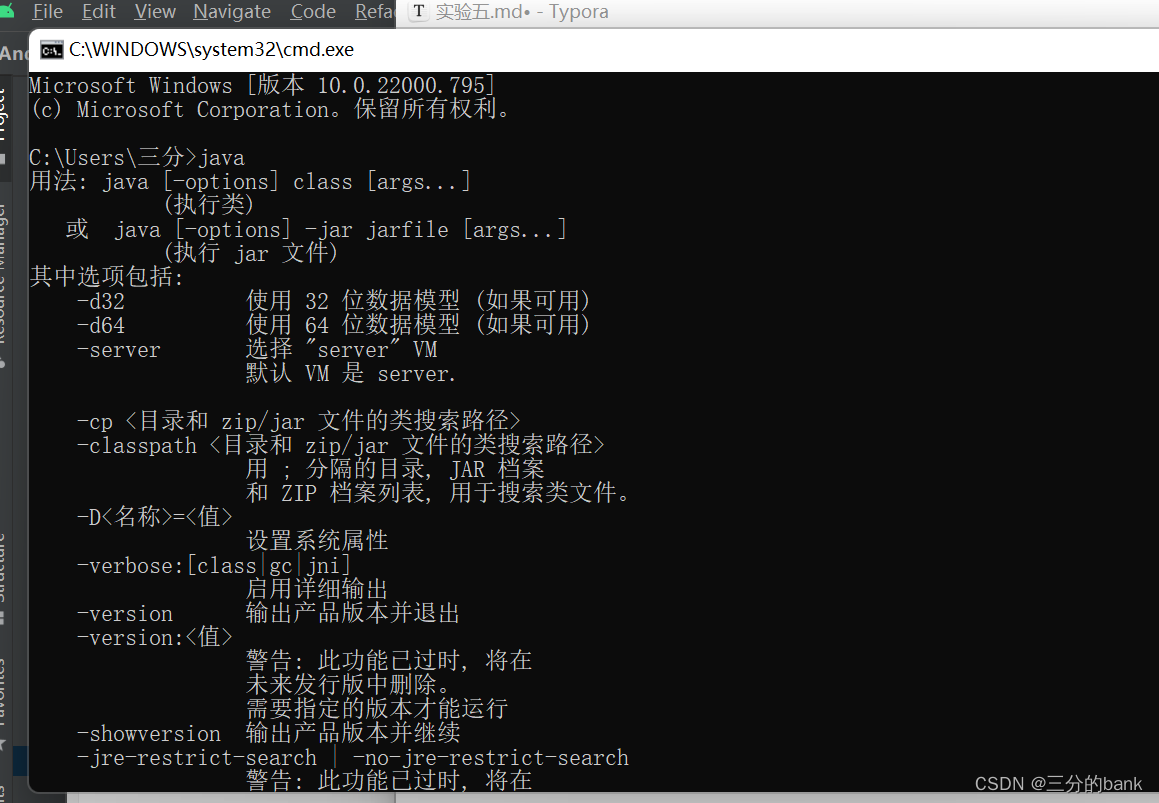
输入java-version可以查看版本。
(3)安装Androidstudio(含SDK) 过程会有一点慢,耐心等待即可 。
2、创建小程序
(1)在创建一个新的项目后,我们首先给这个项目创建它的父布局,同时对这个父布局进行背景色和垂直方向的设置,同时将需要用到的图片素材导入mipmap文件。需要注意的是,图片文件中不能含有数字、汉字以及大写,否则会无法加载。
<?xml version="1.0" encoding="utf-8"?>
<LinearLayout xmlns:android="http://schemas.android.com/apk/res/android"
    android:layout_width="match_parent"
    android:background="#e5e5e5"
    android:layout_height="match_parent"
    android:orientation="vertical">//垂直排列设置


  </LinearLayout>
(2)构建一个列表组,设置其宽高、背景色和垂直方向:
<?xml version="1.0" encoding="utf-8"?>
<LinearLayout xmlns:android="http://schemas.android.com/apk/res/android"
    android:layout_width="match_parent"
    android:background="#e5e5e5"
    android:layout_height="match_parent"
    android:orientation="vertical">
<LinearLayout
    android:layout_width="match_parent"
    android:layout_height="68dp"
    android:background="#fff"
    android:orientation="horizontal">
    </LinearLayout>
   </LinearLayout>
(3)创建列表组里的第一个图标,设置宽高、背景色、左间距,并居中
 <ImageView
            android:layout_width="40dp"
            android:layout_height="40dp"
            android:layout_gravity="center_vertical"
            android:layout_marginLeft="15dp"
            android:background="@mipmap/icon_pengyou" />//图片位置,需要事先导入
(4)创建列表组中的汉字,设置汉字的内容,宽高,颜色,样式,大小和左间距,并设置居中
 <TextView
            android:layout_width="0dp"
            android:layout_height="match_parent"
            android:layout_marginLeft="10dp"
            android:layout_weight="1"
            android:gravity="center_vertical"
            android:t
 最低0.47元/天 解锁文章


 1057
1057


 被折叠的 条评论
为什么被折叠?
被折叠的 条评论
为什么被折叠?
 到【灌水乐园】发言


