


效果图

1.先在IDEA中创建一个新的文件夹用来存放上传工具
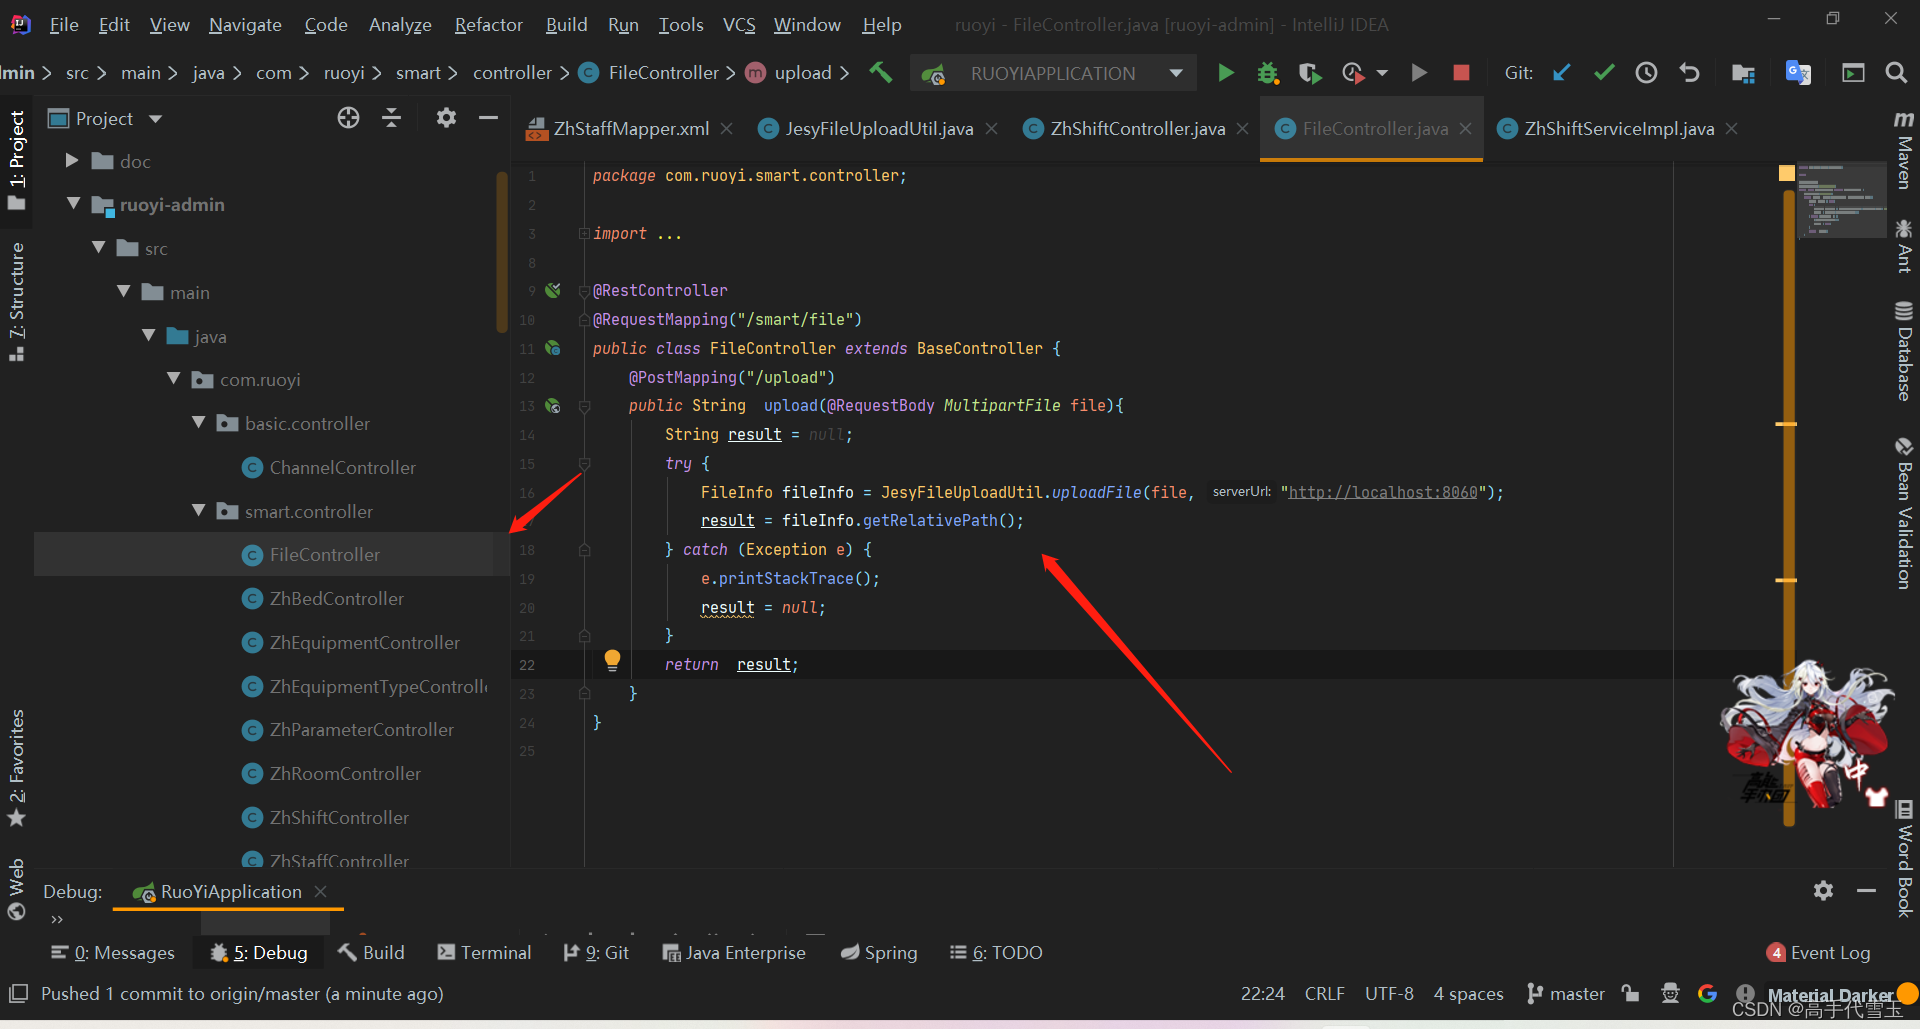
@RestController
@RequestMapping("/smart/file")
public class FileController extends BaseController {
    @PostMapping("/upload")
    public String  upload(@RequestBody MultipartFile file){
        String result = null;
        try {
            FileInfo fileInfo = JesyFileUploadUtil.uploadFile(file, "http://localhost:8060");
            result = fileInfo.getRelativePath();
        } catch (Exception e) {
            e.printStackTrace();
            result = null;
        }
        return  result;
    }
2.打开 ruoyi-ui
在自己要存放图片的前端写入如图

IP地址我写的是自己本地的,要用的话需要更改
fileservice:"http://192.168.2.38:8060",3.在页面展示界面写入这段代码

<el-table-column label="头像" prop="avatar" align="center">
                  <!-- <el-avatar  :size="100"  :src="fileservice+avatar"></el-avatar> -->
                <template slot-scope="scope">
                    <img style="width:100px; height:100px;" :src="fileservice+scope.row.avatar"/>
                     <!-- <el-avatar  :size="100"  :src="fileservice+scope.row.avatar"></el-avatar> -->
                </template>
写入方法

 //上传软件前
        beforeUpload(file){
            return true;
        },
        //上传头像成功
        success(response,file){
            this.form.avatar = response;
        }
就完成了


 542
542


 被折叠的 条评论
为什么被折叠?
被折叠的 条评论
为什么被折叠?
 到【灌水乐园】发言


