


操作步骤
1.安装NGINX
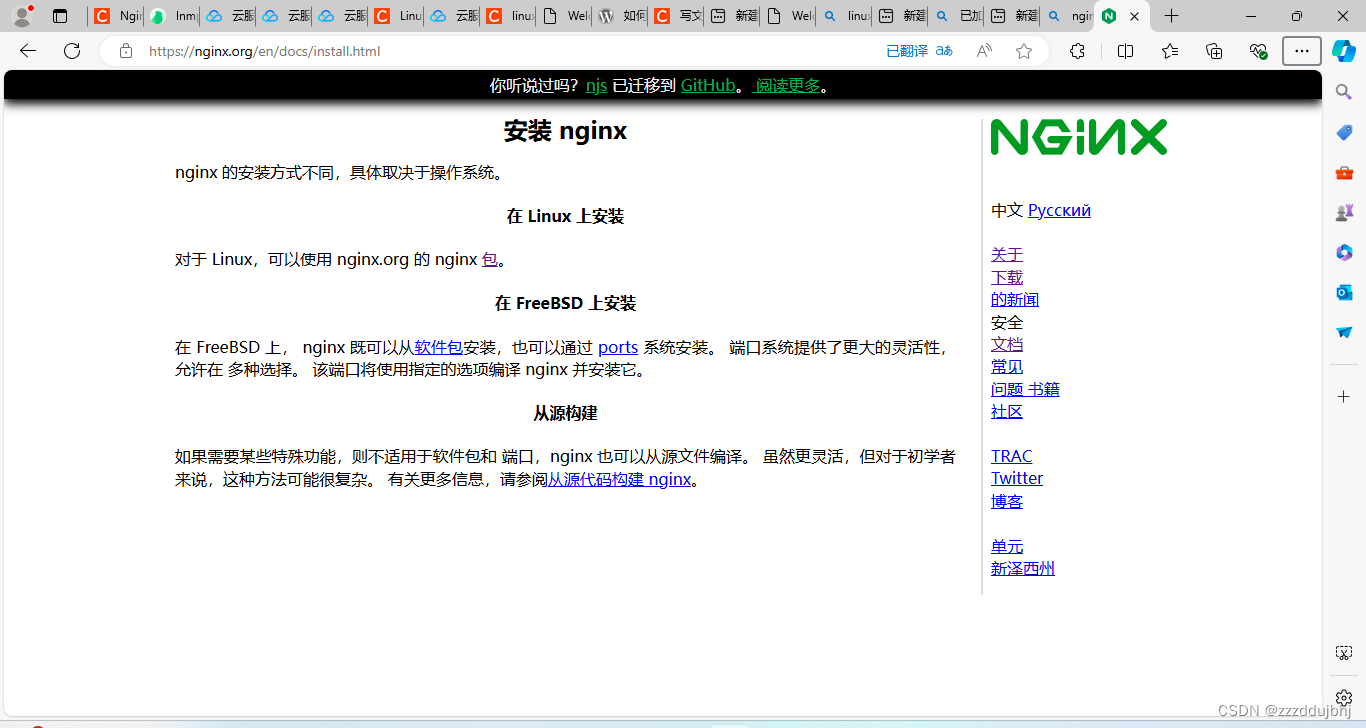
1.nginx官网
大多数服务一般下载都是直接linux包直接下 如果有特殊需求的话需要从从原构件下载
1、首次安装需要设置yum仓库 ,设置一个NGINX软件包,方便以后更新和下载
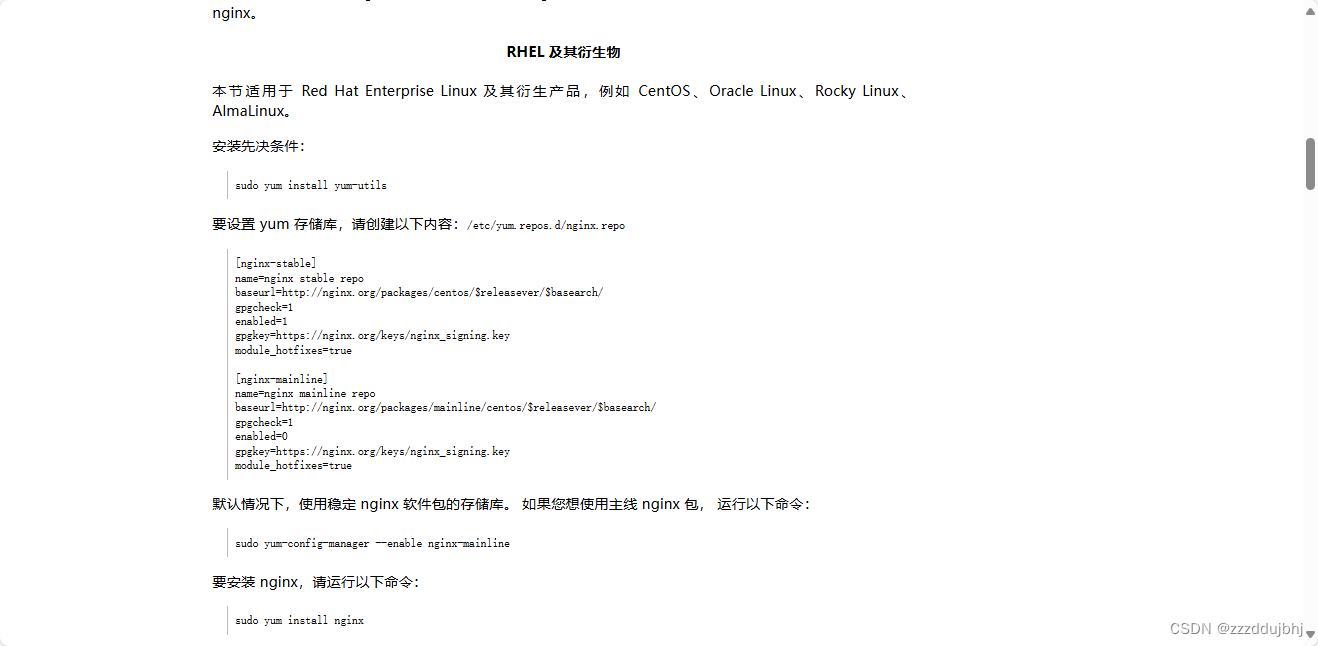
2、安装 nginx
[root@bogon yum.repos.d]# yum install nginx
已加载插件:fastestmirror, langpacks
Loading mirror speeds from cached hostfile
nginx-mainline                                                  | 2.9 kB  00:00:00
nginx-stable                                                    | 2.9 kB  00:00:00
(1/2): nginx-mainline/7/x86_64/primary_db                       | 281 kB  00:00:03
(2/2): nginx-stable/7/x86_64/primary_db                         |  96 kB  00:00:04
正在解决依赖关系
--> 正在检查事务
---> 软件包 nginx.x86_64.1.1.27.0-2.el7.ngx 将被 安装
--> 解决依赖关系完成

依赖关系解决

=======================================================================================
 Package       架构           版本                        源                      大小
=======================================================================================
正在安装:
 nginx         x86_64         1:1.27.0-2.el7.ngx          nginx-mainline         807 k

事务概要
=======================================================================================
安装  1 软件包

总下载量:807 k
安装大小:2.8 M
Is this ok [y/d/N]: y
Downloading packages:
警告:/var/cache/yum/x86_64/7/nginx-mainline/packages/nginx-1.27.0-2.el7.ngx.x86_64.rpm: 头V4 RSA/SHA256 Signature, 密钥 ID 7bd9bf62: NOKEY
nginx-1.27.0-2.el7.ngx.x86_64.rpm 的公钥尚未安装
nginx-1.27.0-2.el7.ngx.x86_64.rpm                               | 807 kB  00:00:03
从 https://nginx.org/keys/nginx_signing.key 检索密钥
导入 GPG key 0xB49F6B46:
 用户ID     : "nginx signing key <signing-key-2@nginx.com>"
 指纹       : 8540 a6f1 8833 a80e 9c16 53a4 2fd2 1310 b49f 6b46
 来自       : https://nginx.org/keys/nginx_signing.key
是否继续?[y/N]:y
导入 GPG key 0x7BD9BF62:
 用户ID     : "nginx signing key <signing-key@nginx.com>"
 指纹       : 573b fd6b 3d8f bc64 1079 a6ab abf5 bd82 7bd9 bf62
 来自       : https://nginx.org/keys/nginx_signing.key
是否继续?[y/N]:y
导入 GPG key 0x8D88A2B3:
 用户ID     : "nginx signing key <signing-key-3@nginx.com>"
 指纹       : 9e9b e90e acbc de69 fe9b 204c bcdc d8a3 8d88 a2b3
 来自       : https://nginx.org/keys/nginx_signing.key
是否继续?[y/N]:yes
是否继续?[y/N]:t
是否继续?[y/N]:y
Running transaction check

Running transaction test
Transaction test succeeded
Running transaction
  正在安装    : 1:nginx-1.27.0-2.el7.ngx.x86_64                                    1/1
----------------------------------------------------------------------

Thanks for using nginx!

Please find the official documentation for nginx here:
* https://nginx.org/en/docs/

Please subscribe to nginx-announce mailing list to get
the most important news about nginx:
* https://nginx.org/en/support.html

Commercial subscriptions for nginx are available on:
* https://nginx.com/products/

----------------------------------------------------------------------
  验证中      : 1:nginx-1.27.0-2.el7.ngx.x86_64                                    1/1

已安装:
  nginx.x86_64 1:1.27.0-2.el7.ngx

完毕!
3、安装完成后要启动程序 并用ps 进程来查看服务是否启动
[root@bogon yum.repos.d]# systemctl start nginx
[root@bogon yum.repos.d]# ps -ef |grep nginx
root       4627      1  0 02:35 ?        00:00:00 nginx: master process /usr/sbin/ngin -c /etc/nginx/nginx.conf
nginx      4628   4627  0 02:35 ?        00:00:00 nginx: worker process
root       4630   2663  0 02:35 pts/0    00:00:00 grep --color=auto nginx
开机自启动systemctl enable nginx
4、执行以下命令,打开 default.conf 文件。
vim /etc/nginx/conf.d/default.conf5、按i切换至编辑模式,编辑default。conf文件
6、并找到 server{...},并将 server 大括号中相应的配置信息替换为如下内容。用于取消对 IPv6 地址的监听,同时配置 Nginx,实现与 PHP 的联动。 (特别注意改动要看括号对应上)
server {
 listen       80;
 root   /usr/share/nginx/html;
 server_name  localhost;
 #charset koi8-r;
 #access_log  /var/log/nginx/log/host.access.log  main;
 #
 location / {
       index index.php index.html index.htm;
 }
 #error_page  404              /404.html;
 #redirect server error pages to the static page /50x.html
 #
 error_page   500 502 503 504  /50x.html;
 location = /50x.html {
   root   /usr/share/nginx/html;
 }
 #pass the PHP scripts to FastCGI server listening on 127.0.0.1:9000
 #
 location ~ .php$ {
   fastcgi_pass   127.0.0.1:9000;
   fastcgi_index  index.php;
   fastcgi_param  SCRIPT_FILENAME  $document_root$fastcgi_script_name;
   include        fastcgi_params;
 }
}
7、并在网页输入ip看是能否访问(如下表
示已经成功) 接第7点如若不呢访问网页
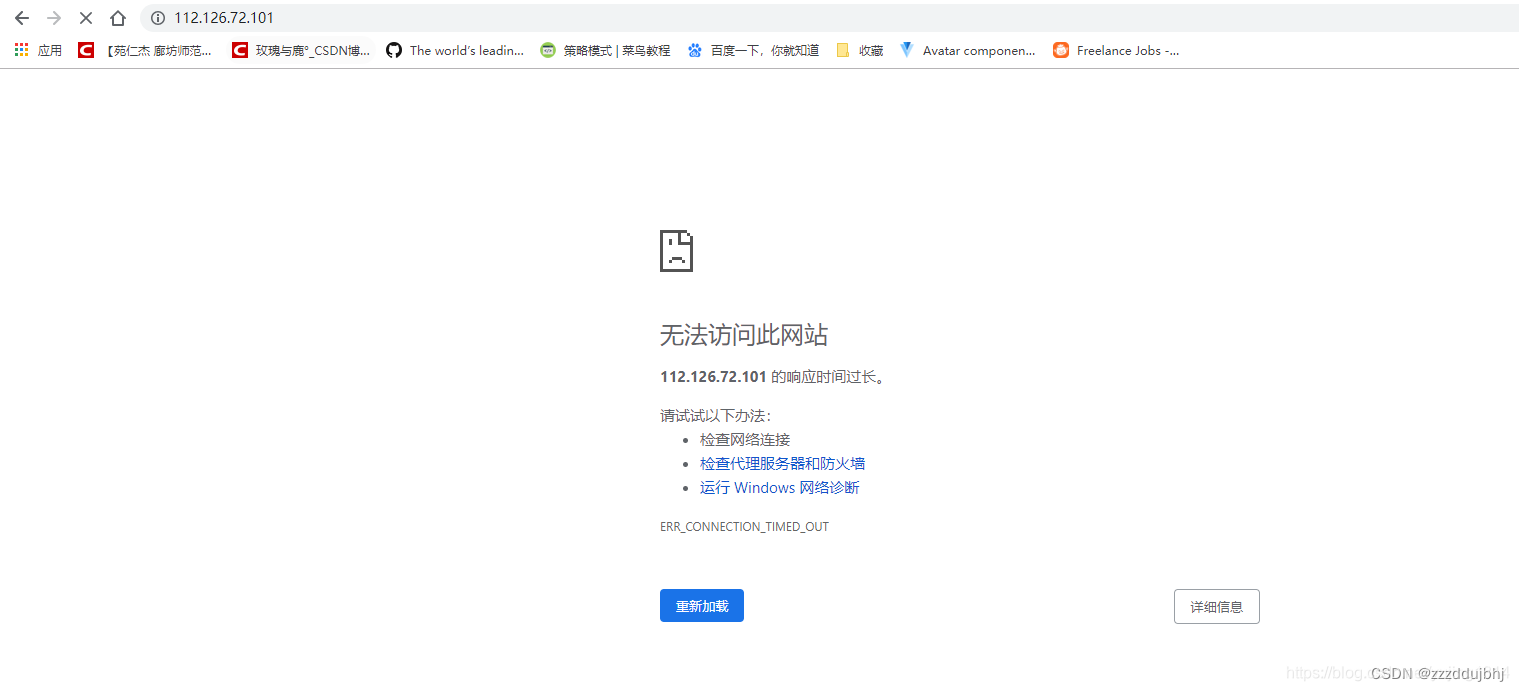 解决方案如下:【Nginx】启动成功无法访问网页(完整的排除方案)_nginx启动成功但是无法访问-CSDN博客
2、安装数据库
1、执行以下命令,查看系统中是否已安装 MariaDB。
rpm -qa | grep -i mariadb

为避免安装版本不同造成冲突,请执行以下命令移除已安装的 MariaDB。
yum -y remove 包名 若返回结果为空,则说明未预先安装,则执行下一步。
2、执行下面的命令,在 /etc/yum.repos.d/ 下创建 MariaDB.repo 文件。
vim /etc/yum.repos.d/MariaDB.repo按i编辑以下内容
说明
以下配置使用了腾讯云镜像源,腾讯云镜像源同步 MariaDB 官网源进行更新,可能会出现 MariaDB 10.4 版本源失效问题(本文以在 CentOS 7.6 上安装 MariaDB 10.4.22 版本为例),您可前往 MariaDB 官网 获取其他版本及操作系统的 MariaDB 软件库安装信息。
若您的云服务器使用了 内网服务,则可以将
mirrors.cloud.tencent.com替换为mirrors.tencentyun.com内网地址,内网流量不占用公网流量且速度更快。
# MariaDB 10.4 CentOS repository list - created 2019-11-05 11:56 UTC
# http://downloads.mariadb.org/mariadb/repositories/
[mariadb]
name = MariaDB
baseurl = https://mirrors.cloud.tencent.com/mariadb/yum/10.4/centos7-amd64
gpgkey=https://mirrors.cloud.tencent.com/mariadb/yum/RPM-GPG-KEY-MariaDB
gpgcheck=1
按Esc :wq 保存退出
3、执行以下命令,安装 MariaDB。
yum -y install MariaDB-client MariaDB-server4启动MariaDB
systemctl start mariadb5执行以下命令,设置 MariaDB 为开机自启动。
systemctl status mariadb6执行以下命令,验证 MariaDB 是否安装成功。
mysql
3、安装配置php
安装php 7.4环境
1、添加EPEL和REMI存储库
运行以下命令以添加所需的存储库
sudo yum install epel-release创建yum 仓库 下载存放php 版本
yum -y install https://rpms.remirepo.net/enterprise/remi-release-7.rpm2、在CentOS 7上安装PHP 7.4版本
1、我们现在可以启用PHP 7.4 Remi存储库并在CentOS 7上安装PHP 7.4:
sudo yum -y install yum-utils2、 查看所有php版本
yum repolist all |grep php[root@localhost yum.repos.d]# yum repolist all |grep php
* remi-php74: mirrors.tuna.tsinghua.edu.cn
remi-php54 Remi's PHP 5.4 RPM repository f 禁用
remi-php55 Remi's PHP 5.5 RPM repository f 禁用
remi-php55-debuginfo/x86_64 Remi's PHP 5.5 RPM repository f 禁用
remi-php56 Remi's PHP 5.6 RPM repository f 禁用
remi-php56-debuginfo/x86_64 Remi's PHP 5.6 RPM repository f 禁用
remi-php70 Remi's PHP 7.0 RPM repository f 禁用
remi-php70-debuginfo/x86_64 Remi's PHP 7.0 RPM repository f 禁用
remi-php70-test Remi's PHP 7.0 test RPM reposit 禁用
remi-php70-test-debuginfo/x86_64 Remi's PHP 7.0 test RPM reposit 禁用
remi-php71 Remi's PHP 7.1 RPM repository f 禁用
remi-php71-debuginfo/x86_64 Remi's PHP 7.1 RPM repository f 禁用
remi-php71-test Remi's PHP 7.1 test RPM reposit 禁用
remi-php71-test-debuginfo/x86_64 Remi's PHP 7.1 test RPM reposit 禁用
remi-php72 Remi's PHP 7.2 RPM repository f 禁用
remi-php72-debuginfo/x86_64 Remi's PHP 7.2 RPM repository f 禁用
remi-php72-test Remi's PHP 7.2 test RPM reposit 禁用
remi-php72-test-debuginfo/x86_64 Remi's PHP 7.2 test RPM reposit 禁用
remi-php73 Remi's PHP 7.3 RPM repository f 禁用
remi-php73-debuginfo/x86_64 Remi's PHP 7.3 RPM repository f 禁用
remi-php73-test Remi's PHP 7.3 test RPM reposit 禁用
remi-php73-test-debuginfo/x86_64 Remi's PHP 7.3 test RPM reposit 禁用
remi-php74 Remi's PHP 7.4 RPM repository f 启用: 469
remi-php74-debuginfo/x86_64 Remi's PHP 7.4 RPM repository f 禁用
remi-php74-test Remi's PHP 7.4 test RPM reposit 禁用
remi-php74-test-debuginfo/x86_64 Remi's PHP 7.4 test RPM reposit 禁用
remi-php80 Remi's PHP 8.0 RPM repository f 禁用
remi-php80-debuginfo/x86_64 Remi's PHP 8.0 RPM repository f 禁用
remi-php80-test Remi's PHP 8.0 test RPM reposit 禁用
remi-php80-test-debuginfo/x86_64 Remi's PHP 8.0 test RPM reposit 禁用
remi-php81 Remi's PHP 8.1 RPM repository f 禁用
remi-php81-debuginfo/x86_64 Remi's PHP 8.1 RPM repository f 禁用
remi-php81-test Remi's PHP 8.1 test RPM reposit 禁用
remi-php81-test-debuginfo/x86_64 Remi's PHP 8.1 test RPM reposit 禁用
remi-php82 Remi's PHP 8.2 RPM repository f 禁用
remi-php82-debuginfo/x86_64 Remi's PHP 8.2 RPM repository f 禁用
remi-php82-test Remi's PHP 8.2 test RPM reposit 禁用
remi-php82-test-debuginfo/x86_64 Remi's PHP 8.2 test RPM reposit 禁用
remi-php83 Remi's PHP 8.3 RPM repository f 禁用
remi-php83-debuginfo/x86_64 Remi's PHP 8.3 RPM repository f 禁用
remi-php83-test Remi's PHP 8.3 test RPM reposit 禁用
remi-php83-test-debuginfo/x86_64 Remi's PHP 8.3 test RPM reposit 禁用
3、安装php7.4版本
sudo yum-config-manager --enable remi-php744、在CentOS 7上安装PHP 7.4 以及扩展:
sudo yum install php php-cli php-fpm php-mysqlnd php-zip php-devel php-gd php-mcrypt php-mbstring php-curl php-xml php-pear php-bcmath php-json php-redis5、查看当前的php版本
php -v
[root@localhost yum.repos.d]# php -v
PHP 7.4.33 (cli) (built: Jun  5 2024 05:05:14) ( NTS )
Copyright (c) The PHP Group
Zend Engine v3.4.0, Copyright (c) Zend Technologies
6、如果要查看启用的模块
[root@localhost yum.repos.d]# php -m
[PHP Modules]
bcmath
bz2
calendar
Core
ctype
curl
date
dom
exif
fileinfo
filter
ftp
gd
gettext
hash
iconv
igbinary
json
libxml
mbstring
mcrypt
msgpack
mysqli
mysqlnd
openssl
pcntl
pcre
PDO
pdo_mysql
pdo_sqlite
Phar
posix
readline
redis
Reflection
session
shmop
SimpleXML
sockets
sodium
SPL
sqlite3
standard
sysvmsg
sysvsem
sysvshm
tokenizer
xml
xmlreader
xmlwriter
xsl
zip
zlib
7、启用php
[root@localhost yum.repos.d]# systemctl start php-fpm
8、开机自启
systemctl enable php-fpm
Created symlink from /etc/systemd/system/multi-user.target.wants/php-fpm.service to /usr/lib/systemd/system/php-fpm.service.
9、验证环境配置
当你完成环境配置后,可以查看LNMP是否搭建成功
1、创建测试文件,执行以下的命令
[root@localhost yum.repos.d]# echo "<?php phpinfo(); ?>" >> /usr/share/nginx/html/index.php
2、重启NGINX
systemctl restart nginx3、在本地浏览器中访问如下地址,查看环境配置是否成功。(如有一下图片,环境配置成功)
ip/index.php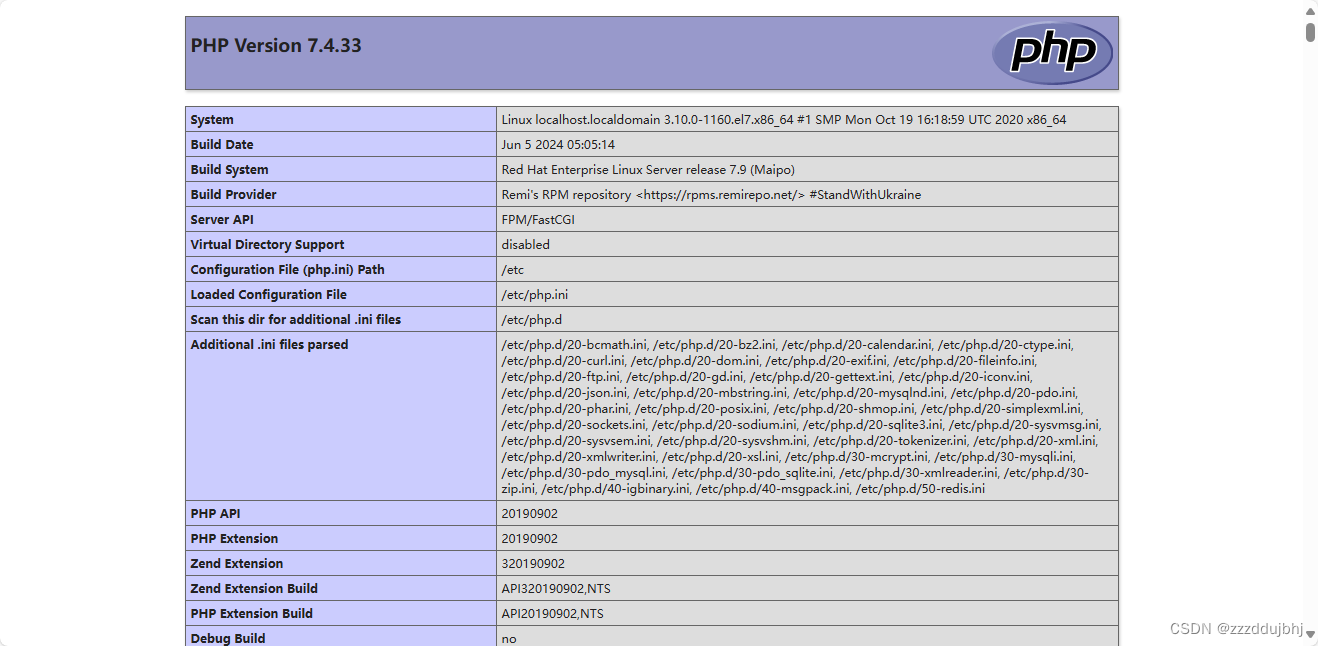
至此你已在linux上安装好了NGINX、MariaDB、php服务。


 528
528

 被折叠的 条评论
为什么被折叠?
被折叠的 条评论
为什么被折叠?
 到【灌水乐园】发言


