


在分布式架构中,当某个服务单元发生故障(类似用电器发生短路)
之后,通过断路器的故障监控(类似熔断保险丝),向调用方返回一个错误响应,而不是长时间的等待。这样就不会使得线程因调用故降服务被长时间占用不释放,避免了故障在分布式系统中的藿延。针对上述问题 ,Spring Cloud Hystrix 实现了断路器、线程隔离等一系列服务保护功能。它也是基于 Netflix 的开源框架
Hystrix 实现的,该框架的目标在于通过控制那些访问远程系统、服务和第三方库的节点,从而对延迟和故障提供更强大的容错能力。
Hystrix 具备服务降级、服务熔断、线程和信号隔离、请求缓存、请求合并以及服务监控等强大功能。接下来,我们就从一个简单示例开始对 Spring Cloud Hystrix 的学习与使用。
1、启动服务注册中心
启动服务注册中心spring-cloud-discovery-eureka,参照:Spring Cloud 服务治理
2、修改服务提供者
创建服务提供者spring-cloud-provider,参照:Spring Cloud 服务提供者
a、在Controller中增加一个方法sayHello,代码如下:
@GetMapping("/sayHello")
public String sayHello() {
    return "Hello this is provider";
}
b、运行maven命令install,将项目jar包放到maven库中,并运行两个服务提供者,方法如下:
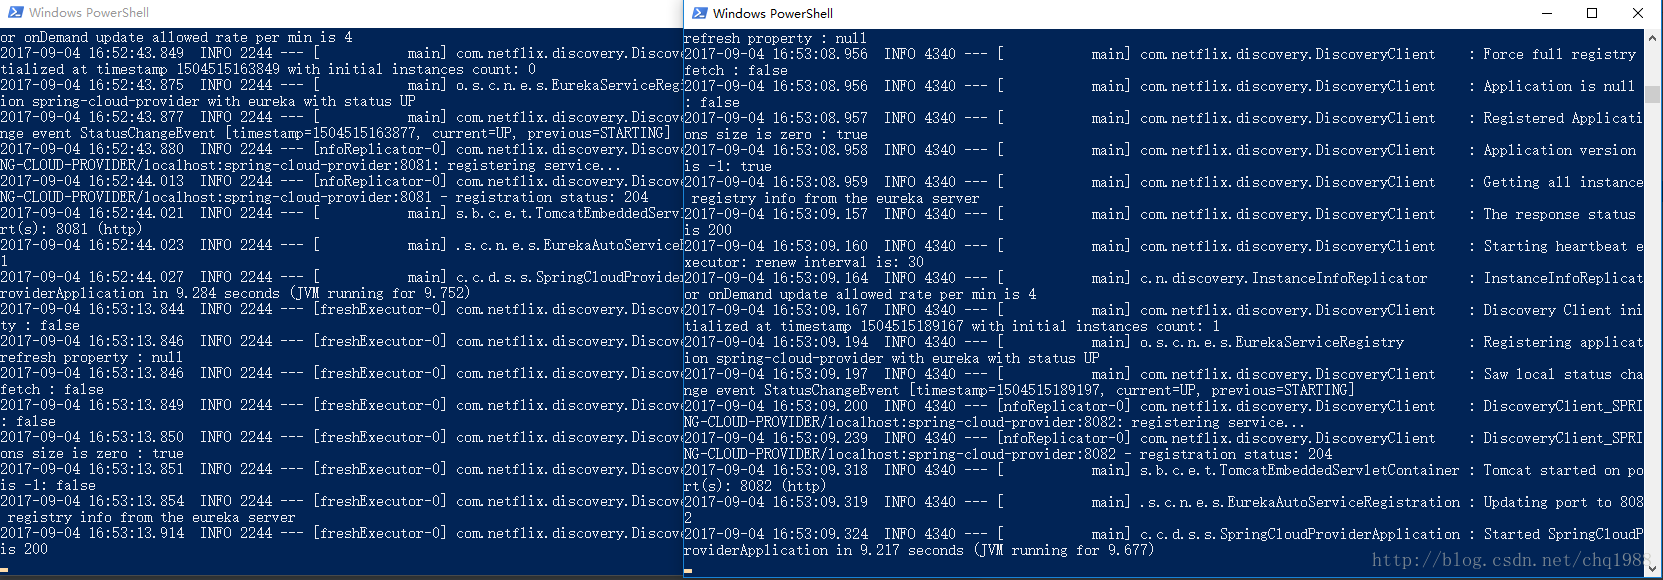
使用命令行窗口进入jar包所在的路径 执行命令:
java -jar spring-cloud-provider-0.0.1-SNAPSHOT.jar --server.port=8081再启动一个命令行窗口进入jar包所在的路径执行命令:
java -jar spring-cloud-provider-0.0.1-SNAPSHOT.jar --server.port=8082这样就启动了两个服务提供者,端口号分别问8081和8082。
代码参考:https://github.com/chq00788/spring-cloud-provider
3、修改服务消费者
创建服务消费者spring-cloud-consumer,参照:Spring Cloud 服务消费者
a、在POM文件中加入依赖spring-cloud-starter-hystrix
<dependency>
    <groupId>org.springframework.cloud</groupId>
    <artifactId>spring-cloud-starter-hystrix</artifactId>
</dependency>
b、在spring boot 启动文件增加注解@EnableCircuitBreaker,开启熔断器功能
@EnableCircuitBreaker
@SpringBootApplication
@EnableDiscoveryClient
public class SpringCloudConsumerApplication {

    /**
     * 实例化RestTemplate,通过@LoadBalanced注解开启均衡负载能力.
     * @return restTemplate
     */
    @Bean
    @LoadBalanced
    public RestTemplate restTemplate() {
        return new RestTemplate();
    }

    public static void main(String[] args) {
        SpringApplication.run(SpringCloudConsumerApplication.class, args);
    }
}
c、在ConsumerService中增加sayHello方法和回掉方法sayHelloFallBack,使用注解@HystrixCommand(fallbackMethod = “sayHelloFallBack”)指定回调函数,回调函数的返回值和参数必须和正式方法相同,不然会报错
@HystrixCommand(fallbackMethod = "sayHelloFallBack")
public String sayHello() {
    return this.restTemplate.getForObject("http://spring-cloud-provider/sayHello", String.class);
}

public String sayHelloFallBack() {
    return "error";
}
d、在ConsumerController中增加方法调用ConsumerService中的sayHello方法
“`
@RestController
public class ConsumerController {
@Autowired
private ConsumerService consumerService;

@GetMapping("/sayHello")
public String sayHello() {
    return consumerService.sayHello();
}
}
e、启动该工程,服务注册中心显示该服务信息

代码参考:https://github.com/chq00788/spring-cloud-consumer
4、测试
访问服务消费者的方法:http://localhost:8010/sayHello,返回:Hello this is provider信息。
关闭服务提供者8082,再访问该路径,返回error信息。
这说明Hystrix 已经生效了。


 973
973

 被折叠的 条评论
为什么被折叠?
被折叠的 条评论
为什么被折叠?
 到【灌水乐园】发言


