


1.首先在https://github.com/申请一个账户,记下用户名和密码
2.然后到Android Studio打开Setting,找到Github
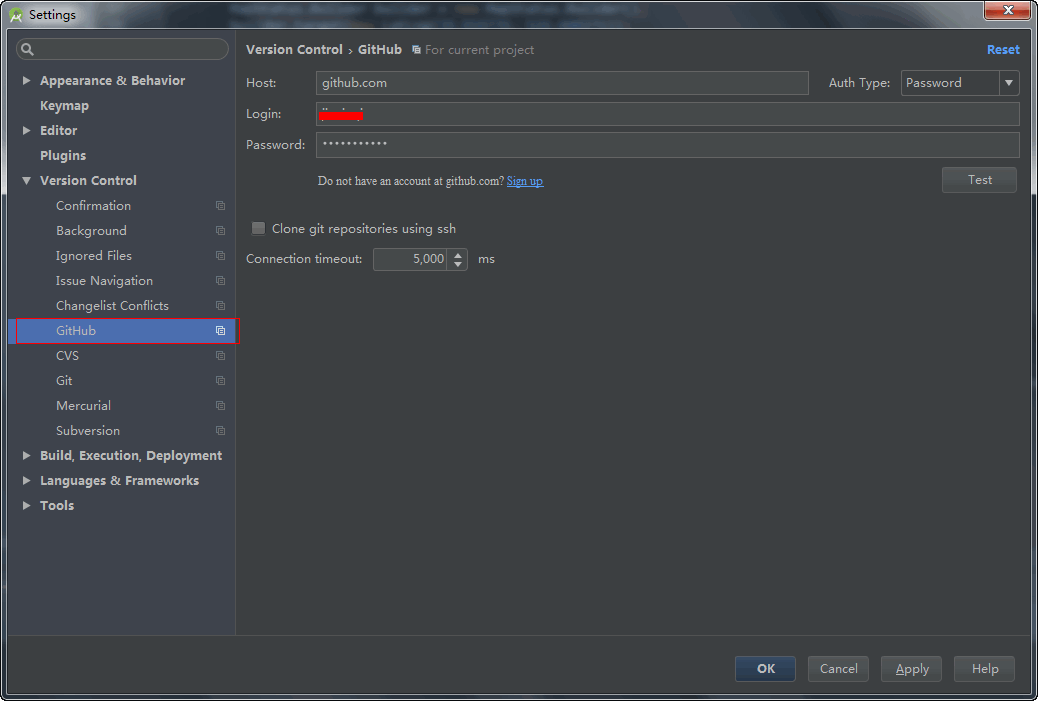
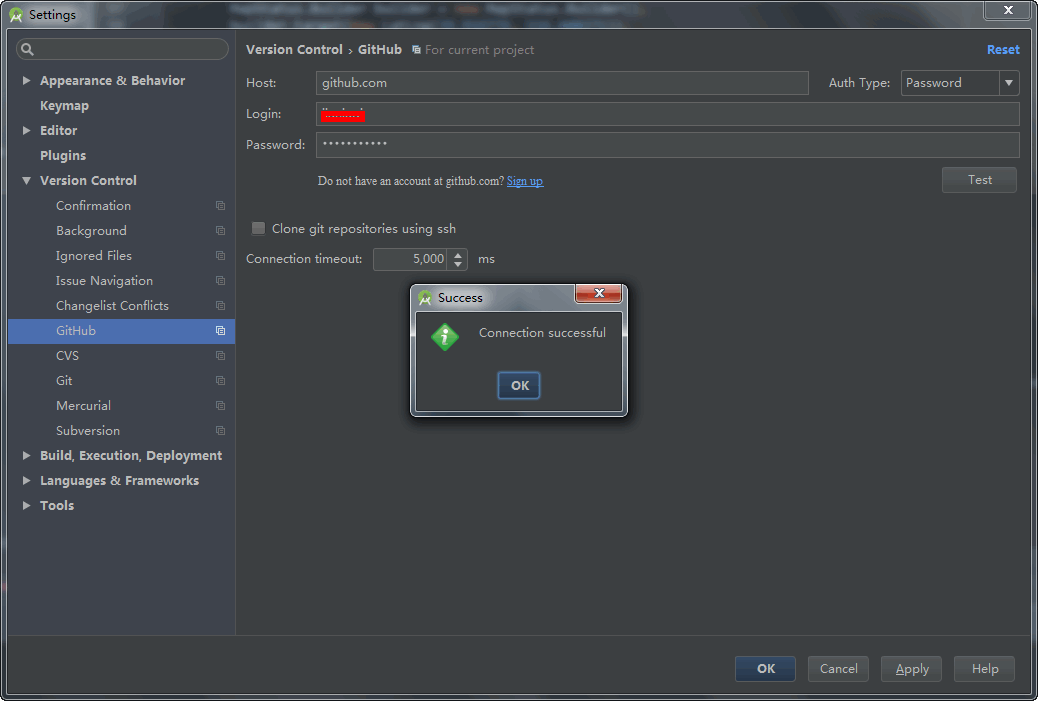
3.输入用户名和密码后点击Test,测试是否能连接上,这里我已经连接成功了
4.在电脑上安装git,去官网上下载即可

5.安装git后,进入Android Studio,打开Git配置
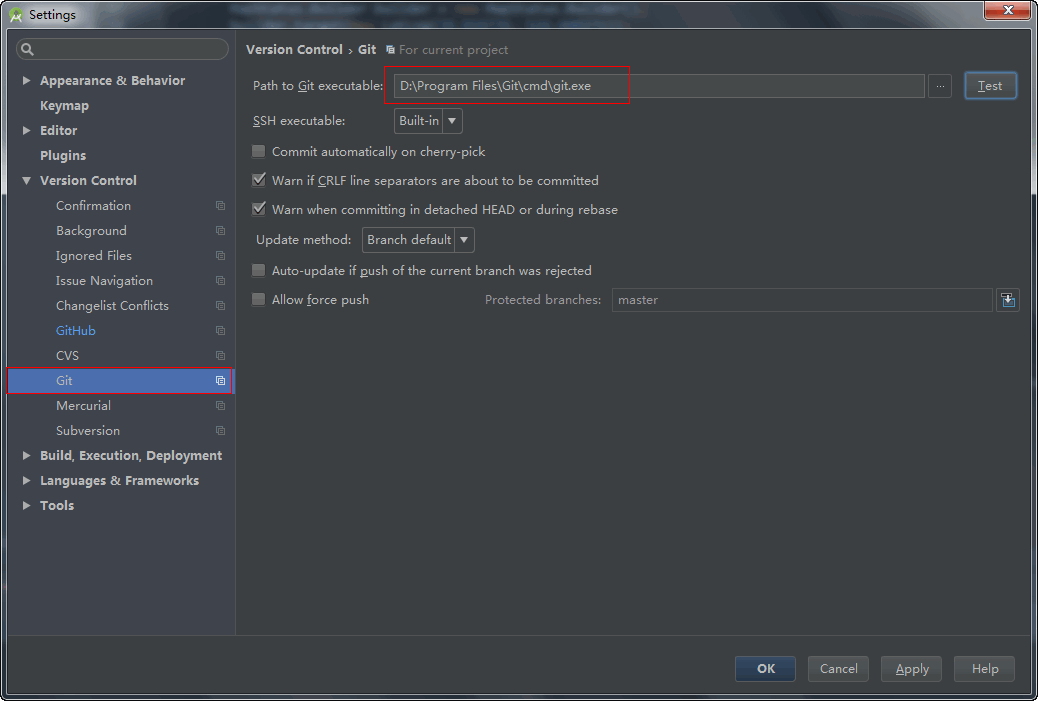
配置完git.exe路径
6.配置完git.exe路径后点击Test,如图(我的Git version 是 2.9.3.0)
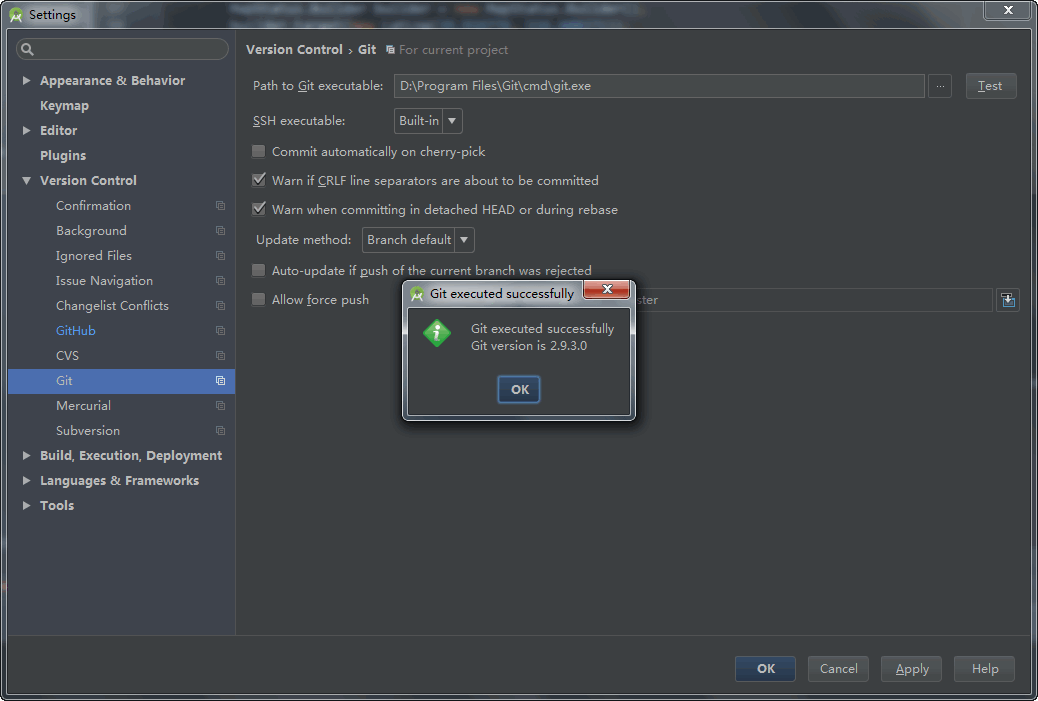
如果提示成功就可以关闭Setting对话框了,然后我们学习怎样把项目提交到github上
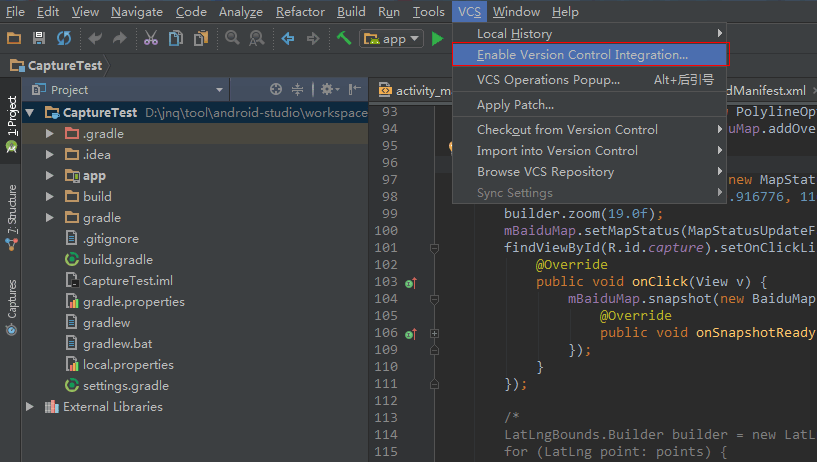
7.正好我这里写了一个项目,是测试百度地图的截图功能,我们把它提交到github上,点击VCS->Enable Version Control Intergration开启版本控制
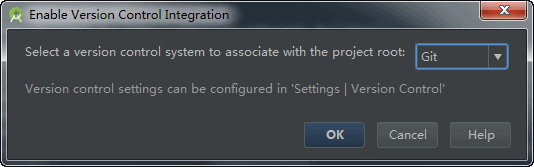
8.点击后弹出如下对话框,选择Git
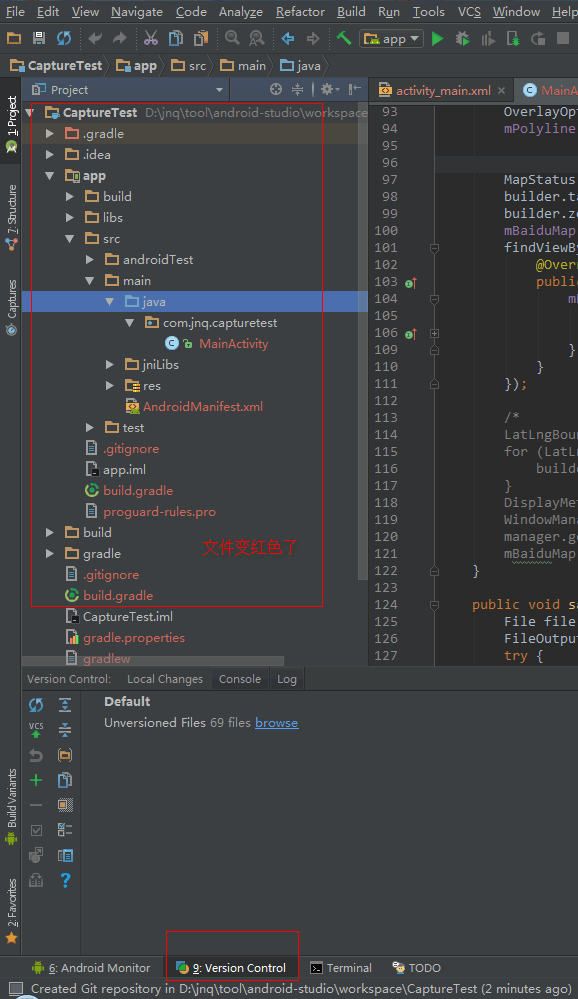
点击OK,会在底部提示创建成功一个仓库。查看仓位文件夹可以到对应的项目文件的详细位置查看,不过这个文件夹是隐藏文件,同时可以发现这是的项目文件变成红色的了,如图:
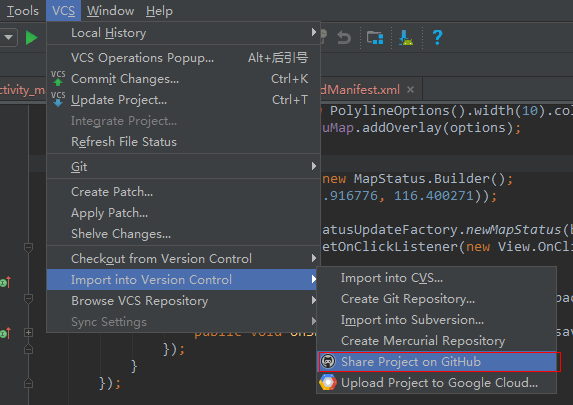
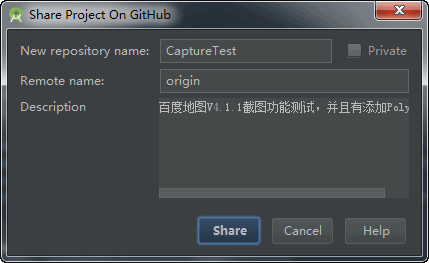
9.然后开始上传到github,点击Share Project on Github
10.填写信息后点击,Share
11.点击Share后选择初始导入文件,默认已经全选
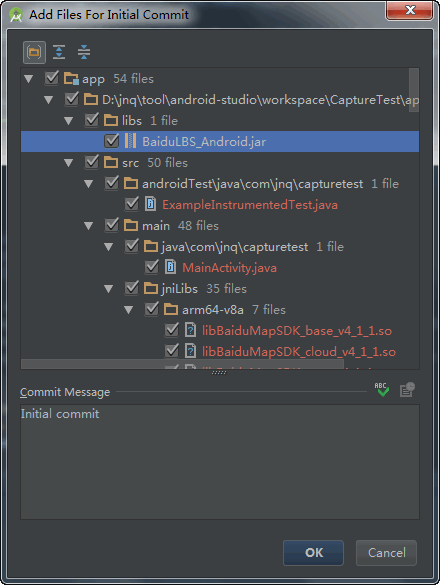
然后点击OK,会有个提示
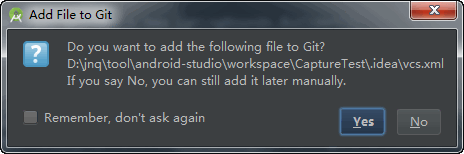
不上传vcs.xml这个文件,点击No
12.然后右侧出现个提示
Successfully created project ‘CaptureTest’ on GitHub, but initial commit failed: * Please tell me who you are. Run git config –global user.email “you@example.com” git config –global user.name “Your Name” to set your account’s default identity. Omit –global to set the identity only in this repository. fatal: empty ident name (for (null)>) not allowed during executing git -c core.quotepath=false commit -m “Initial commit” –
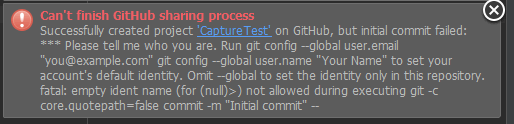
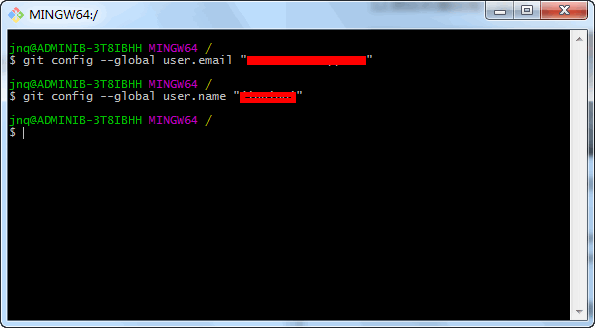
意思是:在github上创建项目已经成功了,但是初始化提交失败了,原因是首次没有设置身份:运行
 git config --global user.email "you@example.com"
 git config --global user.name "Your Name"
设置邮箱和用户名。然后我们设置一下
到Git安装目录下找到git-bash.exe,双击打开,然后运行上述两个命令
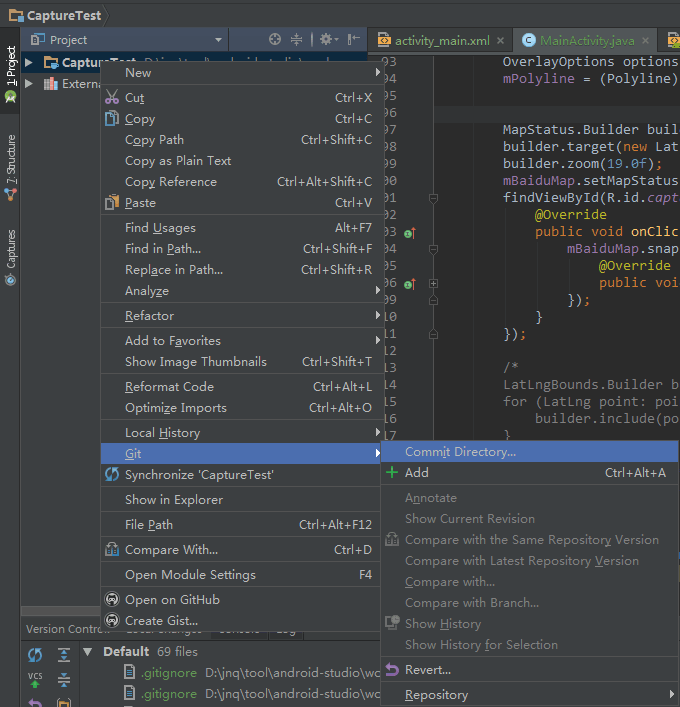
13.右键项目Git-Commit Directory
14.默认全选后输入Commit message
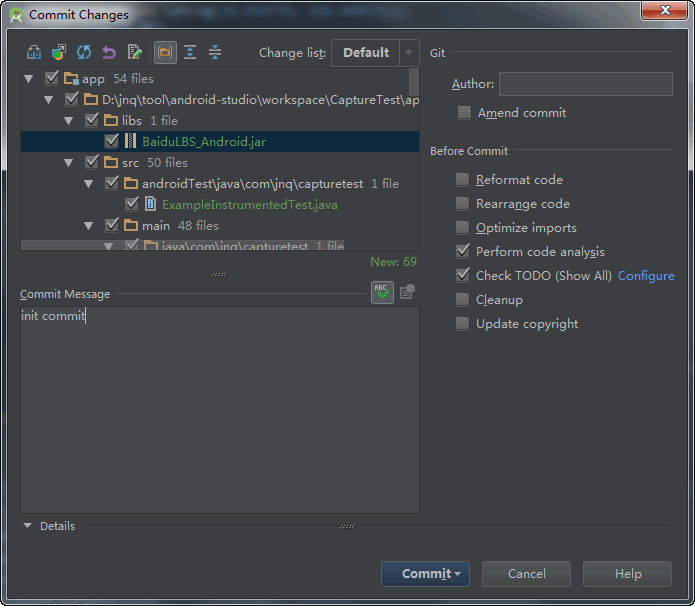
在Commit中选择Commit and Push,然后等待Pushing
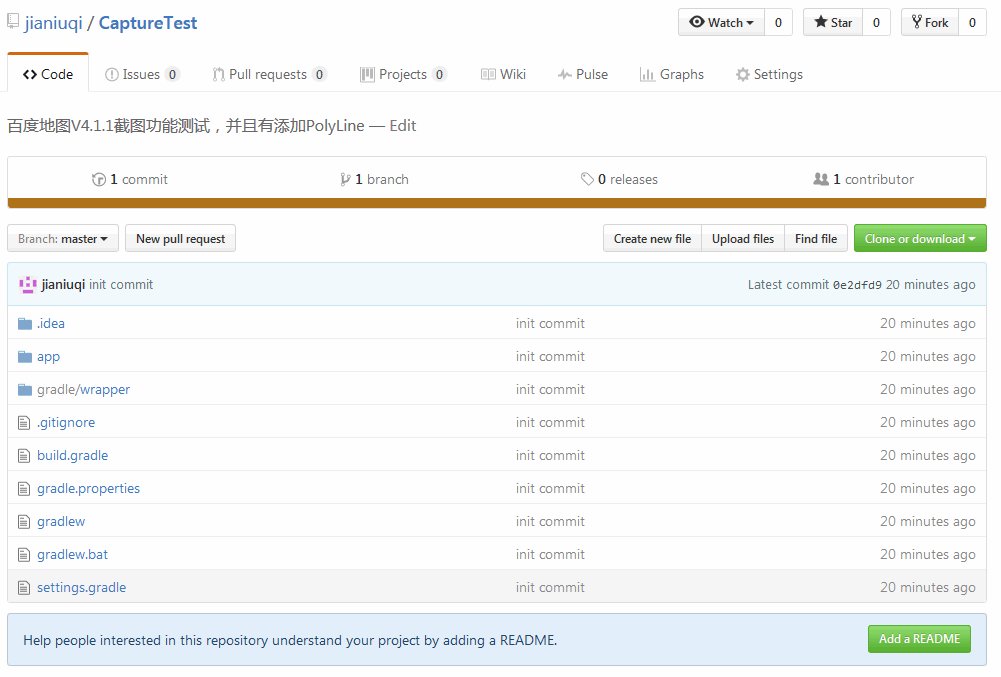
15.成功后刷新Github就可以看到了


 1985
1985


 被折叠的 条评论
为什么被折叠?
被折叠的 条评论
为什么被折叠?
 到【灌水乐园】发言


