


 本文介绍了如何利用树莓派2和OpenCV构建一个简易的人脸识别和追踪系统。内容涵盖所需硬件(包括树莓派、Pi Camera及云台)、OpenCV和PiCamera的安装,以及多个示例代码,包括单核识别、多核提升帧率、跳帧策略等,以解决在树莓派上实时人脸识别的性能问题。
使用树莓派2和OpenCV制作一个简易的人脸识别和追踪系统。

所需硬件
需要:
- 树莓派2
- Pi Camera
非必须(如果需要追踪人脸运动,需要一个有两个马达的小云台):
- 云台
安装OpenCV
sudo apt-get update
sudo apt-get upgrade
sudo apt-get install python-opencv
安装PiCamera
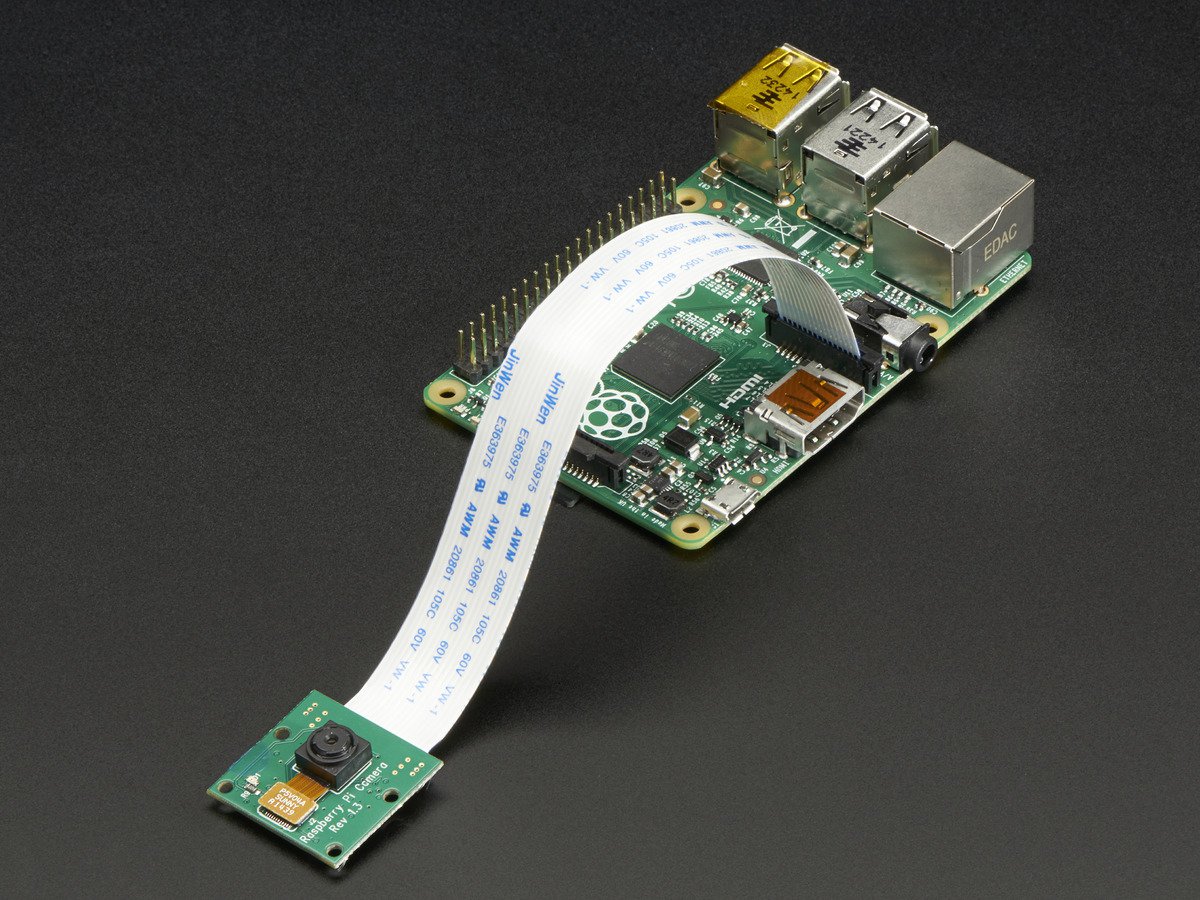
由于我没有使用USB摄像头,而是用了特殊的Pi Camera,样子如下图, 所以需要安装PiCamera来控制摄像头。
安装PiCamera:
sudo apt-get install python-pip
sudo apt-get install python-dev
sudo pip install picamera
至此人脸识别所需要的准备工作已经完成,可以使用下面的演示代码进行测试。
示例代码
Demo.1
第一个演示只使用单核,由于树莓派的性能有限,在只使用一个CPU核心的情况下视频的帧数非常之低,只有5帧左右,效果不太理想, 另外代码中通过Servo Blaster 控制云台的电机,来实现追踪人脸的功能,不过考虑到这个功能不是必须,所以不在此进行介绍。
### Imports ###################################################################

from picamera.array import PiRGBArray
from picamera import PiCamera
import time
import cv2
import os


### Setup #####################################################################

# Center coordinates
cx = 160
cy = 120

os.system( "echo 0=150 > /dev/servoblaster" )
os.system( "echo 1=150 > /dev/servoblaster" )

xdeg = 150
ydeg = 150

# Setup the camera
camera = PiCamera()
camera.resolution = ( 320, 240 )
camera.framerate = 60
rawCapture = PiRGBArray( camera, size=( 320, 240 ) )

# Load a cascade file for detecting faces
face_cascade = cv2.CascadeClassifier( '/home/pi/opencv-2.4.9/data/lbpcascades/lbpcascade_frontalface.xml' )

t_start = time.time()
fps = 0


### Main ######################################################################

# Capture frames from the camera
for frame in camera.capture_continuous( rawCapture, format="bgr", use_video_port=True ):

    image = frame.array

    # Use the cascade file we loaded to detect faces
    gray = cv2.cvtColor( image, cv2.COLOR_BGR2GRAY )
    faces = face_cascade.detectMultiScale( gray )

    print "Found " + str( len( faces ) ) + " face(s)"

    # Draw a rectangle around every face and move the motor towards the face
    for ( x, y, w, h ) in faces:

        cv2.rectangle( image, ( x, y ), ( x + w, y + h ), ( 100, 255, 100 ), 2 )
        cv2.putText( image, "Face No." + str( len( faces ) ), ( x, y ), cv2.FONT_HERSHEY_SIMPLEX, 0.5, ( 0, 0, 255 ), 2 )

        tx = x + w/2
        ty = y + h/2

        if   ( cx - tx >  10 and xdeg <= 190 ):
            xdeg += 3
            os.system( "echo 0=" + str( xdeg ) + " > /dev/servoblaster" )
        elif ( cx - tx < -10 and xdeg >= 110 ):
            xdeg -= 3
            os.system( "echo 0=" + str( xdeg ) + " > /dev/servoblaster" )

        if   ( cy - ty >  10 and ydeg >= 110 ):
            ydeg -= 3
            os.system( "echo 1=" + str( ydeg ) + " > /dev/servoblaster" )
        elif ( cy - ty < -10 and ydeg <= 190 ):
            ydeg += 3
            os.system( "echo 1=" + str( ydeg ) + " > /dev/servoblaster" )

    # Calculate and show the FPS
    fps = fps + 1
    sfps = fps / ( time.time() - t_start )
    cv2.putText( image, "FPS : " + str( int( sfps ) ), ( 10, 10 ), cv2.FONT_HERSHEY_SIMPLEX, 0.5, ( 0, 0, 255 ), 2 )

    # Show the frame
    cv2.imshow( "Frame", image )
    cv2.waitKey( 1 )

    # Clear the stream in preparation for the next frame
    rawCapture.truncate( 0 )
最低0.47元/天 解锁文章


 1669
1669

 被折叠的 条评论
为什么被折叠?
被折叠的 条评论
为什么被折叠?
 到【灌水乐园】发言


