


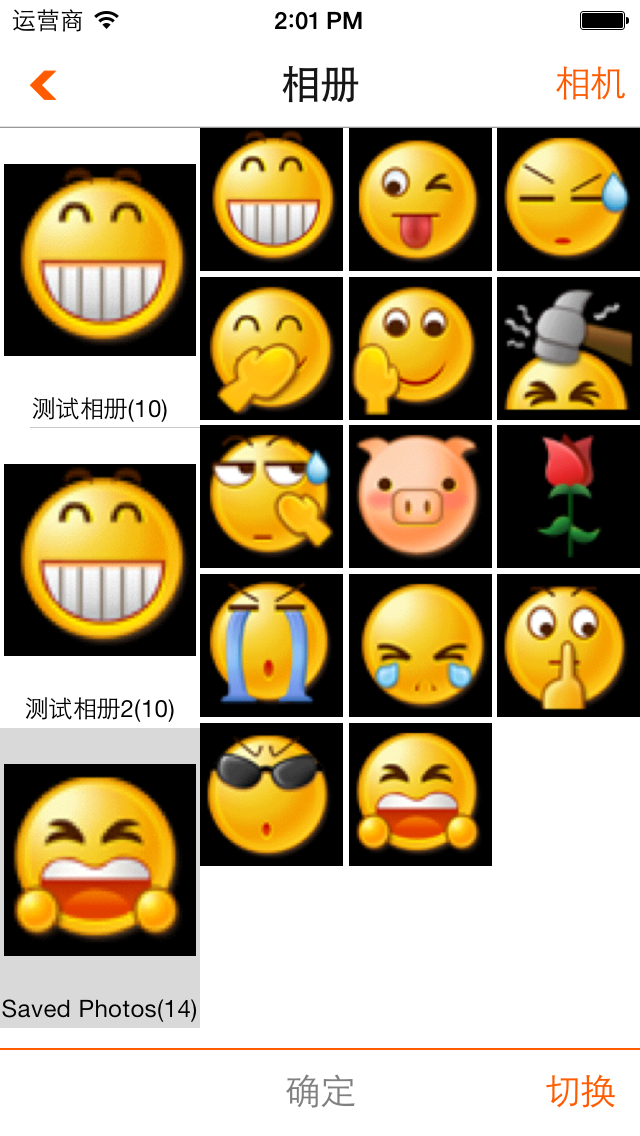
制作iOS相册多选控件,基本效果如截图,纯代码,未添加资源,可扩展,如需使用请自行添加使用。
代码简单,主要就3个类和一个工具包,工具包内有封装的小控件,属于辅助,哪都能用,后续有时间会增加功能,代码地址在:https://github.com/nb-tpl/TPLAlbum
2014年5月10日更新:
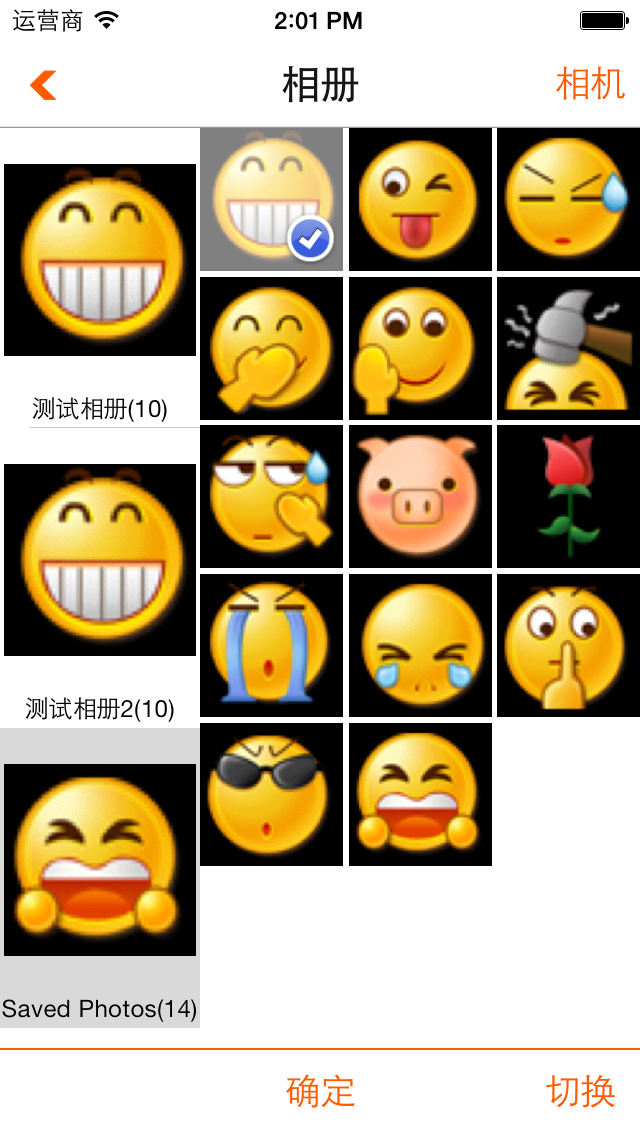
1、增加选中相片回调Block
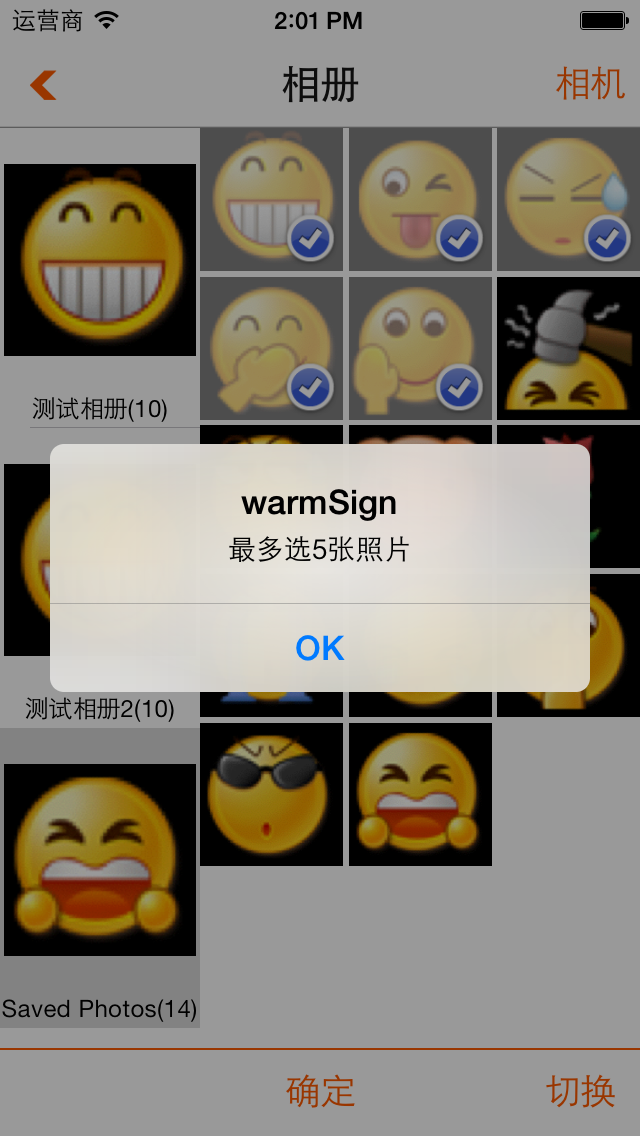
2、增加选中图片数量限制功能
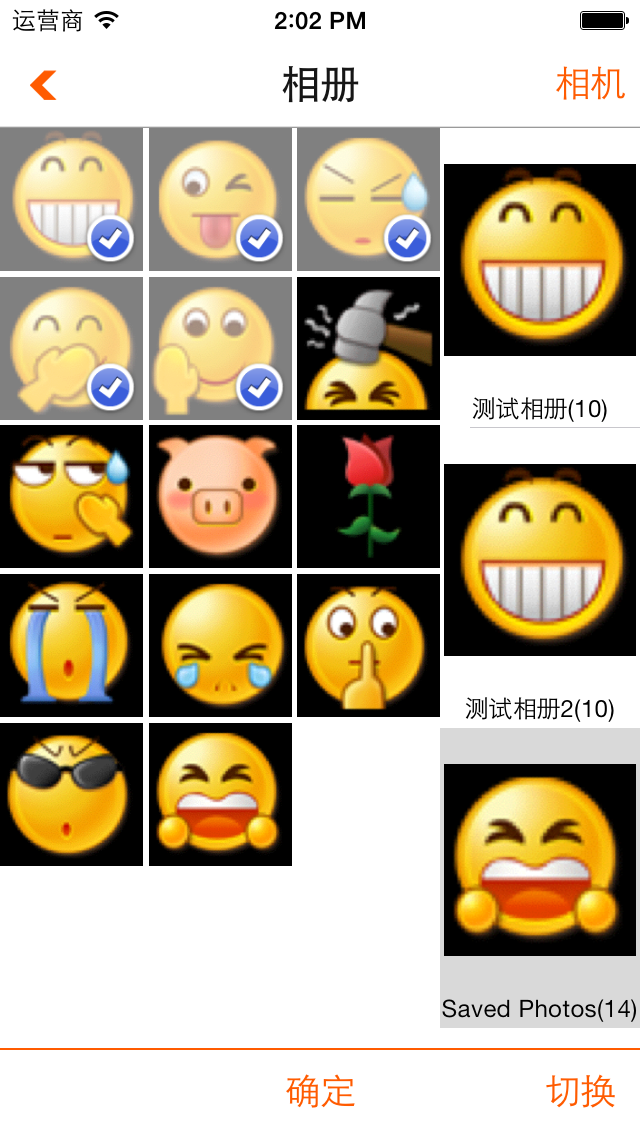
3、增加相册簿左右切换,以适用左右手持握
4、右上角相机照相
 |  |  |
 |  |
首先要拿到iOS系统中的相册数据需要导入头文件
#import <AssetsLibrary/AssetsLibrary.h>
步骤一:
先创建一个管理左侧相册选择和右侧相册缩略图展示的视图控制器TPLAblumViewController,控制器中包含
@interface TPLAblumViewController ()<UITableViewDataSource,UITableViewDelegate>
{
///查询相册Block
//    void (^assetsGroupsEnumerationBlock)(ALAssetsGroup *,BOOL *);
//    void (^assetsGroupsFailureBlock)(NSError *);
///相册数据
    ALAssetsLibrary * _assetsLibrary;
    __strong NSMutableArray * _assetsGroups;
///视图
    UITableView * _assetsGroupsTable;
    TPLAlbumCollectionView * _albumCollectionView;
}

///视图加载
//加载左边相册滚动视图
-(void)loadAssetsGroupsTable;
//加载右边相册详情视图
-(void)loadPhotosCollectionView;

@end
- (void)viewDidLoad
{
    [super viewDidLoad];
    // Do any additional setup after loading the view.
    self.view.backgroundColor = [UIColor blueColor];

    //加载相册滚动选择视图
    [self loadAssetsGroupsTable];
    //加载右侧相册详情视图
    [self loadPhotosCollectionView];


    //枚举相册的Block
    void (^assetsGroupsEnumerationBlock)(ALAssetsGroup *,BOOL *) = ^(ALAssetsGroup *assetsGroup, BOOL *stop) {
        [assetsGroup setAssetsFilter:[ALAssetsFilter allPhotos]];
        if (assetsGroup.numberOfAssets > 0)
        {
            [_assetsGroups addObject:assetsGroup];
        }
        if (stop) {
            [_assetsGroupsTable reloadData];
        }

    };
    //查找相册失败block
    void(^assetsGroupsFailureBlock)(NSError *) = ^(NSError *error) {
        NSLog(@"Error: %@", [error localizedDescription]);
    };


    [_assetsLibrary enumerateGroupsWithTypes:ALAssetsGroupAll usingBlock:assetsGroupsEnumerationBlock failureBlock:assetsGroupsFailureBlock];

}
视图加载方法
#pragma mark
#pragma mark           view life
#pragma mark
///视图加载
//加载左边相册滚动视图
-(void)loadAssetsGroupsTable
{
    _assetsGroupsTable = [[UITableView alloc] initWithFrame:CGRectMake(0, 0,GroupTable_Width_Default, self.view.bounds.size.height)];
    _assetsGroupsTable.layer.borderColor = [UIColor redColor].CGColor;
    _assetsGroupsTable.backgroundColor = [UIColor greenColor];
    _assetsGroupsTable.delegate = self;
    _assetsGroupsTable.dataSource = self;
    [self.view addSubview:_assetsGroupsTable];
}
//加载右边相册详情视图
-(void)loadPhotosCollectionView
{
    _albumCollectionView = [[TPLAlbumCollectionView alloc] initWithFrame:CGRectMake(GroupTable_Width_Default, 0, self.view.bounds.size.width - GroupTable_Width_Default, self.view.bounds.size.height)];
    [self.view addSubview:_albumCollectionView];
}-(UITableViewCell*)tableView:(UITableView *)tableView cellForRowAtIndexPath:(NSIndexPath *)indexPath
{
static NSString * cellName = @"groupCell";
UITableViewCell * cell = [tableView dequeueReusableCellWithIdentifier:cellName];
if (cell == nil) {
cell = [[UITableViewCell alloc] initWithStyle:UITableViewCellStyleDefault reuseIdentifier:cellName];
cell.autoresizesSubviews = YES;
//相册名字
UILabel * groupNameLabel = [[UILabel alloc] initWithFrame:CGRectMake(0, cell.bounds.size.height - 20, _assetsGroupsTable.bounds.size.width, 20)];
// groupNameLabel.backgroundColor = [UIColor redColor];
groupNameLabel.font = [UIFont systemFontOfSize:12.0f];
groupNameLabel.textAlignment = NSTextAlignmentCenter;
groupNameLabel.autoresizingMask = UIViewAutoresizingFlexibleTopMargin;
groupNameLabel.tag = 1001;
[cell addSubview:groupNameLabel];
//相册图片
UIImageView * groupImageView = [[UIImageView alloc] initWithFrame:CGRectMake(2, 2, _assetsGroupsTable.bounds.size.width - 4, groupNameLabel.frame.origin.y - 2)];
groupImageView.contentMode = UIViewContentModeScaleAspectFit;
groupImageView.autoresizingMask = UIViewAutoresizingFlexibleHeight;
groupImageView.tag = 1002;
[cell addSubview:groupImageView];
}
//相册姓名
UILabel * groupNameLabel = (UILabel*)[cell viewWithTag:1001];
NSString * name = [[_assetsGroups objectAtIndex:indexPath.row]
valueForProperty:ALAssetsGroupPropertyName];
groupNameLabel.text = [NSString stringWithFormat:@"%@(%ld)",name,[[_assetsGroups objectAtIndex:indexPath.row] numberOfAssets]];
//相册封面
UIImageView * groupImageView = (UIImageView*)[cell viewWithTag:1002];
groupImageView.image = [UIImage imageWithCGImage:[[_assetsGroups objectAtIndex:indexPath.row] posterImage]];
return cell;
}
步骤二:
当实现左面相册资源的获取后,接下来就需要相应切换相册的操作了,这里左侧使用的是UITableView,所以我们只需要实现TableView的代理方法
-(void)tableView:(UITableView *)tableView didSelectRowAtIndexPath:(NSIndexPath *)indexPath即可(此处操作可决定是否保存每个相册的缩略图展示视图还是公用一个,如果非公用则能很好的保存每个相册的多选信息,可依据需求自行修改,这里采用公用)
-(void)tableView:(UITableView *)tableView didSelectRowAtIndexPath:(NSIndexPath *)indexPath
{
    _albumCollectionView.assetsGroup = [_assetsGroups objectAtIndex:indexPath.row];
//    [_albumCollectionView reloadData];
}
实现图片的缩略图展示,创建一个类TPLAlbumCollectionView继承自UIView,包含一个相册资源包的属性
#import <AssetsLibrary/AssetsLibrary.h>
@interface TPLAlbumCollectionView :UIView
//图像资源包
@property(nonatomic,strong)ALAssetsGroup * assetsGroup;
//方法
-(void)reloadData;
@end
TPLAlbumCollectionView内采用UICollectionView对图片进行布局,当图像资源包的的set方法被调用是,刷新UICollectionView
#pragma mark
#pragma mark           perporty Function
#pragma mark
-(void)setAssetsGroup:(ALAssetsGroup *)assetsGroup
{
    _assetsGroup = assetsGroup;
    [_assetsArray removeAllObjects];
    [_choosePhotosArray removeAllObjects];
    [self.assetsGroup enumerateAssetsUsingBlock:^(ALAsset *result, NSUInteger index, BOOL *stop) {
        if(result) {
            [_assetsArray addObject:result];
            [_choosePhotosArray addObject:[NSNull null]];
        }
        if (stop)
        {
            [self reloadData];
        }
    }];

}
TPLAlbumCollectionView初始化方法中有UICollectionView的创建方法
- (id)initWithFrame:(CGRect)frame
{
    self = [super initWithFrame:frame];
    if (self) {
        // Initialization code
        self.backgroundColor = [UIColor lightGrayColor];
        //初始化数据
        _assetsGroup = nil;
        _assetsArray = [[NSMutableArray alloc] initWithCapacity:0];
        _choosePhotosArray = [[NSMutableArray alloc] initWithCapacity:0];
        //加上图片展示视图
        //创建CollectionView的布局类
        UICollectionViewFlowLayout * flowLayout = [[UICollectionViewFlowLayout alloc] init];
        //处理布局类
        flowLayout = [self dealFlowLayout:flowLayout];
        _photosCollectionView = [[UICollectionView alloc] initWithFrame:self.bounds collectionViewLayout:flowLayout];
        _photosCollectionView.backgroundColor = [UIColor orangeColor];
        _photosCollectionView.dataSource = self;
        _photosCollectionView.delegate = self;
        [_photosCollectionView registerClass:[TPLAlbumCollectionCell class] forCellWithReuseIdentifier:@"photoItem"];
        [self addSubview:_photosCollectionView];
    }
    return self;
}
越写越觉得下个代码一看就明白....如有需求,留言说明,哪部分重要就写哪部分...


 1681
1681

 被折叠的 条评论
为什么被折叠?
被折叠的 条评论
为什么被折叠?
 到【灌水乐园】发言


