


Configuration for Main Job
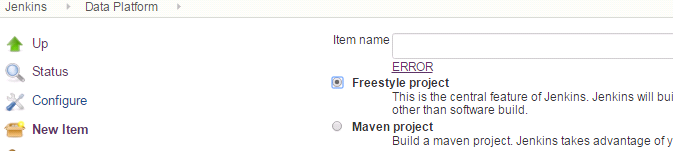
1. Create a Jenkins job:
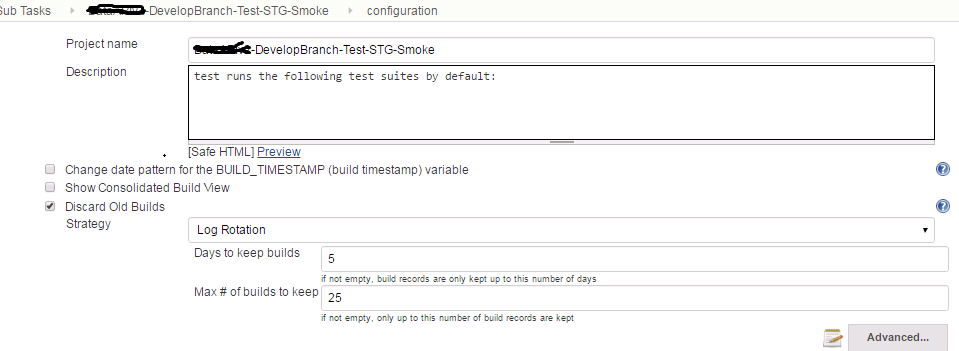
2.Discard old builds(This controls the disk consumption of Jenkins by managing how long you’d like to keep records of the builds ):
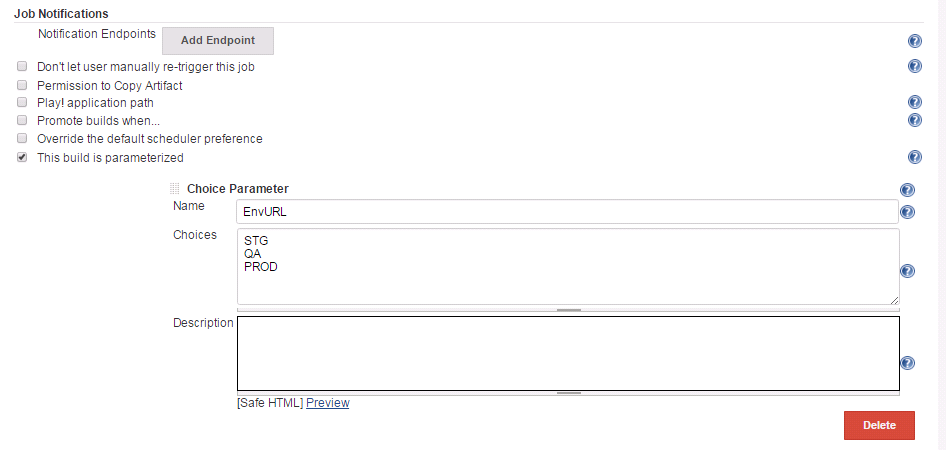
3.Configure the build parameters if necessary(When you are using Jenkins for various automations, it’s sometimes convenient to be able to “parameterize” a build, by requiring a set of user inputs to be made available to the build process):
4.Set the Execution Machine

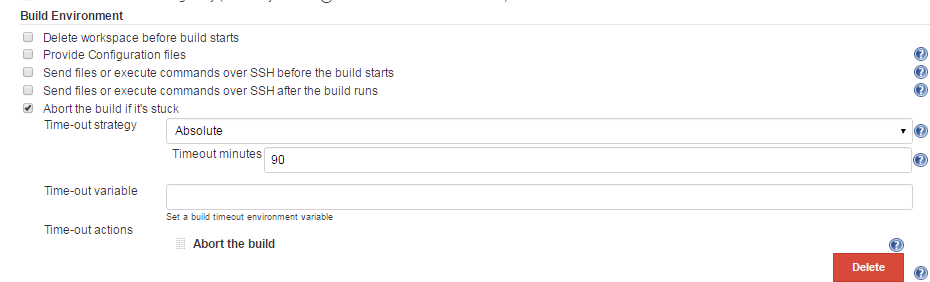
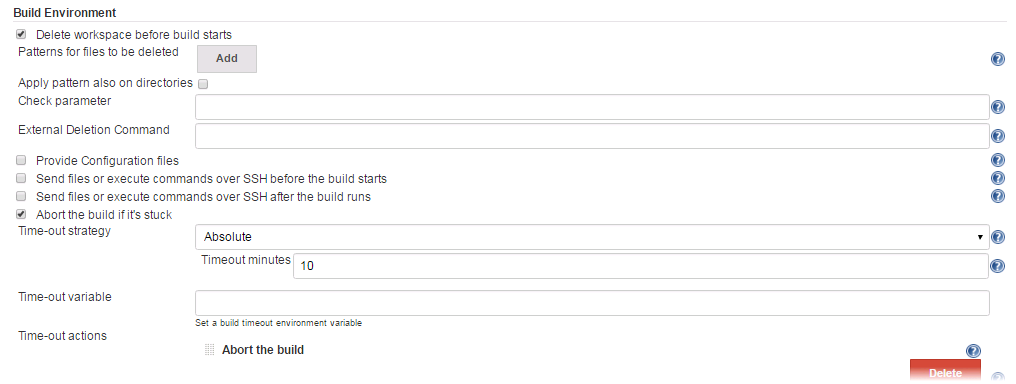
5.Time out strategy for the job
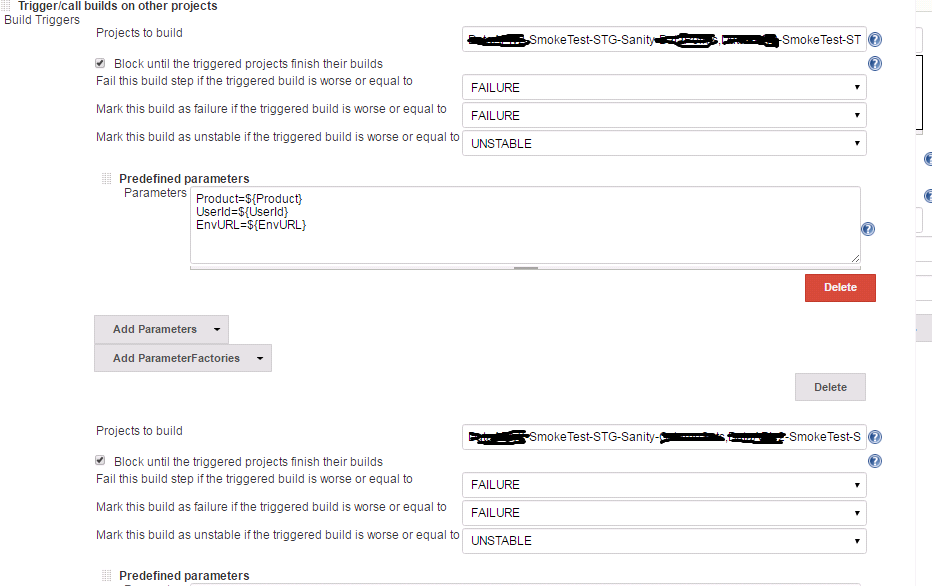
6.Builds on other project(call the sub jenkins jobs)
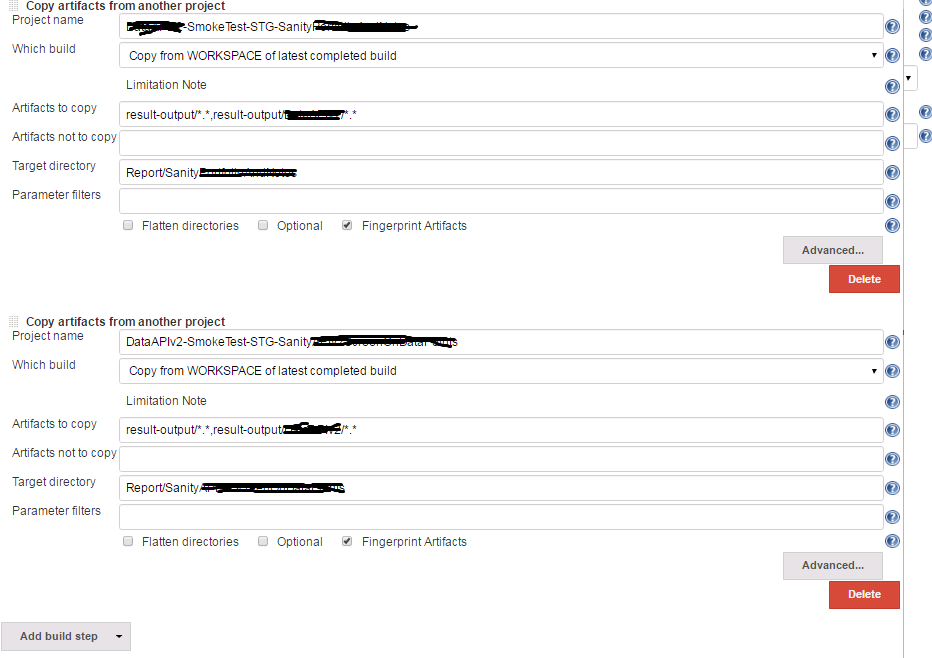
7.Copy test results of sub jobs to the directory of main jenkins job
8.Publish HTML reports: Publishes HTML reports. Fill the path to the directory containing the HTML reports in the “HTML directory to archive” field. Specify the pages to display (default index.html); you can specify multiple comma-separated pages and each will be a tab on the report page. Finally, give a name in the Report Title field, which will be used to provide a link to the report.
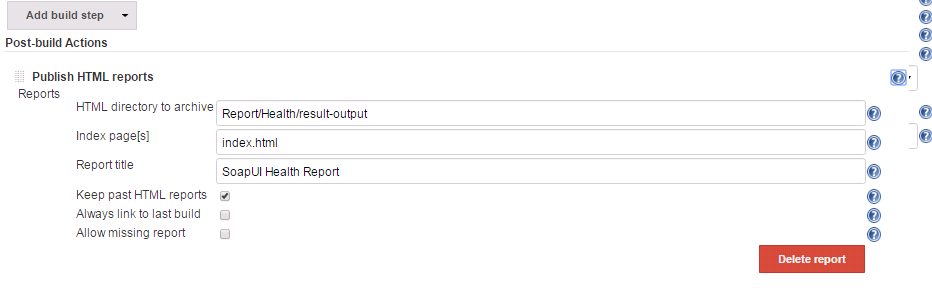
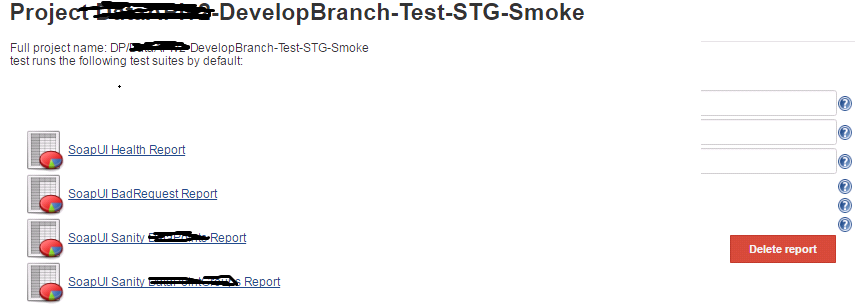
Then you will see the link for the html report diplay on the home page after build the job:
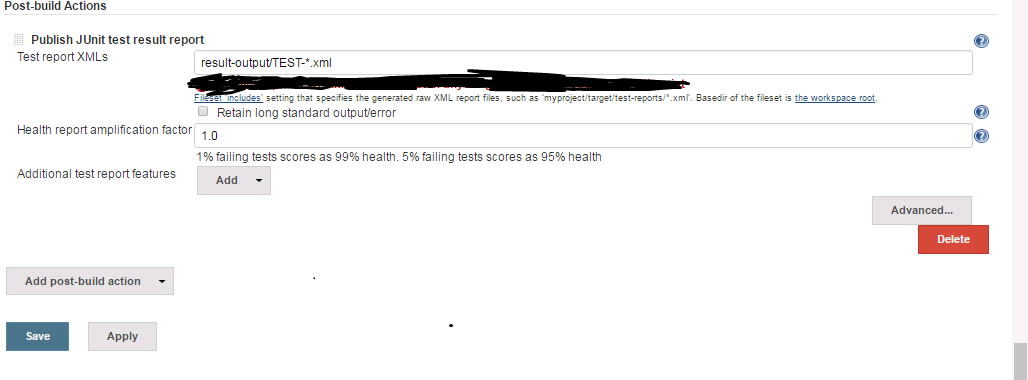
9.Publish Junit test result report: Jenkins understands the JUnit test report XML format (which is also used by TestNG). When this option is configured, Jenkins can provide useful information about test results, such as historical test result trends, a web UI for viewing test reports, tracking failures, and so on.

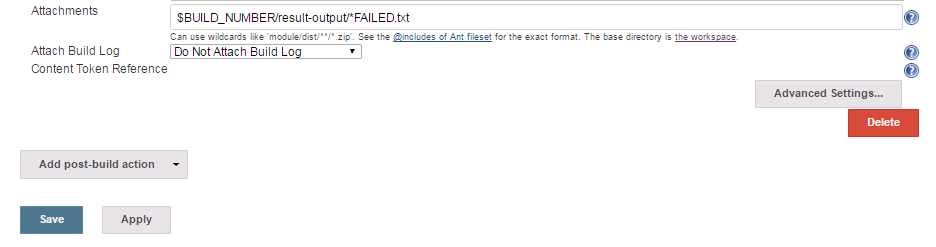
10.Set the Email notification

11.Customize the email notification
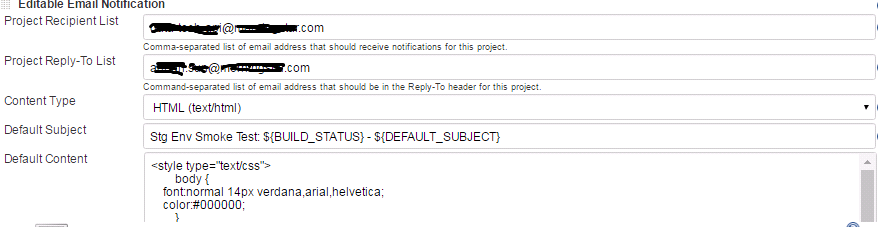
Default content:
<style type="text/css">
    body {
    font:normal 14px verdana,arial,helvetica;
    color:#000000;
    }
    table tr td, table tr th {
        font-size: 14px;
    }
    table.details tr th{
        font-weight: bold;
        text-align:left;
        background:#a6caf0;
    }
    table.details tr td{
        font-size: 12px;
        background:#eeeee0;
    }

    p {
        line-height:1.5em;
        margin-top:0.5em; margin-bottom:1.0em;
    }
    h1 {
        margin: 0px 0px 5px; font: 16px verdana,arial,helvetica
    }
    h2 {
        margin-top: 1em; margin-bottom: 0.5em; font: bold 14px verdana,arial,helvetica
    }
    h3 {
        margin-bottom: 0.5em; font: bold 12px verdana,arial,helvetica
    }
    h4 {
        margin-bottom: 0.5em; font: bold 12px verdana,arial,helvetica
    }
    h5 {
        margin-bottom: 0.5em; font: bold 12px verdana,arial,helvetica
    }
    h6 {
        margin-bottom: 0.5em; font: bold 12px verdana,arial,helvetica
    }
    .Error {
        font-weight:bold; color:red;
    }
    .Failure {
        font-weight:bold; color:purple;
    }
    .Properties {
      text-align:right;
    }
</style>

<span style="font-family:verdana;color:black;font-weight:bold;">Project : </span>
<span style="font-family:verdana;color:black;">ProjectName</span> <BR> <BR>

<span style="font-family:verdana;color:black;font-weight:bold;">Test Sets : </span>
<span style="font-family:verdana;color:black;">ProjectName-DevelopBranch-Test-STG-Smoke</span> <BR> <BR>

<span style="font-family:verdana;color:black;font-weight:bold;">Build Status : </span>
<span style="font-family:verdana;color:red;">${BUILD_STATUS}</span> <BR> <BR>

<span style="font-family:verdana;color:black;font-weight:bold;">Automation Tool : </span>
<span style="font-family:verdana;color:black;">SoapUI</span> <BR> <BR>

<span style="font-family:verdana;color:black;font-weight:bold;">Test Environment : </span>
<span style="font-family:verdana;color:black;">${EnvURL}</span> <BR> <BR>

<span style="font-family:verdana;color:black;font-weight:bold;">SoapUI Test Results : </span><BR>

<span style="font-family:verdana;color:black;"><a href=https://jenkins.xxx.com/job/DP/job/ProjectName-SmokeTest-STG-Sanity-SuiteName/ws/result-output/index.html>SuiteName</a></span><BR>

<span style="font-family:verdana;color:black;"><a href=https://jenkins.xxxx.com/job/DP/job/ProjectName-SmokeTest-STG-Sanity-SuiteName2/ws/result-output/index.html>SuiteName2</a></span><BR>

${FILE,path="Report/Sanity-SuiteName/result-output/alltests-fails.html"} <BR> <BR>
${FILE,path="Report/Sanity-SuiteName2/result-output/alltests-fails.html"} <BR> <BR>
Configuration for Sub Jobs:
1. Create a new job;
2. Discard Old Builds
3. Configure the build parameters if necessary
4. Source Code Management(Define where the TCs are from)

5. Build Environment(Delete workspace before build starts, Time-out strategy)
6. Run the test cases

7. Publish the junit test result


 621
621


 被折叠的 条评论
为什么被折叠?
被折叠的 条评论
为什么被折叠?
 到【灌水乐园】发言


