


说明
在项目中,要录入图文信息,需要将图片存到服务器。本篇博文将介绍在javaweb项目中,怎样使用MarkDown组件。在项目中使用了servlet,smartupload进行文件的上传。源码放在了github中,源码地址:https://github.com/Edenwds/component
正文
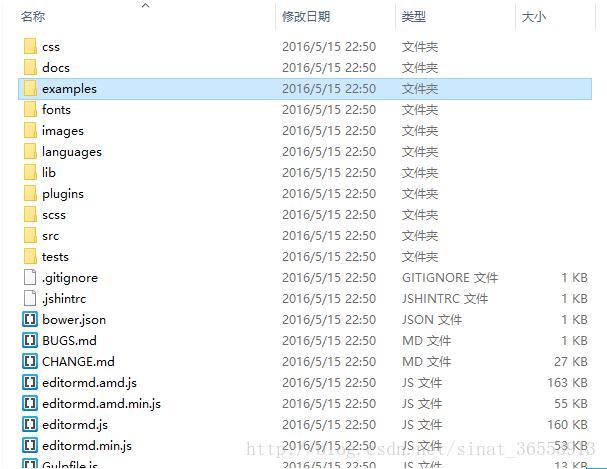
第一步 下载组件
在GitHub上下载editor.md,在本地解压后,得到基本组件。在example中有simple.html,可以显示基本编辑器。
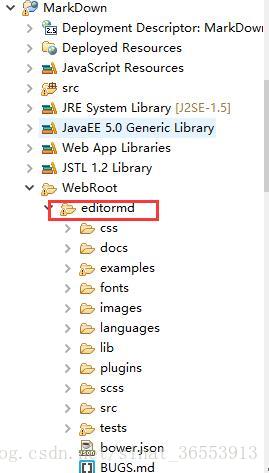
第二步 创建web项目
LZ使用的是MyEclipse,创建MarkDown项目,这里LZ将editor.md组件全部引入项目中
第三步 创建编辑页面
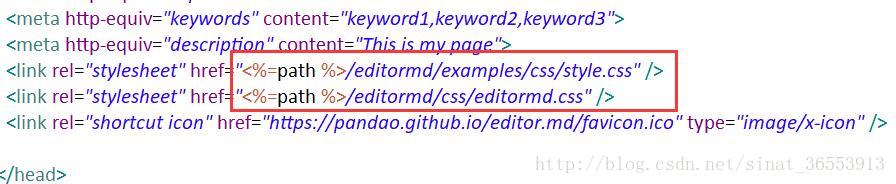
LZ根据example.html页面将index.jsp页面改造为编辑页面,改造时,要注意文件路径的修改
<%@ page language="java" import="java.util.*" pageEncoding="UTF-8"%>
<%
String path = request.getContextPath();
String basePath = request.getScheme()+"://"+request.getServerName()+":"+request.getServerPort()+path+"/";
%>
<!DOCTYPE HTML PUBLIC "-//W3C//DTD HTML 4.01 Transitional//EN">
<html>
<head>
<base href="<%=basePath%>">
<title>MarkDown</title>
<meta http-equiv="pragma" content="no-cache">
<meta http-equiv="cache-control" content="no-cache">
<meta http-equiv="expires" content="0">
<meta http-equiv="keywords" content="keyword1,keyword2,keyword3">
<meta http-equiv="description" content="This is my page">
<link rel="stylesheet" href="<%=path %>/editormd/examples/css/style.css" />
<link rel="stylesheet" href="<%=path %>/editormd/css/editormd.css" />
<link rel="shortcut icon" href="https://pandao.github.io/editor.md/favicon.ico" type="image/x-icon" />
</head>
<body>
<div id="layout">
<header>
</header>
<input type="submit" value="提交" onclick="tijiao()"/>
<div id="test-editormd">
<textarea style="display:none;" class="editormd-html-textarea" id="editormd"></textarea>
<textarea class="editormd-html-textarea" name="text" id="editormdhtml"></textarea>
</div>
</div>
<script src="<%=path %>/editormd/examples/js/jquery.min.js"></script>
<script src="<%=path %>/editormd/editormd.min.js"></script>
<script type="text/javascript">
var testEditor;
$(function() {
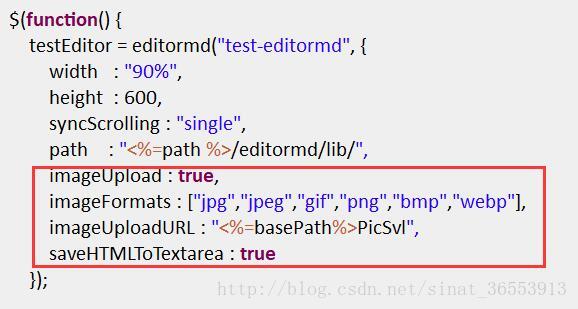
testEditor = editormd("test-editormd", {
width : "90%",
height : 600,
syncScrolling : "single",
path : "<%=path %>/editormd/lib/",
imageUpload : true,
imageFormats : ["jpg","jpeg","gif","png","bmp","webp"],
imageUploadURL : "<%=basePath%>PicSvl",
saveHTMLToTextarea : true
});
/*
// or
testEditor = editormd({
id : "test-editormd",
width : "90%",
height : 640,
path : "../lib/"
});
*/
});
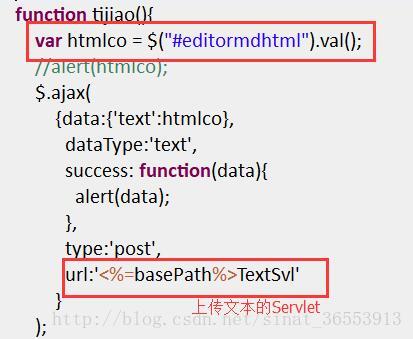
function tijiao(){
var htmlco = $("#editormdhtml").val();
//alert(htmlco);
$.ajax(
{data:{'text':htmlco},
dataType:'text',
success: function(data){
alert(data);
},
type:'post',
url:'<%=basePath%>TextSvl'
}
);
}
</script>
</body>
</html>路径的修改
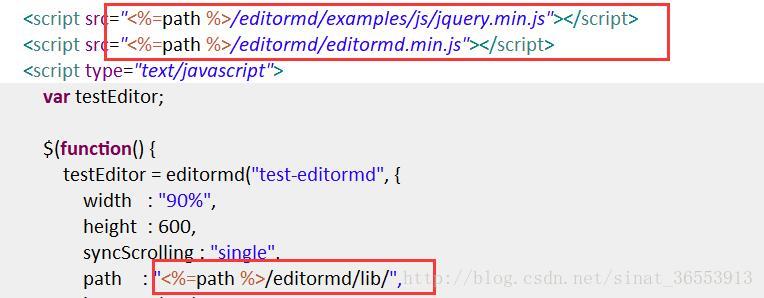
脚本的修改
修改脚本,使编辑器的内容可以以html格式存储,可以本地上传图片,这里LZ使用ajax进行交互
注意 要设置一个隐藏的文本域,用来构造生成了html代码,方便表单post提交,后台以name获取信息

AJAX的提交
第四步 创建Servlet
上传图片的PicServlet
import java.io.IOException;

import javax.servlet.ServletException;
import javax.servlet.http.HttpServlet;
import javax.servlet.http.HttpServletRequest;
import javax.servlet.http.HttpServletResponse;

import com.jspsmart.upload.File;
import com.jspsmart.upload.SmartUpload;
import com.jspsmart.upload.SmartUploadException;

/**
 * Servlet implementation class PicSvl
 */
public class PicSvl extends HttpServlet {
    private static final long serialVersionUID = 1L;

    /**
     * @see HttpServlet#HttpServlet()
     */
    public PicSvl() {
        super();
        // TODO Auto-generated constructor stub
    }

    /**
     * @see HttpServlet#doGet(HttpServletRequest request, HttpServletResponse response)
     */
    protected void doGet(HttpServletRequest request, HttpServletResponse response) throws ServletException, IOException {
        // TODO Auto-generated method stub
    }

    /**
     * @see HttpServlet#doPost(HttpServletRequest request, HttpServletResponse response)
     */
    protected void doPost(HttpServletRequest request, HttpServletResponse response) throws ServletException, IOException {
        SmartUpload smu = new SmartUpload();
        String rootPath = request.getSession().getServletContext().getRealPath("/resources/upload/pic");
        java.io.File filePath = new java.io.File(rootPath);
        if(!filePath.exists()){
            filePath.mkdirs();   //创建文件目录
        }
        try {
            smu.initialize(this.getServletConfig(), request, response);
            smu.setCharset("utf-8");
            smu.setAllowedFilesList("gif,jpg,png,bmp");
            smu.setMaxFileSize(200*1024);
            smu.upload();
            for(int i = 0; i < smu.getFiles().getCount(); i++){
                File file = smu.getFiles().getFile(i);
                java.io.File realfile = new java.io.File(rootPath+"/"+file.getFileName());
                file.saveAs(realfile.toString());
                String path = request.getContextPath();
                String basePath = request.getScheme()+"://"+request.getServerName()+":"+request.getServerPort()+path+"/";
                //System.out.println(basePath+"resources/upload/pic/"+file.getFilePathName());
                //返回json串  url作为图片的地址
                response.getWriter().write("{\"success\":1,\"messgae\":\"upload successful\",\"url\":\""+basePath+"resources/upload/pic/"+file.getFilePathName()+"\"}");
            }
        } catch (SmartUploadException e) {
            response.getWriter().write("{\"success\":0}");
            e.printStackTrace();
        }
    }

}
上传文本TextSvl
import java.io.IOException;

import javax.servlet.ServletException;
import javax.servlet.http.HttpServlet;
import javax.servlet.http.HttpServletRequest;
import javax.servlet.http.HttpServletResponse;

public class TextSvl extends HttpServlet {

    /**
     * Constructor of the object.
     */
    public TextSvl() {
        super();
    }

    /**
     * Destruction of the servlet. <br>
     */
    public void destroy() {
        super.destroy(); // Just puts "destroy" string in log
        // Put your code here
    }

    /**
     * The doGet method of the servlet. <br>
     *
     * This method is called when a form has its tag value method equals to get.
     *
     * @param request the request send by the client to the server
     * @param response the response send by the server to the client
     * @throws ServletException if an error occurred
     * @throws IOException if an error occurred
     */
    public void doGet(HttpServletRequest request, HttpServletResponse response)
            throws ServletException, IOException {
    }

    /**
     * The doPost method of the servlet. <br>
     *
     * This method is called when a form has its tag value method equals to post.
     *
     * @param request the request send by the client to the server
     * @param response the response send by the server to the client
     * @throws ServletException if an error occurred
     * @throws IOException if an error occurred
     */
    public void doPost(HttpServletRequest request, HttpServletResponse response)
            throws ServletException, IOException {
        String text = request.getParameter("text");
        System.out.println(text);
        response.setCharacterEncoding("utf-8");
        response.getWriter().write("上传成功");
    }

    /**
     * Initialization of the servlet. <br>
     *
     * @throws ServletException if an error occurs
     */
    public void init() throws ServletException {
        // Put your code here
    }

}
MarkDown可以自定义,大家可以按照examples中的例子进行修改
参考博文:https://www.hexcode.cn/article/show/editormd
http://www.jianshu.com/p/8fdaee0a5640


 433
433


 被折叠的 条评论
为什么被折叠?
被折叠的 条评论
为什么被折叠?
 到【灌水乐园】发言


