


Qt移动应用开发:实现跨平台的QML和OpenGL混合渲染
上一篇文章讲到了利用C++这个桥梁,我们实现了QML和Java的交互。Qt 5大力推崇的QML/JS开发,让轻量、快速开发的QML/JS打头阵,让重量的C++撑腰,几乎什么技术都能够实现。接下来的这篇文章讲的是我们使用QML,借助Qt库和OpenGL,实现了使用着色器定义OpenGL的渲染方式,为大家呈现混合渲染的效果。
原创文章,反对未声明的引用。原博客地址:http://blog.csdn.net/gamesdev/article/details/38024327
本文难度偏大,适合有经验的Qt开发同行学习交流。
演示程序下载地址:这里
源代码下载地址:这里
演示程序的截图如下(Android):
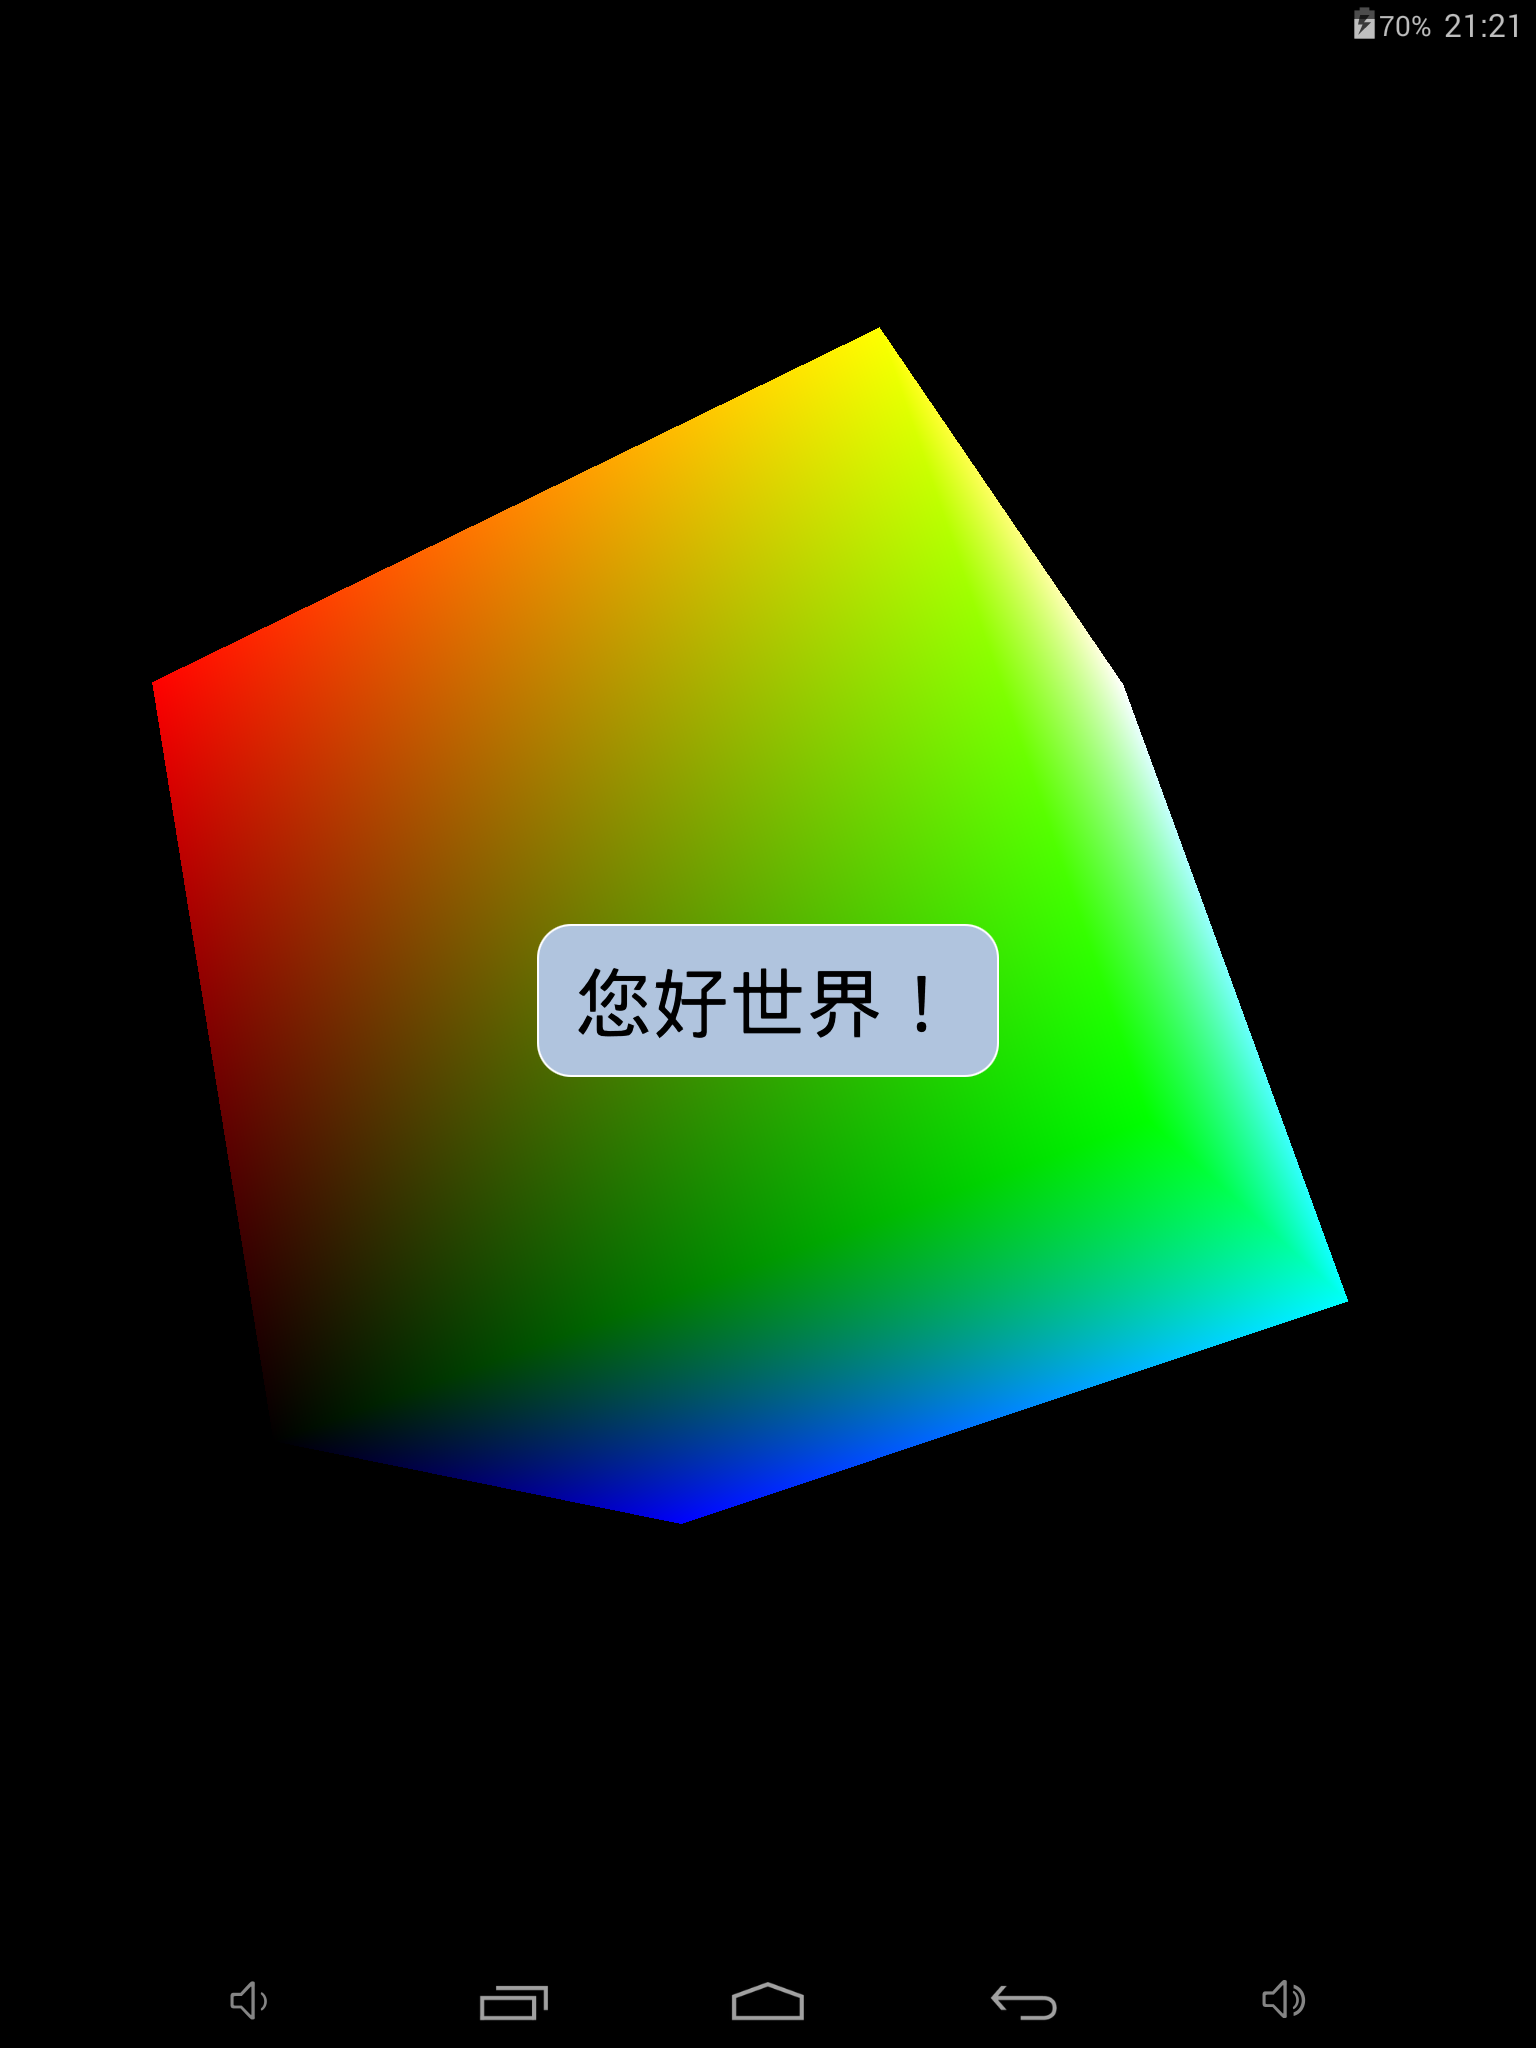
首先我们来看简单的QML代码。本例很简单,只有一个界面,没有任何界面的跳转。我们在前面显示一个矩形,上面写了”您好世界!”的文字,后面显示的是一个旋转的矩形。按照规定,先显示的内容在最底层显示,于是我们将Cube放在前面,Rectangle放在了后面。
- import QtQuick 2.2
- import QtQuick.Window 2.2
- import OpenGLCube 1.0
- Window
- {
- id: root
- width: Qt.platform.os === "android"? Screen.width: 320
- height: Qt.platform.os === "android"? Screen.height: 480
- visible: true
- Cube
- {
- id: cube
- anchors.fill: parent
- ParallelAnimation
- {
- running: true
- NumberAnimation
- {
- target: cube
- property: "rotateAngle"
- from: 0
- to: 360
- duration: 5000
- }
- Vector3dAnimation
- {
- target: cube
- property: "axis"
- from: Qt.vector3d( 0, 1, 0 )
- to: Qt.vector3d( 1, 0, 0 )
- duration: 5000
- }
- loops: Animation.Infinite
- }
- }
- Rectangle
- {
- anchors.centerIn: parent
- width: textField.width * 1.2
- height: textField.height * 1.5
- radius: textField.height / 3
- color: "lightsteelblue"
- border.color: "white"
- border.width: 2
- Text
- {
- id: textField
- anchors.centerIn: parent
- text: "您好世界!"
- font.pixelSize: root.width / 20
- }
- }
- }
我们发现Cube类并不是Qt Quick自带的,而是我们自定义的一个QML模块OpenGLCube。按照第六篇文章上面的方法,我们通过在C++注册QML类实现了让QML访问C++代码。下面是主函数的实现:
- #include <QApplication>
- #include <QQmlApplicationEngine>
- #include "Cube.h"
- int main( int argc, char** argv )
- {
- QApplication app( argc, argv );
- qmlRegisterType<Cube>( "OpenGLCube", 1, 0, "Cube" );
- QQmlApplicationEngine engine;
- engine.load( QUrl( QStringLiteral( "qrc:///main.qml" ) ) );
- return app.exec( );
- }
主函数中通过qmlRegisterType函数向QML环境注册了一个QML类。接下来就是Cube类的定义和实现了。
Cube.h
- #ifndef CUBE_H
- #define CUBE_H
- #include <QVector3D>
- #include <QMatrix4x4>
- #include <QOpenGLFunctions>
- #include <QOpenGLBuffer>
- #include <QOpenGLShaderProgram>
- #include <QQuickItem>
- #include <QQuickWindow>
- #define DECLRARE_Q_PROPERTY( aType, aProperty ) protected:\
- aType m_ ## aProperty; public:\
- aType aProperty( void ) { return m_ ## aProperty; } \
- void set ## aProperty( aType _ ## aProperty ) \
- {\
- m_ ## aProperty = _ ## aProperty;\
- if ( window( ) != Q_NULLPTR )\
- {\
- window( )->update( );\
- }\
- }
- class Cube: public QQuickItem
- {
- Q_OBJECT
- Q_PROPERTY( qreal rotateAngle READ RotateAngle
- WRITE setRotateAngle NOTIFY RotateAngleChanged )
- Q_PROPERTY( QVector3D axis READ Axis
- WRITE setAxis NOTIFY AxisChanged )
- public:
- explicit Cube( void );
- signals:
- void RotateAngleChanged( void );
- void AxisChanged( void );
- protected slots:
- void Render( void );
- void OnWindowChanged( QQuickWindow* pWindow );
- void Release( void );
- protected:
- bool RunOnce( void );
- QMatrix4x4 m_ModelViewMatrix;
- QMatrix4x4 m_ProjectionMatrix;
- QOpenGLBuffer m_VertexBuffer, m_IndexBuffer;
- QOpenGLBuffer m_ColorBuffer;
- QOpenGLShaderProgram m_ShaderProgram;
- DECLRARE_Q_PROPERTY( qreal, RotateAngle )
- DECLRARE_Q_PROPERTY( QVector3D, Axis )
- };
- #endif // CUBE_H
在Cube.h中,我们让Cube继承QQuickItem。因为Cube也是一个Qt Quick的显示对象。这里顺便说一下,C++的QQuickItem对应QML的Item类,而C++的QObject则是对应QML的QtObject类。在C++中,QQuickItem继承于QObject,在QML中,Item继承QtObject。在类的定义中,我使用了QOpenGLBuffer来保持各种绘图缓存(缓冲区),使用QOpenGLShaderProgram来方便地载入着色器数据。最后我使用了一个方便的宏来定义受QML属性系统控制的成员变量。当这些变量发生变化的时候,让其通知父窗口(QQuickWindow)进行更新。
Cube.cpp
- // Cube.cpp
- #include "Cube.h"
- Cube::Cube( void ):
- m_VertexBuffer( QOpenGLBuffer::VertexBuffer ),
- m_IndexBuffer( QOpenGLBuffer::IndexBuffer ),
- m_ColorBuffer( QOpenGLBuffer::VertexBuffer ),
- m_RotateAngle( 0.0f ),
- m_Axis( 1.0f, 1.0f, 0.0f )
- {
- // 初始化
- connect( this, SIGNAL( windowChanged( QQuickWindow* ) ),
- this, SLOT( OnWindowChanged( QQuickWindow* ) ) );
- }
- void Cube::OnWindowChanged( QQuickWindow* pWindow )
- {
- if ( pWindow == Q_NULLPTR ) return;
- connect( pWindow, SIGNAL( beforeRendering( ) ),
- this, SLOT( Render( ) ), Qt::DirectConnection );
- pWindow->setClearBeforeRendering( false );
- }
- void Cube::Render( void )
- {
- static bool runOnce = RunOnce( );
- Q_UNUSED( runOnce );
- // 运动
- m_ModelViewMatrix.setToIdentity( );
- m_ModelViewMatrix.translate( 0.0f, 0.0f, -60.0f );
- m_ModelViewMatrix.rotate( m_RotateAngle, m_Axis.x( ),
- m_Axis.y( ), m_Axis.z( ) );
- // 渲染
- glViewport( 0, 0, window( )->width( ), window( )->height( ) );
- glClearColor( 0.0f, 0.0f, 0.0f, 1.0f );
- glClear( GL_COLOR_BUFFER_BIT | GL_DEPTH_BUFFER_BIT );
- glEnable( GL_DEPTH_TEST );
- glEnable( GL_CULL_FACE );
- glFrontFace( GL_CW );
- m_ShaderProgram.bind( );
- m_VertexBuffer.bind( );
- int posLoc = m_ShaderProgram.attributeLocation( "position" );
- m_ShaderProgram.enableAttributeArray( posLoc );
- m_ShaderProgram.setAttributeBuffer( posLoc, // 位置
- GL_FLOAT, // 类型
- 0, // 偏移
- 3, // 元大小
- 0 ); // 迈
- m_ColorBuffer.bind( );
- int colorLoc = m_ShaderProgram.attributeLocation( "color" );
- m_ShaderProgram.enableAttributeArray( colorLoc );
- m_ShaderProgram.setAttributeBuffer( colorLoc, // 位置
- GL_FLOAT, // 类型
- 0, // 偏移
- 4, // 元大小
- 0 ); // 迈
- m_IndexBuffer.bind( );
- m_ShaderProgram.setUniformValue( "modelViewMatrix", m_ModelViewMatrix );
- m_ShaderProgram.setUniformValue( "projectionMatrix", m_ProjectionMatrix );
- glDrawElements( GL_TRIANGLES, 36, GL_UNSIGNED_BYTE, Q_NULLPTR );
- m_ShaderProgram.disableAttributeArray( posLoc );
- m_ShaderProgram.disableAttributeArray( colorLoc );
- m_IndexBuffer.release( );
- m_VertexBuffer.release( );
- m_ShaderProgram.release( );
- }
- bool Cube::RunOnce( void )
- {
- // 初始化着色器
- m_ShaderProgram.addShaderFromSourceFile( QOpenGLShader::Vertex,
- ":/shader/Shader.vsh" );
- m_ShaderProgram.addShaderFromSourceFile( QOpenGLShader::Fragment,
- ":/shader/Shader.fsh" );
- m_ShaderProgram.link( );
- // 初始化顶点缓存
- const GLfloat length = 10.0f;
- const GLfloat vertices[] =
- {
- length, -length, length,
- length, -length, -length,
- -length, -length, -length,
- -length, -length, length,
- length, length, length,
- length, length, -length,
- -length, length, -length,
- -length, length, length
- };
- m_VertexBuffer.setUsagePattern( QOpenGLBuffer::StaticDraw );
- m_VertexBuffer.create( );
- m_VertexBuffer.bind( );
- m_VertexBuffer.allocate( vertices, sizeof( vertices ) );
- // 初始化颜色的缓存
- const GLfloat colors[] =
- {
- 1.0f, 0.0f, 1.0f, 1.0f,
- 1.0f, 0.0f, 0.0f, 1.0f,
- 0.0f, 0.0f, 0.0f, 1.0f,
- 0.0f, 0.0f, 1.0f, 1.0f,
- 1.0f, 1.0f, 1.0f, 1.0f,
- 1.0f, 1.0f, 0.0f, 1.0f,
- 0.0f, 1.0f, 0.0f, 1.0f,
- 0.0f, 1.0f, 1.0f, 1.0f
- };
- m_ColorBuffer.setUsagePattern( QOpenGLBuffer::StaticDraw );
- m_ColorBuffer.create( );
- m_ColorBuffer.bind( );
- m_ColorBuffer.allocate( colors, sizeof( colors ) );
- // 初始化索引缓存
- GLubyte indices[] =
- {
- 0, 1, 2, 0, 2, 3,// 下面
- 7, 6, 4, 6, 5, 4,// 上面
- 7, 4, 3, 4, 0, 3,// 左面
- 5, 6, 1, 6, 2, 1,// 右面
- 4, 5, 0, 5, 1, 0,// 前面
- 3, 2, 6, 3, 6, 7,// 背面
- };
- m_IndexBuffer.setUsagePattern( QOpenGLBuffer::StaticDraw );
- m_IndexBuffer.create( );
- m_IndexBuffer.bind( );
- m_IndexBuffer.allocate( indices, sizeof( indices ) );
- // 设定模型矩阵和投影矩阵
- float aspectRatio = float( window( )->width( ) ) / float( window( )->height( ) );
- m_ProjectionMatrix.perspective( 45.0f,
- aspectRatio,
- 0.5f,
- 500.0f );
- connect( window( )->openglContext( ),
- SIGNAL( aboutToBeDestroyed( ) ),
- this, SLOT( Release( ) ),
- Qt::DirectConnection );
- return true;
- }
- void Cube::Release( void )
- {
- qDebug( "Vertex buffer and index buffer are to be destroyed." );
- m_VertexBuffer.destroy( );
- m_IndexBuffer.destroy( );
- m_ColorBuffer.destroy( );
- }
类的实现较复杂。大致分为构造阶段、初始化阶段、渲染阶段和释放空间阶段。这里我们使用了OpenGL ES 2.0常用的buffer + attribute array方式来进行高效渲染。有关上述OpenGL的知识,感兴趣的同行们可以看看《OpenGL ES 2.0 Programming Guide》、Qt书籍有关OpenGL的部分、KDAB博客中有关OpenGL的知识以及我的其它博客以获得相关知识。
上述程序载入了顶点着色器和片断着色器。它们如下所示:
- // Shader.vsh
- attribute highp vec3 position;
- attribute highp vec4 color;
- uniform mat4 modelViewMatrix;
- uniform mat4 projectionMatrix;
- varying highp vec4 v_Color;
- void main( void )
- {
- gl_Position = projectionMatrix *
- modelViewMatrix *
- vec4( position, 1.0 );
- v_Color = color;
- }
- // Shader.fsh
- varying highp vec4 v_Color;
- void main( void )
- {
- gl_FragColor = v_Color;
- }
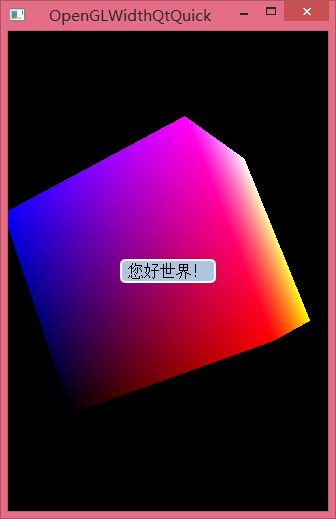
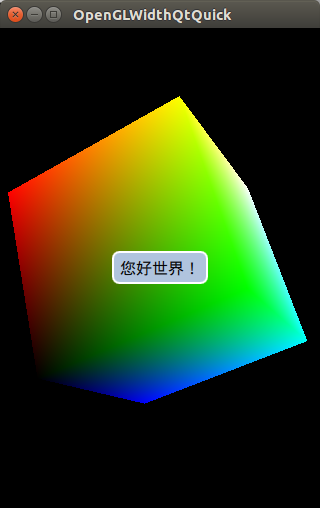
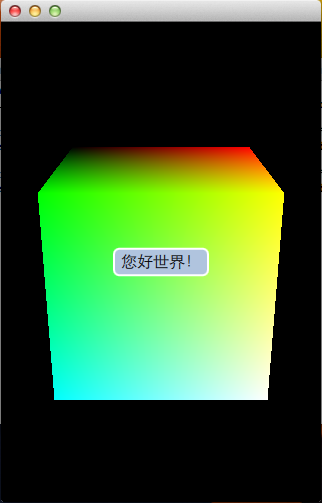
本例在三大桌面平台上运行正常,同时在Android平台上也能够顺利地运行。


 721
721


 被折叠的 条评论
为什么被折叠?
被折叠的 条评论
为什么被折叠?
 到【灌水乐园】发言


