


Android Property Animator (属性动画)第一篇了解到了Property Animator实现动画的基本流程。这篇主要讲解布局动画以及做出简单的动画效果。
1、如何使用xml文件来创建属性动画
大家都知道,View Animator 、Drawable Animator都可以在res/anim文件夹下创建动画。那么 Property Animator 也可以在文件中申明:
首先在res文件夹创建animator文件夹,然后在animator文件夹下创建自己xml文件。如res/animator/scale_anim.xml
<?xml version="1.0" encoding="utf-8"?>
<objectAnimator xmlns:android="http://schemas.android.com/apk/res/android"
    android:duration="2000"
    android:propertyName="rotationX"
    android:valueFrom="0.0"
    android:valueTo="360.0"
android:valueType="floatType"></objectAnimator>我们只需要在Activity中这么调用:
    public void bntXml(View v) {
        Animator animator = AnimatorInflater.loadAnimator(this, R.animator.scale_anim);
        animator.setTarget(ivFace);
        animator.start();
    }
那么你肯定会想呢,只支持单纯单一的动画吗?如果我需要多动画呢?
<?xml version="1.0" encoding="utf-8"?>
<set xmlns:android="http://schemas.android.com/apk/res/android"
    android:ordering="together">

    <objectAnimator
        android:duration="2000"
        android:propertyName="rotationX"
        android:valueFrom="0.0"
        android:valueTo="360.0"
        android:valueType="floatType"></objectAnimator>

    <objectAnimator
        android:duration="2000"
        android:propertyName="scaleX"
        android:valueFrom="1.0"
        android:valueTo="2.0"
        android:valueType="floatType"></objectAnimator>

    <objectAnimator
        android:duration="2000"
        android:propertyName="scaleY"
        android:valueFrom="1.0"
        android:valueTo="2.0"
        android:valueType="floatType"></objectAnimator>

</set>使用set标签,android:ordering属性值为together表示一起运动,值还可以为sequentially表示按着先后顺序运动。
我们来看看效果图:
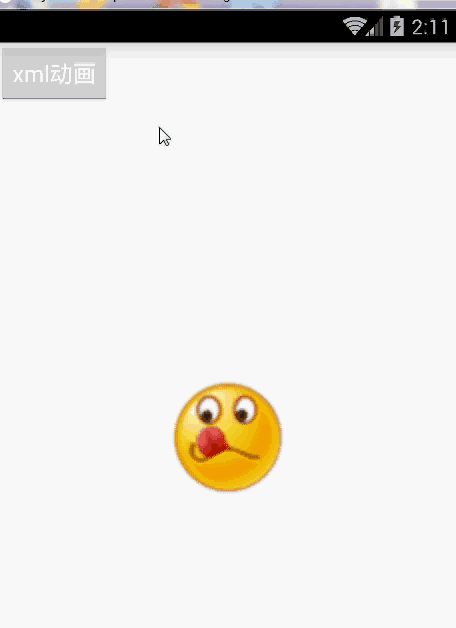
Layout Animations(布局动画)
主要是通过使用LayoutAnimation为布局的容器设置动画,当容器中的视图层次发生变化时存在过渡的动画效果。
使用之前,我们要来了解下LayoutAnimation有哪些类型:
LayoutTransition.APPEARING :一个View在ViewGroup中出现,该View的动画
LayoutTransition.CHANGE_APPEARING :一个View在ViewGroup中出现,该View对该ViewGroup中其他View位置造成影响,其他View的动画
LayoutTransition.DISAPPEARING :一个View在ViewGroup中消失,该View的动画
LayoutTransition.CHANGE_DISAPPEARING :一个View在ViewGroup中消失,该View对该ViewGroup中其他View位置造成影响,其他View的动画
这里重点区分加粗字体的含义,我们还是通过一个例子具体来看一下:
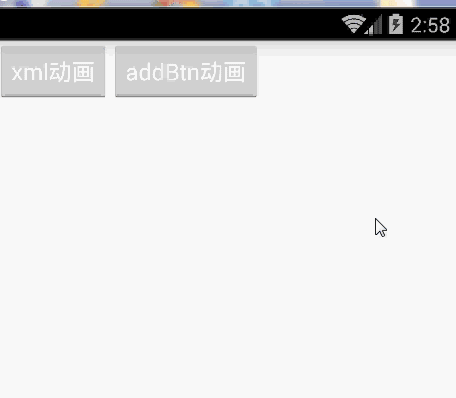
布局文件:
<?xml version="1.0" encoding="utf-8"?>
<RelativeLayout xmlns:android="http://schemas.android.com/apk/res/android"
    android:layout_width="match_parent"
    android:layout_height="match_parent">

    <Button
        android:id="@+id/bntXml"
        android:layout_width="wrap_content"
        android:layout_height="wrap_content"
        android:onClick="bntXml"
        android:text="xml动画"
        android:textColor="#ffffff" />

    <Button
        android:id="@+id/bntAdd"
        android:layout_width="wrap_content"
        android:layout_height="wrap_content"
        android:layout_toRightOf="@+id/bntXml"
        android:onClick="bntAdd"
        android:text="addBtn动画"
        android:textColor="#ffffff" />

    <GridLayout
        android:id="@+id/gridLayout"
        android:layout_width="match_parent"
        android:layout_height="wrap_content"
        android:layout_below="@+id/bntXml"
        android:columnCount="5"></GridLayout>

    <ImageView
        android:id="@+id/ivFace"
        android:layout_width="wrap_content"
        android:layout_height="wrap_content"
        android:layout_centerInParent="true"
        android:src="@mipmap/face" />

</RelativeLayout>
Activity代码:
package com.github.ws.animationdemo;

import android.animation.Animator;
import android.animation.AnimatorInflater;
import android.animation.LayoutTransition;
import android.animation.ObjectAnimator;
import android.app.Activity;
import android.os.Bundle;
import android.view.View;
import android.widget.Button;
import android.widget.GridLayout;
import android.widget.ImageView;

/**
 * Created by Administrator on 4/6 0006.
 */
public class XmlAnimatorActivity extends Activity {

    private ImageView ivFace;
    private GridLayout gridLayout;
    private LayoutTransition transition;
    private int count = 0;

    @Override
    protected void onCreate(Bundle savedInstanceState) {
        super.onCreate(savedInstanceState);
        setContentView(R.layout.xml_anim);
        ivFace = (ImageView) findViewById(R.id.ivFace);
        gridLayout = (GridLayout) findViewById(R.id.gridLayout);

        transition = new LayoutTransition();
        transition.setAnimator(LayoutTransition.APPEARING, ObjectAnimator.ofFloat(gridLayout, "scaleX", 0.0f, 1.0f));
        transition.setDuration(1000);
        gridLayout.setLayoutTransition(transition);
    }

    void bntAdd(View view) {
        Button btn = new Button(this);
        btn.setText(""+count++);
        gridLayout.addView(btn,Math.min(1, gridLayout.getChildCount()));
        btn.setOnClickListener(new View.OnClickListener() {
            @Override
            public void onClick(View view) {
                gridLayout.removeView(view);
            }
        });
    }

    public void bntXml(View v) {
        Animator animator = AnimatorInflater.loadAnimator(this, R.animator.more_anim);
        animator.setTarget(ivFace);
        animator.start();
    }
}
效果图:
属性动画是不是很很容易实现,你也动手试试吧,效果肯定很棒。属性动画第二篇和第一篇都是一些基础知识,你如果感兴趣做出一些比较拉风,绚丽的动画,我们可以一起研究。
有什么疑问,什么地方写得不当的地方,还请多多指出。


 1055
1055

 被折叠的 条评论
为什么被折叠?
被折叠的 条评论
为什么被折叠?
 到【灌水乐园】发言


