


一、碎片(Fragment)是一种可以嵌入在活动当中的 UI 片段,它能让程序更加合理和充分地利用大屏幕的空间,因而在平板上应用的非常广泛,所以,首先我们必须新建一个4.2以上系统的平板电脑的模拟器,就可以开始学习碎片了,新建模拟器如下图所示:
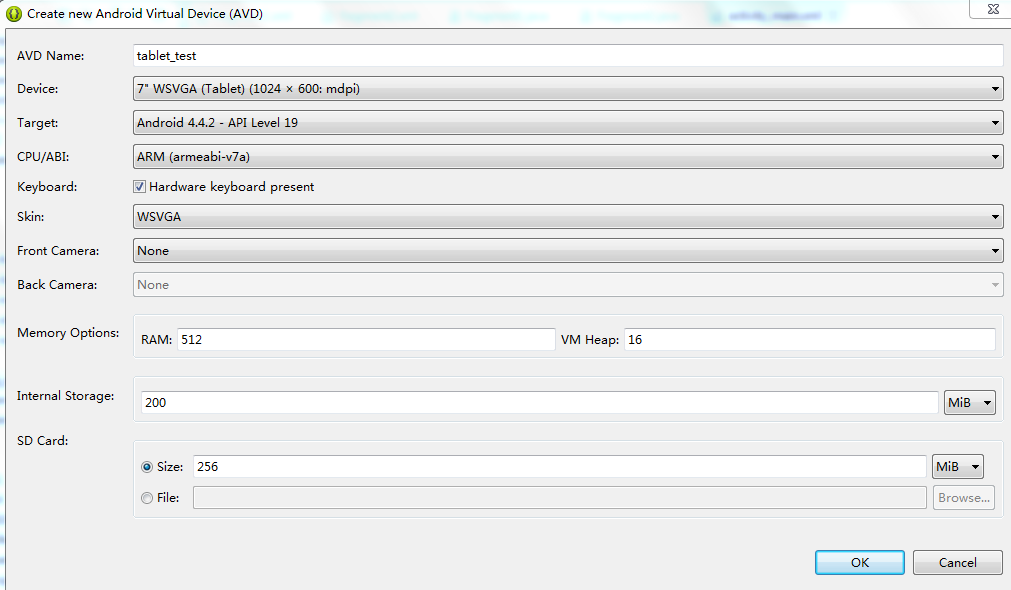
点击OK,即可创建一个平板电脑的模拟器,我的平板模拟器为Android 4.4.2系统的。
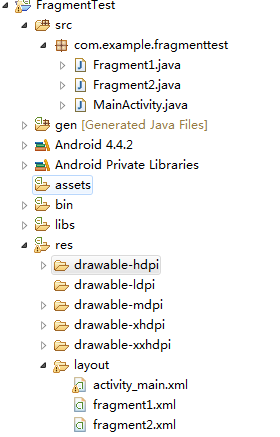
二、接下来我们来简单地使用碎片,首先,新建一个android项目,项目名为FragmentTest,在一个活动中添加两个碎片,并平分一个活动的空间,项目结构如下:
1、首先,分别创建fragment1.xml、fragment2.xml文件,分别为平板电脑中左右的布局,分别为填充父窗口的按钮,背景颜色不同,代码分别如下:
fragment1.xml:
<?xml version="1.0" encoding="utf-8"?>
<LinearLayout xmlns:android="http://schemas.android.com/apk/res/android"
    android:layout_width="match_parent"
    android:layout_height="match_parent"
    android:orientation="vertical" >

    <Button
        android:layout_width="match_parent"
        android:layout_height="match_parent"
        android:background="#FFCCFF"/>

</LinearLayout>
fragment2.xml:
<?xml version="1.0" encoding="utf-8"?>
<LinearLayout xmlns:android="http://schemas.android.com/apk/res/android"
    android:layout_width="match_parent"
    android:layout_height="match_parent"
    android:orientation="vertical" >

    <Button
        android:layout_width="match_parent"
        android:layout_height="match_parent"
        android:background="#CCFFFF"/>

</LinearLayout>
2、分别创建两个继承于android.app.Fragment父类的子类,注意,这里可能会有两个下的 Fragment 供你选择,建议android.app.Fragment,因为我们的平板电脑系统为android 4.0以上的,而另一个包下的 Fragment 主要是用于兼容低版本的 Android 系统。
Fragment1类代码如下:
package com.example.fragmenttest;

import android.app.Fragment;
import android.os.Bundle;
import android.view.LayoutInflater;
import android.view.View;
import android.view.ViewGroup;

public class Fragment1 extends Fragment {

    @Override
    public View onCreateView(LayoutInflater inflater, ViewGroup container,
            Bundle savedInstanceState) {
        View view=inflater.inflate(R.layout.fragment1, container,false);
        return view;
    }


}
Fragment2类代码如下:
package com.example.fragmenttest;

import android.app.Fragment;
import android.os.Bundle;
import android.view.LayoutInflater;
import android.view.View;
import android.view.ViewGroup;

public class Fragment2 extends Fragment {

    @Override
    public View onCreateView(LayoutInflater inflater, ViewGroup container,
            Bundle savedInstanceState) {
        View view=inflater.inflate(R.layout.fragment2, container,false);
        return view;
    }

}
通过重写Fragment的onCreateView()方法,通过LayoutInflater的inflate()方法动态加载相应的布局。
3、修改默认的activity_main.xml布局文件,即主界面的布局,代码如下:
<LinearLayout xmlns:android="http://schemas.android.com/apk/res/android"
    xmlns:tools="http://schemas.android.com/tools"
    android:layout_width="match_parent"
    android:layout_height="match_parent" >

    <fragment
        android:id="@+id/fragment1"
        android:name="com.example.fragmenttest.Fragment1"
        android:layout_width="0dp"
        android:layout_height="match_parent"
        android:layout_weight="1"/>

    <fragment
        android:id="@+id/fragment2"
        android:name="com.example.fragmenttest.Fragment2"
        android:layout_width="0dp"
        android:layout_height="match_parent"
        android:layout_weight="1"/>


</LinearLayout>上述布局使用了<fragment/>标签在布局中添加碎片,其中的android:name属性用来指明要添加的完整碎片类名,注意完整类名包括包名,所以不能忘记加上包名。
4、接着部署此项目到Android平板模拟器上,效果如下:
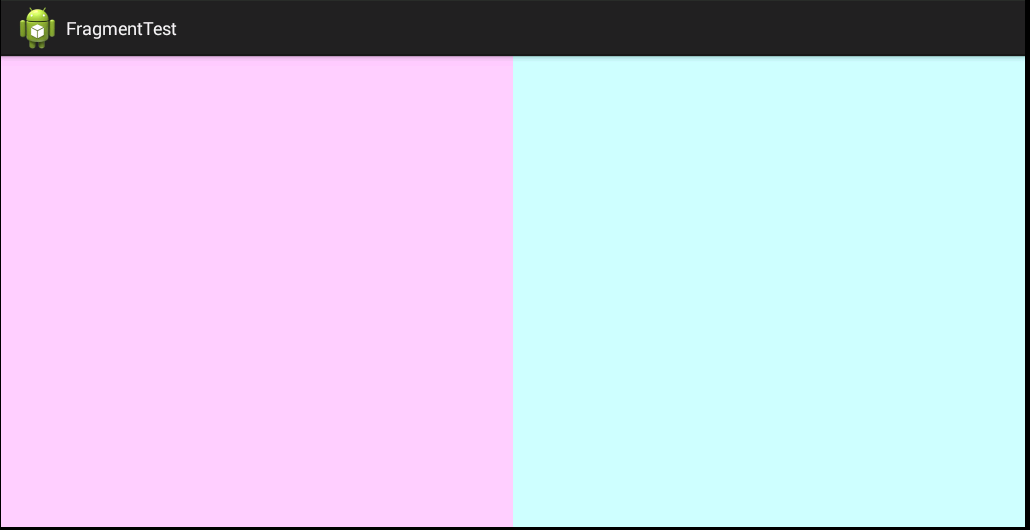
此时这个活动包含了两个碎片,平分了一个活动空间。
三、以上就是碎片(Fragment)的简单用法,仅供大家学习参考,谢谢!


 868
868

 被折叠的 条评论
为什么被折叠?
被折叠的 条评论
为什么被折叠?
 到【灌水乐园】发言


