


 本文详细介绍如何使用Ubuntu SDK从零开始创建一个基本的RSS阅读器应用,包括安装SDK、设计UI、实现缓存等功能。
在这篇文章中,我们将详细介绍如何使用我们的Ubuntu SDK来从零开始来创建一个最基本的RSS阅读器.当我们完成整个练习后,我们将熟悉Ubuntu应用的整个开发流程.
特别提醒:在模拟器中参阅文章"怎么在Ubuntu手机中打开开发者模式"打开开发者模式,这样才可以把应用部署到模拟器中。如果我们想把自己的应用部署到我们的手机中,我们也需要在我们的手机中做同样的设置.
我们整个应用的将会像上面图片显示的那样.让我们现在马上开始吧.
1)安装好自己的SDK
我们知道没有SDK的话,我们是没法开发我们的应用的.我们可以参照文章"
Ubuntu SDK 安装"来在我们的Ubuntu Desktop中安装好我们的环境.
2)创建一个最基本的应用框架
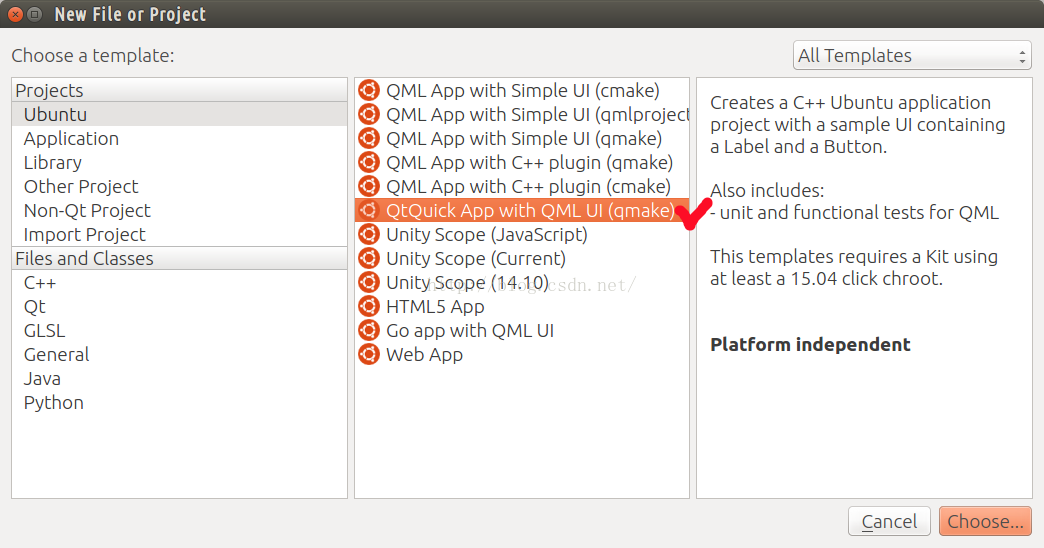
首先,我们来打开自己的Qt Creator来创建一个名叫"rssreader"的项目。我们使用"QtQuick App with QML UI (qmake)"模版。
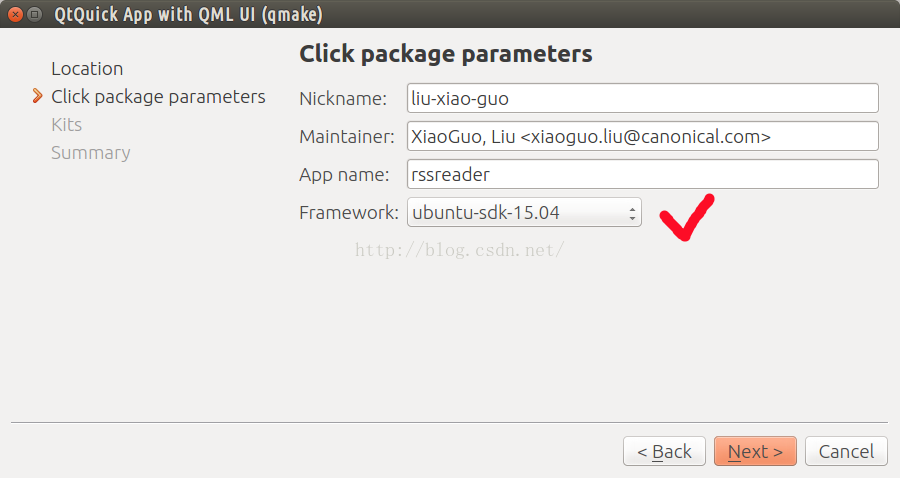
在这里注意maintainer的格式。如果有红色的错误显示,请查看一下在“<”的左边有没有留有一个空格.
为了显示的更像一个是一个手机的界面,我们直接把“main.qml"中的尺寸设置如下:
    width: units.gu(60)
height: units.gu(85)分辨率无关:
Ubuntu的用户界面工具包的重要功能是把用户定义多个设备尺寸进行匹配。采取的方法是定义一个新的单元类型,网格单元(简写为gu)。网格单位转换为像素值取决于应用程序运行在屏幕上和设备的类型。下面是一些例子:
| Device | Conversion |
| Most laptops | 1 gu = 8 px |
| Retina laptops | 1 gu = 16 px |
| Smart phones | 1 gu = 18 px |
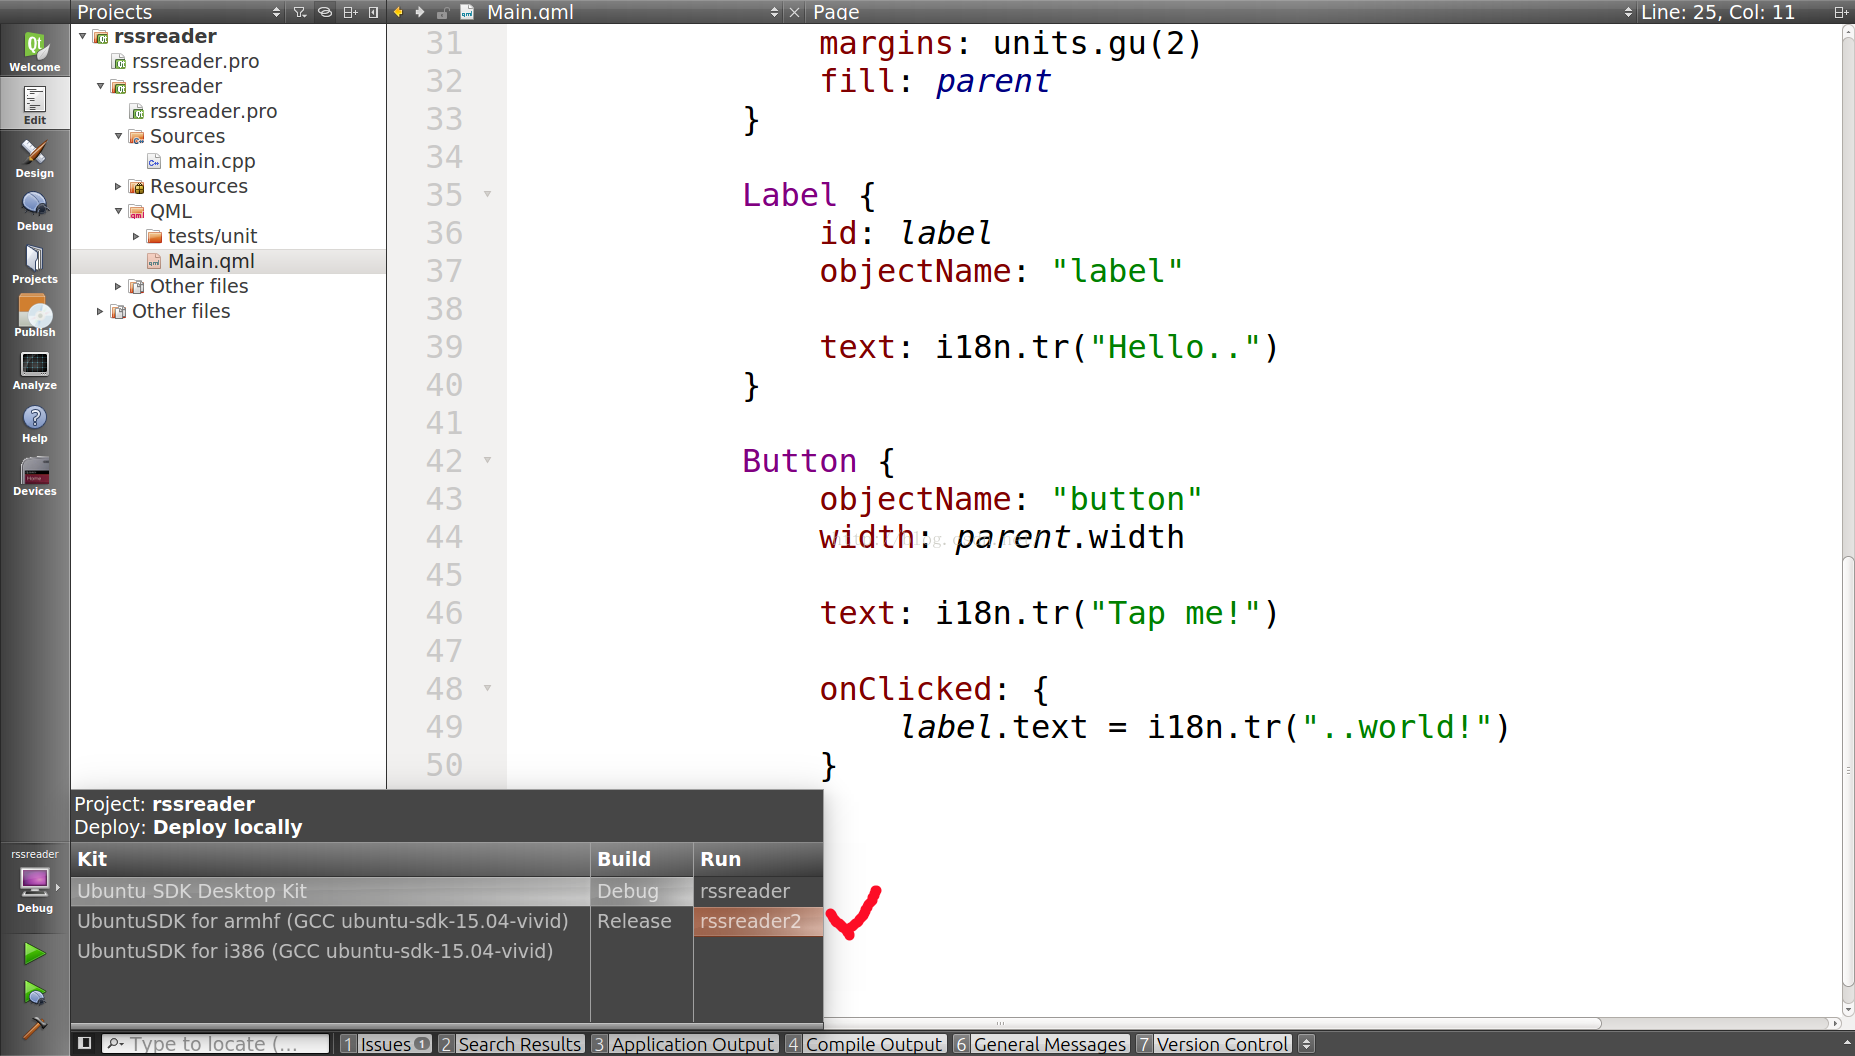
我们首先选择"Ubuntu SDK Desktop Kit"我们可以点击SDK屏幕左下方的绿色的运行按钮,或使用热键(Ctrl +R),运行应用。 如下图所示:
在我们的应用中,有一些代码是C++代码.我们先不要理会这些代码.让我们直接关注我们的QML文件.这些文件是用来构成我们UI的文件.最原始的应用其实没有什么。你可以按一下按钮改变方框中的文字。下面我们来开始设计我们的应用。
2)删除我们不需要的代码
由于最初的代码其实对我们来书没有多大的用处。我们现在来修改我们的代码:
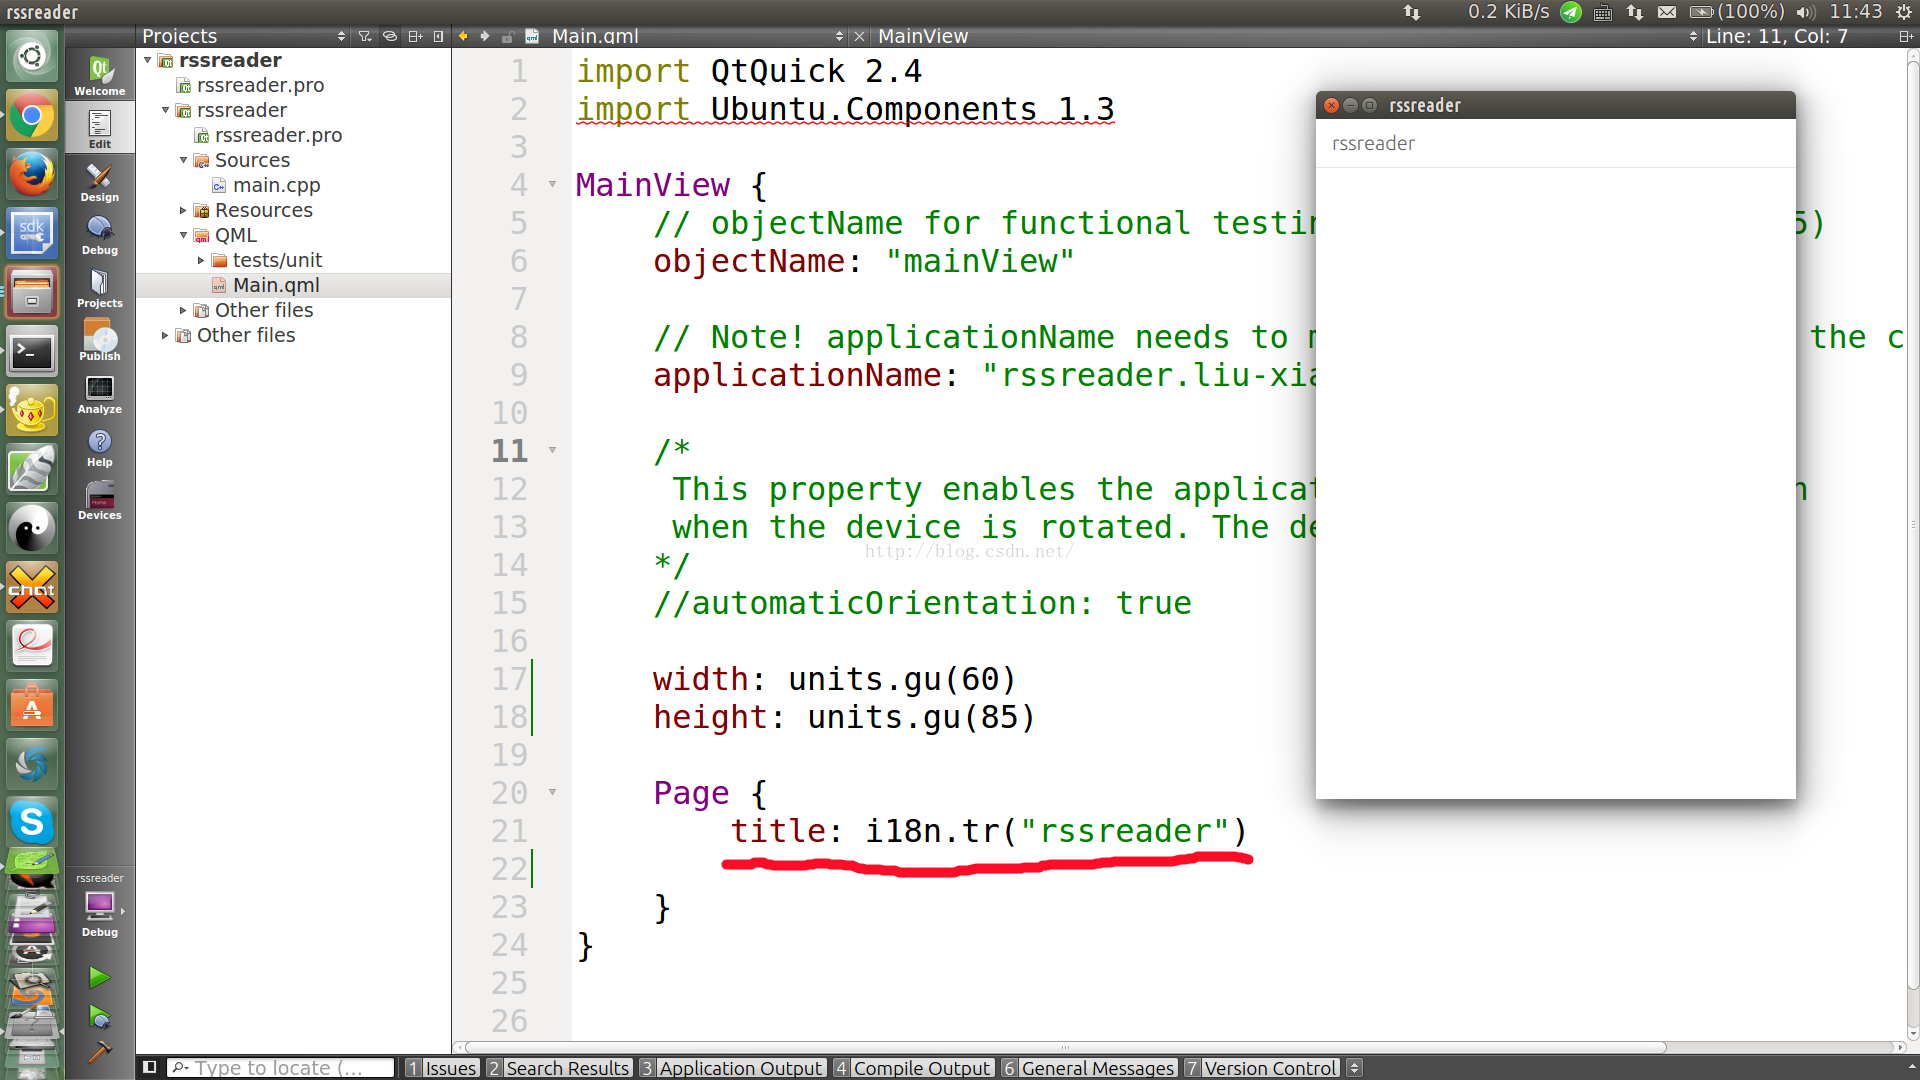
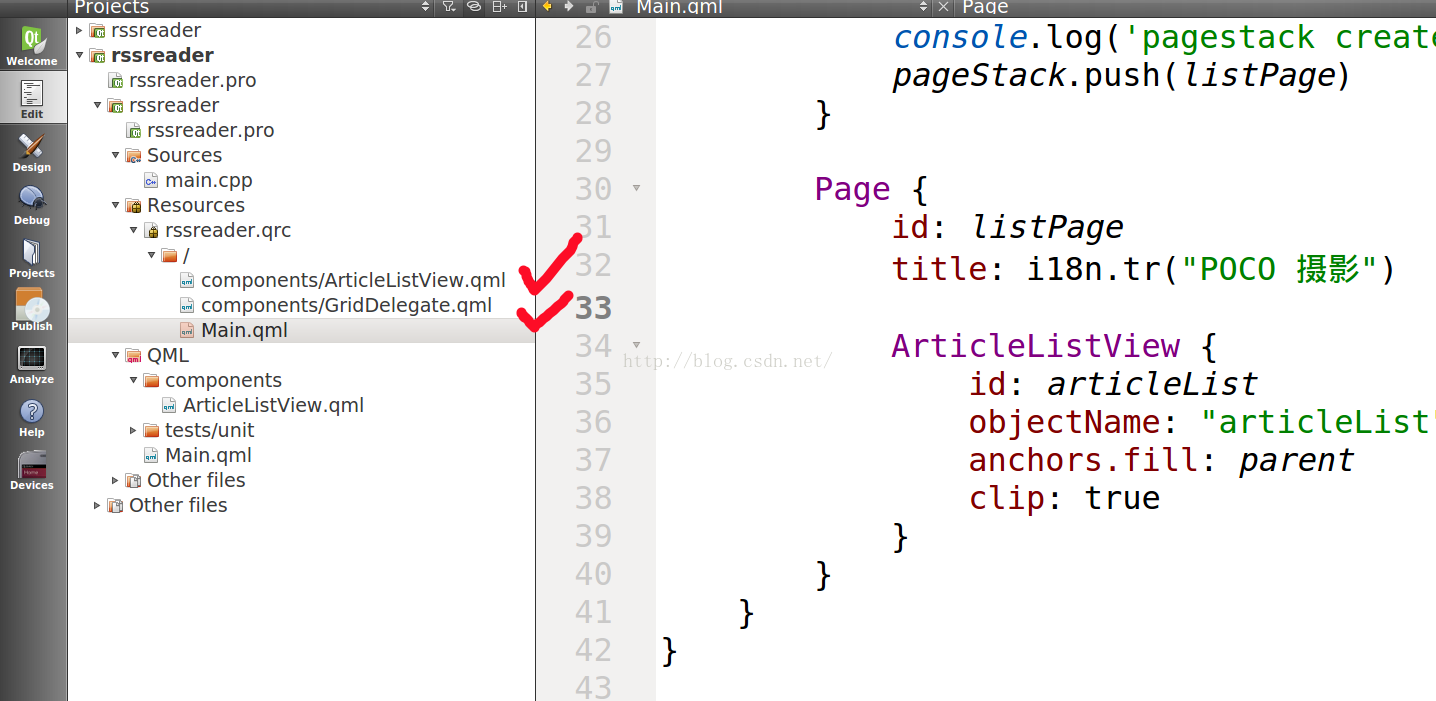
1)删除在"Main.qml"中不需要的代码,以使得代码如下图所示:
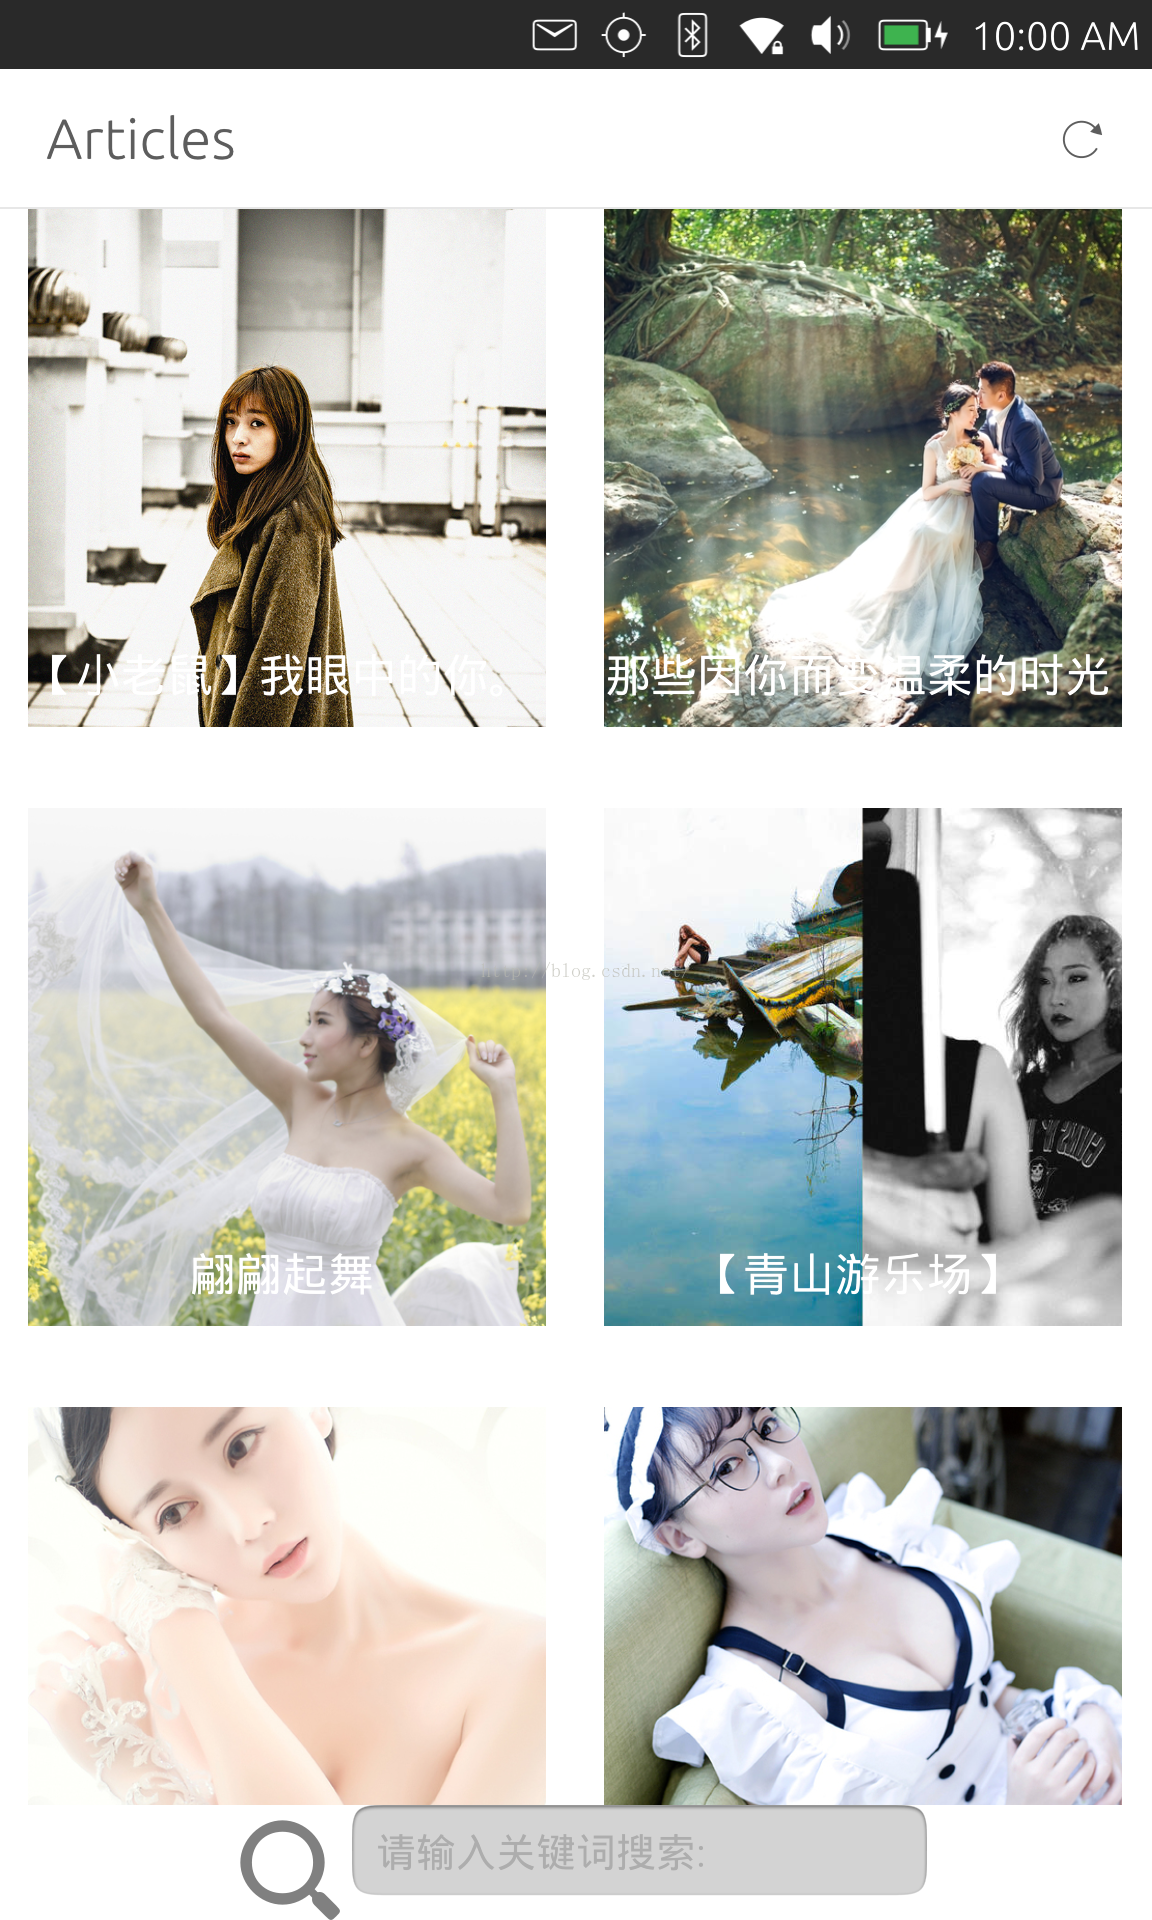
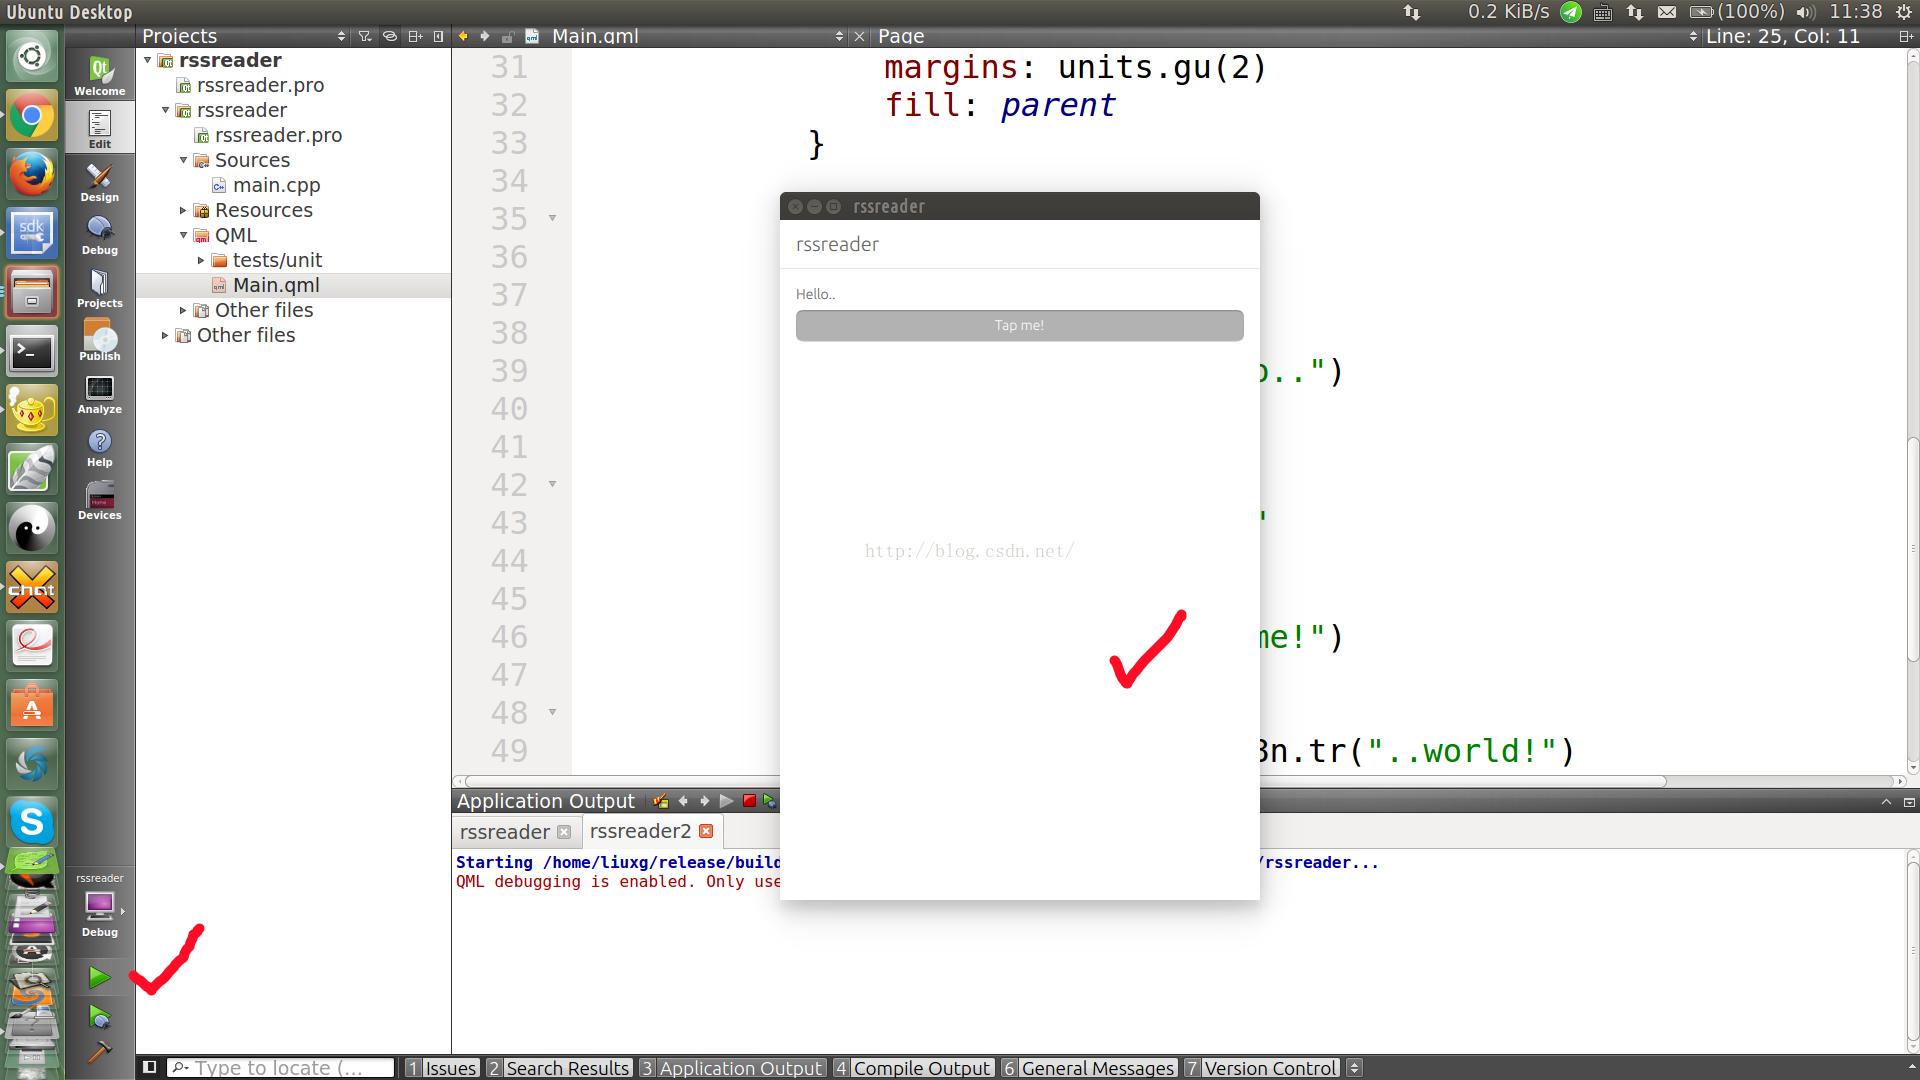
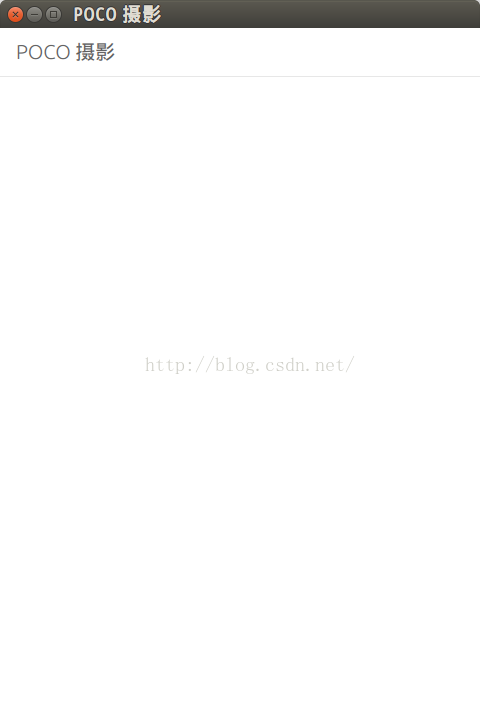
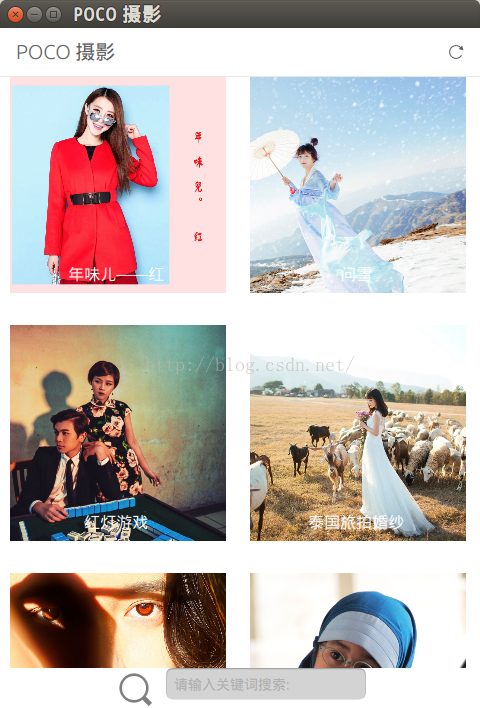
2)修改page中的title使之成为"POCO 摄影".重新运行我们的应用:
3)加入一个PageStack
PageStack可以使得我们让一个Page推到另外一个page之上。他可以跟踪这些页面的变化,并自动提供一个"back" (也即"
<")的按钮可以让我回到以前的页面。现在我们来使用
PageStack来重新设计我们的应用。把整个在"Main.qml"中的的Page代码换成如下的代码:
import QtQuick 2.4
import Ubuntu.Components 1.3

MainView {
    // objectName for functional testing purposes (autopilot-qt5)
    objectName: "mainView"

    // Note! applicationName needs to match the "name" field of the click manifest
    applicationName: "rssreader.liu-xiao-guo"

    /*
     This property enables the application to change orientation
     when the device is rotated. The default is false.
    */
    //automaticOrientation: true

    width: units.gu(60)
    height: units.gu(85)


    PageStack {
        id: pageStack
        anchors.fill: parent
        Component.onCompleted: {
            console.log('pagestack created')
            pageStack.push(listPage)
        }

        Page {
            id: listPage
            title: i18n.tr("POCO 摄影")
        }
    }
}
这里,我们可以看到每个component在被装载完成之后,有一个event事件onCompleted被调用。我们可以用这个方法来初始化我们的一下需要处理的事情。这里,我们把listPage压入堆栈尽管没有任何东西。
这时如果我们重新运行程序,我们会发现界面没有任何新的变化。这是因为我们的page中没有任何的数据。我们在“Application Output”窗口会发现如下的输出:
qml: pagestack created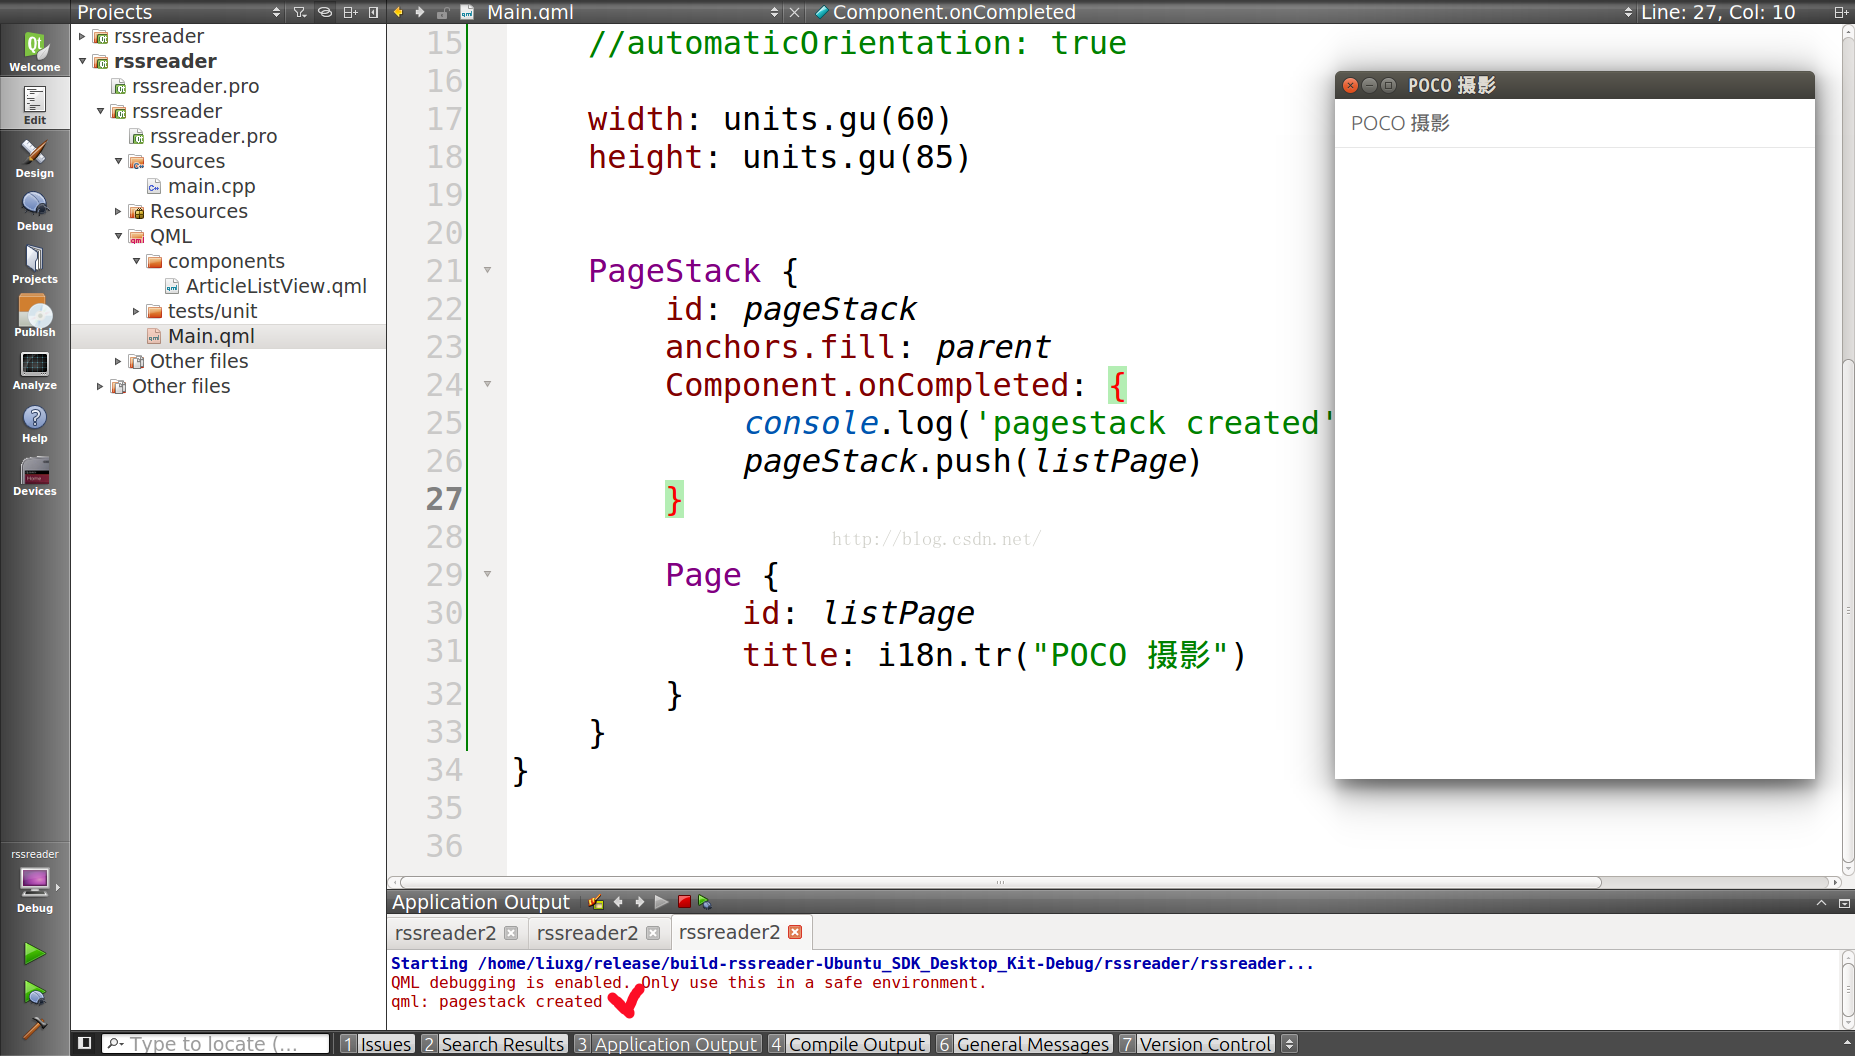
这说明我们的代码是成功运行的。
4)加入我们自己的控件
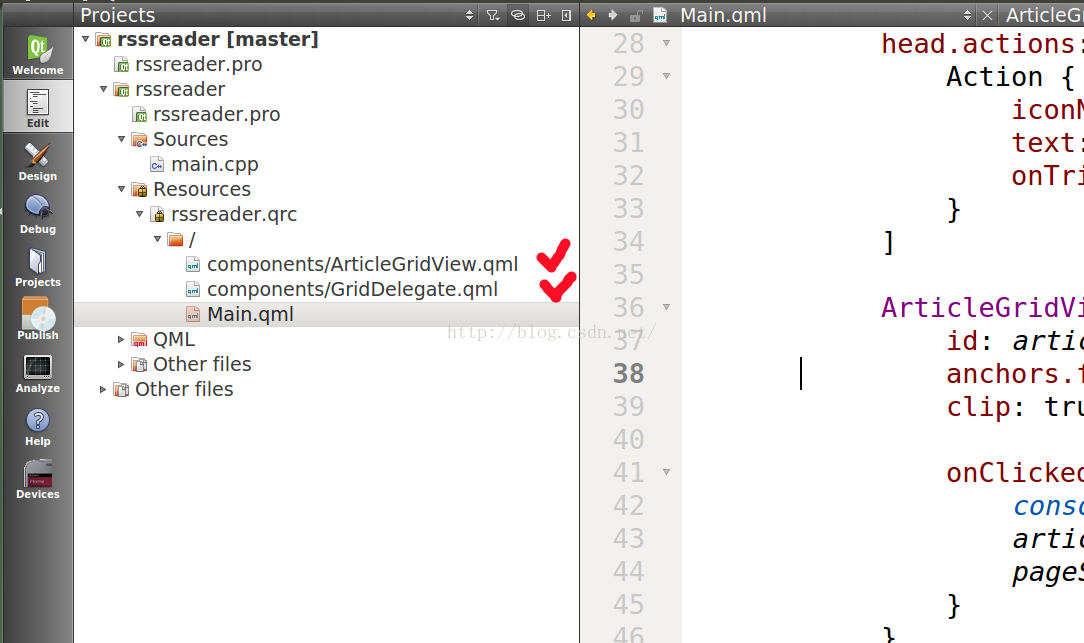
我们将加入一个新的QML控件。这个控件的名称叫做“ArticleGridView"。它将被定义在一个叫做"ArticleGridView.qml"的文件中。控件的名字通常是以
大写字母开始的。
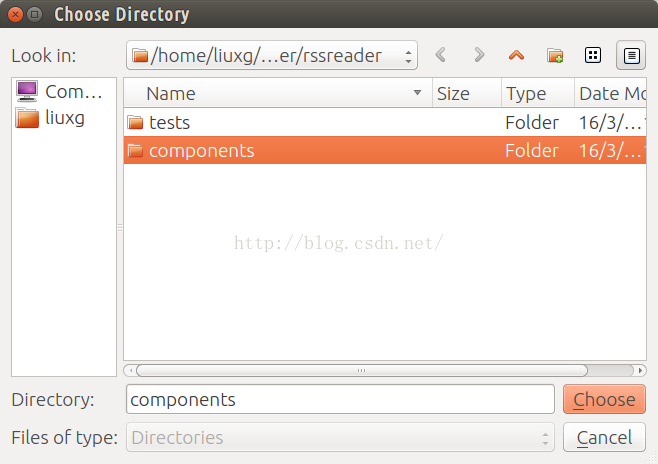
首先我们在项目的目录下创建一个叫做“components”(按照如下的任何一种方法即可)的目录:
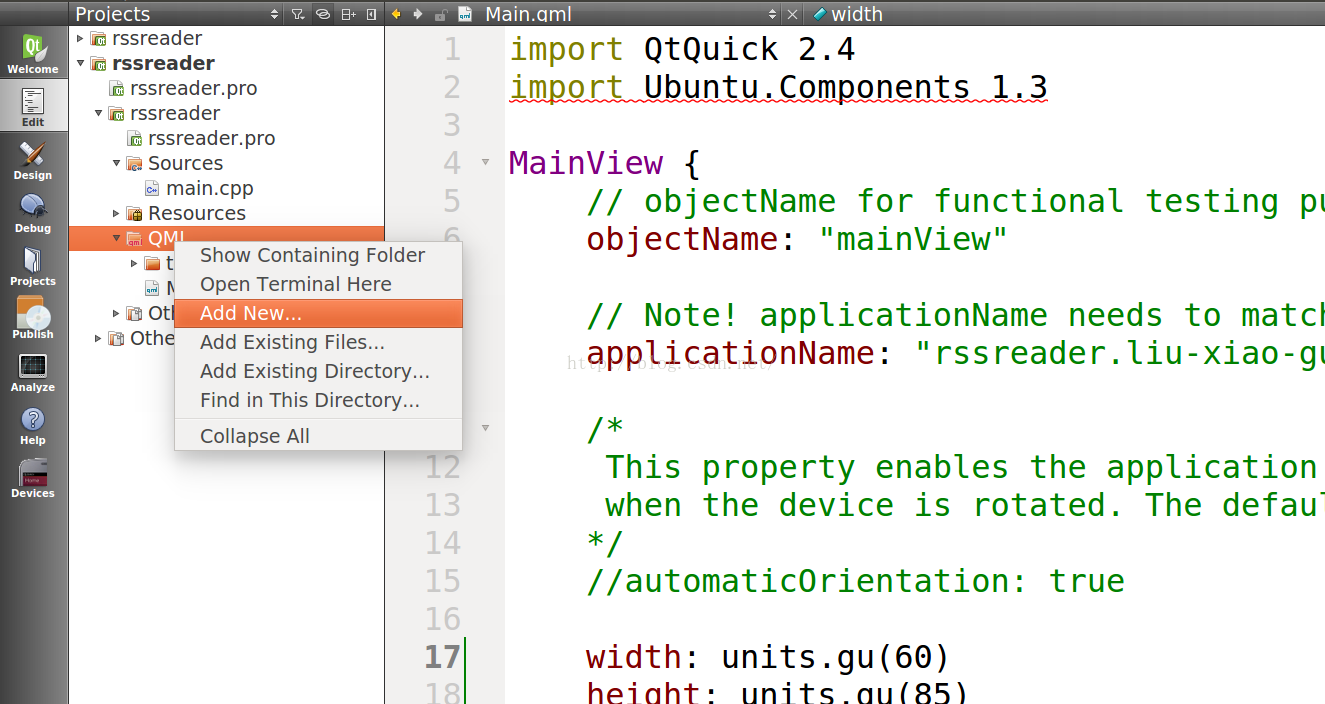
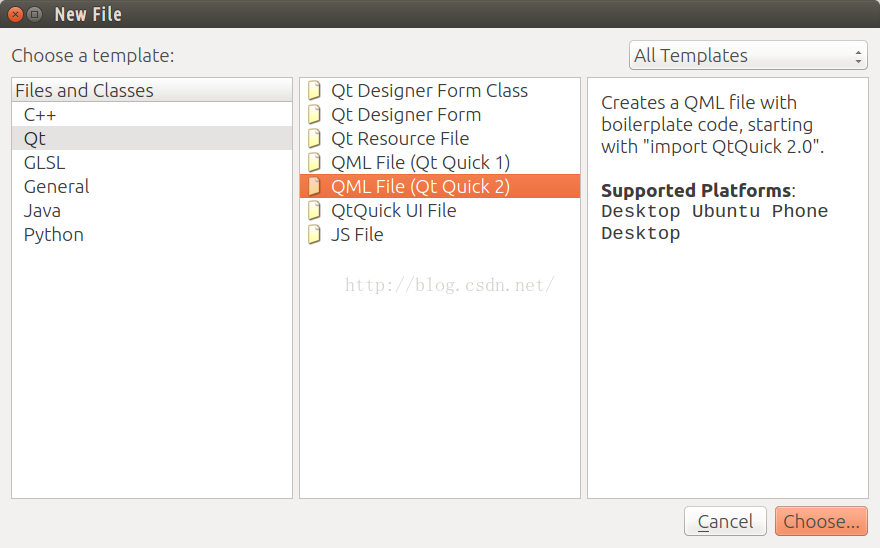

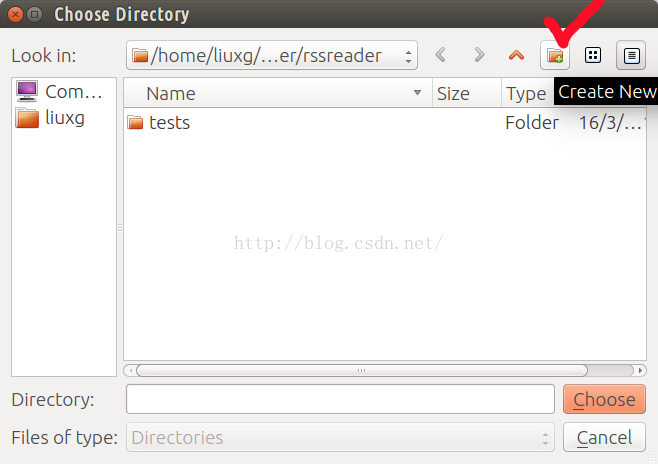
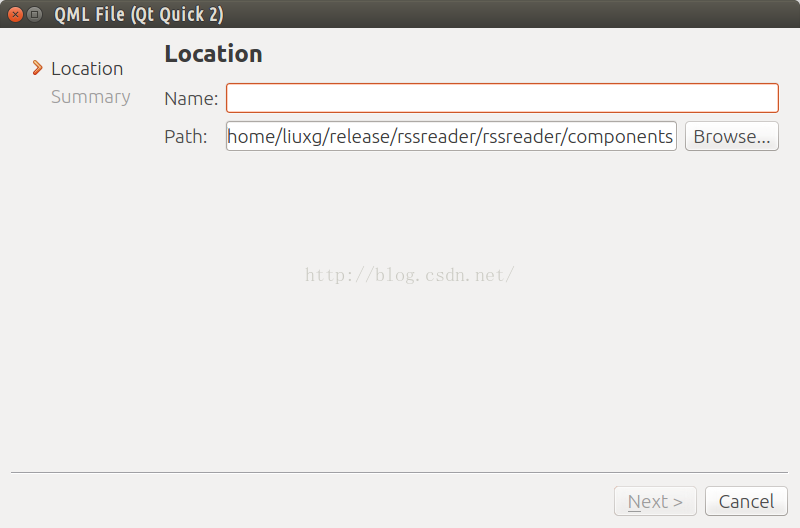
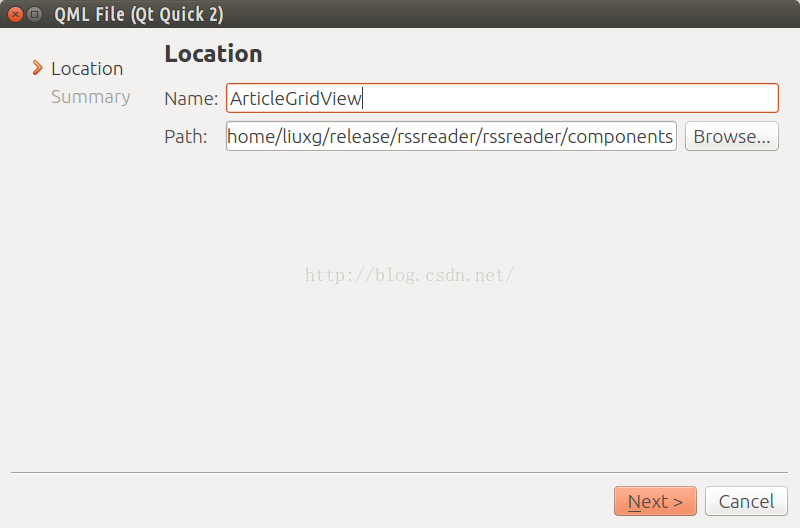
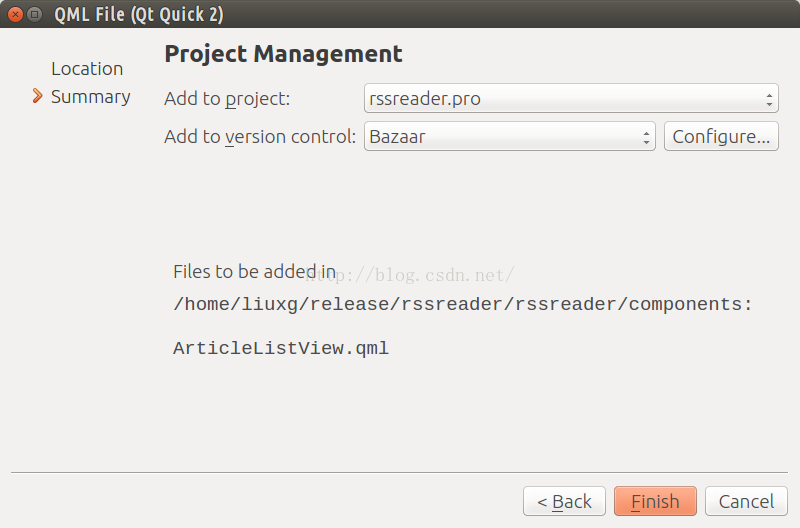
我们点击项目的右键,加入一个名字叫做"ArticleGridView.qml"文件。并把文件放入"components"的目录之中。在默认的情况下,"ArticeGridView.qml"除了定义一个方框外,没有任何其他的东西。我们接下来向其中添加我们所需要的内容。
1)把"ArticleGridView.qml"中的代码换成如下的代码:
ArticleGridView.qml
import QtQuick 2.4
import QtQuick.XmlListModel 2.0
import Ubuntu.Components 1.3
import Ubuntu.Components.ListItems 1.0

Item {
    id: root
    signal clicked(var instance)
    anchors.fill: parent

    function reload() {
        console.log('reloading')
        model.clear();
        pocoRssModel.reload()
    }

    ListModel {
        id: model
    }

    XmlListModel {
        id: picoRssModel
        source: "http://www.8kmm.com/rss/rss.aspx"
        query: "/rss/channel/item"

        onStatusChanged: {
            if (status === XmlListModel.Ready) {
                for (var i = 0; i < count; i++) {
                    // Let's extract the image
                    var m,
                        urls = [],
                        str = get(i).content,
                        rex = /<img[^>]+src\s*=\s*['"]([^'"]+)['"][^>]*>/g;

                    while ( m = rex.exec( str ) ) {
                        urls.push( m[1] );
                    }

                    var image = urls[0];

                    var title = get(i).title.toLowerCase();
                    var published = get(i).published.toLowerCase();
                    var content = get(i).content.toLowerCase();
                    var word = input.text.toLowerCase();

                    if ( (title !== undefined && title.indexOf( word) > -1 )  ||
                         (published !== undefined && published.indexOf( word ) > -1) ||
                         (content !== undefined && content.indexOf( word ) > -1) ) {

                            model.append({"title": get(i).title,
                                         "published": get(i).published,
                                         "content": get(i).content,
                                         "image": image
                                     })
                    }
                }
            }
        }

        XmlRole { name: "title"; query: "title/string()" }
        XmlRole { name: "published"; query: "pubDate/string()" }
        XmlRole { name: "content"; query: "description/string()" }
    }

    GridView {
        id: gridview
        width: parent.width
        height: parent.height - inputcontainer.height
        clip: true
        cellWidth: parent.width/2
        cellHeight: cellWidth + units.gu(1)
        x: units.gu(1.2)
        model: model

        delegate: GridDelegate {}

        Scrollbar {
            flickableItem: gridview
        }
    }

    Row {
        id:inputcontainer
        anchors.bottom: parent.bottom
        anchors.horizontalCenter: parent.horizontalCenter
        height: units.gu(5)
        spacing:12

        Icon {
            width: height
            height: parent.height
            name: "search"
            anchors.verticalCenter:parent.verticalCenter;
        }

        TextField {
            id:input
            placeholderText: "请输入关键词搜索:"
            width:units.gu(25)
            text:""

            onTextChanged: {
                console.log("text is changed");
                reload();
            }
        }
    }
}
为了能够显示我们的每个GridView中的item,我们也在同一个components目录下加入GridDelegate.qml文件:
GridDelegate.qml
import QtQuick 2.0

Item {
    width: parent.width /2 * 0.9
    height: width

    Image {
        anchors.fill: parent
        anchors.centerIn: parent
        source: image
        fillMode: Image.PreserveAspectCrop

        MouseArea {
            anchors.fill: parent
            onClicked: {
                root.clicked(model);
            }
        }

        Text {
            anchors.bottom: parent.bottom
            anchors.left: parent.left
            anchors.right: parent.right
            anchors.bottomMargin: units.gu(1)
            horizontalAlignment: Text.AlignHCenter
            text: { return title.replace("[POCO摄影 - 人像]:", "");}
            clip: true
            color: "white"
            font.pixelSize: units.gu(2)
        }
    }
}
这里我们使用了一个
GridView。它需要一个model来提供数据来显示。这个Model数据可以由QML中的
ListModel或
XmlListModel提供。“delegate”是用来展示列表中每一项如何显示的。它的每一个grid的宽度是屏幕宽度的一半乘以0.9.高度和宽度是一样的.每个grid显示一个图片及一个在图片上的文字.对于一个开发者来说,我们可以任意来设计我们的每个grid的显示的内容.这完全取决于设计者的想法.
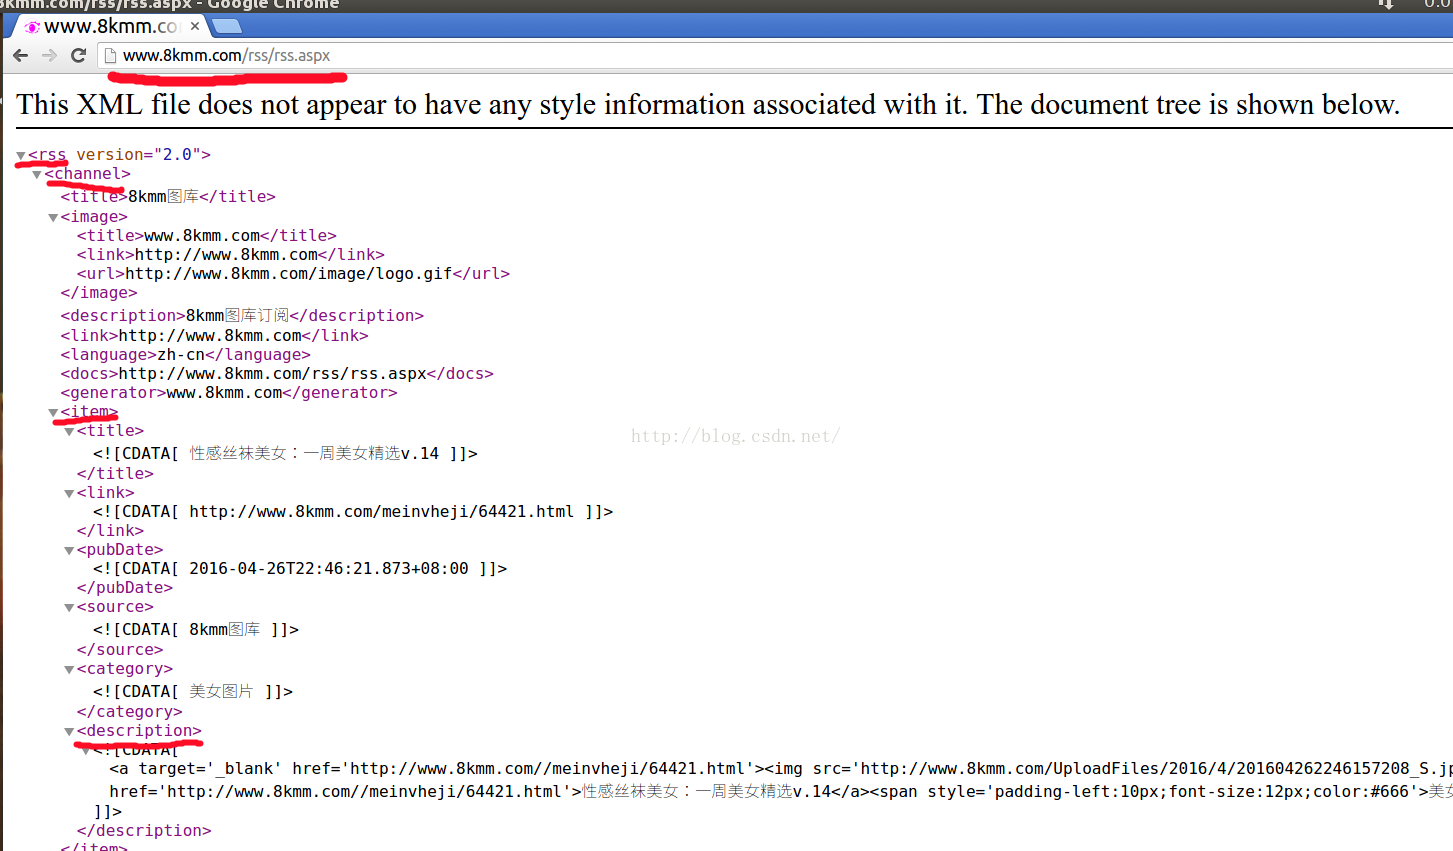
我们可以查看一下我们的RSS feed的 地址的内容:
我们可以查看一下我们的RSS feed的 地址的内容:
5)使用ArticleGridView
我们在上节中已经设计了一个自己的component。在这节中,我们来使用它,就像原本我们已有的其他的控件一样。我们把我们设计好的ArticleListView放到我们已经设计好的“main.qml”中来。在你的main.qml中的“listPage”中加入如下的Page:
           ArticleGridView {
                id: articleList
                objectName: "articleList"
                anchors.fill: parent
                clip: true
            }
另外也别忘了在“Main.qml”中的开始部分加入如下的句子:
import "components" 如果这个时候我们运行我们的应用的话,我们会发现一个错误:
qrc:///Main.qml:3:1: "components": no such directory
发生这样的错误的原因是因为我们的Main.qml是存在于一个叫做rssreader.qrc的文件之中的.这个可以参照main.cpp文件可以看出来.
main.cpp
#include <QGuiApplication>
#include <QQmlApplicationEngine>
#include <QQuickView>

int main(int argc, char *argv[])
{
    QGuiApplication app(argc, argv);

    QQuickView view;
    view.setSource(QUrl(QStringLiteral("qrc:///Main.qml")));
    view.setResizeMode(QQuickView::SizeRootObjectToView);
    view.show();
    return app.exec();
}
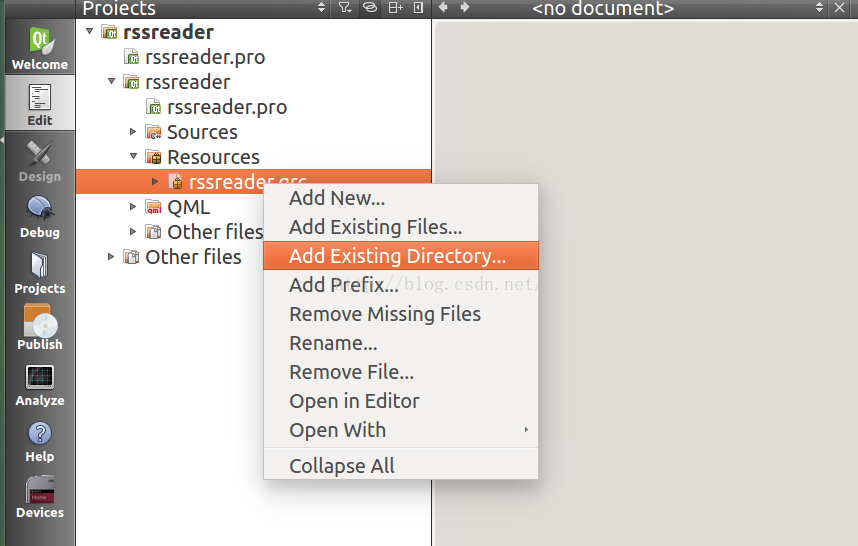
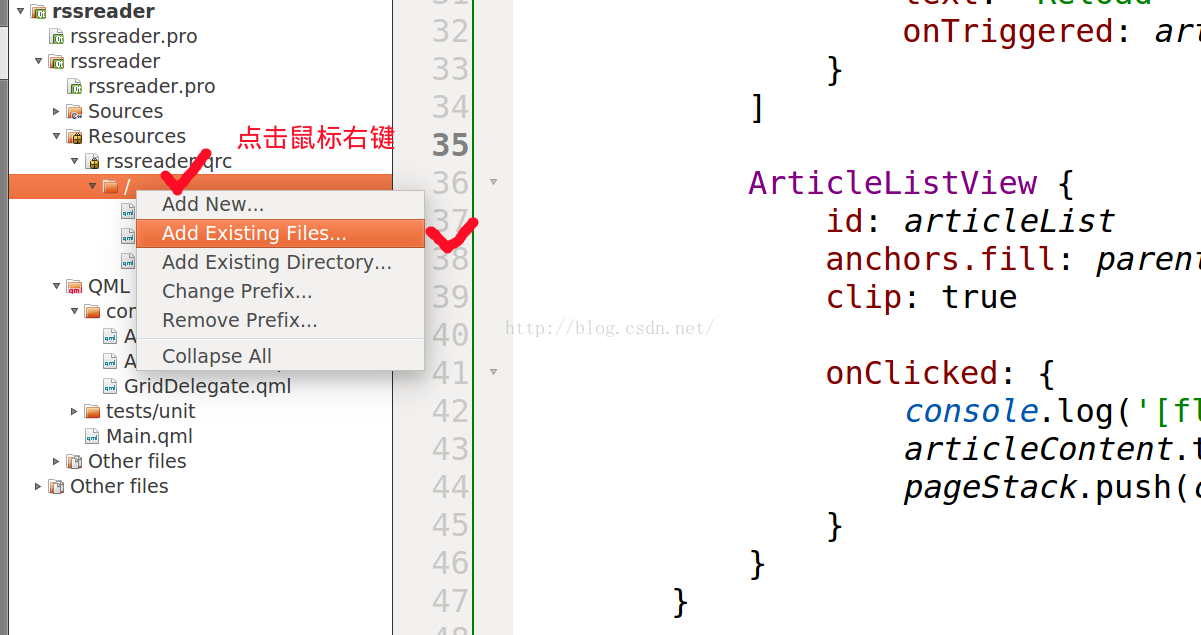
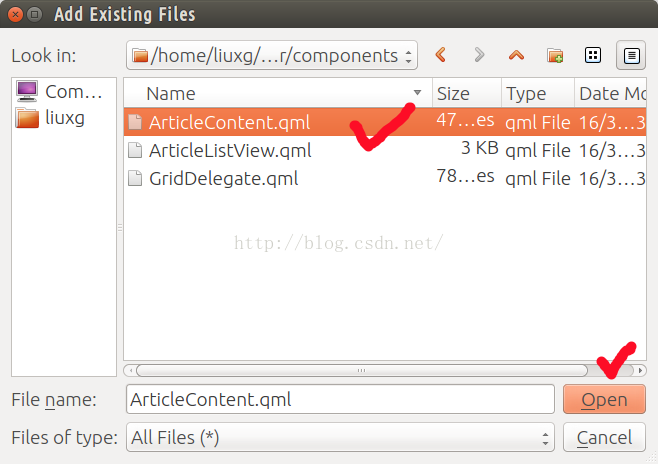
在上面我们可以看出来,Main.qml是在一个Qt的resource文件中的,所有我们必须把我们刚才创建的QML文件也导入到我们的qrc文件中(rssreader.qrc).我们在项目左边框里,用鼠标在"rssreader.qrc"上点击右键,然后点击"Add Existing Directory".
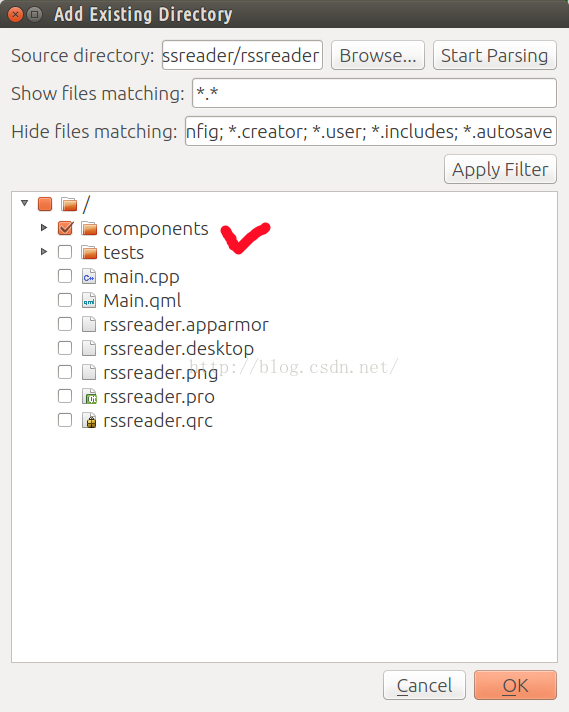
在导入我们的文件后,我们的rssreader.qrc文件架构如下(如果你看不见更新后的文件,可以运行一下项目,或关闭项目后,重新打开项目):
事实上,我们的qrc文件的格式是一个xml格式的文件:
rssreader.qrc
<RCC>
    <qresource prefix="/">
        <file>Main.qml</file>
        <file>components/GridDelegate.qml</file>
        <file>components/ArticleGridView.qml</file>
        <file>components/ArticleContent.qml</file>
        <file>components/ArticleListView.qml</file>
        <file>components/ListDelegate.qml</file>
        <file>components/images/arrow.png</file>
        <file>components/images/rss.png</file>
    </qresource>
</RCC>
重新运行我们的应用(Ubuntu SDK Desktop Kit):
6)创建一个新的Component
就像上面我们创建的ArticleGridView一样,我们来创建一个新的ArticleContent的component。该component的文件名字叫做"ArticleContent.qml"。文件位于和ArticleGridView一样的路经(components)。下面我们来向这个新创建的component中加入我们所需要的内容。打开文件"component/ArticleContent.qml",并输入如下的代码:
ArticleContent.qml
import QtQuick 2.0
import Ubuntu.Components 1.3
Item {
property alias text: content.text
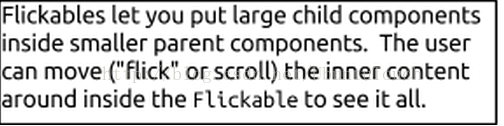
Flickable {
id: flickableContent
anchors.fill: parent
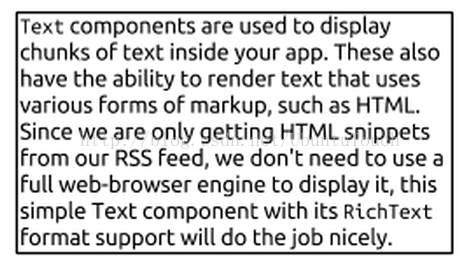
Text {
id: content
textFormat: Text.RichText
wrapMode: Text.WordWrap
width: parent.width
}
contentWidth: parent.width
contentHeight: content.height
clip: true
}
Scrollbar {
flickableItem: flickableContent
}
}
同样地,我们需要把我们新建立的ArticleContent.qml加入到我们的rssreader.qrc文件中:
7)把ArticleContent和app的其它内容连起来
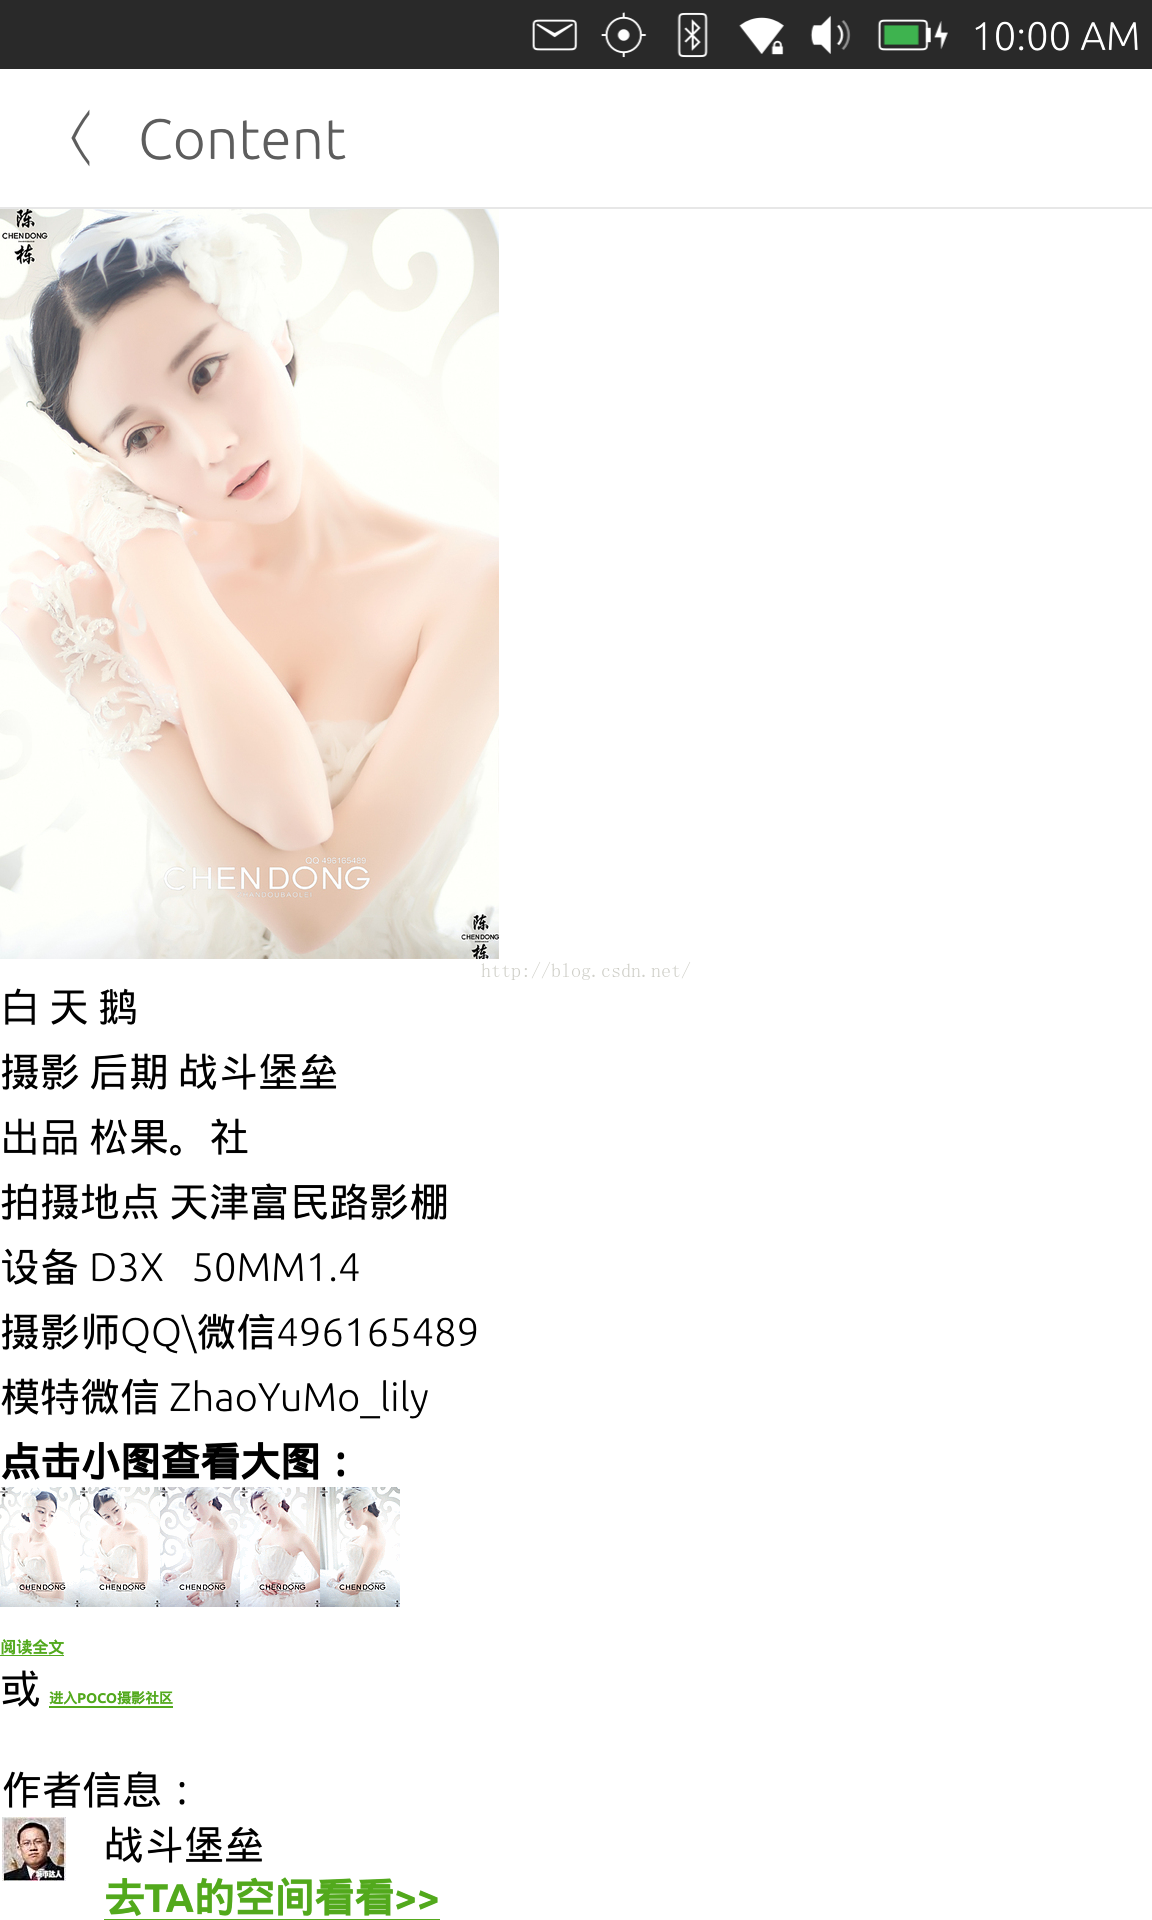
到目前为止,我们已经创建了一个ArticleContent的控件。我们可以在我们的应用中使用它。每当一个在ArticleListView中的一个item被点击后,我们可以用它来显示详细的内容。
首先,我们必须在ArticleGridView中每个item被点击时生成一个signal,并把这个signal连接到我们需要产生的动作。我们可以定义一个名叫"clicked"的signal。
1)打开"ArticleGridView.qml"文件,并查看如下的signal:
首先,我们必须在ArticleGridView中每个item被点击时生成一个signal,并把这个signal连接到我们需要产生的动作。我们可以定义一个名叫"clicked"的signal。
1)打开"ArticleGridView.qml"文件,并查看如下的signal:
signal clicked(var instance) MouseArea {
anchors.fill: parent
onClicked: {
root.clicked(model);
}
}上面的代码表明,当我们在每个grid中点击时就会发送一个叫做clicked的信号.这个信号可以在下面的代码中被捕捉到,并连接到一个slot中.这也是Qt非常强大的信号槽的概念.
3)使用我们已经创建好的ArticleContent控件。我们在"main.qml"文件中创建一个新的Page,并使用PageStack
Main.qml
import QtQuick 2.4
import Ubuntu.Components 1.3
import "components"

MainView {
    // objectName for functional testing purposes (autopilot-qt5)
    objectName: "mainView"

    // Note! applicationName needs to match the "name" field of the click manifest
    applicationName: "rssreader.liu-xiao-guo"

    width: units.gu(60)
    height: units.gu(85)

    PageStack {
        id: pageStack
        anchors.fill: parent
        Component.onCompleted: {
            console.log('pagestack created')
            pageStack.push(listPage)
        }

        Page {
            id: listPage
            title: i18n.tr("POCO 摄影")
            visible: false

            head.actions: [
                Action {
                    iconName: "reload"
                    text: "Reload"
                    onTriggered: articleList.reload()
                }
            ]

            ArticleGridView {
                id: articleList
                anchors.fill: parent
                clip: true

                onClicked: {
                    console.log('[flat] article clicked: '+instance.title)
                    articleContent.text = instance.content
                    pageStack.push(contentPage)
                }
            }
        }

        Page {
            id: contentPage
            title: i18n.tr("Content")
            visible: false

            ArticleContent {
                id: articleContent
                objectName: "articleContent"
                anchors.fill: parent
            }
        }
    }

    Action {
        id: reloadAction
        text: "Reload"
        iconName: "reload"
        onTriggered: articleList.reload()
    }
}
当我们点击grid中的每项的时候,我们通过:
               onClicked: {
                    console.log('[flat] article clicked: '+instance.title)
                    articleContent.text = instance.content
                    pageStack.push(contentPage)
                }
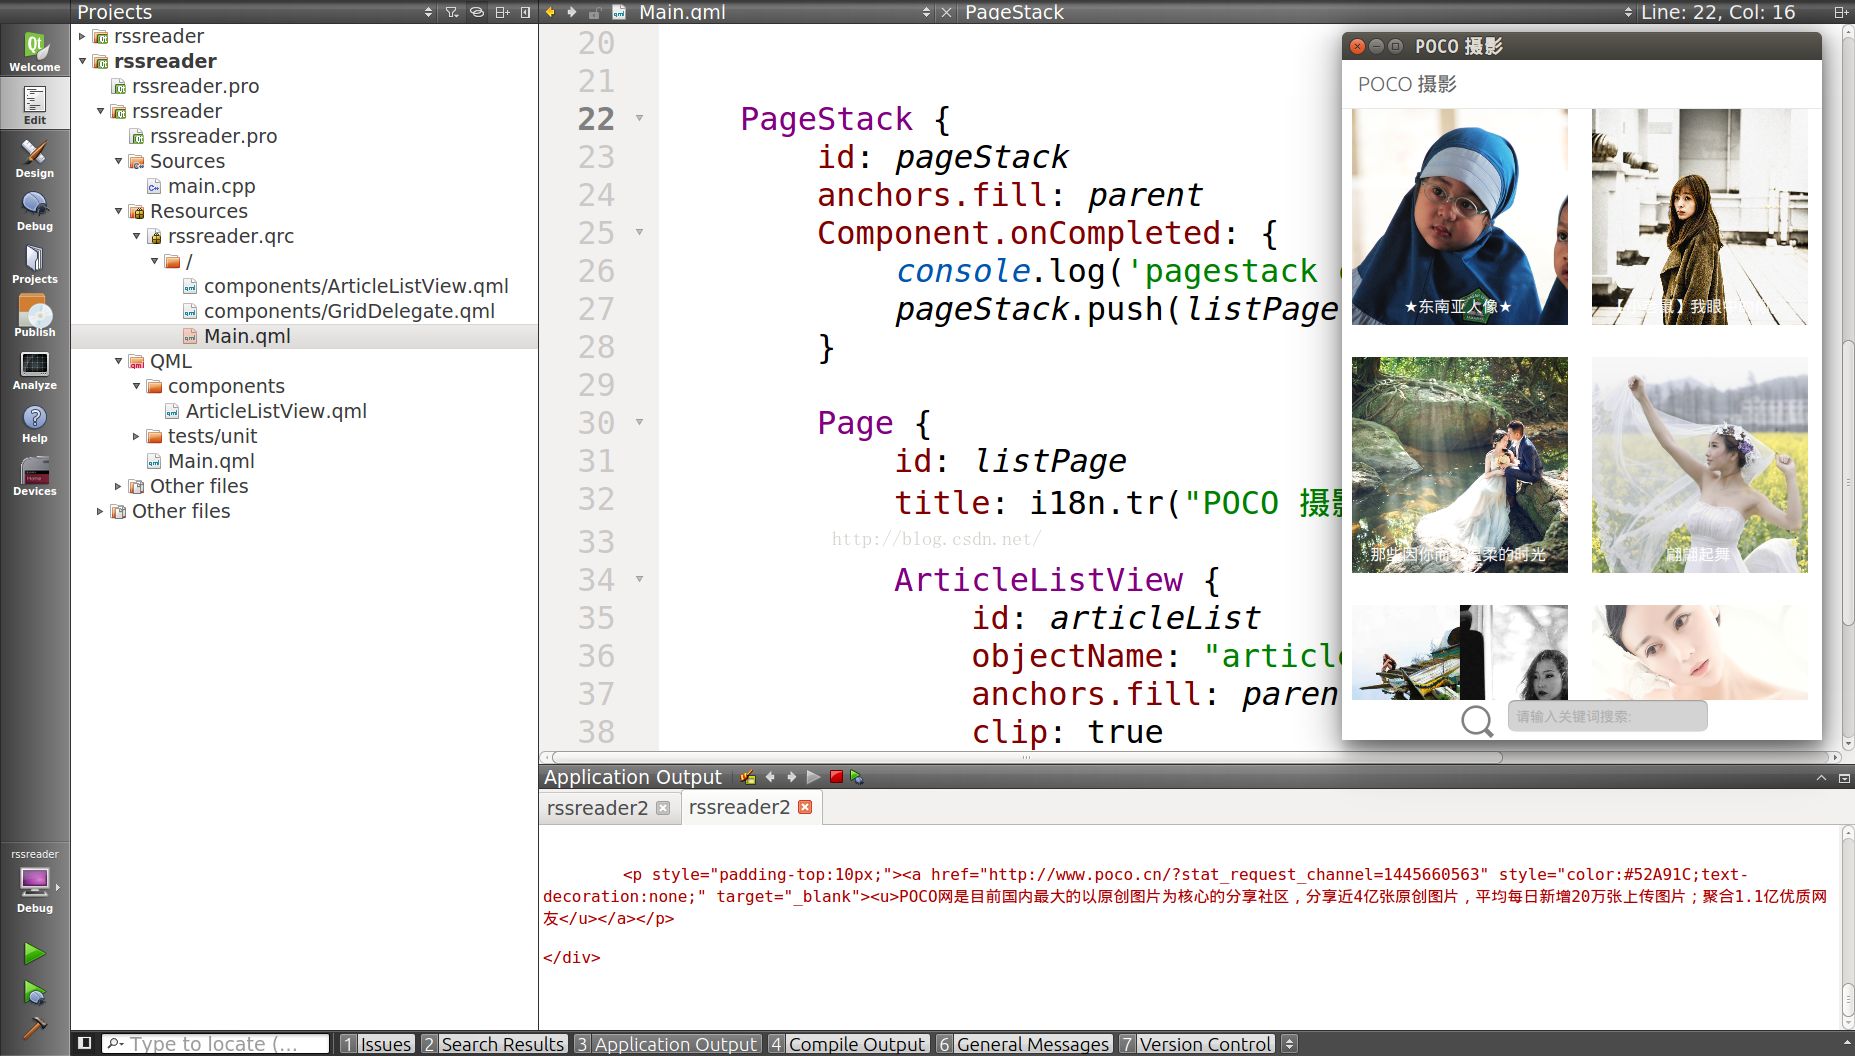
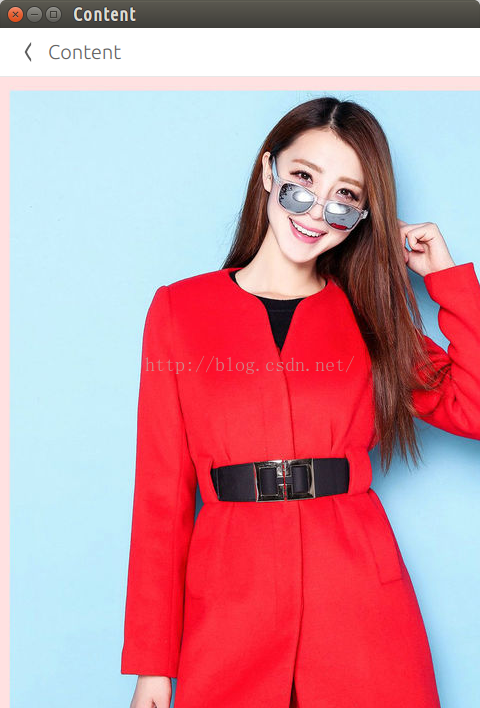
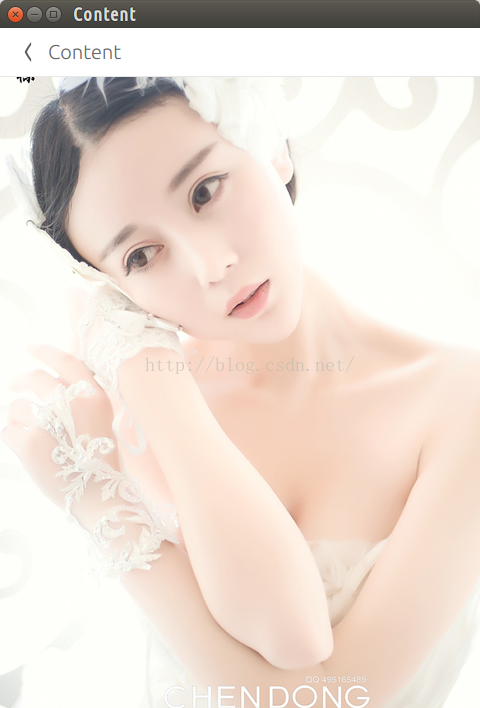
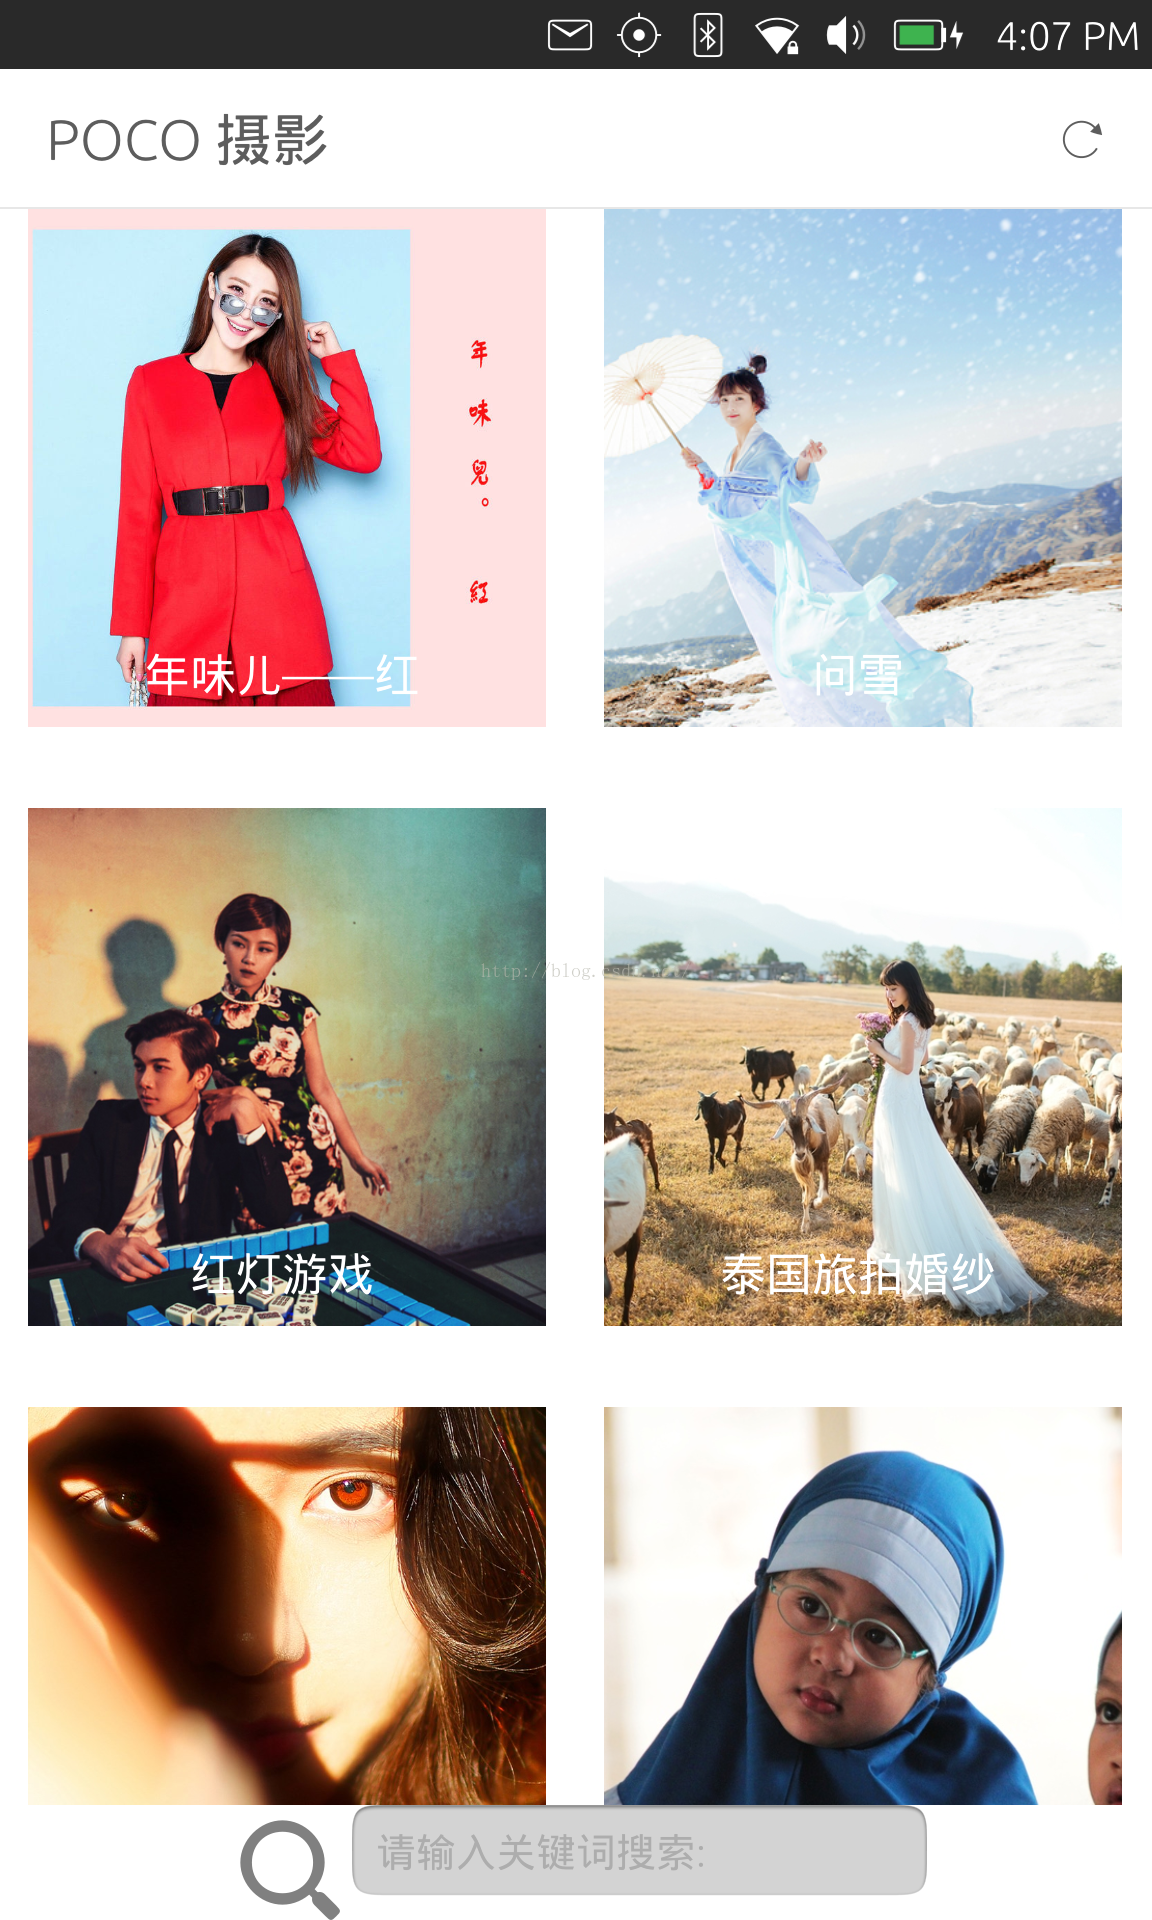
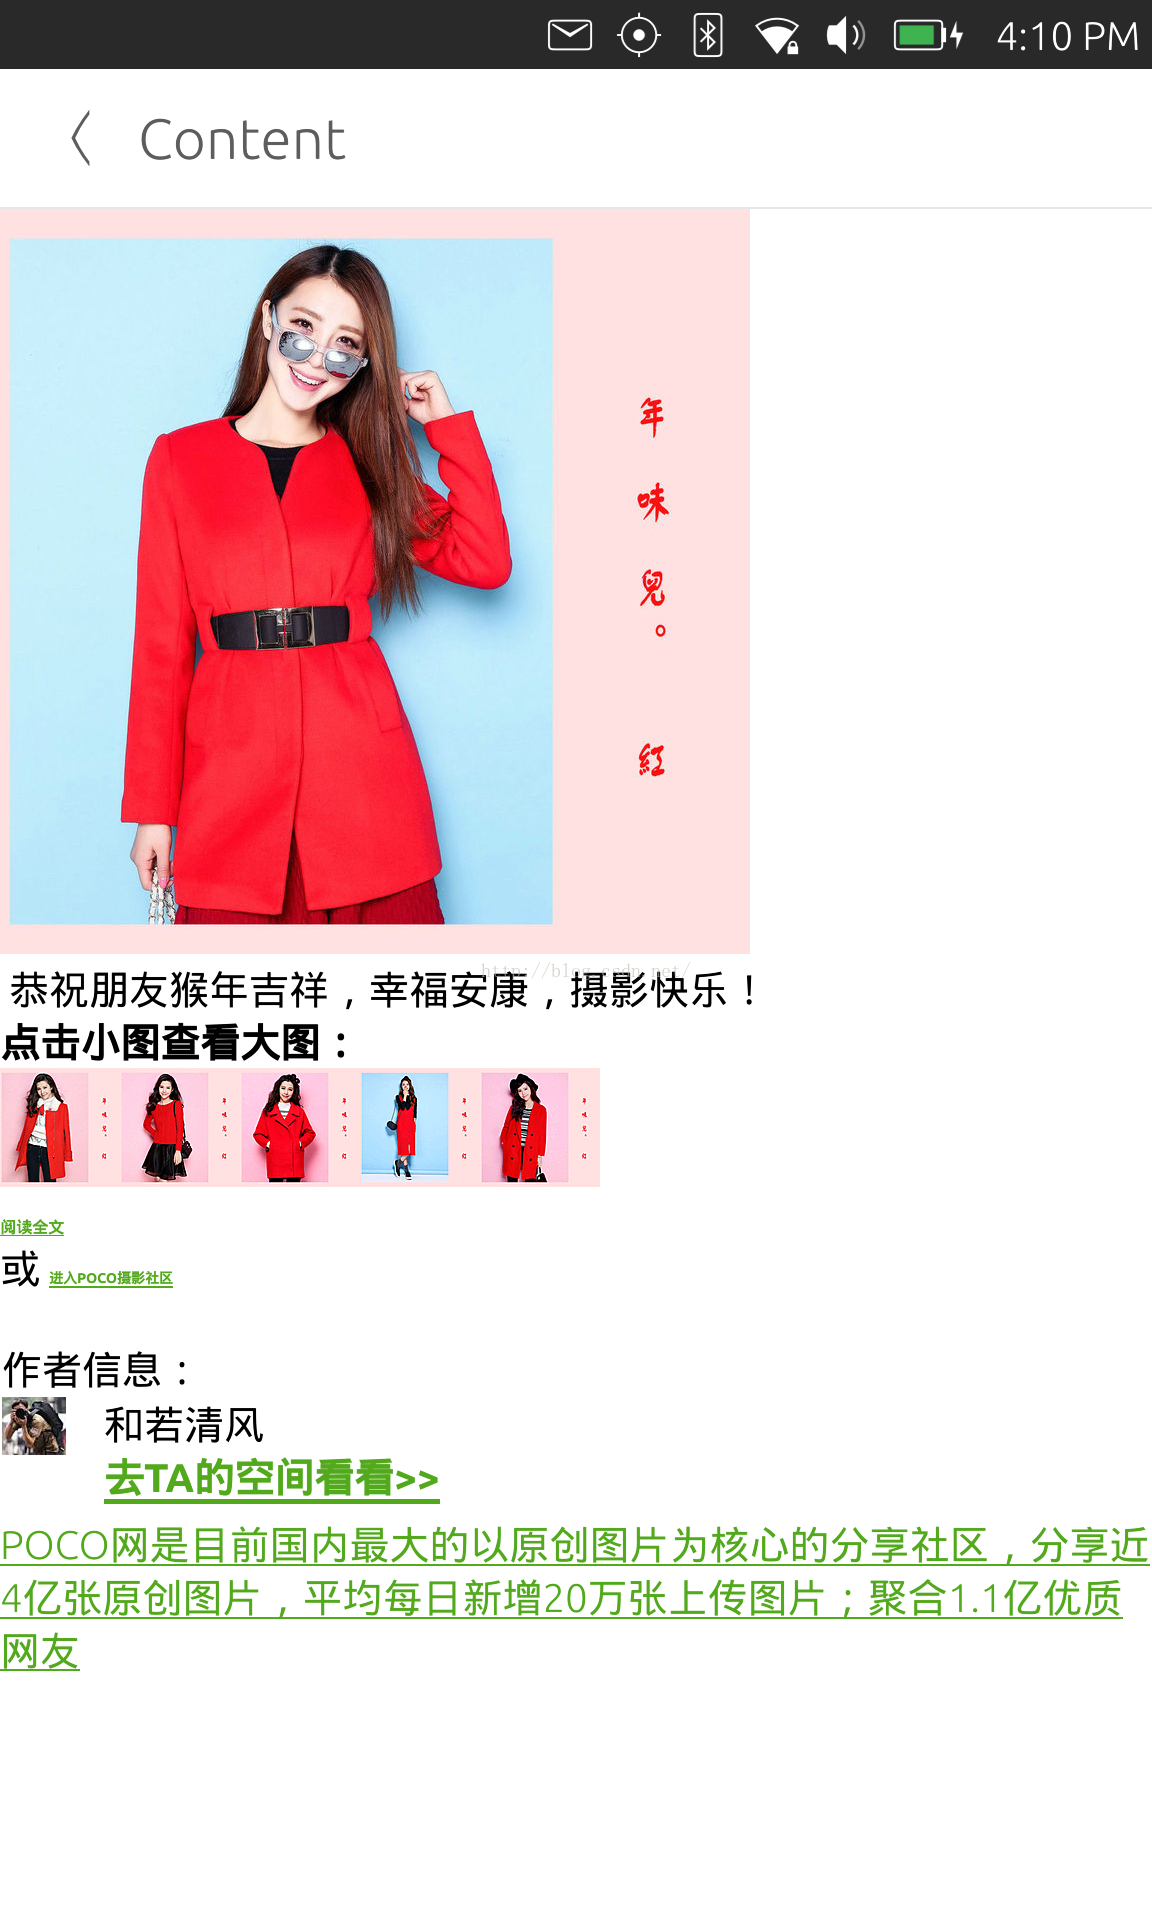
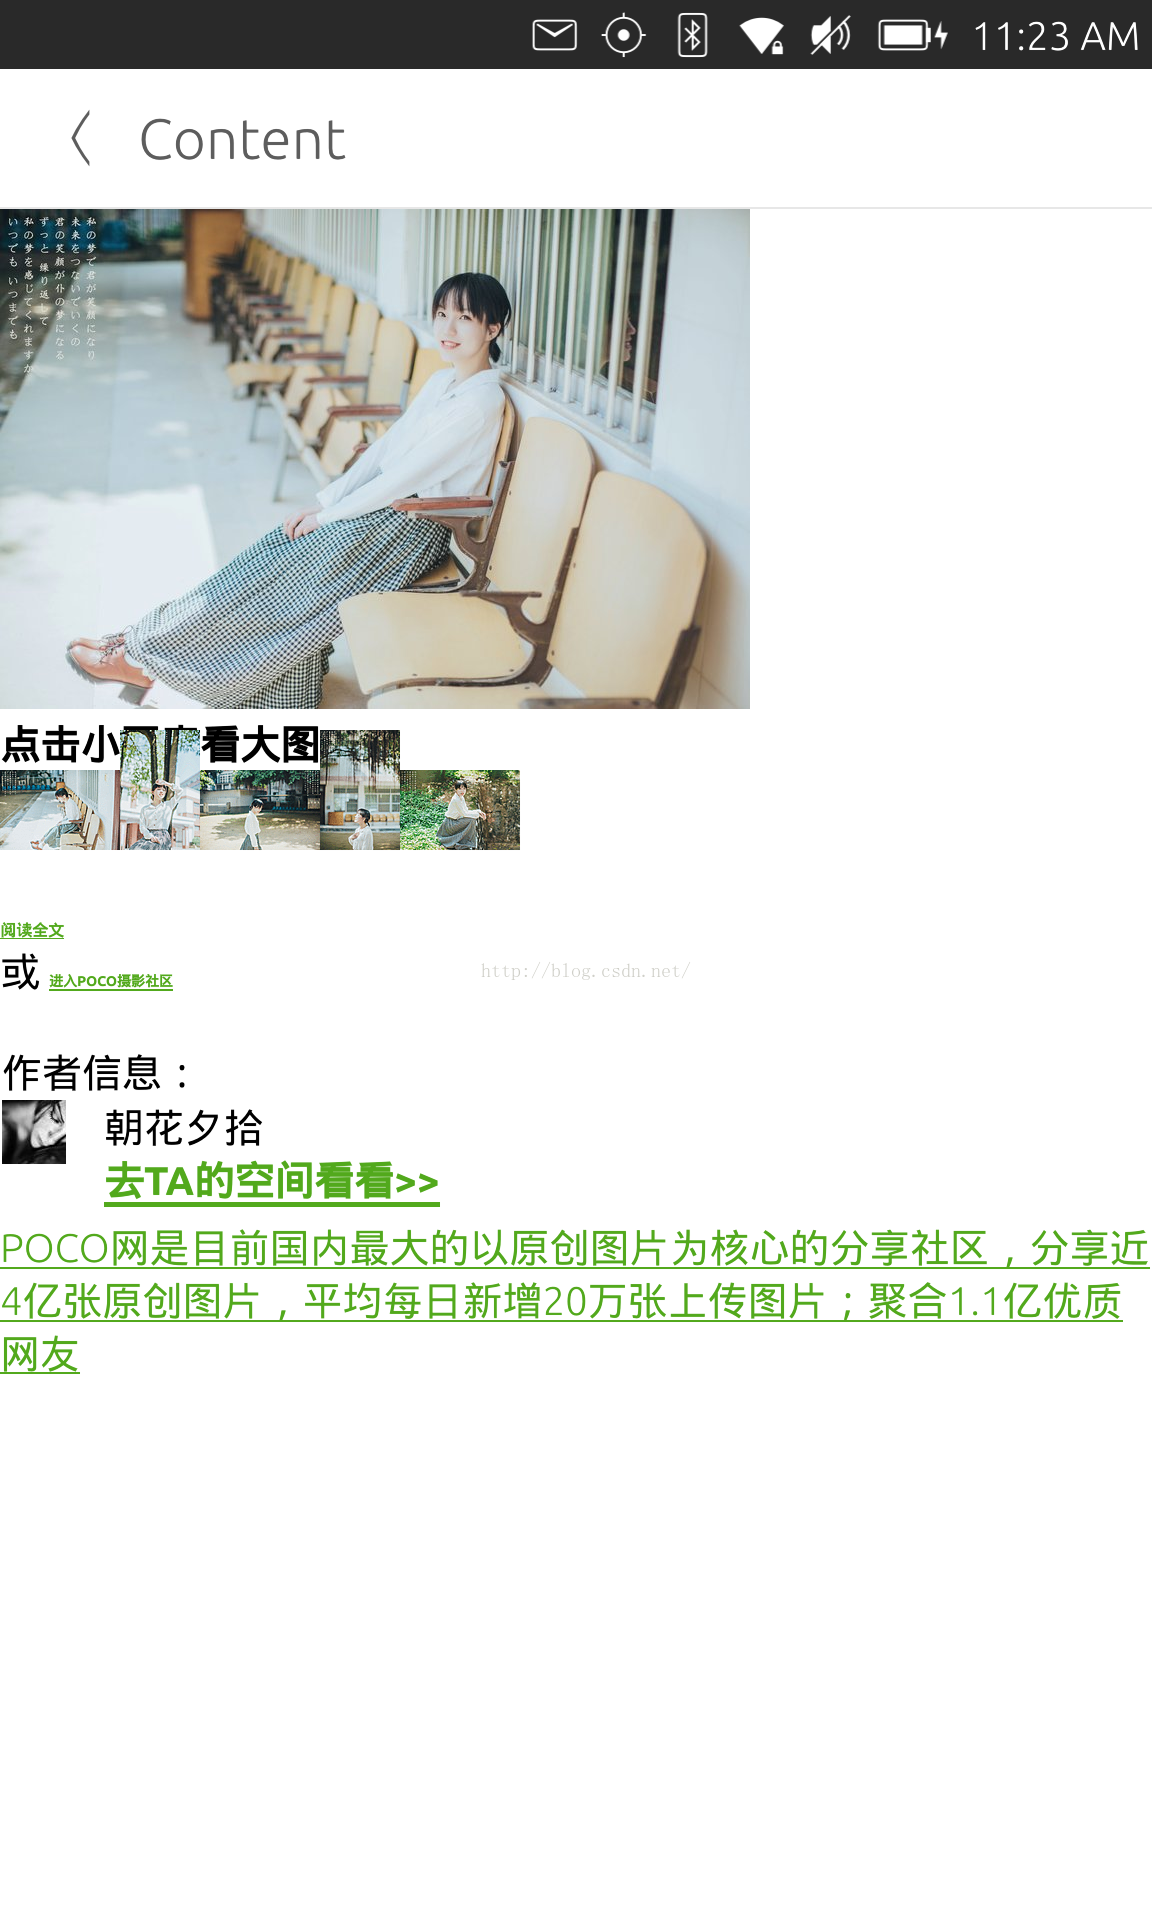
我们这时运行程序,可以看到如下的图片。我们可以点击在主界面中的各项,并查看具体的内容:
我们也可以部署到我们的手机上,显示效果如下:
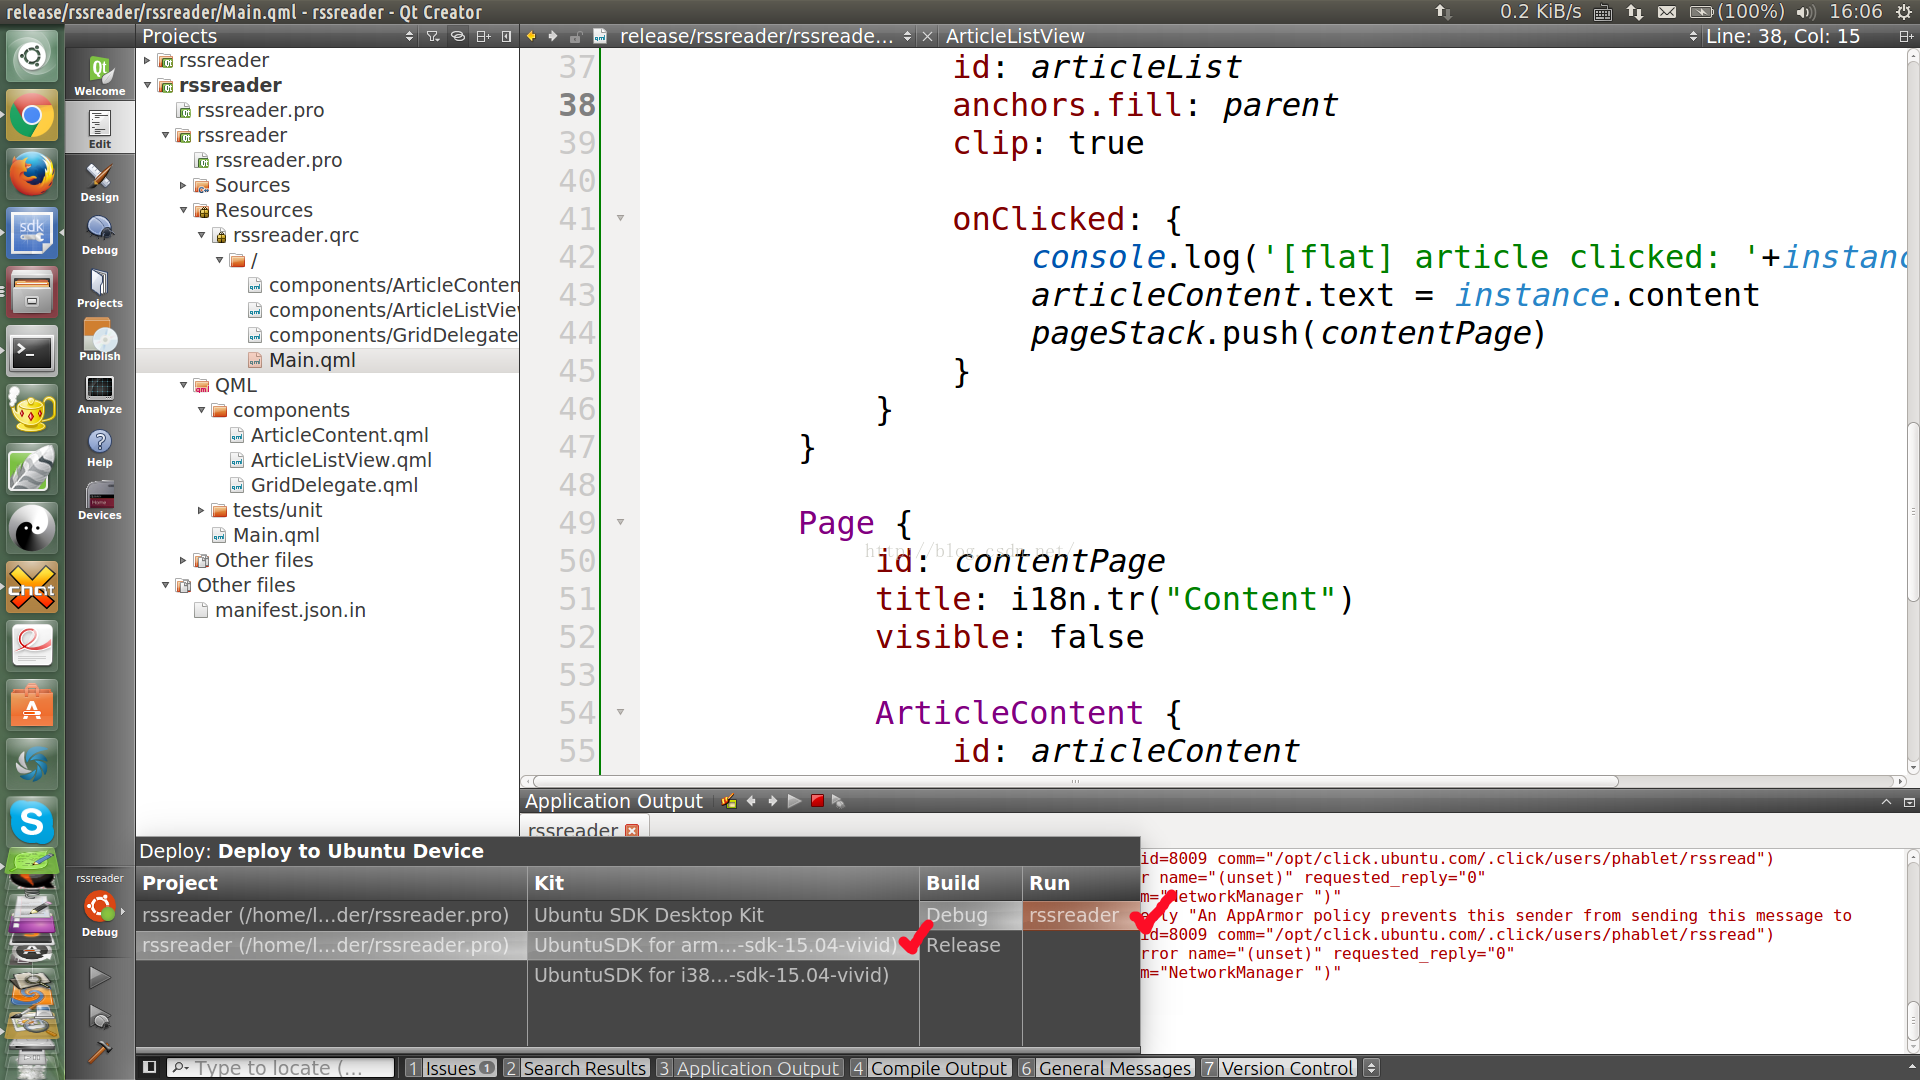
我们选择"Ubuntu SDK for armhf (GCC for ubuntu-sdk-15.04-vivid)"(开发者可以根据自己的电脑中安装的armhf版本来选择).显示效果如下:
至此,我们已经完成了我们最基本的一个练习.整个项目的源码在地址:
https://github.com/liu-xiao-guo/rssreader
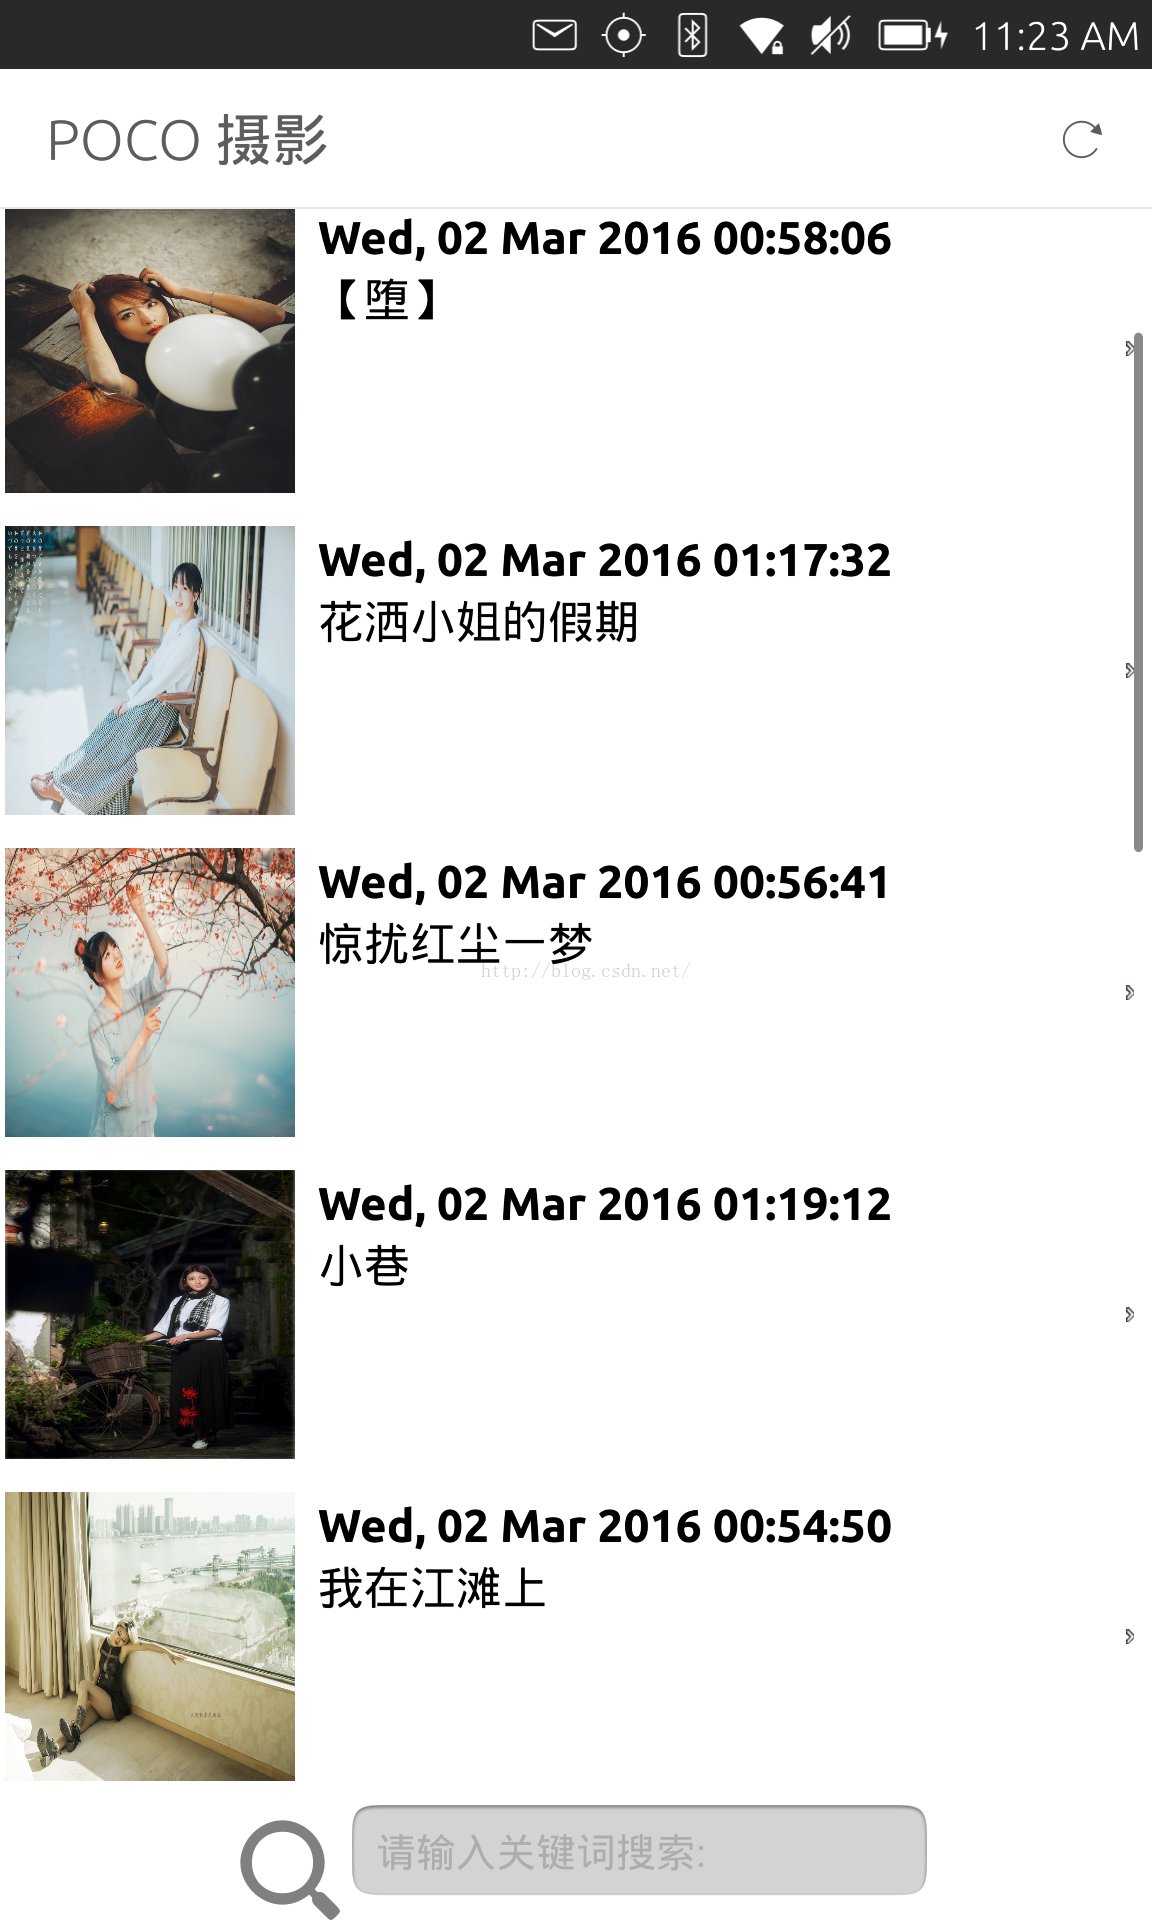
8)使用UbuntuListView来显示我们的内容
在这一节中,我们将使用
UbuntuListView来显示我们的内容.顾名思义,ListView是用来显示一个List列表.事实上UbuntuListView继承于Qt的
ListView,但是它也有一些自己的属性.和上面的方法类似,我们这里创建ArticleListView.qml及ListDelegate.qml:
ArticleListView.qml
import QtQuick 2.4
import QtQuick.XmlListModel 2.0
import Ubuntu.Components 1.3
import Ubuntu.Components.ListItems 1.0

Item {
    id: root
    signal clicked(var instance)
    anchors.fill: parent

    function reload() {
        console.log('reloading')
        model.clear();
        picoRssModel.reload()
    }

    ListModel {
        id: model
    }

    XmlListModel {
        id: picoRssModel
        source: "http://www.8kmm.com/rss/rss.aspx"
        query: "/rss/channel/item"

        onStatusChanged: {
            if (status === XmlListModel.Ready) {
                for (var i = 0; i < count; i++) {
                    // Let's extract the image
                    var m,
                        urls = [],
                        str = get(i).content,
                        rex = /<img[^>]+src\s*=\s*['"]([^'"]+)['"][^>]*>/g;

                    while ( m = rex.exec( str ) ) {
                        urls.push( m[1] );
                    }

                    var image = urls[0];

                    var title = get(i).title.toLowerCase();
                    var published = get(i).published.toLowerCase();
                    var content = get(i).content.toLowerCase();
                    var word = input.text.toLowerCase();

                    if ( (title !== undefined && title.indexOf( word) > -1 )  ||
                         (published !== undefined && published.indexOf( word ) > -1) ||
                         (content !== undefined && content.indexOf( word ) > -1) ) {

                            model.append({"title": get(i).title,
                                         "published": get(i).published,
                                         "content": get(i).content,
                                         "image": image
                                     })
                    }
                }
            }
        }

        XmlRole { name: "title"; query: "title/string()" }
        XmlRole { name: "published"; query: "pubDate/string()" }
        XmlRole { name: "content"; query: "description/string()" }
    }

    UbuntuListView {
        id: listView
        width: parent.width
        height: parent.height - inputcontainer.height
        clip: true
        visible: true

        model: model

        delegate: ListDelegate {}

        // Define a highlight with customized movement between items.
        Component {
            id: highlightBar
            Rectangle {
                width: 200; height: 50
                color: "#FFFF88"
                y: listView.currentItem.y;
                Behavior on y { SpringAnimation { spring: 2; damping: 0.1 } }
            }
        }

        highlightFollowsCurrentItem: true

        focus: true
        // highlight: highlightBar

        Scrollbar {
            flickableItem: listView
        }

        PullToRefresh {
            onRefresh: {
                reload()
            }
        }
    }

    Row {
        id:inputcontainer
        anchors.bottom: parent.bottom
        anchors.horizontalCenter: parent.horizontalCenter
        height: units.gu(5)
        spacing:12

        Icon {
            width: height
            height: parent.height
            name: "search"
            anchors.verticalCenter:parent.verticalCenter;
        }

        TextField {
            id:input
            placeholderText: "请输入关键词搜索:"
            width:units.gu(25)
            text:""

            onTextChanged: {
                console.log("text is changed");
                reload();
            }
        }
    }
}
ListDelegate.qml
import QtQuick 2.0

Item {
    width: ListView.view.width
    height: units.gu(14)

    Row {
        spacing: units.gu(1)
        width: parent.width
        height: parent.height
        x: units.gu(0.2)

        Image {
            id: img
            property int borderLength: 2
            source: image
            height: parent.height *.9
            width: height
            anchors.verticalCenter: parent.verticalCenter
        }

        Column {
            id: right
            y: units.gu(1)
            anchors.leftMargin: units.gu(0.1)
            width: parent.width - img.width - parent.spacing
            spacing: units.gu(0.2)


            Text {
                text: {
                    var txt = published.replace("GMT", "");
                    return txt;
                }
                font.pixelSize: units.gu(2)
                font.bold: true
            }

            Text {
                width: parent.width * .9
                text: {
                    var tmp = title.replace("[POCO摄影 - 人像]:", "");

                    if ( tmp.length > 35)
                        return tmp.substring(0, 35) + "...";
                    else
                        return tmp;
                }
                //                wrapMode: Text.Wrap
                clip: true
                font.pixelSize: units.gu(2)
            }
        }
    }

    Image {
        source: "images/arrow.png"
        anchors.right: parent.right
        anchors.verticalCenter: parent.verticalCenter
        anchors.rightMargin: units.gu(0.6)
        rotation: -90
    }

    MouseArea {
        anchors.fill: parent

        onClicked: {
            console.log("it is clicked");
            console.log("currentidex: " + listView.currentIndex);
            console.log("index: " + index);
            listView.currentIndex = index;
            root.clicked(model);
        }
    }

    Keys.onReturnPressed: {
        console.log("Enter is pressed!");
        listView.currentIndex = index;
        root.clicked(model);
    }
}
细心的开发者可能已经看出来了,我们的ArticleListView.qml里的文件几乎和我们的ArticleGridView.qml的内容是一样的.只是在这个文件中我们使用了UbuntuListView而不是GridView的方法来显示我们的内容.这符合我们的MVC(Model-View-Control)设计思路.最后我们千万别忘记把我们的新创建的文件加入到我们的rssreader.qrc文件中.否则,这些文件将不被认知.另外,我们需要修改在Main.qml中listPage中的部分:
Main.qml
        Page {
            id: listPage
            title: i18n.tr("POCO 摄影")
            visible: false

            head.actions: [
                Action {
                    iconName: "reload"
                    text: "Reload"
                    onTriggered: articleList.reload()
                }
            ]

            ArticleListView {
                id: articleList
                anchors.fill: parent
                clip: true

                onClicked: {
                    console.log('[flat] article clicked: '+instance.title)
                    articleContent.text = instance.content
                    pageStack.push(contentPage)
                }
            }
        }

9)在应用中加入cache使UI更流畅
我们发现当我们打开一个图片,再次返回到我们的前面一个页面后,会有新的网络请求.图片将被重新下载.一方面浪费流量,另外也使得用户体验变差.在我们应用中,我们可以加入cache机制,这样可以避免不必要的重复下载.我们主要针对main.cpp来修改:
main.cpp
#include <QGuiApplication>
#include <QQmlApplicationEngine>
#include <QQuickView>
#include <QStandardPaths>
#include <QDebug>
#include <QDir>
#include <QQmlNetworkAccessManagerFactory>
#include <QNetworkAccessManager>
#include <QNetworkDiskCache>

QString getCachePath()
{
    QString writablePath = QStandardPaths::
            writableLocation(QStandardPaths::DataLocation);
    qDebug() << "writablePath: " << writablePath;

    QString absolutePath = QDir(writablePath).absolutePath();
    qDebug() << "absoluePath: " << absolutePath;

    absolutePath += "/cache/";

    // We need to make sure we have the path for storage
    QDir dir(absolutePath);
    if ( dir.mkpath(absolutePath) ) {
        qDebug() << "Successfully created the path!";
    } else {
        qDebug() << "Fails to create the path!";
    }

    qDebug() << "cache path: " << absolutePath;

    return absolutePath;
}

class MyNetworkAccessManagerFactory : public QQmlNetworkAccessManagerFactory
{
public:
    virtual QNetworkAccessManager *create(QObject *parent);
};

QNetworkAccessManager *MyNetworkAccessManagerFactory::create(QObject *parent)
{
    QNetworkAccessManager *nam = new QNetworkAccessManager(parent);

    QString path = getCachePath();
    QNetworkDiskCache* cache = new QNetworkDiskCache(parent);
    cache->setCacheDirectory(path);
    nam->setCache(cache);

    return nam;
}

int main(int argc, char *argv[])
{
    QGuiApplication app(argc, argv);

    QQuickView view;

    qDebug() << "Original factory: " << view.engine()->networkAccessManagerFactory();
    qDebug() << "Original manager: " << view.engine()->networkAccessManager();
    QNetworkDiskCache* cache = (QNetworkDiskCache*)view.engine()->networkAccessManager()->cache();
    qDebug() << "Original manager cache: " << cache;
    view.engine()->setNetworkAccessManagerFactory(new MyNetworkAccessManagerFactory);

    view.setSource(QUrl(QStringLiteral("qrc:///Main.qml")));
    view.setResizeMode(QQuickView::SizeRootObjectToView);
    view.show();
    return app.exec();
}
运行我们的应用在手机上:

整个项目的源码在: https://github.com/liu-xiao-guo/rssreader_cache
当大家做完这个练习,我们可以接着做"
运用AdaptivePageLayout来做融合(convergence)设计以实现动态布局"练习.


 1266
1266

 被折叠的 条评论
为什么被折叠?
被折叠的 条评论
为什么被折叠?
 到【灌水乐园】发言


