


 本文介绍如何使用AVFoundation框架创建一个具备条码扫描功能的应用程序。该应用不仅支持二维码扫描,还包括语音合成和摄像头缩放功能。文章详细介绍了设置摄像头、创建预览视图的过程。
从这一节开始,我们使用AV Foundation制作一个条码(不仅仅是二维码)扫描程序,除了扫描二维码功能外,还具备语音合成和摄像头缩放功能。
源码地址:https://code.csdn.net/yamingwu/collqr/tree/master
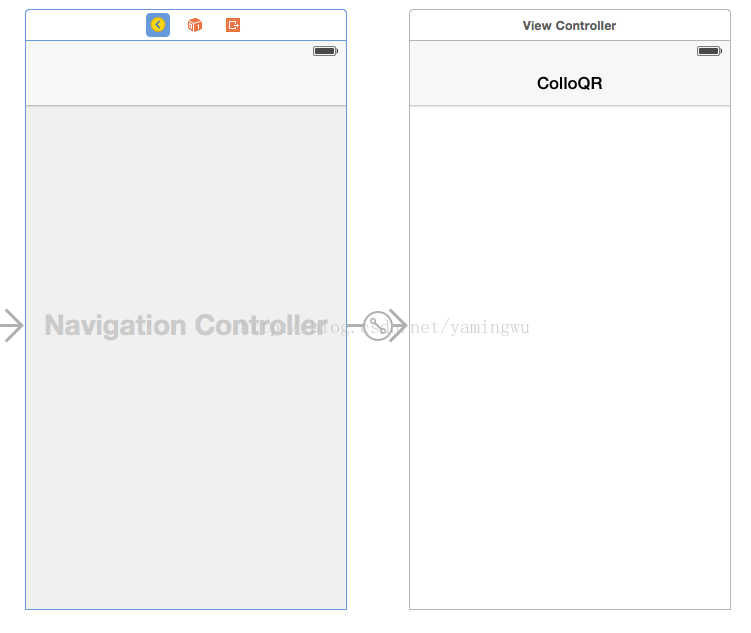
创建名为ColloQR的单view应用程序。打开storyboard,禁用sized class。选中view controller,通过editor菜单将其放入navigation controller中。最后修改标题为ColloQR:
使用摄像头
打开ViewController.m,添加import:
@import AVFoundation;@implementation ViewController {
AVCaptureSession *_captureSession;
AVCaptureDevice *_videoDevice;
AVCaptureDeviceInput * _videoInput;
AVCaptureVideoPreviewLayer *_previewLayer;
BOOL _running;
}AVCaptureDevice:封装设备上的物理摄像头。对iPhone而言有前后两个摄像头。
AVCaptureDeviceInput:要添加一个AVCaptureDevice到session中,需要用AVCaptureDeviceInput来包裹一下。
AVCaptureVideoPreviewLayer:用于显示摄像头捕捉到得视频到UI。
_running:用于存放session的状态,标明session在运行还是处于停止状态。
添加以下方法:
- (void) setupCaptureSession {
    if (_captureSession) return;

    _videoDevice = [AVCaptureDevice defaultDeviceWithMediaType:AVMediaTypeVideo];
    if (!_videoDevice) {
        NSLog(@"No video camera on this device!");
        return;
    }

    _captureSession = [[AVCaptureSession alloc] init];

    _videoInput = [[AVCaptureDeviceInput alloc] initWithDevice:_videoDevice error:nil];

    if ([_captureSession canAddInput:_videoInput])
    {
        [_captureSession addInput:_videoInput];
    }

    _previewLayer = [[AVCaptureVideoPreviewLayer alloc] initWithSession:_captureSession];
    _previewLayer.videoGravity = AVLayerVideoGravityResizeAspectFill;
}- 如果session已经存在,则直接返回。
- 初始化video device,若设备没有摄像头,则直接返回。
- 初始化capture session。
- 通过video device创建video input。
- 查询session是否接受一个输入,如果接受,添加输入到session中。
- 最后,创建预览层并为其指定要预览的capture session。
创建预览view
打开storyboard,添加一个UIView到view controller中,让其填充满整个view。并为其添加名为previewView的outlet。
回到ViewController.m,修改viewDidLoad方法,创建capture session,设置preview layer,让其填充满包含它的view,并将其设置为其容器view的子layer。
- (void)viewDidLoad {
    [super viewDidLoad];

    [self setupCaptureSession];
    _previewLayer.frame = _previewView.bounds;
    [_previewView.layer addSublayer:_previewLayer];
}- (void) startRunning
{
if (_running)
{
return;
}
[_captureSession startRunning];
_running = YES;
}
- (void) stopRunning
{
if (!_running)
{
return;
}
[_captureSession stopRunning];
_running = NO;
}- (void) viewWillAppear:(BOOL)animated
{
[super viewWillAppear:animated];
[self startRunning];
}
- (void) viewWillDisappear:(BOOL)animated
{
[super viewWillDisappear:animated];
[self stopRunning];
} [[NSNotificationCenter defaultCenter] addObserver:self selector:@selector(applicationWillEnterForeground:) name:UIApplicationWillEnterForegroundNotification object:nil];
[[NSNotificationCenter defaultCenter] addObserver:self selector:@selector(applicationDidEnterBackground:) name:UIApplicationDidEnterBackgroundNotification object:nil];- (void)applicationWillEnterForeground:(NSNotification *)note
{
[self startRunning];
}
- (void)applicationDidEnterBackground:(NSNotification *)note
{
[self stopRunning];
}

下一节,我们将为程序添加扫码功能。
转载请注明出处:http://blog.csdn.net/yamingwu/article/details/44498123


 3298
3298

 被折叠的 条评论
为什么被折叠?
被折叠的 条评论
为什么被折叠?
 到【灌水乐园】发言


