本篇接着之前的Material Design控件总结(一)往下学习support design包下其余控件,如果对Material Design不太熟悉的同学最好把第一篇看完再来看第二篇效果更好
本篇将介绍剩下的控件
- FloatingActionButton
- TabLayout
- Snackbar
- TextInputLayout
FloatingActionButton
作为MD风格最具争议的控件,本篇将先学习他的简单使用,然后再从日常app中FAB常见的两种样式入手进行介绍
FloatingActionButton是重写ImageView的,所以FloatingActionButton拥有ImageView的一切属性。
基本属性
| xml参数 | 含义 | 备注 |
|---|---|---|
| app:backgroundTint | FAB的背景颜色 | |
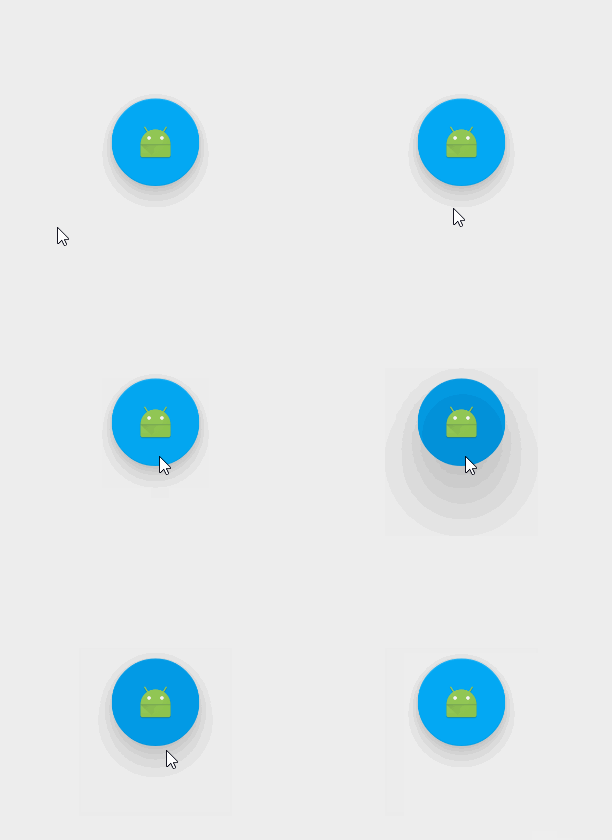
| app:rippleColor | FAB点击时的背景颜色 | |
| app:elevation | 默认状态下FAB的阴影大小 | 默认为6dp |
| app:pressedTranslationZ | 点击时候FAB的阴影大小 | 默认为12dp |
| app:fabSize | 设置FAB的大小 | 该属性有两个值,分别为normal和mini,对应的FAB大小分别为56dp和40dp。 |
| src | 设置FAB的图标 | Google建议符合Design设计的该图标大小为24dp |
| app:layout_anchor | 设置FAB的锚点 | 即以哪个控件为参照物设置位置 |
| app:layout_anchorGravity | 设置FAB相对锚点的位置 | 有 bottom、center、right、left、top等 |
有时候会出现点击效果不显示的情况,可以试试 加上 clickable = “true” 这个属性,应该是焦点未获取到导致的
简单使用
xml布局
<android.support.design.widget.FloatingActionButton
        android:id="@+id/fab"
        android:layout_width="wrap_content"
        android:layout_height="wrap_content"
        android:clickable="true"
        android:src="@mipmap/ic_launcher"
        app:backgroundTint="#03A9F4"
        app:elevation="12dp"
        app:pressedTranslationZ="24dp"
        app:rippleColor="#0288D1" />
至于点击事件跟普通控件并无差别这里不过多说明
接下来将实现二个比较常见的效果
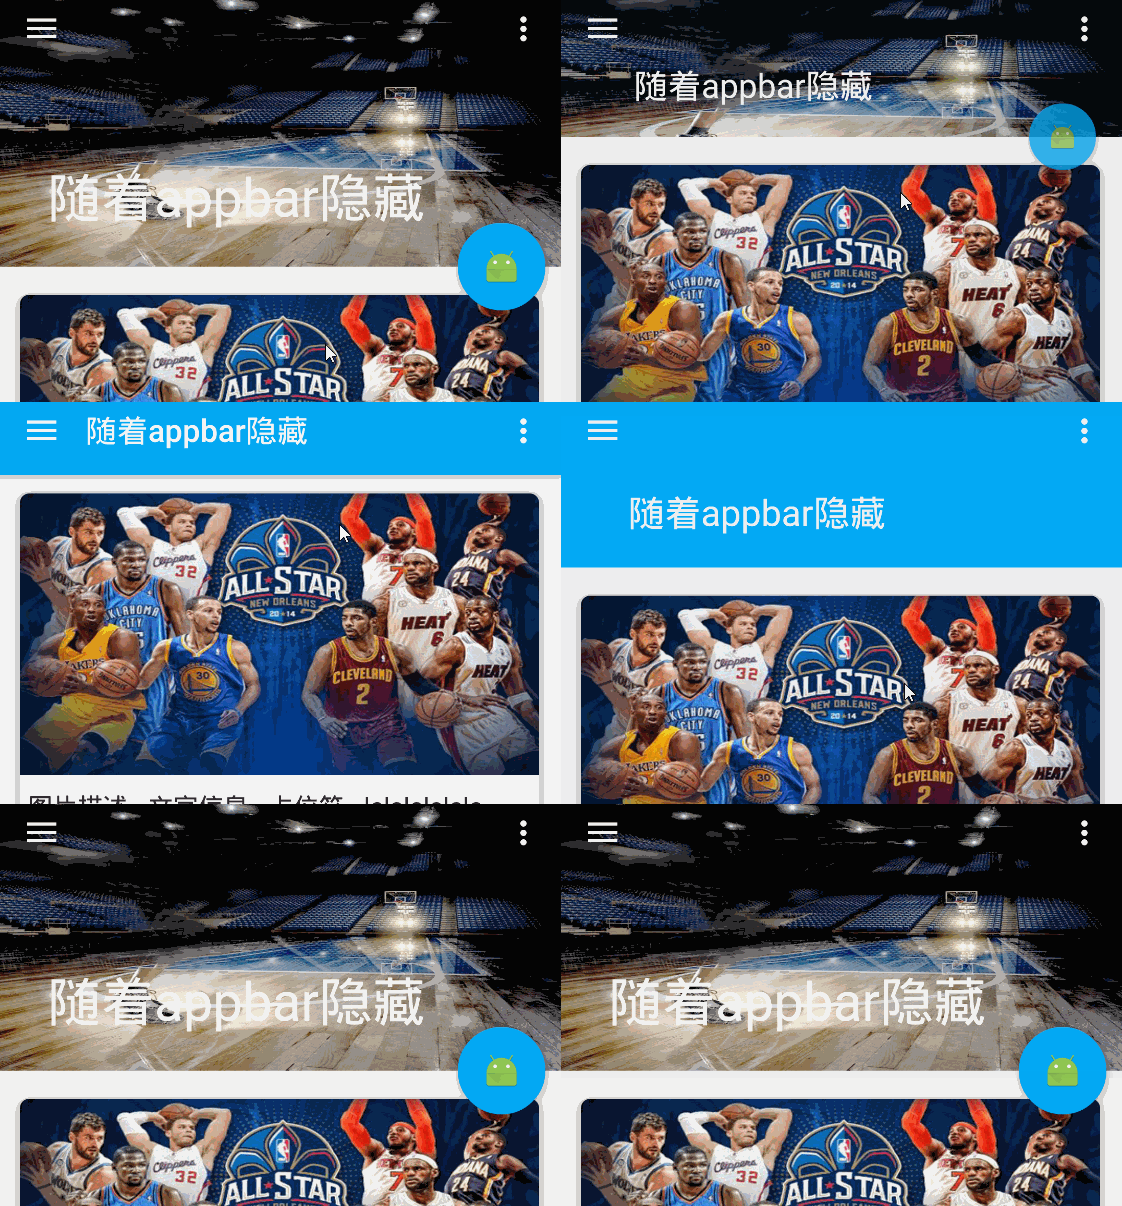
1.随着appbar隐藏

这里是在Material Design控件总结(一)基础上实现的也就是利用了Fab app:layout_anchor锚点的属性将它与AppBarLayout关联,然后随着CollapsingToolbarLayout而隐藏,activity中并无其他代码
<?xml version="1.0" encoding="utf-8"?>
<android.support.design.widget.CoordinatorLayout xmlns:android="http://schemas.android.com/apk/res/android"
    xmlns:app="http://schemas.android.com/apk/res-auto"
    android:layout_width="match_parent"
    android:layout_height="match_parent">
    <android.support.design.widget.AppBarLayout
        android:id="@+id/appbar"
        android:layout_width="match_parent"
        android:layout_height="180dp"
        android:theme="@style/ThemeOverlay.AppCompat.Dark.ActionBar">

        <android.support.design.widget.CollapsingToolbarLayout
            android:id="@+id/collapsingToolbarLayout"
            android:layout_width="match_parent"
            android:layout_height="match_parent"
            app:contentScrim="?attr/colorPrimary"
            app:layout_scrollFlags="scroll|exitUntilCollapsed">

            <ImageView
                android:layout_width="match_parent"
                android:layout_height="match_parent"
                android:background="@drawable/bg"
                app:layout_collapseMode="parallax"
                app:layout_collapseParallaxMultiplier="0.6" />

            <android.support.v7.widget.Toolbar
                android:id="@+id/toolbar"
                android:layout_width="match_parent"
                android:layout_height="?attr/actionBarSize"
                app:layout_collapseMode="pin"
                app:popupTheme="@style/ThemeOverlay.AppCompat.Light"
                app:theme="@style/ThemeOverlay.AppCompat.Dark.ActionBar" />


        </android.support.design.widget.CollapsingToolbarLayout>

    </android.support.design.widget.AppBarLayout>


    <android.support.v7.widget.RecyclerView
        android:id="@+id/recyclerView"
        android:layout_width="match_parent"
        android:layout_height="match_parent"
        app:layout_behavior="@string/appbar_scrolling_view_behavior" />

    <android.support.design.widget.FloatingActionButton
        android:id="@+id/fab"
        android:layout_width="wrap_content"
        android:layout_height="wrap_content"
        android:clickable="true"
        android:src="@mipmap/ic_launcher"
        app:layout_anchor="@+id/appbar"
        app:layout_anchorGravity="right|bottom"
        android:layout_marginRight="10dp"
        android:layout_marginBottom="10dp"
        />

</android.support.design.widget.CoordinatorLayout>
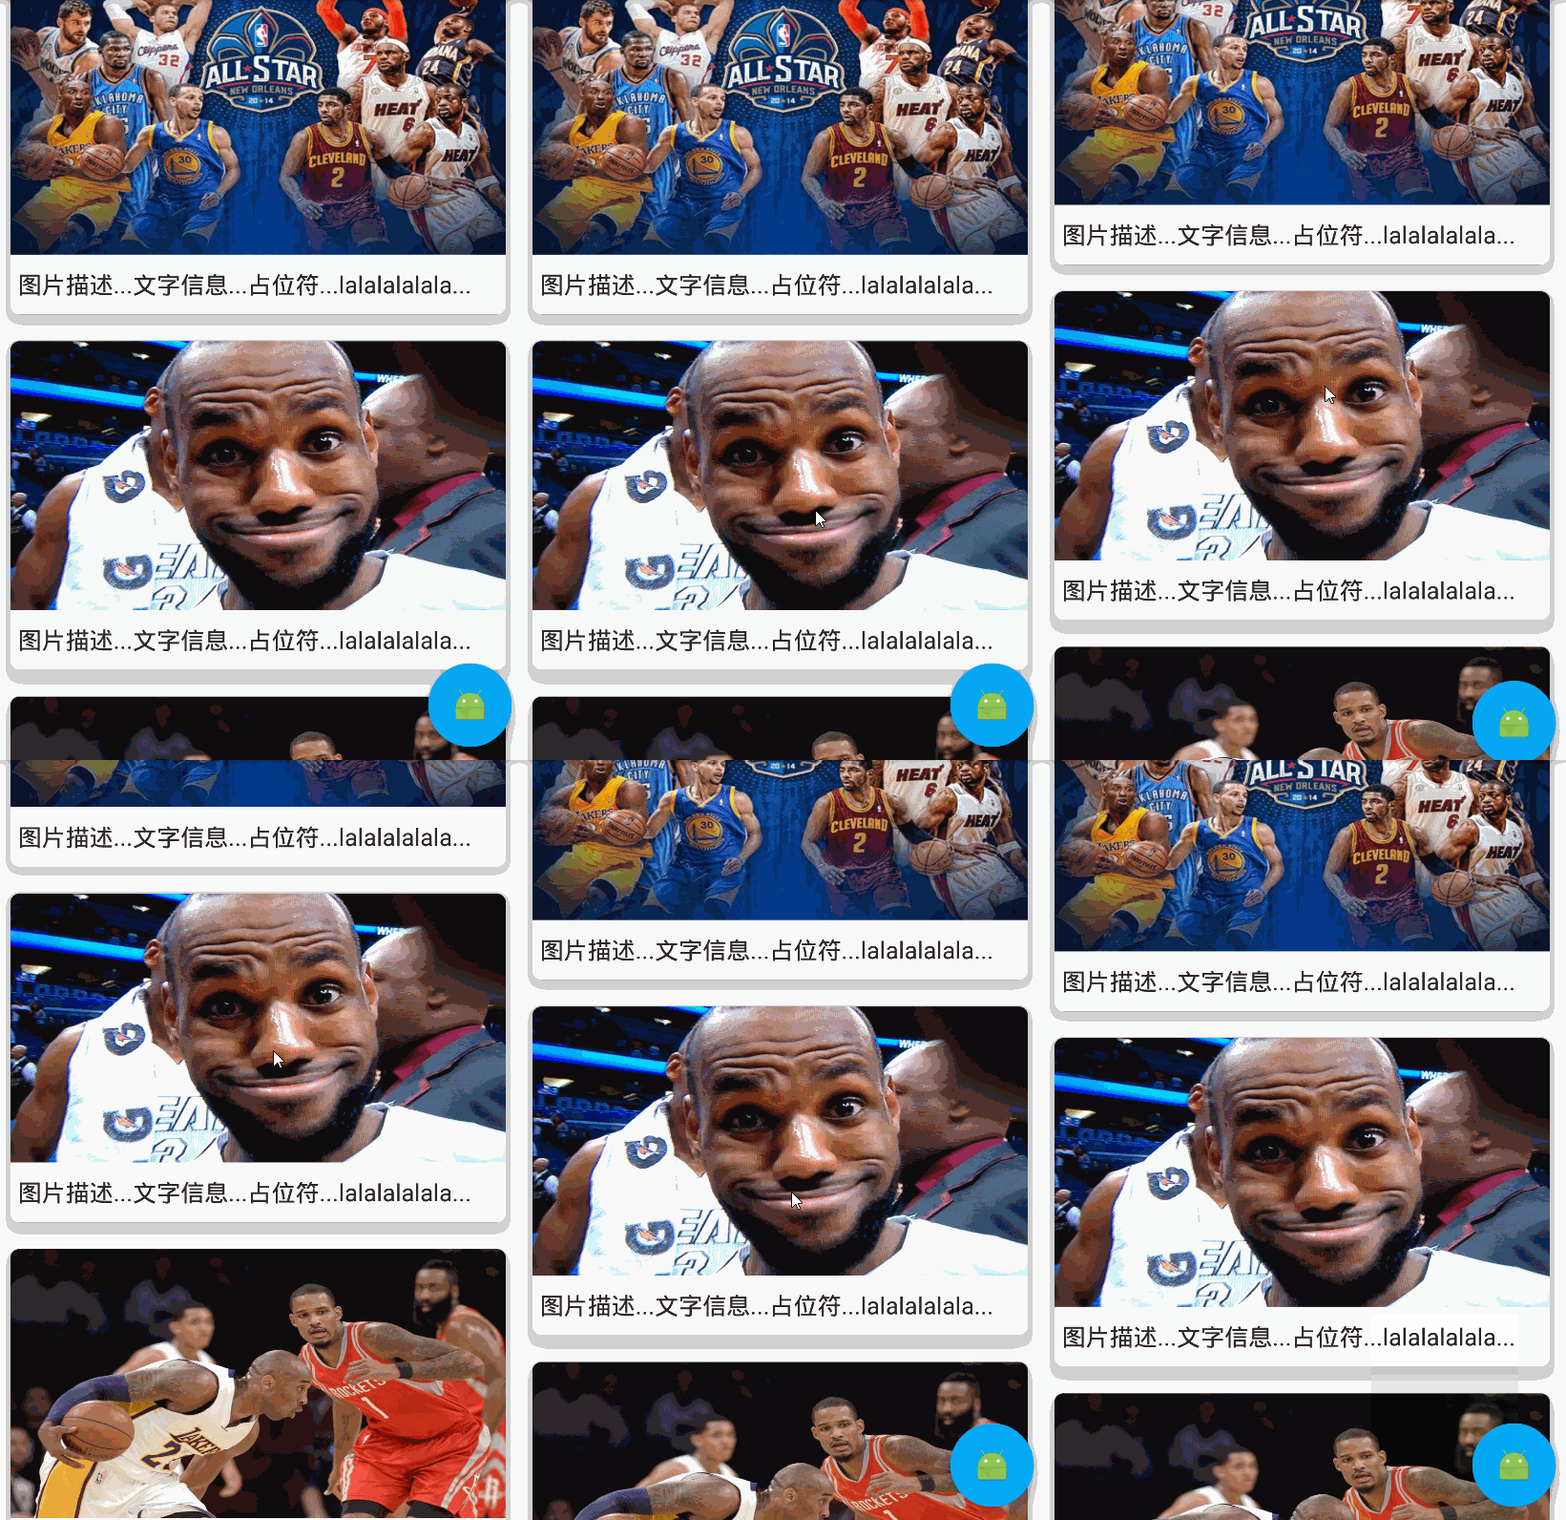
2.随着Recyclerview滑动而隐藏

相对于上面在Fab加一个属性app:layout_behavior (至于这个是干嘛的这里先贴上一段介绍Behavior只有是CoordinatorLayout的直接子View才有意义。可以为任何View添加一个Behavior.Behavior是一系列回调。让你有机会以非侵入的为View添加动态的依赖布局,和处理父布局(CoordinatorLayout)滑动手势的机会。)后面有空再讲解
这里先上xml
<?xml version="1.0" encoding="utf-8"?>
<android.support.design.widget.CoordinatorLayout xmlns:android="http://schemas


 本文介绍了Material Design中的剩余控件:FloatingActionButton的基本属性和常见用法,如随AppBar隐藏和随RecyclerView滑动隐藏;TabLayout的使用和模式切换;Snackbar的显示及自定义颜色;以及TextInputLayout的功能和错误提示的设置。通过实例展示了这些控件在实际应用中的使用方式。

 最低0.47元/天 解锁文章


 586
586

 被折叠的 条评论
为什么被折叠?


