


LNMP部署
环境说明
| 系统 | Nginx版本 | 数据库版本 | PHP版本 |
|---|---|---|---|
| centos8 | nginx-1.24.0 | mysql-5.7.39 | php-8.2.11 |
准备工作
//配置yum源(阿里源)和epel源
[root@centos ~]# cd /etc/yum.repos.d/
[root@centos yum.repos.d]# curl -o /etc/yum.repos.d/CentOS-Base.repo https://mirrors.aliyun.com/repo/Centos-vault-8.5.2111.repo
[root@centos yum.repos.d]# sed -i -e '/mirrors.cloud.aliyuncs.com/d' -e '/mirrors.aliyuncs.com/d' /etc/yum.repos.d/CentOS-Base.repo
[root@centos yum.repos.d]# yum clean all
[root@centos yum.repos.d]# yum makecache

[root@centos yum.repos.d]# yum install -y https://mirrors.aliyun.com/epel/epel-release-latest-8.noarch.rpm
[root@centos yum.repos.d]# sed -i 's|^#baseurl=https://download.example/pub|baseurl=https://mirrors.aliyun.com|' /etc/yum.repos.d/epel*
[root@centos yum.repos.d]# sed -i 's|^metalink|#metalink|' /etc/yum.repos.d/epel*
[root@centos yum.repos.d]# yum makecache

//关闭防火墙和selinux
[root@centos yum.repos.d]# cd
[root@centos ~]# systemctl disable --now firewalld.service
[root@centos ~]# setenforce 0
[root@centos ~]# sed -i 's/^SELINUX=enforcing/SELINUX=disabled/g' /etc/selinux/config
[root@centos ~]# reboot
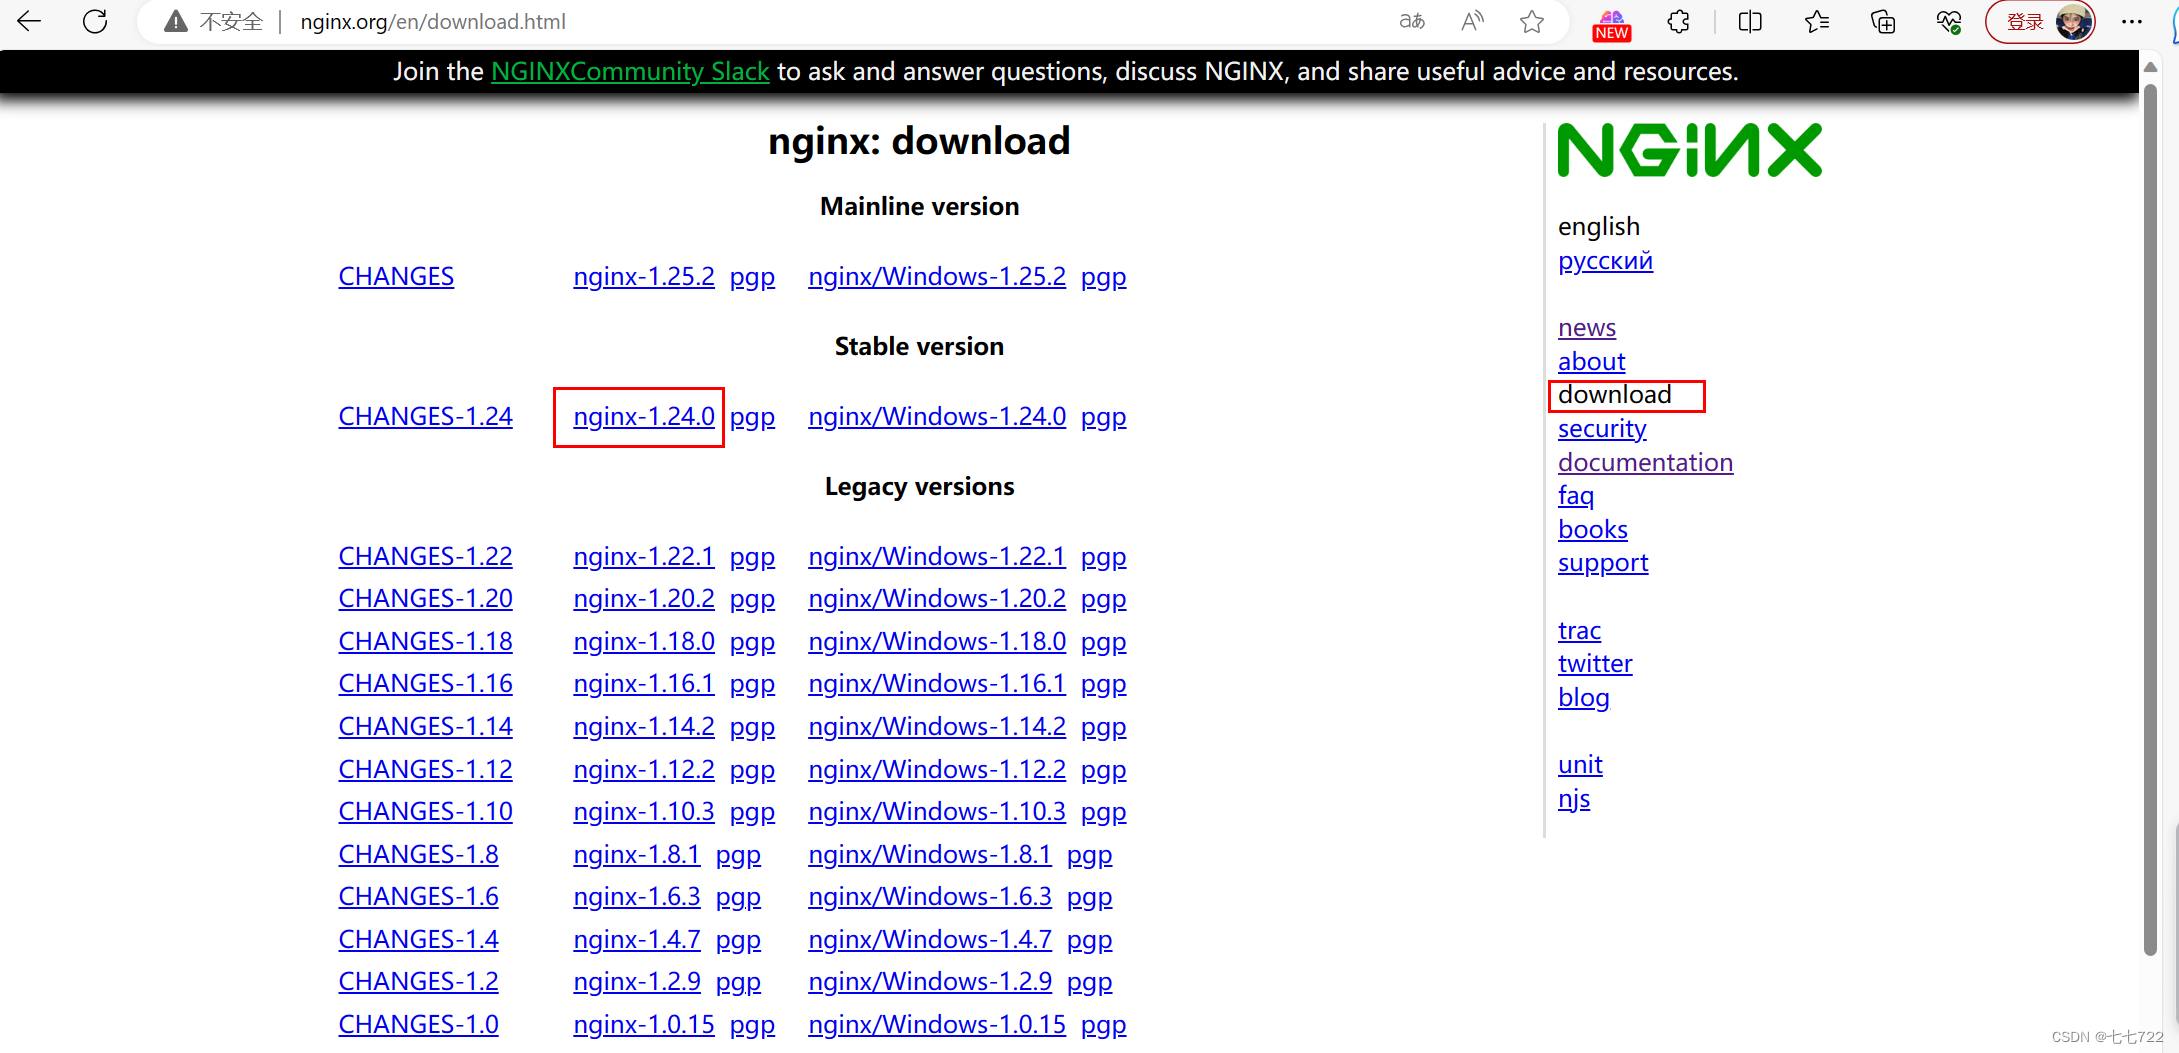
1、安装nginx
首先在官网nginx news 下载nginx包
//先安装源码编译所需的软件包,编译工具
[root@centos ~]# yum -y install openssl-devel pcre-devel expat-devel libtool gcc gcc-c++ gd-devel make wget vim

//安装软件开发包
[root@centos ~]# yum -y groups mark install 'Development Tools'

//创建nginx用户
[root@centos ~]# useradd -r -M -s /sbin/nologin nginx

//创建日志存放目录
[root@centos ~]# mkdir /var/log/nginx
[root@centos ~]# chown -R nginx:nginx /var/log/nginx
[root@centos ~]# ll -d /var/log/nginx
drwxr-xr-x 2 nginx nginx 6 Oct 20 23:04 /var/log/nginx

//下载nginx
[root@centos ~]# wget http://nginx.org/download/nginx-1.24.0.tar.gz
[root@centos ~]# ls
anaconda-ks.cfg  nginx-1.24.0.tar.gz

//解压
[root@centos ~]# tar -xf nginx-1.24.0.tar.gz -C /usr/local/
[root@centos ~]# ls /usr/local/ && cd /usr/local
bin  games    lib    libexec       sbin   src
etc  include  lib64  nginx-1.24.0  share
//编译安装
[root@centos local]# cd nginx-1.24.0/
[root@centos nginx-1.24.0]# ./configure \
> --prefix=/usr/local/nginx \
> --user=nginx \
> --group=nginx \
> --with-debug \
> --with-http_ssl_module \
> --with-http_realip_module \
> --with-http_image_filter_module \
> --with-http_gunzip_module \
> --with-http_gzip_static_module \
> --with-http_stub_status_module \
> --http-log-path=/var/log/nginx/access.log \
> --error-log-path=/var/log/nginx/error.log

[root@centos nginx-1.24.0]# make && make install

//添加环境变量
[root@centos nginx-1.24.0]# cd ..
[root@centos local]# ls nginx
conf  html  logs  sbin
[root@centos local]# echo 'export PATH=/usr/local/nginx/sbin:$PATH' > /etc/profile.d/nginx.sh
[root@centos local]# source /etc/profile.d/nginx.sh
[root@centos local]# echo $PATH
/usr/local/nginx/sbin:/usr/local/sbin:/usr/local/bin:/usr/sbin:/usr/bin:/root/bin

//此时我们就可以直接使用/usr/local/nginx/sbin/下面的执行命令开启nginx服务了
[root@centos local]# which nginx
/usr/local/nginx/sbin/nginx

[root@centos ~]# nginx
[root@centos ~]# ss -antl
State   Recv-Q  Send-Q   Local Address:Port   Peer Address:Port Process
LISTEN  0       128            0.0.0.0:80          0.0.0.0:*
LISTEN  0       128            0.0.0.0:22          0.0.0.0:*
LISTEN  0       128               [::]:22             [::]:*
//将systemctl加入到nginx的启动方式中
[root@centos ~]# cp /usr/lib/systemd/system/sshd.service /usr/lib/systemd/system/nginx.service
[root@centos ~]# vim /usr/lib/systemd/system/nginx.service
[Unit]
Description=OpenSSH server daemon
After=network.target
[Service]
Type=forking
ExecStart=/usr/local/nginx/sbin/nginx
ExecStop=/usr/local/nginx/sbin/nginx -s stop
ExecReload=/usr/local/nginx/sbin/nginx -s reload
[Install]
WantedBy=multi-user.target

[root@centos ~]# systemctl daemon-reload

//检验:
[root@centos ~]# nginx -s stop
[root@centos ~]# ss -antl
State   Recv-Q  Send-Q   Local Address:Port   Peer Address:Port Process
LISTEN  0       128            0.0.0.0:22          0.0.0.0:*
LISTEN  0       128               [::]:22             [::]:*
[root@centos ~]# systemctl start nginx
[root@centos ~]# ss -antl
State   Recv-Q  Send-Q   Local Address:Port   Peer Address:Port Process
LISTEN  0       128            0.0.0.0:80          0.0.0.0:*
LISTEN  0       128            0.0.0.0:22          0.0.0.0:*
LISTEN  0       128               [::]:22             [::]:*
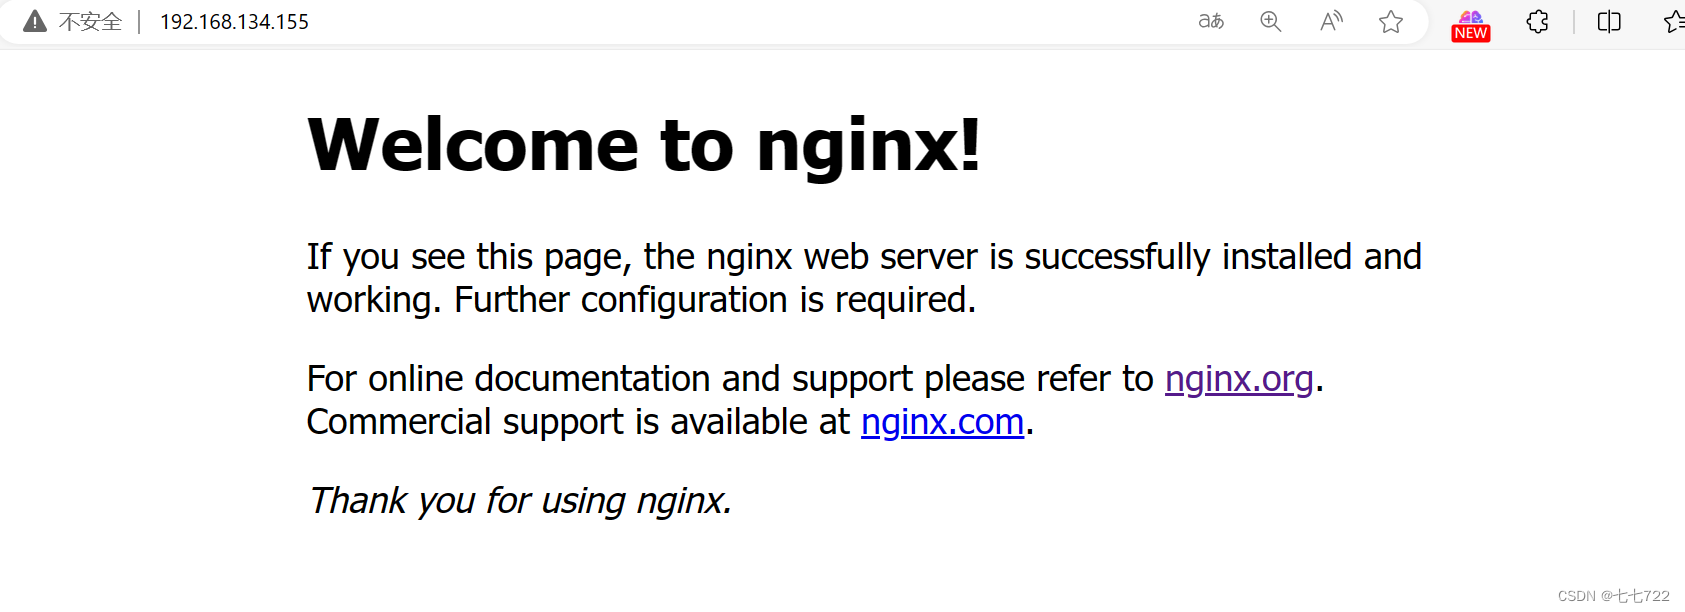
访问网页:
2、安装MySQL
//安装依赖包
[root@centos ~]# yum -y install ncurses-devel openssl-devel openssl make mariadb-devel libtool

//创建用户和组
[root@centos ~]# groupadd -r -g 306 mysql
[root@centos ~]# useradd -r -M -s /sbin/nologin -g 306 -u 306 mysql

//安装mysql包(此处我是本地拖入)
//解压到/usr/local/
[root@centos ~]# tar xf mysql-5.7.39-linux-glibc2.12-x86_64.tar.gz -C /usr/local/
[root@centos ~]# ls /usr/local && cd /usr/local
bin    include  libexec                              nginx-1.24.0  src
etc    lib      mysql-5.7.39-linux-glibc2.12-x86_64  sbin
games  lib64    nginx                                share

//建立软连接
[root@centos local]# ln -sv mysql-5.7.39-linux-glibc2.12-x86_64/ mysql
'mysql' -> 'mysql-5.7.39-linux-glibc2.12-x86_64/'
[root@centos local]# ll -d mysql
lrwxrwxrwx 1 root root 36 Oct 20 23:24 mysql -> mysql-5.7.39-linux-glibc2.12-x86_64/

//修改目录/usr/local/mysql的属主属组
[root@centos local]# chown -R mysql:mysql /usr/local/mysql
[root@centos local]# ll -d /usr/local/mysql
lrwxrwxrwx 1 mysql mysql 36 Oct 20 23:24 /usr/local/mysql -> mysql-5.7.39-linux-glibc2.12-x86_64/

//添加环境变量
[root@centos local]# echo 'export PATH=/usr/local/mysql/bin:$PATH' > /etc/profile.d/mysql.sh
[root@centos local]# source /etc/profile.d/mysql.sh
[root@centos local]# echo $PATH
/usr/local/nginx/sbin:/usr/local/sbin:/usr/local/bin:/usr/sbin:/usr/bin:/root/bin

//建立数据存放目录
[root@centos ~]# mkdir /opt/data
[root@centos ~]# chown -R mysql:mysql /opt/data/
[root@centos ~]# ll /opt/
total 0
drwxr-xr-x 2 mysql mysql 6 Oct 20 23:27 data

//初始化数据库
[root@centos ~]# /usr/local/mysql/bin/mysqld --initialize --user=mysql --datadir=/opt/data/
2023-10-20T15:31:34.641707Z 1 [Note] A temporary password is generated for root@localhost: yLq:oj8JIt/N       //临时密码
//配置mysql头文件并告知库文件路径
[root@centos ~]# ln -sv /usr/local/mysql/include/ /usr/local/include/mysql '/usr/local/include/mysql' -> '/usr/local/mysql/include/'
[root@centos ~]# echo '/usr/local/mysql/lib' > /etc/ld.so.conf.d/mysql.conf
[root@centos ~]# ldconfig

//生成配置文件
[root@centos ~]# cat > /etc/my.cnf << EOF
> [mysqld]
> basedir = /usr/local/mysql
> datadir = /opt/data
> socket = /tmp/mysql.sock
> port = 3306
> pid-file = /opt/data/mysql.pid
> user = mysql
> skip-name-resolve
> EOF

//配置服务启动脚本
[root@centos ~]# cp -a /usr/local/mysql/support-files/mysql.server /etc/init.d/mysqld
[root@centos ~]# sed -ri 's#^(basedir=).*#\1/usr/local/mysql#g' /etc/init.d/mysqld
[root@centos ~]# sed -ri 's#^(datadir=).*#\1/opt/data#g' /etc/init.d/mysqld
//启动mysql
[root@centos ~]# service mysqld start
Starting MySQL.Logging to '/opt/data/lnmp.err'.
SUCCESS!
[root@centos ~]# ss -antlp | grep 3306
LISTEN 0 80 *:3306 *:*
users:(("mysqld",pid=41579,fd=23))
//查看端口号
[root@centos ~]# ss -antl
State   Recv-Q  Send-Q   Local Address:Port   Peer Address:Port Process
LISTEN  0       128            0.0.0.0:80          0.0.0.0:*
LISTEN  0       128            0.0.0.0:22          0.0.0.0:*
LISTEN  0       80                   *:3306              *:*
LISTEN  0       128               [::]:22             [::]:*

//链接库文件
[root@centos ~]# ln -s /usr/lib64/libtinfo.so.6 /usr/lib64/libtinfo.so.5
[root@centos ~]# ln -s /usr/lib64/libncurses.so.6 /usr/lib64/libncurses.so.5

//修改mysql密码,先用临时密码登录(临时密码只能使用一次)
[root@centos local]# mysql -uroot -pyLq:oj8JIt/N
mysql> set password = password('12345678');
Query OK, 0 rows affected, 1 warning (0.00 sec)

mysql> quit
Bye
3、安装php
//安装所需依赖包
[root@centos ~]# yum -y install libxml2-devel  sqlite-devel openssl-devel libxml2-devel  bzip2-devel libcurl-devel readline-devel libpng-devel libjpeg-turbo-devel freetype-devel libzip-devel

//下载编译安装部署php所需要的oniguruma-6.9.4.tar.gz源码包
[root@centos ~]# wget https://github.com/kkos/oniguruma/archive/v6.9.4.tar.gz -O oniguruma-6.9.4.tar.gz
//解压并进入oniguruma-6.9.4目录编译安装
[root@centos ~]# tar xf oniguruma-6.9.4.tar.gz -C /usr/local/
[root@centos ~]# ls /usr/local/ && cd /usr/local/
bin games lib libexec mysql-5.7.39-linux-glibc2.12-x86_64 nginx-1.24.0
sbin src
etc include lib64 mysql nginx oniguruma-
6.9.4 share
[root@centos local]# cd oniguruma-6.9.4/
[root@centos oniguruma-6.9.4]# ./autogen.sh
. . .
[root@centos oniguruma-6.9.4]# ./configure --prefix=/usr --libdir=/lib64
. . .
[root@centos oniguruma-6.9.4]# make && make install
...

//安装php包 位于:https://www.php.net/downloads.php
[root@centos ~]# wget https://www.php.net/distributions/php-8.2.11.tar.gz
[root@centos ~]# ls
anaconda-ks.cfg                             oniguruma-6.9.4.tar.gz
mysql-5.7.39-linux-glibc2.12-x86_64.tar.gz  php-8.2.11.tar.gz
nginx-1.24.0.tar.gz

//解压至/usr/local/目录
[root@centos ~]# tar xf php-8.2.11.tar.gz -C /usr/local/
[root@centos ~]# ls /usr/local/ && cd /usr/local/
bin      lib      mysql-5.7.39-linux-glibc2.12-x86_64  php-8.2.11
etc      lib64    nginx                                sbin
games    libexec  nginx-1.24.0                         share
include  mysql    oniguruma-6.9.4                      src

//编译安装
[root@centos local]# cd php-8.2.11/
[root@centos php-8.2.11]# ./configure --prefix=/usr/local/php8 \
--with-config-file-path=/etc \
--enable-fpm \
--disable-debug \
--disable-rpath \
--enable-shared \
--enable-soap \
--with-openssl \
--enable-bcmath \
--with-iconv \
--with-bz2 \
--enable-calendar \
--with-curl \
--enable-exif \
--enable-ftp \
--with-zlib-dir \
--enable-gd \
--with-gettext \
--with-jpeg \
--with-freetype \
--enable-mbstring \
--enable-pdo \
--with-mysqli=mysqlnd \
--with-pdo-mysql=mysqlnd \
--with-readline \
--enable-shmop \
--enable-simplexml \
--enable-sockets \
--enable-mysqlnd-compression-support \
--with-pear \
--enable-pcntl \
--enable-posix

+--------------------------------------------------------------------+
| License:                                                           |
| This software is subject to the PHP License, available in this     |
| distribution in the file LICENSE. By continuing this installation  |
| process, you are bound by the terms of this license agreement.     |
| If you do not agree with the terms of this license, you must abort |
| the installation process at this point.                            |
+--------------------------------------------------------------------+

Thank you for using PHP.
//表示安装成功
//编译安装
[root@centos php-8.2.11]# make && make install
//添加环境变量
[root@centos php-8.2.11]# echo 'export PATH=/usr/local/php8/bin:$PATH' > /etc/profile.d/php8.sh
[root@centos php-8.2.11]# source /etc/profile.d/php8.sh
[root@centos php-8.2.11]# echo $PATH
/usr/local/php8/bin:/usr/local/mysql/bin:/usr/local/nginx/sbin:/usr/local/sbin:/
usr/local/bin:/usr/sbin:/usr/bin:/root/bin

//配置php-fpm
[root@centos php-8.2.11]# cp php.ini-production /etc/php.ini
[root@centos php-8.2.11]# cp sapi/fpm/init.d.php-fpm /etc/init.d/php-fpm
[root@centos php-8.2.11]# chmod +x /etc/rc.d/init.d/php-fpm
[root@centos php-8.2.11]# cp /usr/local/php8/etc/php-fpm.conf.default /usr/local/php8/etc/php-fpm.conf
[root@centos php-8.2.11]# cp /usr/local/php8/etc/php-fpm.d/www.conf.default /usr/local/php8/etc/php-fpm.d/www.conf

//启动php-fpm
[root@centos php-8.2.11]# service php-fpm start
Starting php-fpm  done
[root@centos php-8.2.11]# ss -antlp | grep 9000
LISTEN 0      128        127.0.0.1:9000      0.0.0.0:*    users:(("php-fpm",pid=145150,fd=5),("php-fpm",pid=145149,fd=5),("php-fpm",pid=145148,fd=10))
4、修改nginx配置文件中php部分配置
[root@centos ~]# vim /usr/local/nginx/conf/nginx.conf
...
location / {
root html;
index index.php index.html index.htm; //在index后面添加index.php
}
...
location ~ \.php$ {
root html;
fastcgi_pass 127.0.0.1:9000; //定义反向代理
访问测试
部署lnmp完成
fastcgi_index index.php;
fastcgi_param SCRIPT_FILENAME /scripts$fastcgi_script_name
include fastcgi.conf; //此处一定要修改
}
...
//修改配置文件后,重启nginx服务和php-fpm服务
[root@centos ~]# nginx -s stop
[root@centos ~]# nginx
[root@centos ~]# service php-fpm stop
Gracefully shutting down php-fpm . done
[root@centos ~]# service php-fpm start
Starting php-fpm done
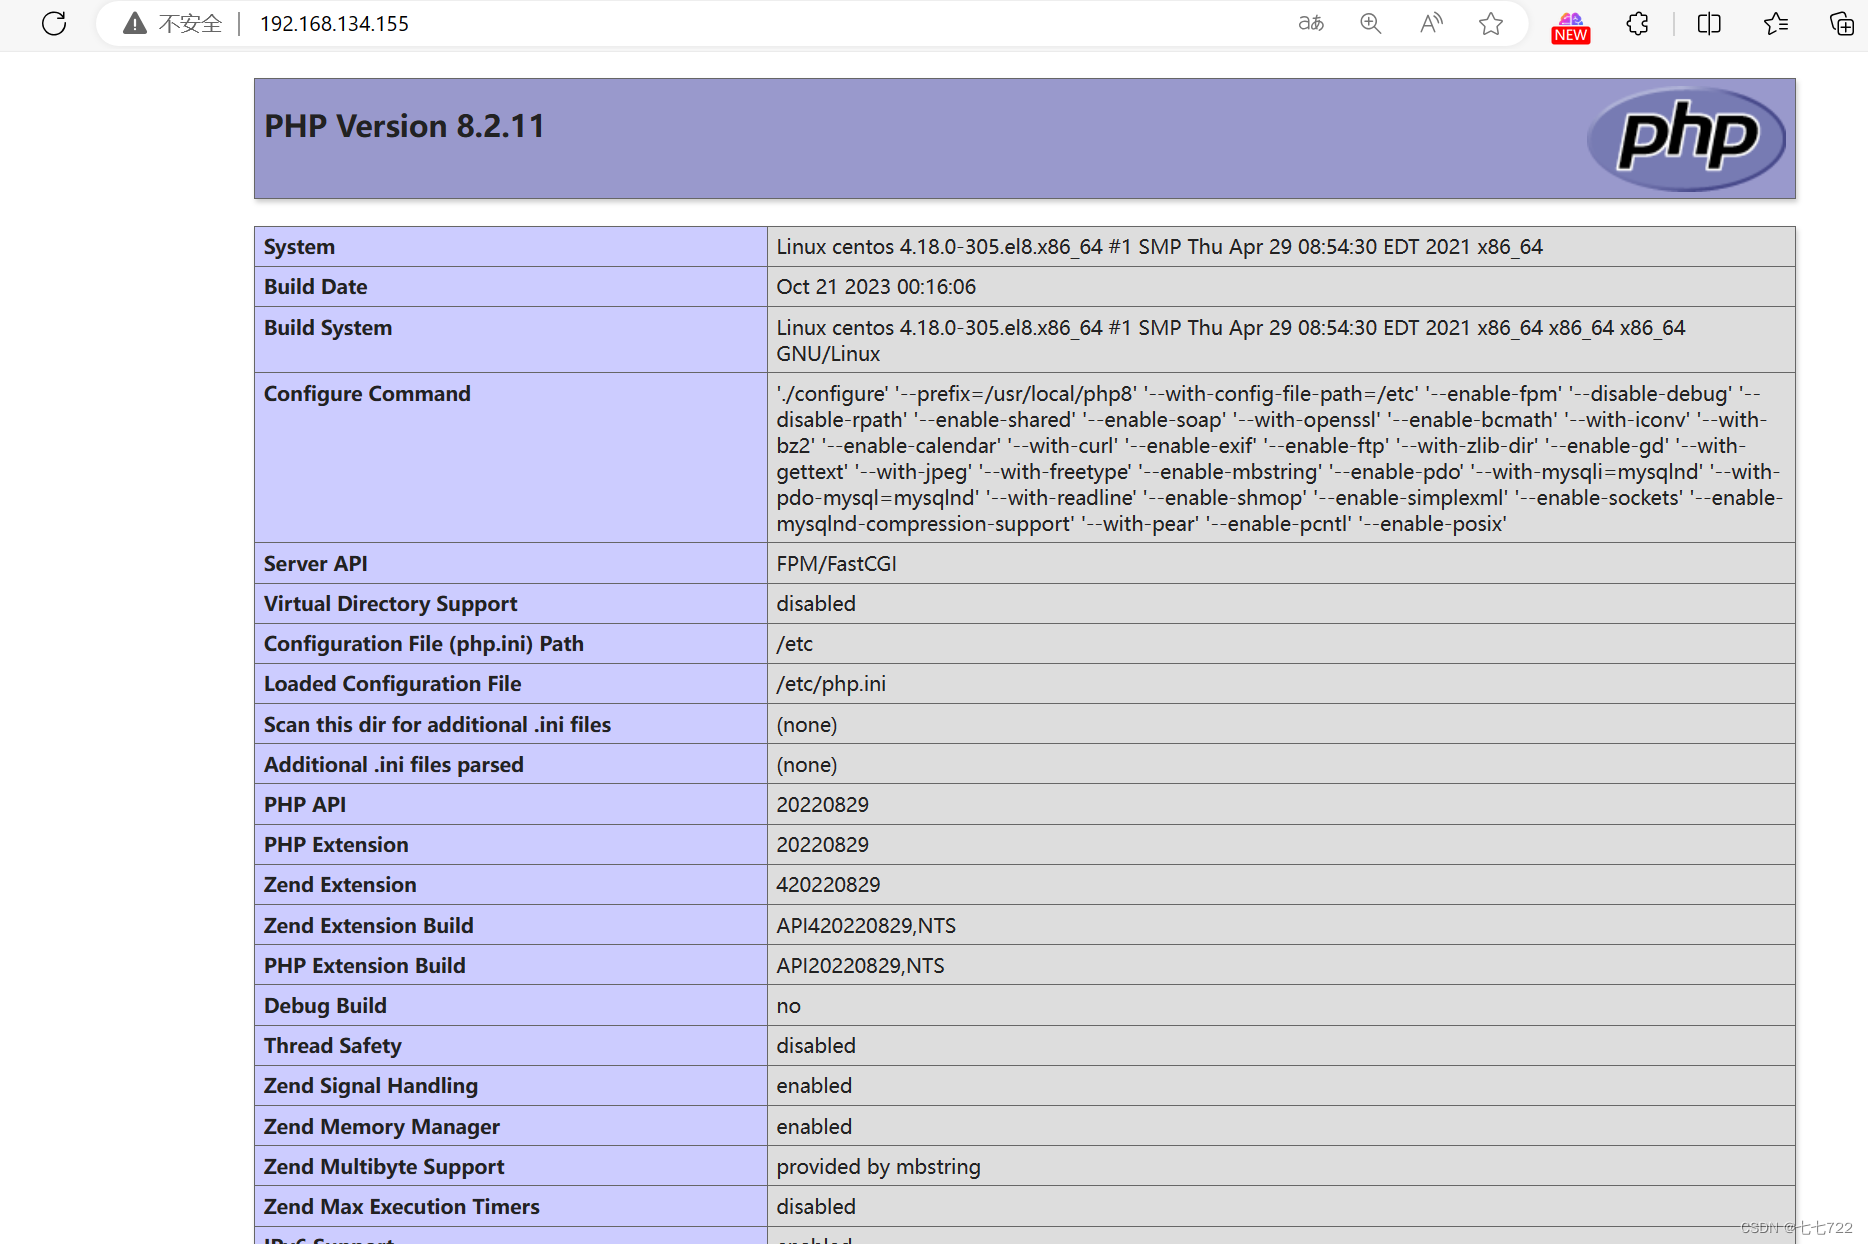
//创建php的web访问页面
[root@centos ~]# vim /usr/local/nginx/html/index.php
[root@centos ~]# cat /usr/local/nginx/html/index.php
<?php
phpinfo();
?>
访问php网页
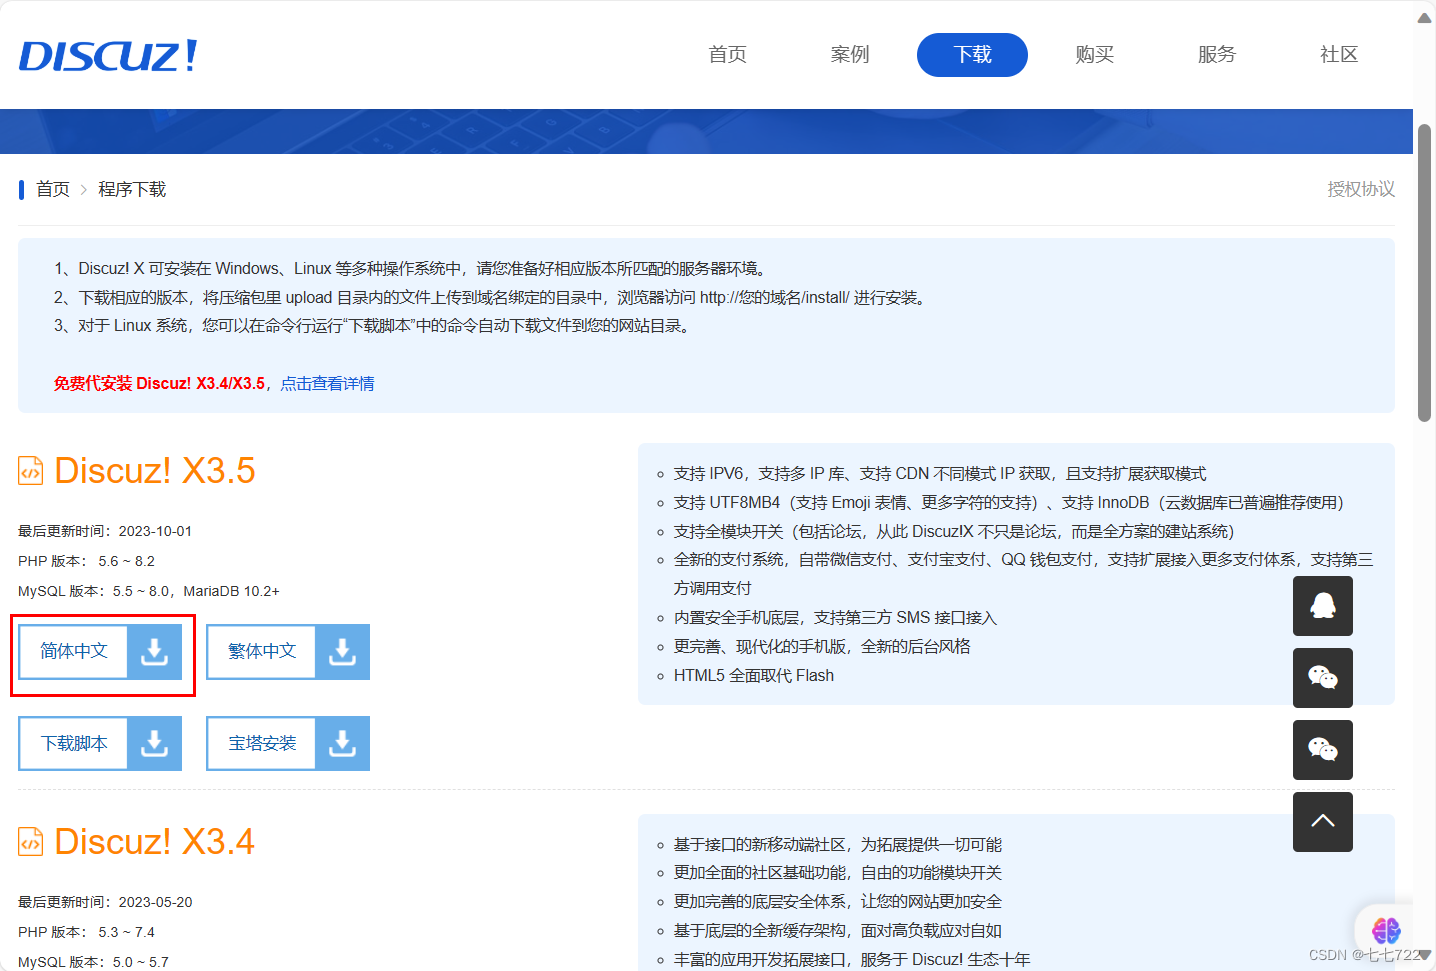
部署Discuz论坛系统
首先进入官网Disucz! 下载_免费搭建网站_开源建站系统下载_Discuz!官方_为您提供全方位建站服务!
环境说明:此服务基于lnmp搭建
//首先启动lnmp服务 保障能够访问到php网页再进行以下步骤

//这里我直接下载了,通过xftp上传到虚拟机
[root@centos ~]# ls
anaconda-ks.cfg                             nginx-1.24.0.tar.gz
Discuz_X3.5_SC_UTF8_20231001.zip            oniguruma-6.9.4.tar.gz
mysql-5.7.39-linux-glibc2.12-x86_64.tar.gz  php-8.2.11.tar.gz
部署Discuz论坛系统
//创建一个目录存放Discuz
[root@centos ~]# mkdir /usr/local/nginx/html/Discuz

//解压到创建的目录
[root@centos ~]# yum -y install unzip
[root@centos ~]# unzip Discuz_X3.5_SC_UTF8_20231001.zip -d /usr/local/nginx/html/Discuz/
[root@centos ~]# cd /usr/local/nginx/html/
[root@centos html]# ls
50x.html  Discuz  index.html  index.php
[root@centos html]# cd Discuz/
[root@centos Discuz]# ls
LICENSE  qqqun.png  readme  readme.html  upload  utility.html
[root@centos Discuz]# cd upload/
[root@centos upload]# ls
admin.php  connect.php      group.php   misc.php    source
api        crossdomain.xml  home.php    plugin.php  static
api.php    data             index.php   portal.php  template
archiver   favicon.ico      install     robots.txt  uc_client
config     forum.php        member.php  search.php  uc_server

//修改权限
[root@centos ~]# cd /usr/local/nginx/html/Discuz/upload/
[root@centos upload]# chown -R nginx config/
[root@centos upload]# chown -R nginx data/
[root@centos upload]# chown -R nginx uc_client/
[root@centos upload]# chown -R nginx uc_server/
[root@centos upload]# chmod -R 777 config/
[root@centos upload]# chmod -R 777 data/
[root@centos upload]# chmod -R 777 uc_client/
[root@centos upload]# chmod -R 777 uc_server/

//创建数据库
[root@centos upload]# mysql -uroot -p12345678 -e "show databases;"
+--------------------+
| Database           |
+--------------------+
| information_schema |
| Discuz             |
| mysql              |
| performance_schema |
| sys                |
+--------------------+
5 rows in set (0.00 sec)

[root@centos ~]# mysql -uroot -p12345678 -e "grant all on Discuz.* to 'Discuz'@'%' identified by '12345678';"
mysql: [Warning] Using a password on the command line interface can be insecure.
[root@centos ~]# mysql -uroot -p12345678 -e "grant all on Discuz.* to 'Discuz'@'localhost' identified by '12345678';"
mysql: [Warning] Using a password on the command line interface can be insecure.
[root@centos ~]# mysql -uroot -p12345678 -e "flush privileges;"
mysql: [Warning] Using a password on the command line interface can be insecure.
配置虚拟主机
//编辑nginx配置文件,创建一个虚拟主机,可以用域名访问
//编辑nginx的配置文件,创建一个虚拟主机,使其可以用域名访问
[root@lnmp ~]# vim /usr/local/nginx/conf/nginx.conf
[root@lnmp ~]# cat /usr/local/nginx/conf/nginx.conf
.......
server {
        listen       80;
        server_name  192.168.134.155;     //自己的域名


        location / {
            root   html/Discuz/upload;           //改为网站目录
            index  index.php index.html index.htm;
        }

        location ~ \.php$ {
            root           html/Discuz/upload;     //改为网站目录
            fastcgi_pass   127.0.0.1:9000;
            fastcgi_index  index.php;
            fastcgi_param  SCRIPT_FILENAME  /scripts$fastcgi_script_name;
            include        fastcgi.conf;
        }
    }
......

[root@lnmp ~]# nginx -s reload   //重新读取
访问网页: 此处用 192.168.134.155/install 来访问
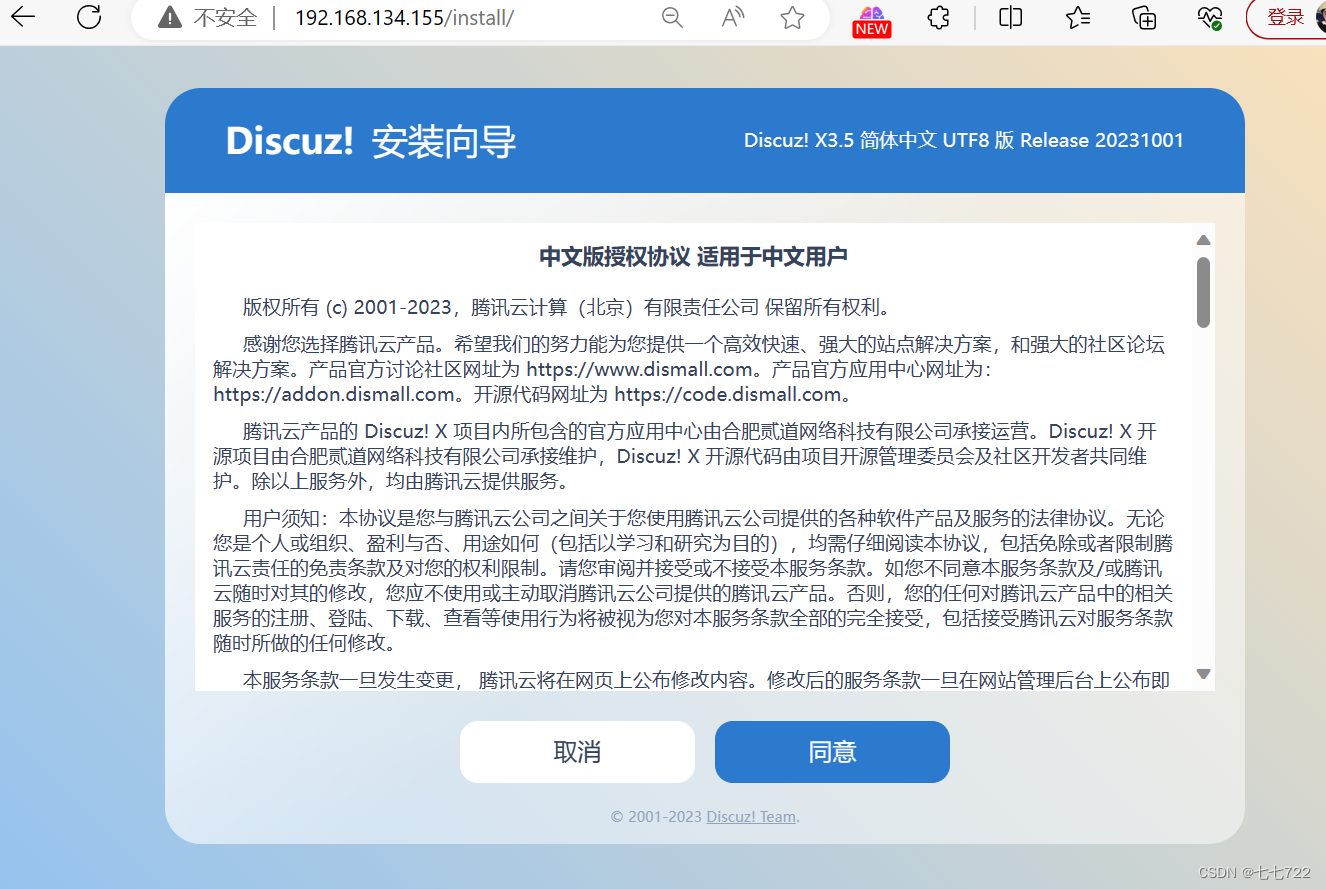


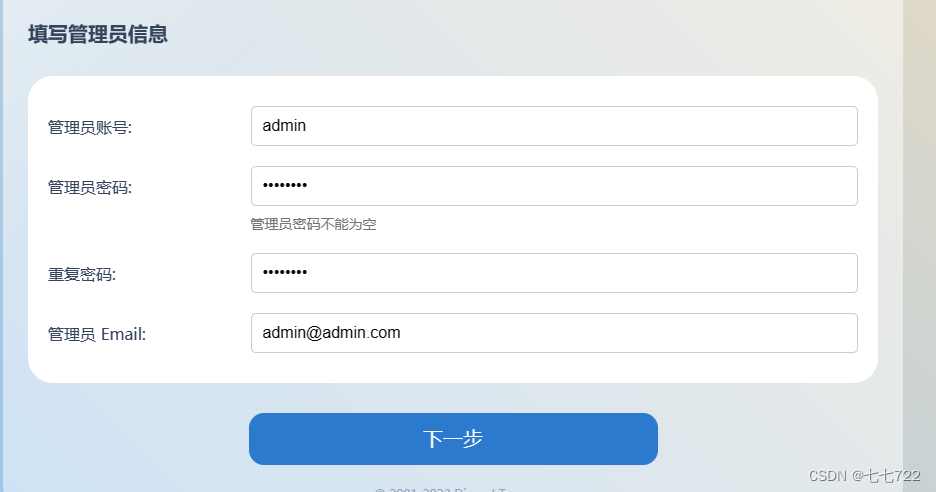
设置密码
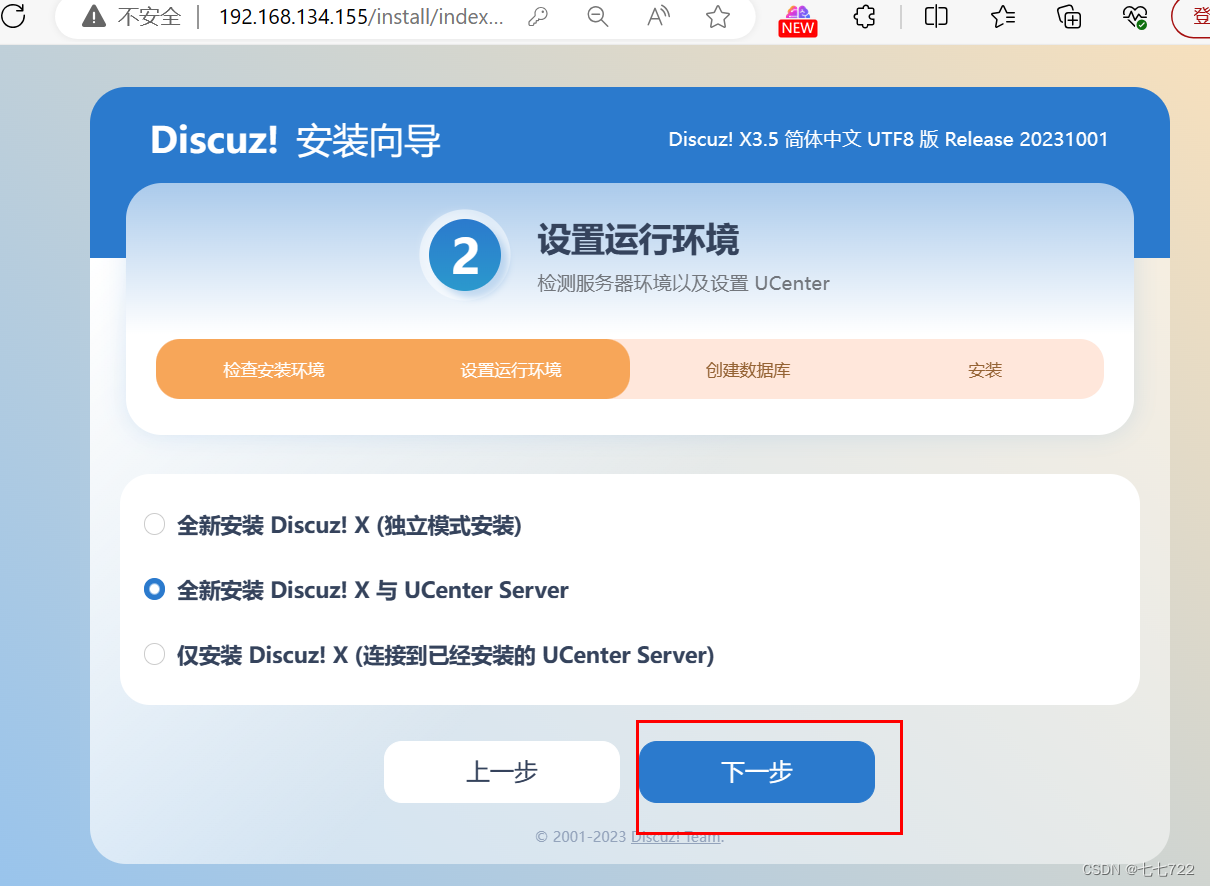
点击下一步
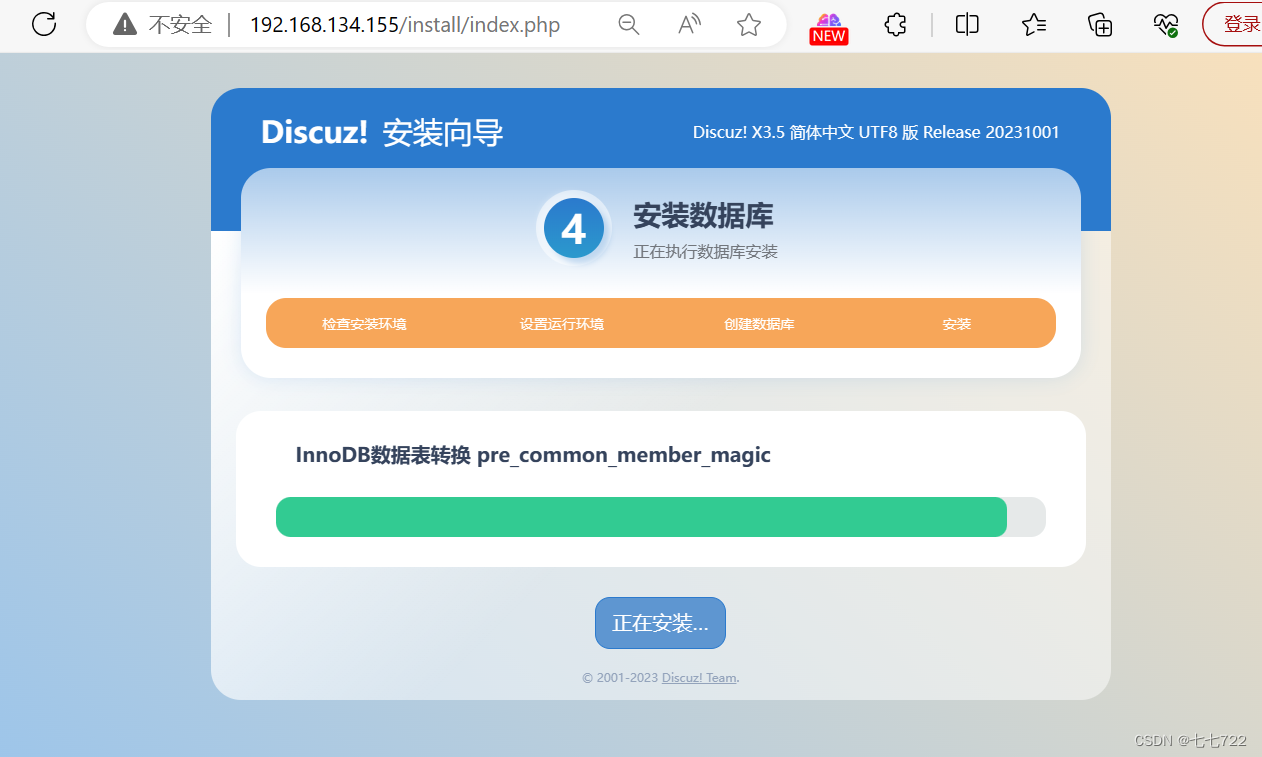
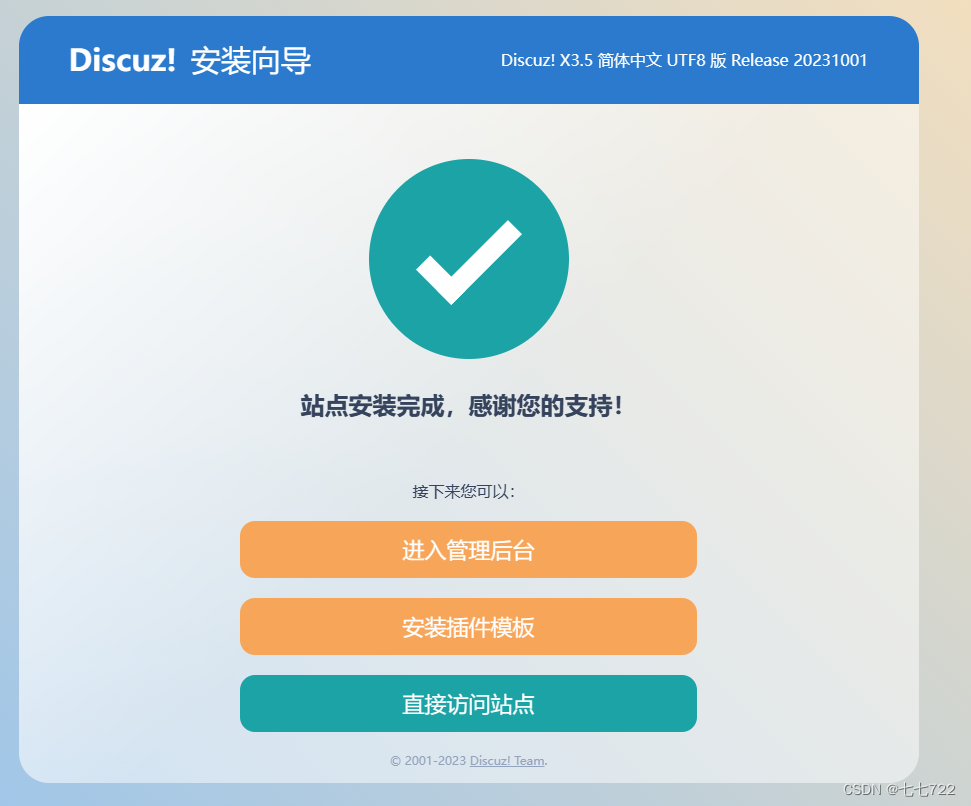
安装完成
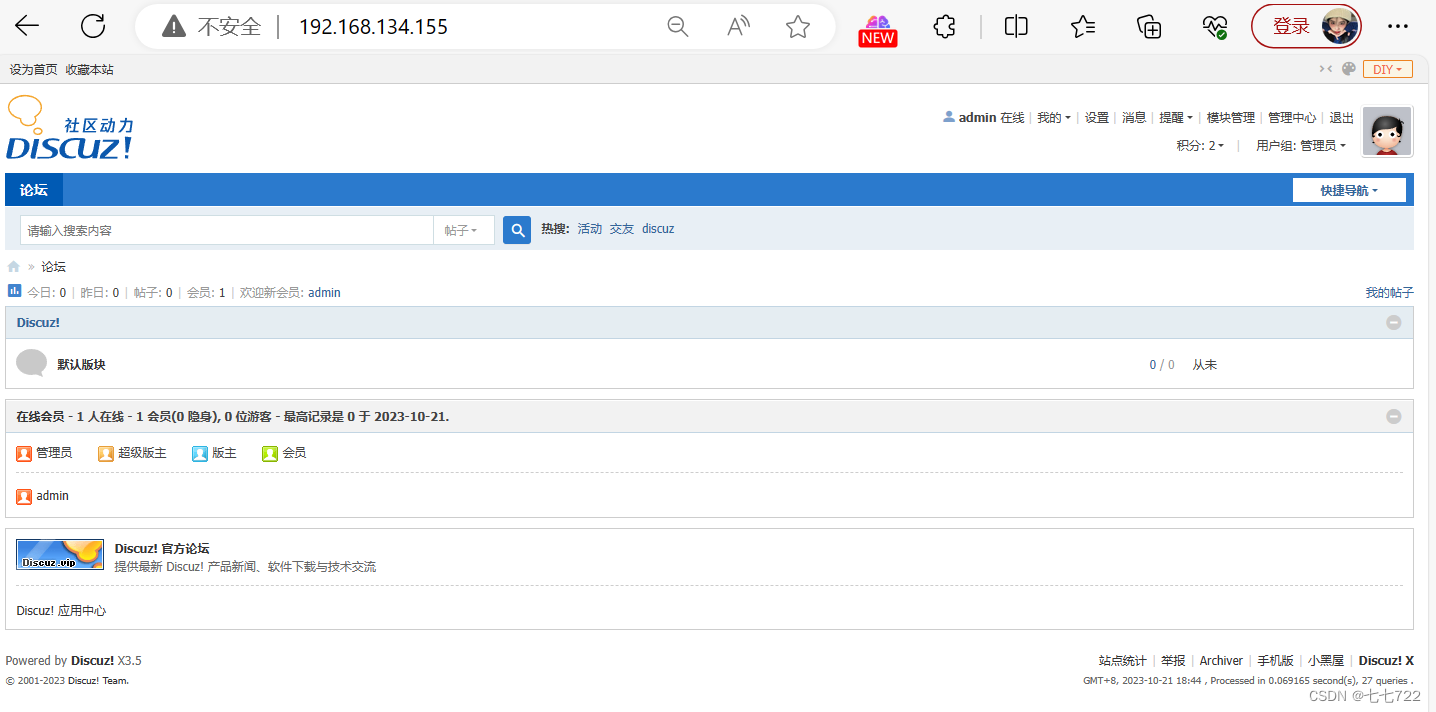
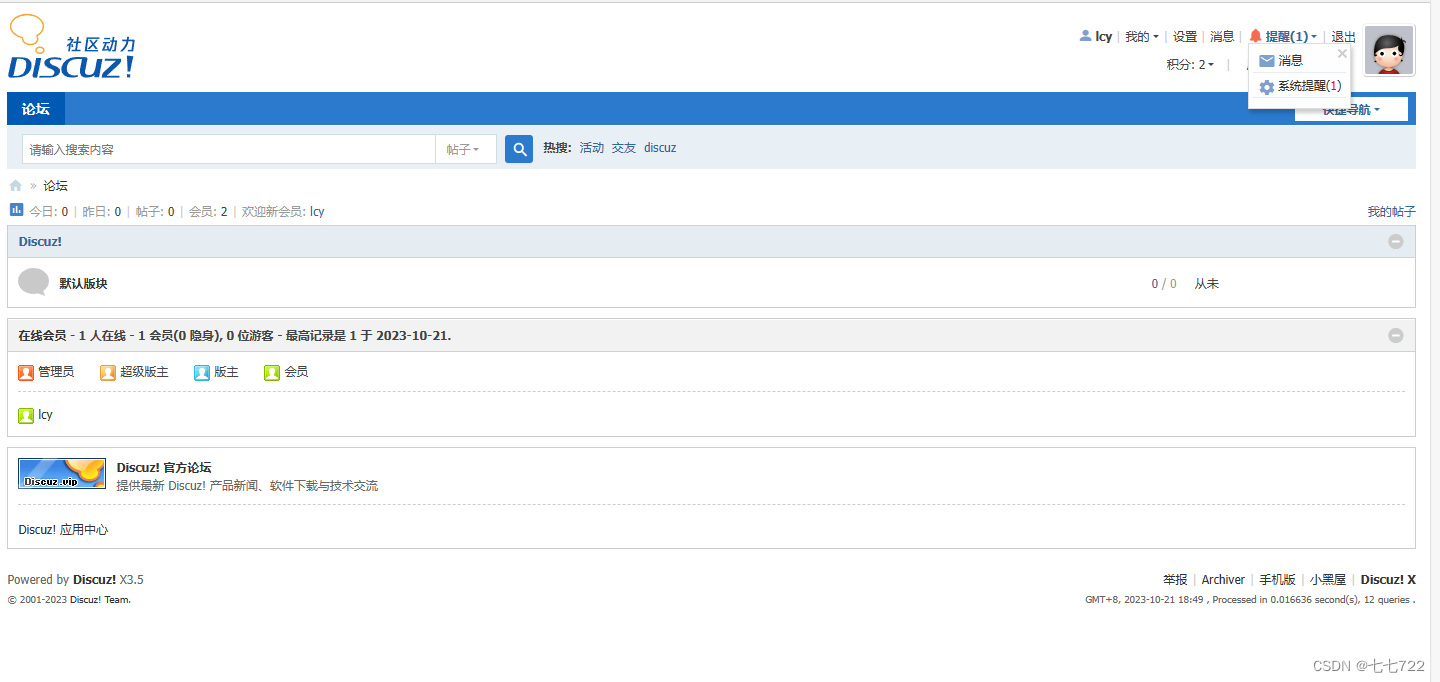
再次通过ip访问站点
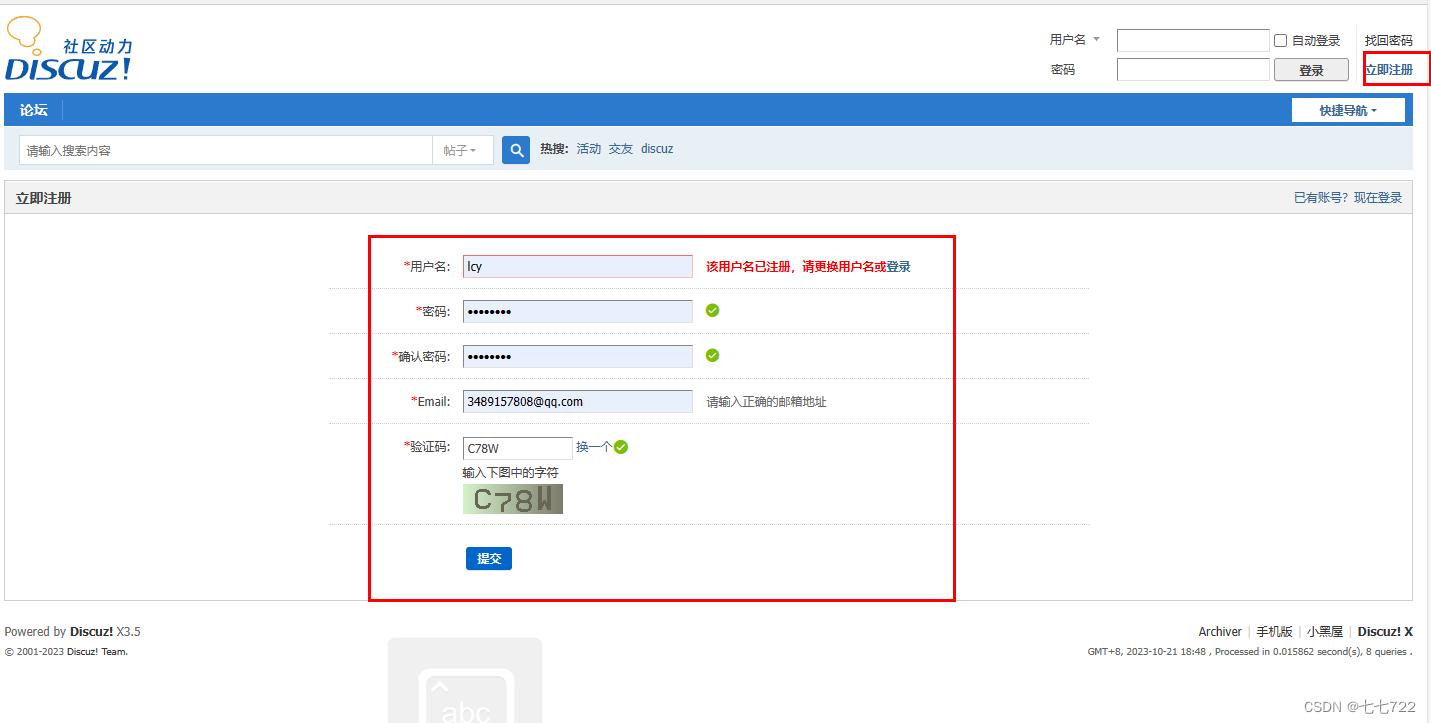
创建一个新账号
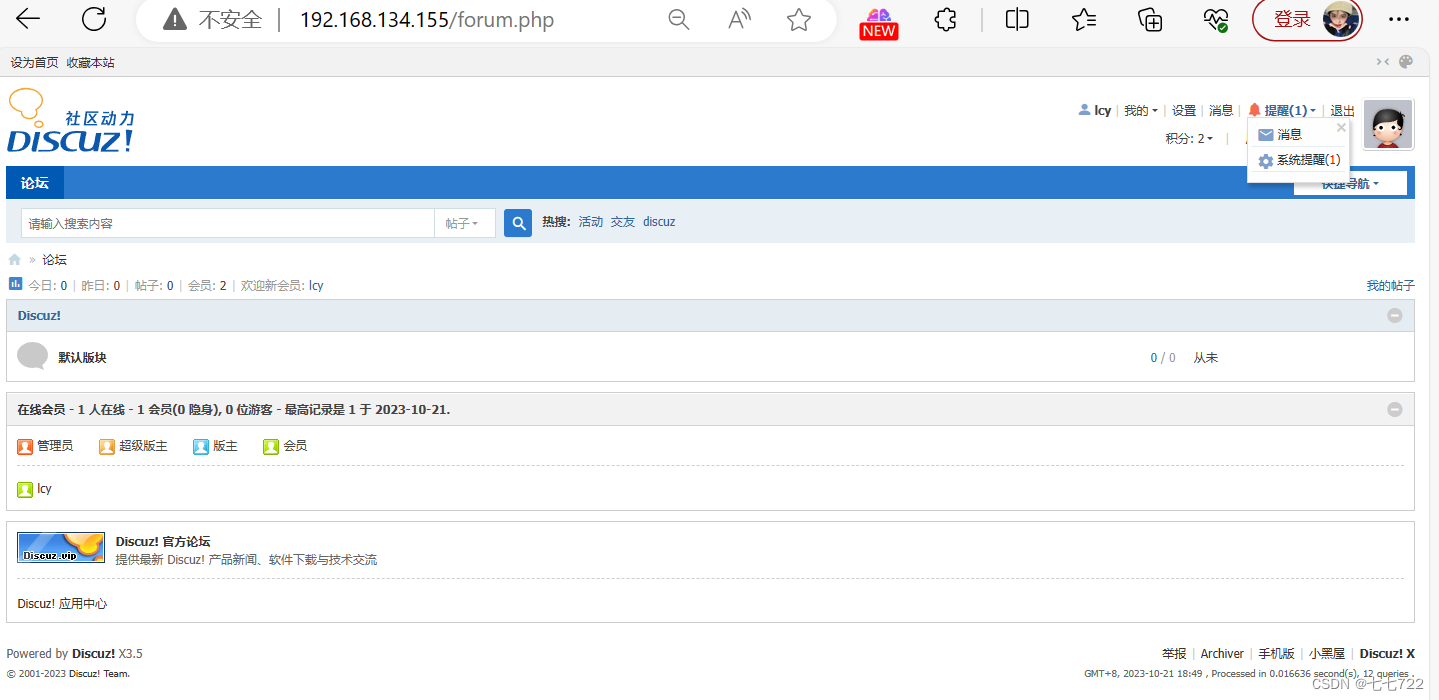
登录成功
配置重定向转发
先用自己设置的域名,在C:\Windows\System32\drivers\etc\hosts文件里面加入
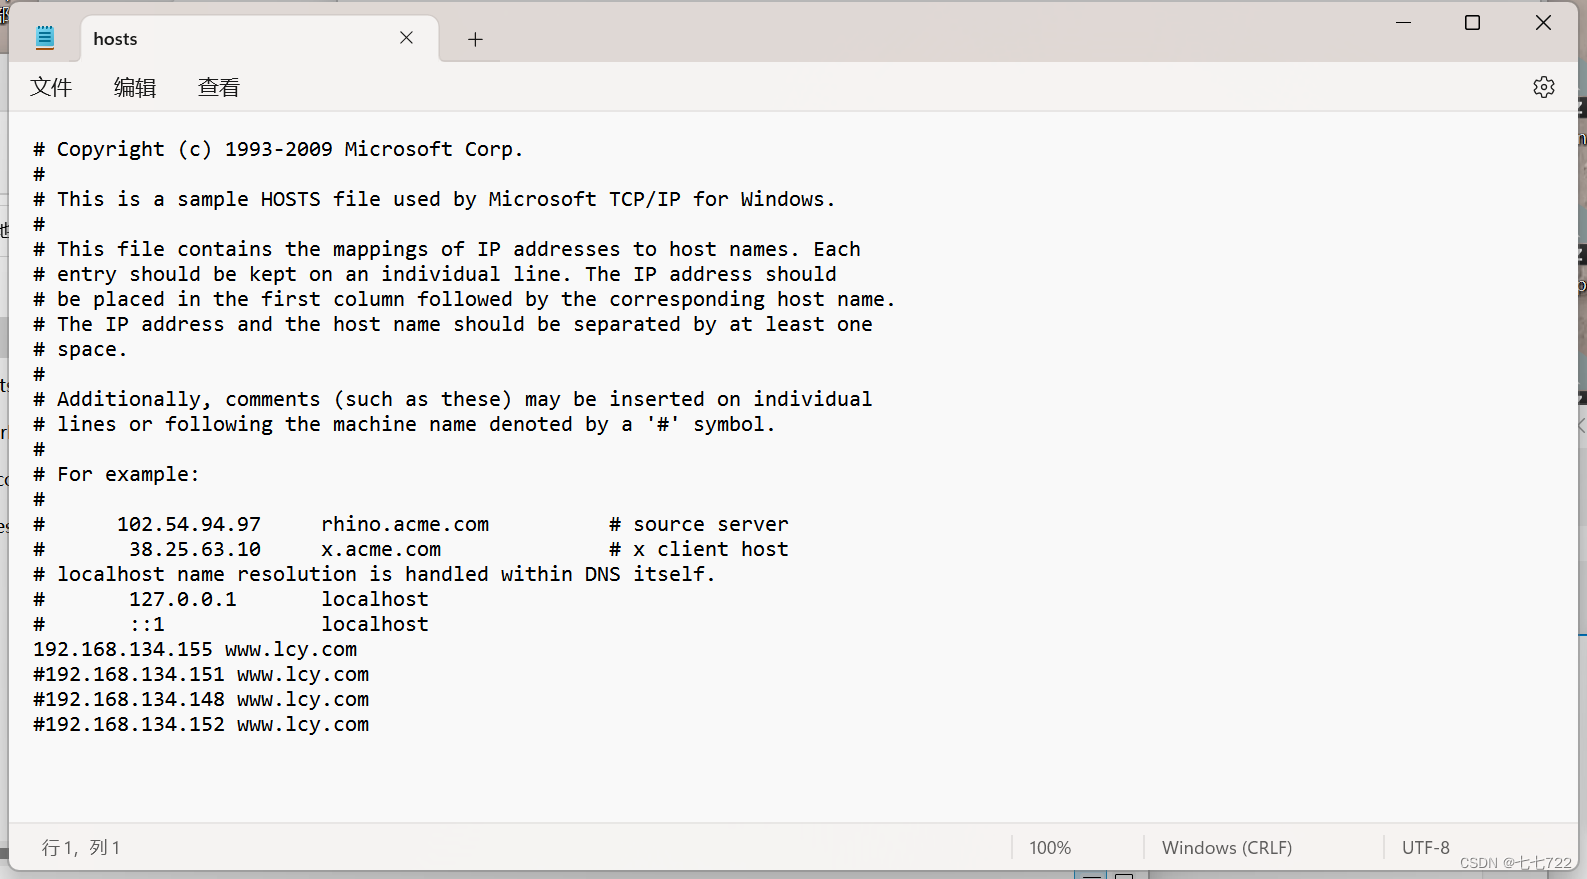
此处,我们用www.lcy.com访问发现能够访问此页面
当我们之前的域名因为某些特殊原因从而导致后续无法继续使用,然而又不能直接更改域名,防止旧用户仍旧使用老域名访问时而无法访问,为了用户体验,这时就需要我们做一个转发,也就是写一个重定向转发域名的配置
例如我们的www.yyr.com作为我们的旧域名,如今想让新域名能够访问到之前的网页,需在nginx.conf配置文件中添加如下内容:
[root@centos conf]# vim nginx.conf
[root@centos conf]# cat nginx.conf
. . . . .
server {
        listen       80;
        server_name  www.xiaozhan.com;

        location / {
            root   html;
            index  index.php index.html index.htm;
            rewrite ^/(.*)$ http://www.lcy.com/$1 break;
        }

        error_page   500 502 503 504  /50x.html;
        location = /50x.html {
            root   html;
        }


        location ~ \.php$ {
           root           html;
           fastcgi_pass   127.0.0.1:9000;
           fastcgi_index  index.php;
           fastcgi_param  SCRIPT_FILENAME  /scripts$fastcgi_script_name;
           include        fastcgi.conf;
        }
    }
. . . . .
[root@centos conf]# nginx -s reload     //重新加载
在C:\Windows\System32\drivers\etc\hosts添加
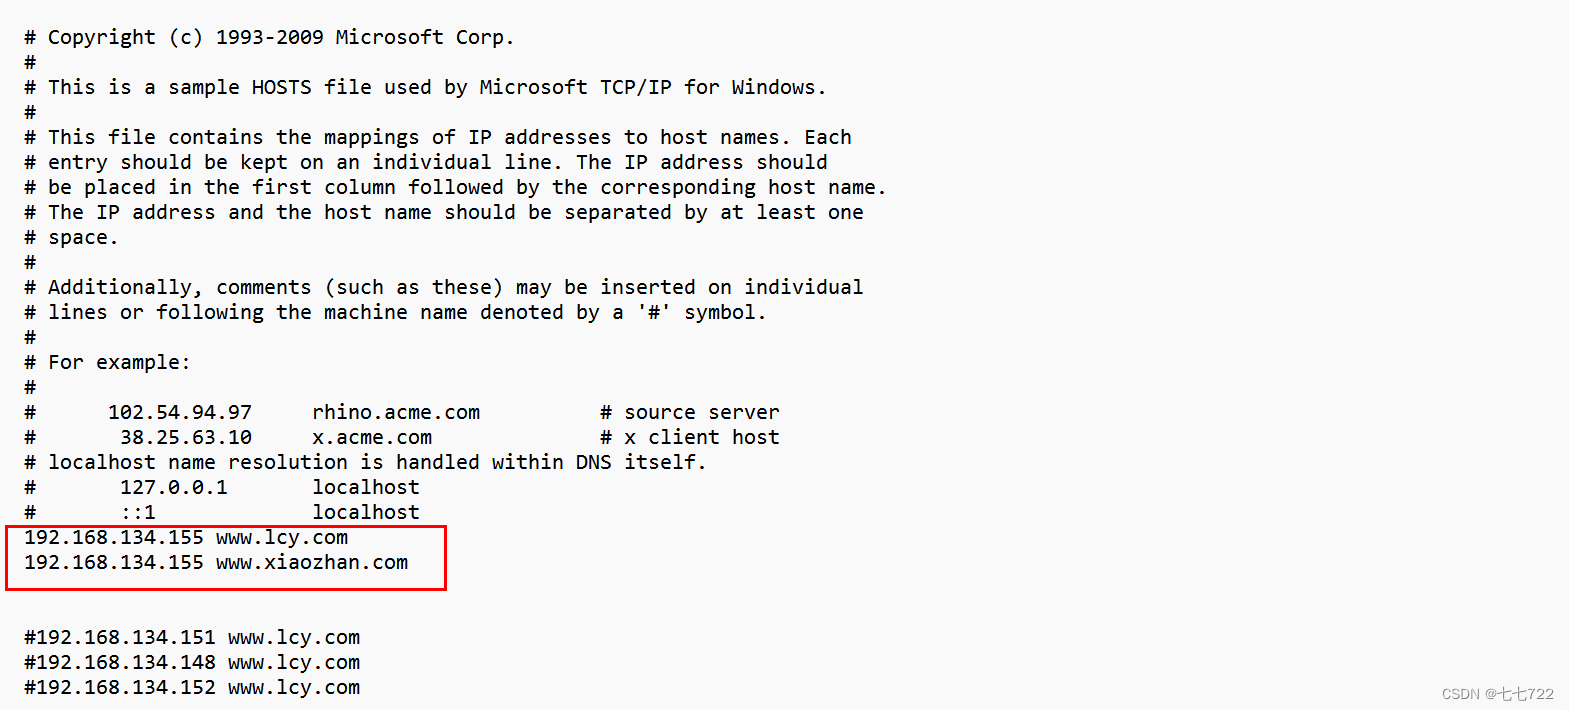
此时使用旧域名访问(www.xiaozhan.com)会自动跳转到新域名(www.lcy.com)
此时用新域名访问也可以直接访问


 445
445


 被折叠的 条评论
为什么被折叠?
被折叠的 条评论
为什么被折叠?
 到【灌水乐园】发言


