一、服务提供者
    <parent>
        <groupId>com.cxy965</groupId>
        <artifactId>parent</artifactId>
        <version>1.0-SNAPSHOT</version>
        <relativePath>../parent/pom.xml</relativePath>
    </parent>

    <dependencies>
        <dependency>
            <groupId>org.springframework.boot</groupId>
            <artifactId>spring-boot-starter-web</artifactId>
        </dependency>

        <dependency>
            <groupId>org.springframework.cloud</groupId>
            <artifactId>spring-cloud-starter-netflix-eureka-client</artifactId>
        </dependency>
    </dependencies>
server:
  port: 8002
spring:
  application:
    name: provider

eureka:
  client:
    service-url:
      defaultZone: http://localhost:8001/eureka/
    fetch-registry: true
- 创建启动类和服务接口,为了简便,暂时将服务接口放在了启动类,实际项目中,最好还是要放在controller中。
/**
* @Author:公众号:程序员965
* @create 2022-06-06
**/
@EnableEurekaClient
@SpringBootApplication
@RestController
public class ProviderApplication {
public static void main(String[] args) {
SpringApplication.run(ProviderApplication.class, args);
}
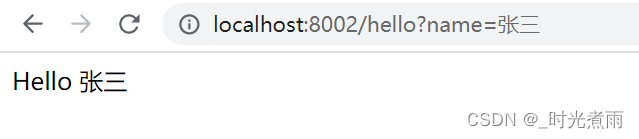
@GetMapping("/hello")
public String hello(String name) {
return "Hello "+name;
}
}
二、服务消费者
- 参考provider项目创建consumer项目
- 修改配置文件中的端口和应用名称为8003、consumer
- 创建启动类和服务消费代码
/**
* @Author:公众号:程序员965
* @create 2022-06-06
**/
@EnableEurekaClient
@SpringBootApplication
@RestController
public class ConsumerApplication {
public static void main(String[] args) {
SpringApplication.run(ConsumerApplication.class, args);
}
@Bean
RestTemplate restTemplate() {
return new RestTemplate();
}
@Autowired
DiscoveryClient discoveryClient;
@Autowired
RestTemplate restTemplate;
@GetMapping("/hello")
public String hello(String name) {
List<ServiceInstance> list = discoveryClient.getInstances("provider");
ServiceInstance instance = list.get(0);
String host = instance.getHost();
int port = instance.getPort();
String returnInfo = restTemplate.getForObject("http://" + host + ":" + port + "/hello?name={1}", String.class, name);
return returnInfo;


**既有适合小白学习的零基础资料,也有适合3年以上经验的小伙伴深入学习提升的进阶课程,涵盖了95%以上大数据知识点,真正体系化!**
**由于文件比较多,这里只是将部分目录截图出来,全套包含大厂面经、学习笔记、源码讲义、实战项目、大纲路线、讲解视频,并且后续会持续更新**
**[需要这份系统化资料的朋友,可以戳这里获取](https://bbs.csdn.net/topics/618545628)**
**由于文件比较多,这里只是将部分目录截图出来,全套包含大厂面经、学习笔记、源码讲义、实战项目、大纲路线、讲解视频,并且后续会持续更新**
**[需要这份系统化资料的朋友,可以戳这里获取](https://bbs.csdn.net/topics/618545628)**


 被折叠的 条评论
为什么被折叠?
被折叠的 条评论
为什么被折叠?
 到【灌水乐园】发言


