


zabbix监控配置
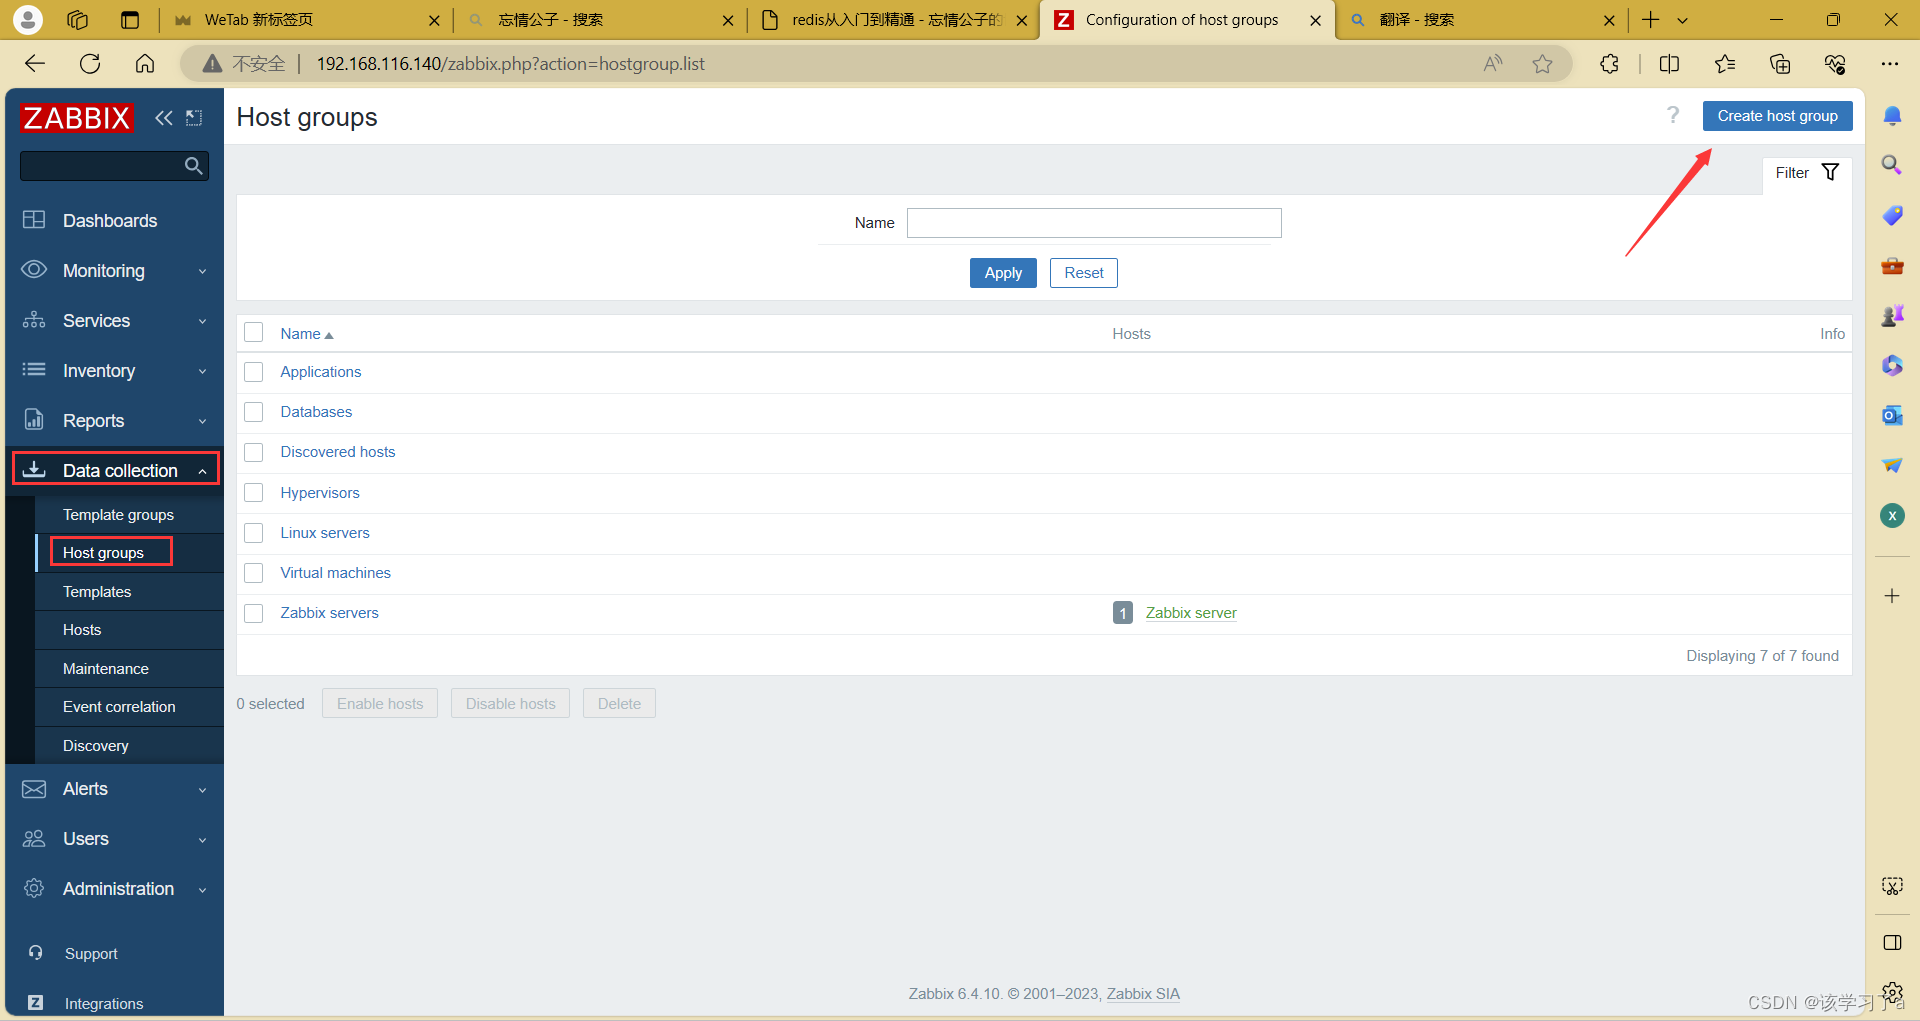
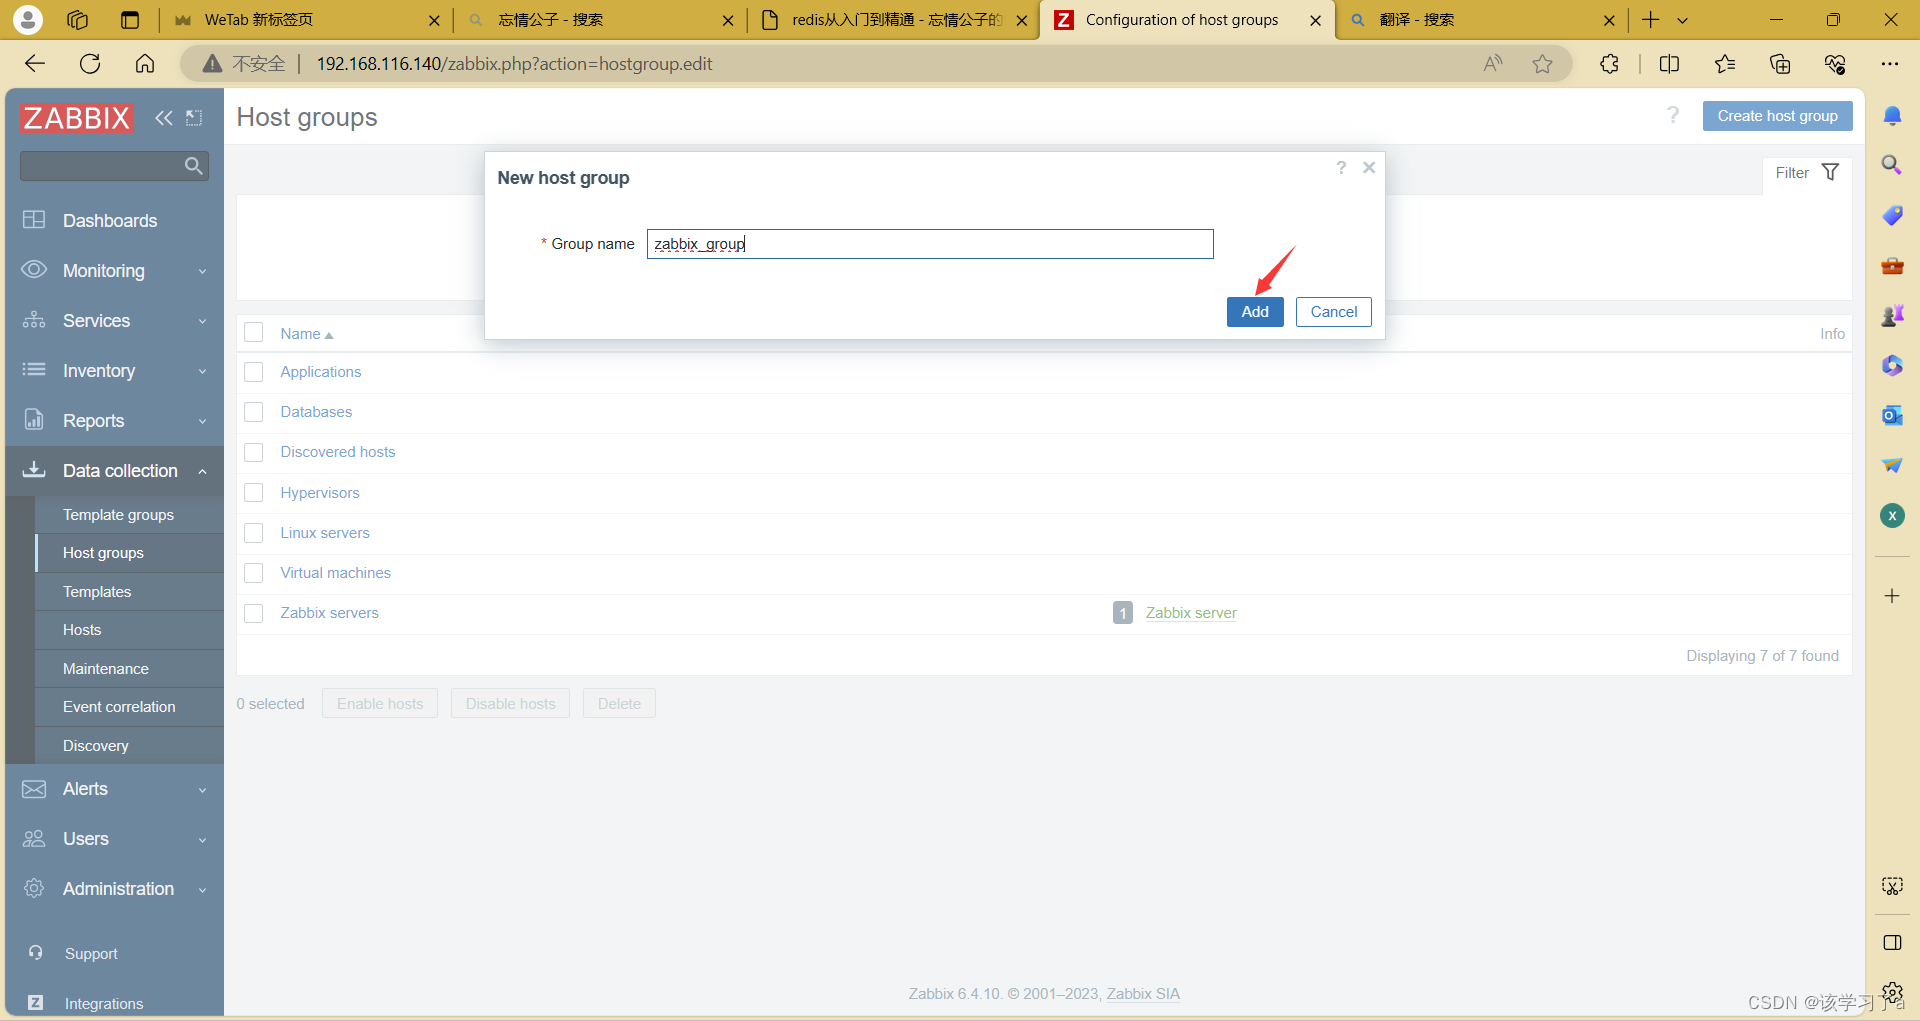
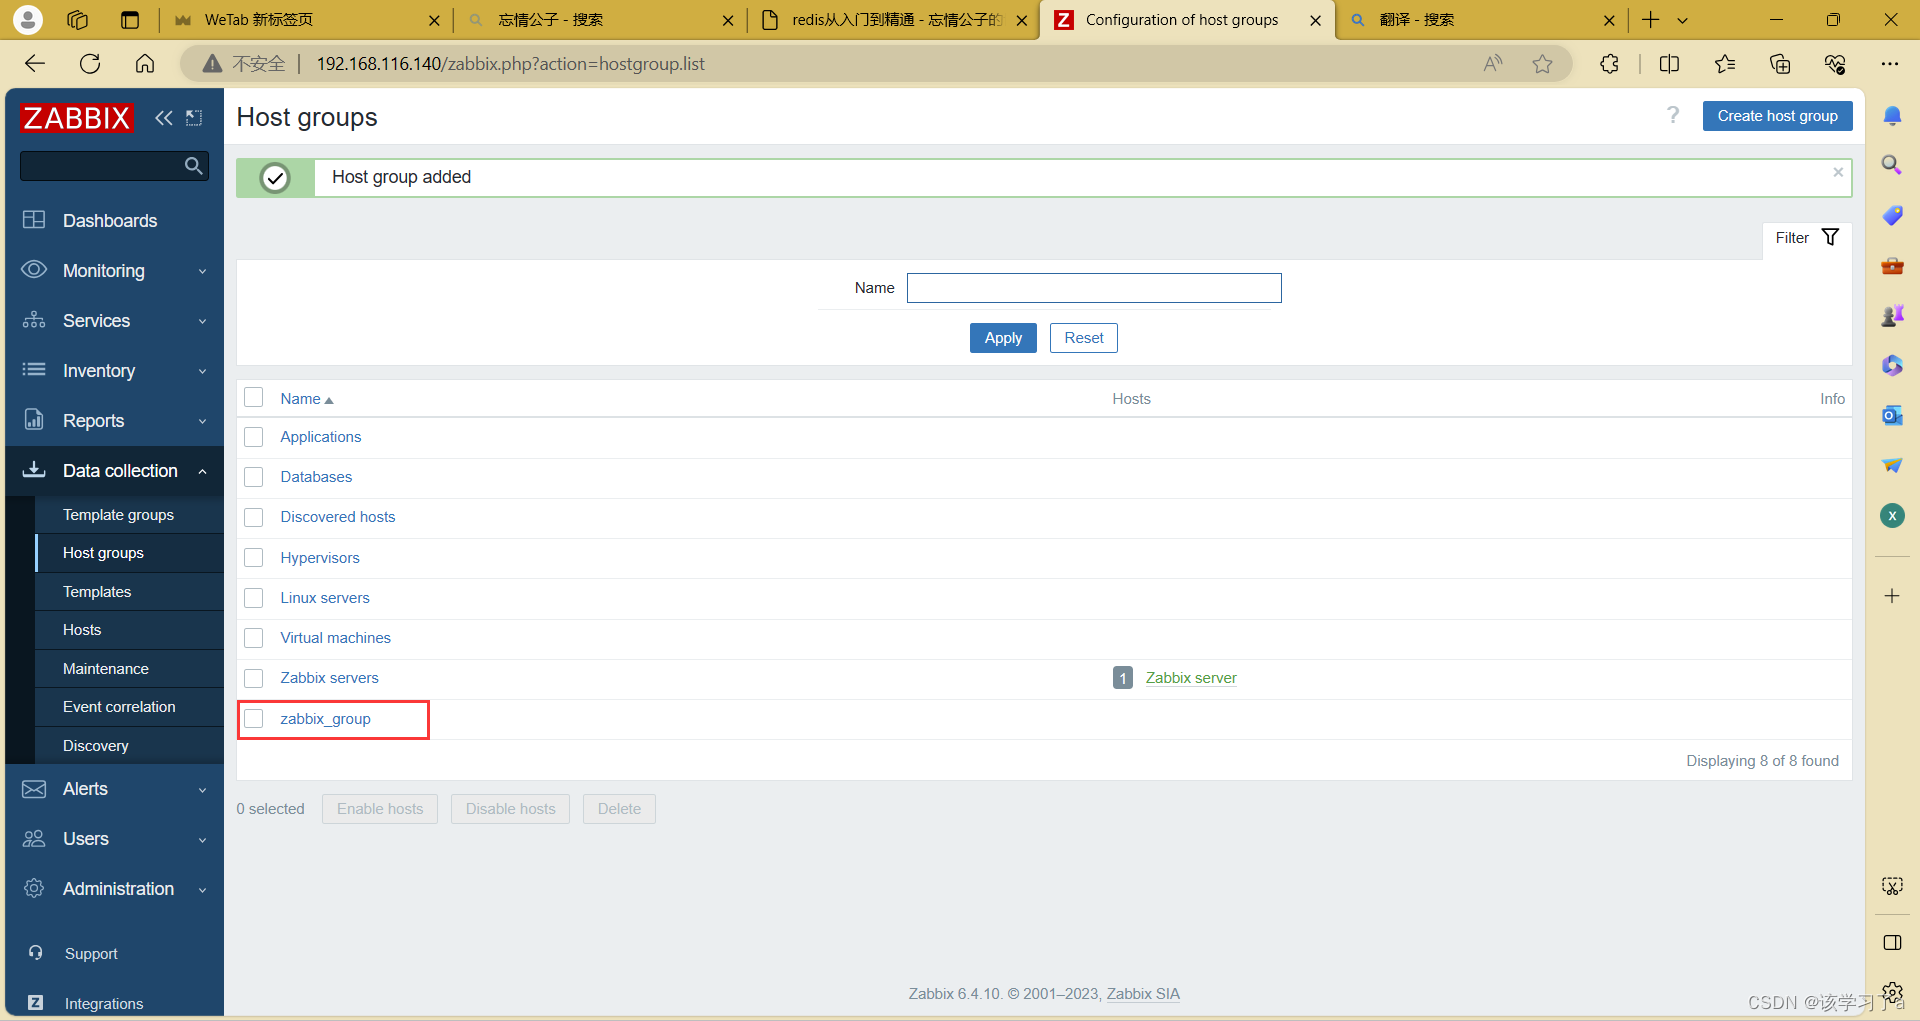
1.添加主机组
2.添加主机(linux)
1.关闭防火墙和selinux
[root@localhost ~]# hostnamectl set-hostname zabbix-agent
[root@localhost ~]# bash
[root@zabbix-agent ~]# systemctl disable --now firewalld
Removed "/etc/systemd/system/multi-user.target.wants/firewalld.service".
Removed "/etc/systemd/system/dbus-org.fedoraproject.FirewallD1.service".
[root@zabbix-agent ~]# vi /etc/selinux/config
[root@zabbix-agent ~]# setenforce 0
[root@zabbix-agent ~]# getenforce
Permissive

2.安装依赖包
[root@zabbix-agent ~]# yum -y install vim gcc gcc-c++ make pcre-devel
Complete!

3.下载zabbix软件包,与解压
[root@zabbix-agent ~]# ls
anaconda-ks.cfg  zabbix-6.4.10.tar.gz
[root@zabbix-agent ~]# tar xf zabbix-6.4.10.tar.gz
[root@zabbix-agent ~]# ls
anaconda-ks.cfg  zabbix-6.4.10  zabbix-6.4.10.tar.gz

4.编译
[root@zabbix-agent ~]# cd zabbix-6.4.10
[root@zabbix-agent zabbix-6.4.10]# ./configure --help | grep agent
  --enable-agent          Turn on build of Zabbix agent and client utilities
  --enable-agent2         Turn on build of Zabbix agent 2
[root@zabbix-agent zabbix-6.4.10]# ./configure --enable-agent
***********************************************************
*            Now run 'make install'                       *
*                                                         *
*            Thank you for using Zabbix!                  *
*              <http://www.zabbix.com>                    *
***********************************************************
 最低0.47元/天 解锁文章


 457
457

 被折叠的 条评论
为什么被折叠?
被折叠的 条评论
为什么被折叠?
 到【灌水乐园】发言


