


一、安装php服务
# yum -y install wget

# yum -y install curl

# yum -y install gcc make zlib-devel pcre pcre-devel openssl-devel

# yum -y  install gcc*

# yum install autoconf

# yum -y  install  lsof  vim
关闭高级权限和防火墙
# setenforce 0

# systemctl stop firewalld
1.导入源
# yum -y install epel-release

# rpm -Uvh https://dl.fedoraproject.org/pub/epel/epel-release-latest-7.noarch.rpm

# rpm -Uvh https://mirror.webtatic.com/yum/el7/webtatic-release.rpm

# yum update

# yum install -y http://rpms.remirepo.net/enterprise/remi-release-7.rpm
2.安装yum-utils
yum-utils 可以扩展yum的默认功能,用于管理yum存储库以及程序包,而无需进行任何手动配置,yum-utils提供的程序之一是yum-config-manager,可以使用它来启用Remi存储库作为默认存储库,以安装不同的PHP版本。
# yum install yum-utils3.开始安装
# yum -y install php72w-cli php72w-common php72w-devel php72w-mysql

# rpm -Uvh https://mirror.webtatic.com/yum/el7/webtatic-release.rpm

# yum -y install php74 php74-php-devel

# yum install php74-php-gd  php74-php-pdo php74-php-mbstring php74-php-cli php74-php-fpm php74-php-mysqlnd -y

# php74 -v       //检查版本
4.修改php-fpm 配置
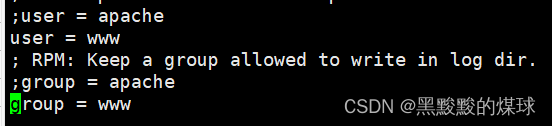
# vim /etc/opt/remi/php74/php-fpm.d/www.conf
复制备份,在这个配置文件中前面加上;就是注释
;user = apache
;group = apache把user = apache和group = apache 改成
user = www
group = www
5.启动php-fpm
创建 www的用户
# useradd www启动php-fpm 访问
# systemctl restart php74-php-fpm检查是否启动:
方式一:lsof -i:9000方式二:systemctl restart php74-php-fpm
二、安装nginx
1.安装rpm 包
# rpm -Uvh http://nginx.org/packages/centos/7/noarch/RPMS/nginx-release-centos-7-0.el7.ngx.noarch.rpm2.安装nginx
# yum install -y nginx3.启动Nginx
#修改配置
# vim /etc/nginx/nginx.conf
user nginx; 改成 user www; 保存并退出修改服务配置后要重启服务
# systemctl restart nginx.service启动服务
# systemctl start nginx.service停止服务服务
# systemctl stop nginx.service
4.测试php-fpm 连接
创建/opt/www 并vim /opt/www/test_php.php
<?php
   phpinfo();
?>
保存并退出
授权: chown -R www.www /opt/www
# vim /etc/nginx/conf.d/s2.conf
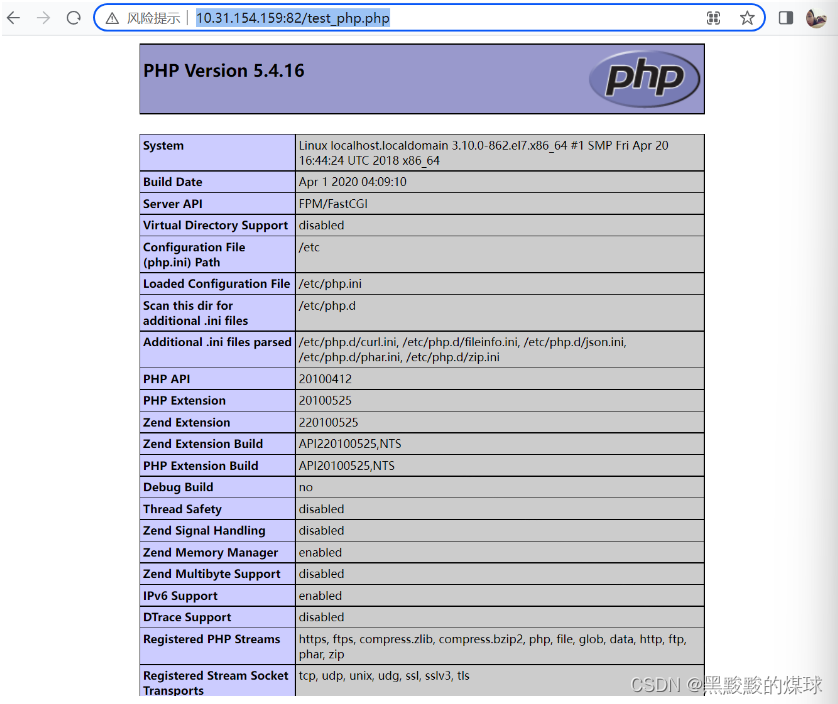
server {
       listen        83;
       server_name   localhost;
       location  / {
         root  /opt/www;
         index index.php  index.html;
       }
       location ~ \.php$ {
                root /opt/www;
                fastcgi_index index.php;
                fastcgi_param SCRIPT_FILENAME $document_root$fastcgi_script_name;
                fastcgi_pass  127.0.0.1:9000;
                include fastcgi_params;
       }
    }
重启nginx访问ip:端口/test_php.php
出现这个页面就证明你的nginx可以连接php-fpm 服务
三、安装mysql
安装包获取
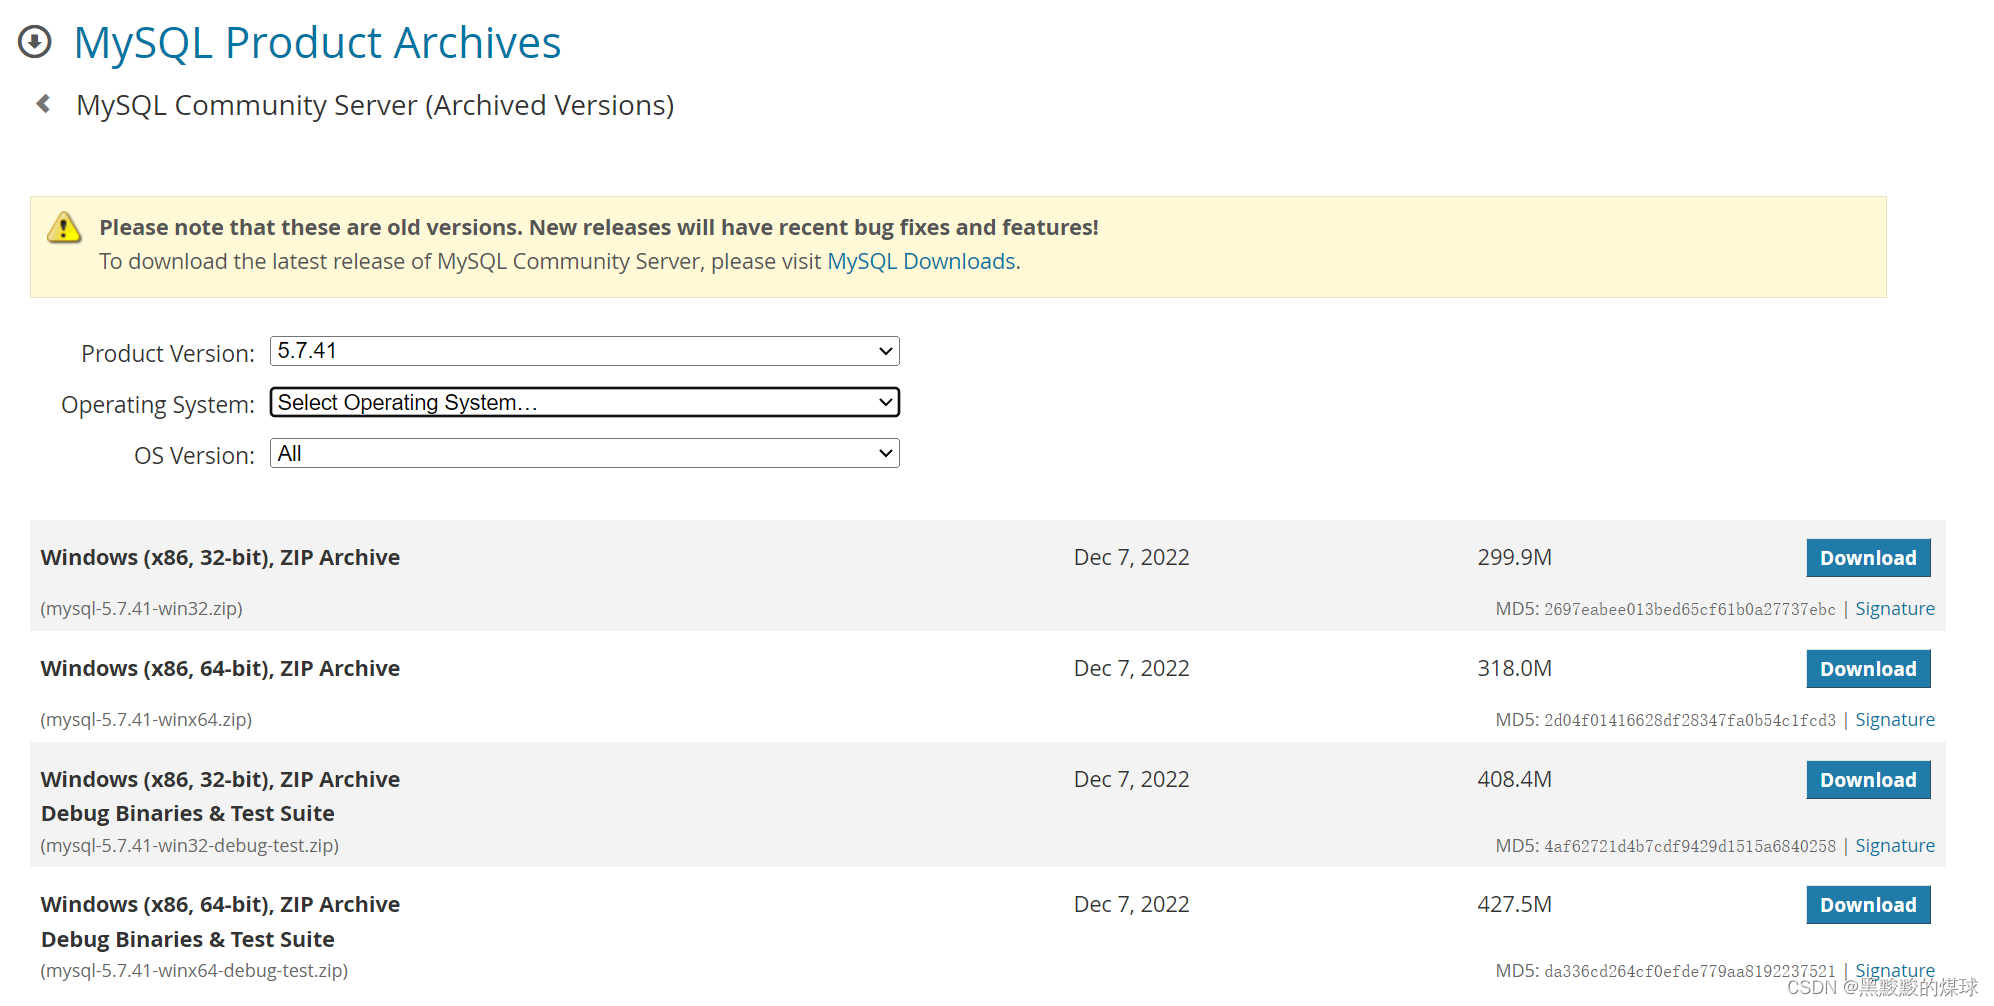
https://dev.mysql.com/downloads/mysql/
官网下载安装包
https://downloads.mysql.com/archives/community/
下载
# rz     // 将下载好的安装包下载到目录下


#unzip   mysql-5.7.41-win32.zip
官方yum源方式安装
https://dev.mysql.com/downloads/repo/yum/
# wget https://dev.mysql.com/get/mysql80-community-release-el7-3.noarch.rpm如果需要升级包可以用下面的命令
# rpm -Uvh mysql80-community-release-el7-3.noarch.rpm
1.安装需要的版本
查看所有版本
# yum repolist | grep mysql这里5.7版本是不可用的 8.0的能用 所以需要先禁用8.0的然后开启5.7版本的
# yum-config-manager --disable mysql80-community#注意#: 如果运行 yum-config-manager命令提示 -bash: yum-config-manager: command not found 命令未找到,因为 yum-config-manager 在 yum-utils包里面。由于系统默认没有这个命令,需要另外进行安装
安装yum-config-manager
# yum -y install yum-utils如果报错如下: The GPG keys listed for the “MySQL 5.7 Community Server” repository are already installed but they are not correct for this package. Check that the correct key URLs are configured for this repository
# rpm --import https://repo.mysql.com/RPM-GPG-KEY-mysql-2022


# echo insecure >> ~/.curlrc
启动5.7版本
# yum install -y mysql-community-server启动MySQL
# systemctl start mysqld.service
2.登录MySQL
MySql服务器初始化会创建 'root@localhost’的一个超级用户账号。设置超级用户的密码并将其存储在错误日志文件中
# grep 'temporary password' /var/log/mysqld.log举例:
2023-06-13T12:00:26.961601Z 1 [Note] A temporary password is generated for root@localhost: EH!yX1wkq1Kr
临时密码:EH!yX1wkq1Kr
使用临时密码登录Mysql
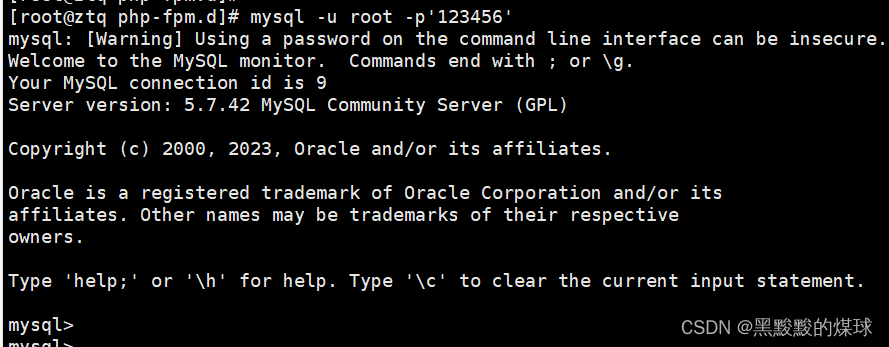
# mysql -u root -p'EH!yX1wkq1Kr'
重置密码
# set global validate_password_length=6;    //设定密码6位数

# set global  validate_password_policy=0;   //设定可以更改密码安全系数为0


# show variables like "%validate%";
# ALTER USER 'root'@'localhost' IDENTIFIED BY '123456';
3.开启远程连接
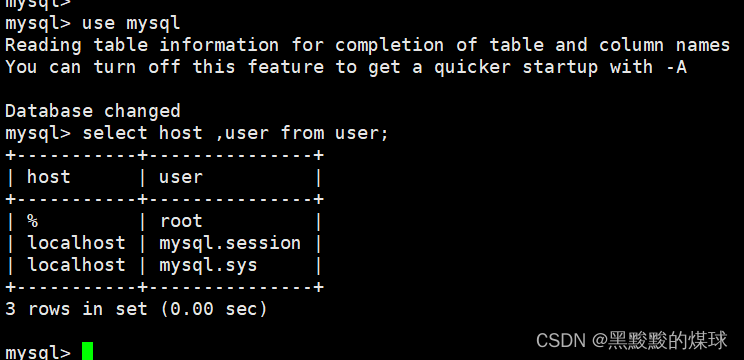
进入mysql库执行命令
use mysql
select host ,user from user;
修改权限
把root用户的host改为%
update user set host = "%" where user = "root";刷新权限
flush privileges;
4.MySQL相关服务命令
启动mysql服务:systemctl start mysqld.service
停止mysql服务:systemctl stop mysqld.service
重启mysql服务:systemctl restart mysqld.service
查看mysql服务当前状态:systemctl status mysqld.service
设置mysql服务开机自启动:systemctl enable mysqld.service
停止mysql服务开机自启动:systemctl disable mysqld.service
5.忘记密码后解决办法
vim /etc/my.conf
[mysqld]
# 加上
skip-grant-tables保存并退出后重启mysql
然后登录mysql -u root -p 回车直接登录mysql
更新密码:update mysql.user set authentication_string=PASSWORD("123456") where user="root";
刷新:
flush privileges;退出后vim /etc/my.conf
把新加的skip-grant-tables 前面增加# 注释掉
保存退出后重启mysqld
四、确定状态
nginx 安装并启动成功
lsof -i:83
访问页面: http://ip/test_php.php
(证明: nginx 和php74-php-fpm 是配置成功的)php74-php-fpm 安装并启动成功
systemctl status php74-php-fpm
lsof -i:9000
mysql 安装并启动成功
systemctl status mysqld.service
lsof -i:3306
五、下载博客
地址:https://cn.wordpress.org/themes/
下载示例:
# wget https://cn.wordpress.org/wordpress-5.6.2-zh_CN.tar.gz解压:
# tar -xf wordpress-5.6.2-zh_CN.tar.gz# 切换到博客的目录下
# cd /opt/wordpress/
# 复制 wp-config-sample.php 为 wp-config.php
# cp wp-config-sample.php wp-config.php编辑:
# vim wp-config.php# 修改
# define( 'DB_NAME', 'database_name_here' );
# define( 'DB_USER', 'username_here' );
# define( 'DB_PASSWORD', 'password_here' );
# define( 'DB_HOST', 'localhost' );
#更改为
define( 'DB_NAME', 'boke' );  # 数据库的库名
define( 'DB_USER', 'root' );   # 数据库的登录用户名
define( 'DB_PASSWORD', '123456' );   # 数据库的登录的密码
define( 'DB_HOST', '10.31.154.177' );# 数据库的登录的ip
# 设置wordpress的权限
# chown -R www.www /opt/wordpress/
创建数据库的两种方法:
1.用命令创建
要登录数据库后
create database 数据库名称;
案例
create database cccc;
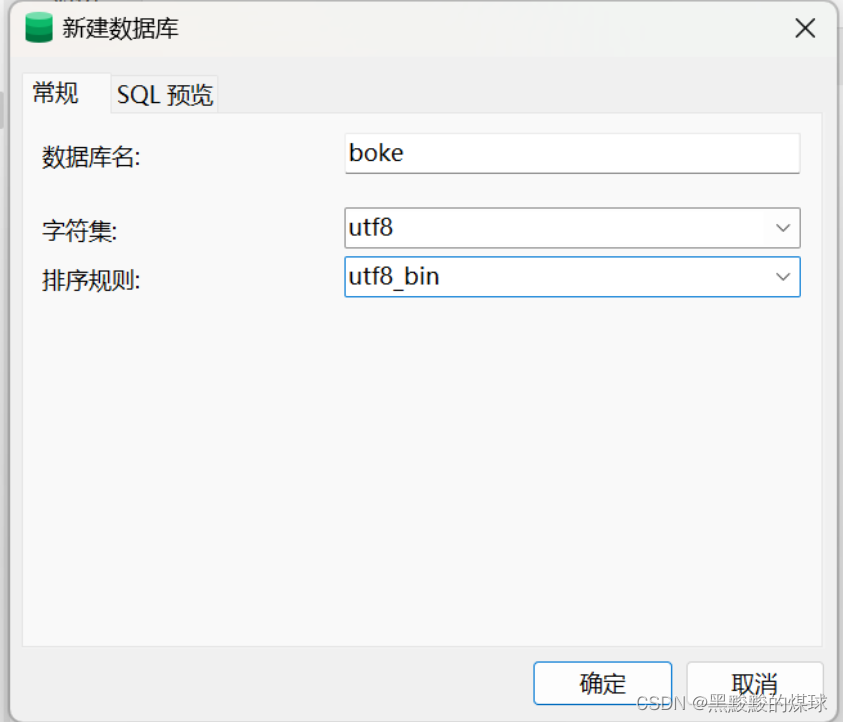
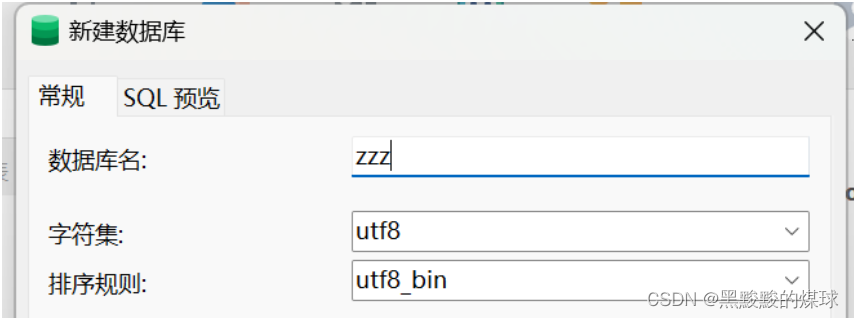
2.用navicat
点击数据库,右键----> 新建数据库---->
更改配置:
# vim /etc/nginx/conf.d/s2.confroot /opt/www; 替换成 root /opt/wordpress;
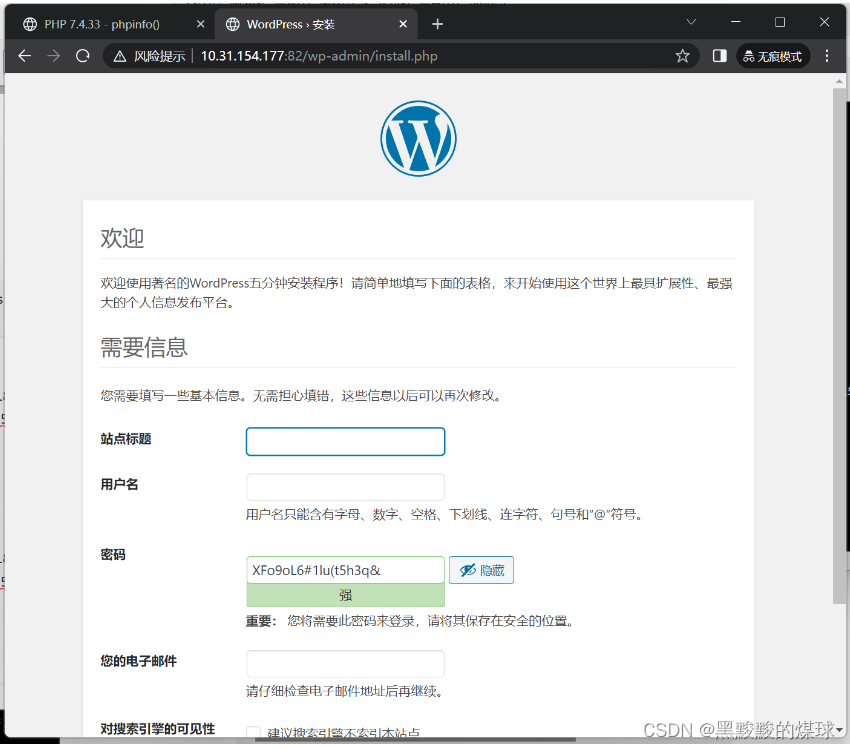
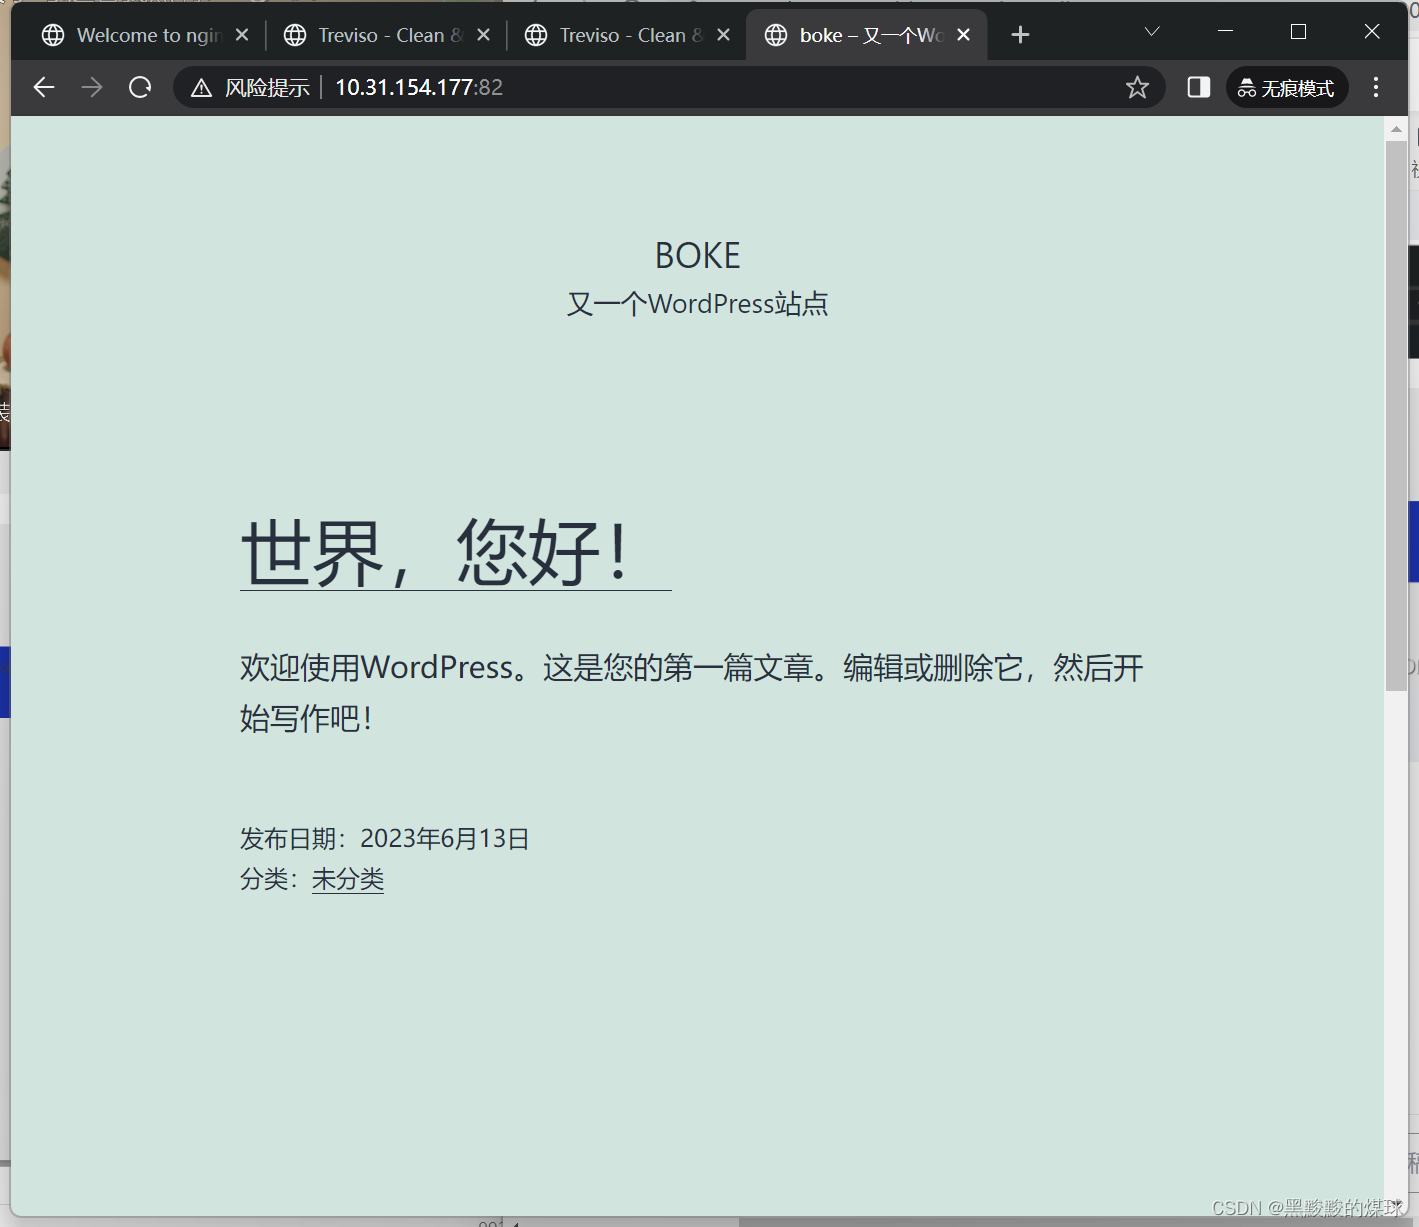
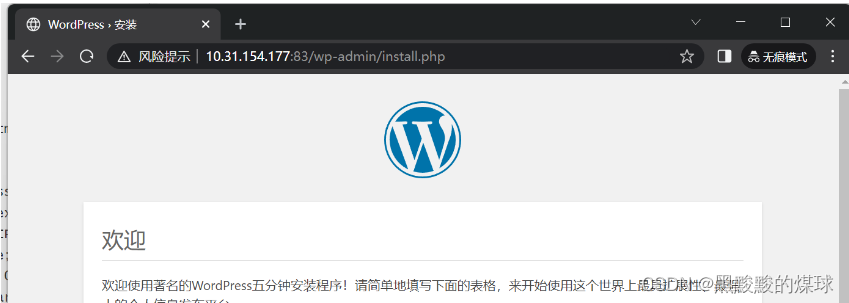
访问页面
注册登录
附加:
nginx增加87端口,使得访问ip:93 访问的是zsy20201119-13的目录
nginx增加89端口,使得访问ip:89 访问的是tops_108_treviso的目录
更改原博客在 /etc/nginx/conf.d/ 目录下的s2.conf文件名为s1.conf
将目录 zsy20201119-13 和 tops_108_treviso 的压缩包下载到 /opt/ 目录下并解压
切换到 /etc/nginx/conf.d 目录下
# cd /etc/nginx/conf.d# vim s2.conf server { listen 89; server_name localhost; location / { root /opt/zsy20201119-13/zsy20201119-13; index index.html index.htm; } }# vim s3.conf server { listen 93; server_name localhost; location / { root /opt/tops_108_treviso/tops_108_treviso; index index.php index.html; } }重启nginx:
# systemctl restart nginx访问:


六、博客端口更改
1.现象
更改s1.conf文件(原博客文件)的端口后,重启nginx,再次访问会出现跳转到原来端口连接,并且没有显示
举例子:
原博客访问路径是:10.31.154.192:82 ,修改nginx 配置使得端口变成9003
访问10.31.154.192:9003 转跳到0.31.154.192:82
2.解决办法
修改 /opt/ 目录下 原博客包 名称
# mv wordpress wordpress-1
再次对 wordpress-5.6.2-zh_CN.tar.gz 进行解压
# tar -xf wordpress-5.6.2-zh_CN.tar.gz修改名称
# mv wordpress wordpress-2切换到博客的目录下
# cd /opt/wordpress-2/
复制 wp-config-sample.php 为 wp-config.php
# cp wp-config-sample.php wp-config.php# vim wp-config.php
修改define( 'DB_NAME', 'database_name_here' ); define( 'DB_USER', 'username_here' ); define( 'DB_PASSWORD', 'password_here' ); define( 'DB_HOST', 'localhost' );改为
define( 'DB_NAME', 'zzz' );  # 数据库的库名
define( 'DB_USER', 'root' );   # 数据库的登录用户名
define( 'DB_PASSWORD', '123456' );   # 数据库的登录的密码
define( 'DB_HOST', '10.31.154.177' );# 数据库的登录的ip
设置wordpress的权限
# chown -R www.www /opt/wordpress-2/切换到/etc/nginx/conf.d/目录下
# cd /etc/nginx/conf.d/复制s1.conf
# cp s1.conf s4.conf编辑s4.conf
# vim s4.confserver { listen 83; server_name localhost; location / { root /opt/wordpress-2; index index.php index.html; } location ~ \.php$ { root /opt/wordpress-2; fastcgi_index index.php; fastcgi_param SCRIPT_FILENAME $document_root$fastcgi_script_name; fastcgi_pass 127.0.0.1:9000; include fastcgi_params; } }新建数据库,名:zzz
重启nginx
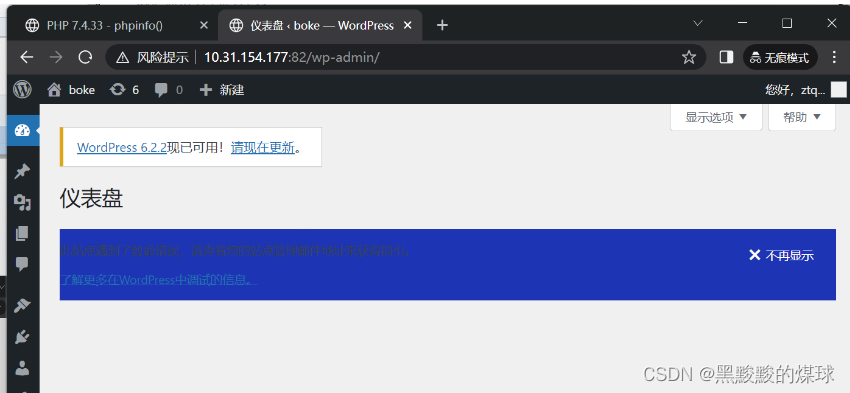
# systemctl restart nginx登录新博客网站:


 1389
1389


 被折叠的 条评论
为什么被折叠?
被折叠的 条评论
为什么被折叠?
 到【灌水乐园】发言


