


JavaFile javaFile = bindingClass.brewJava();
try {
javaFile.writeTo(filer);
} catch (IOException e) {
error(typeElement, “Unable to write binding for type %s: %s”, typeElement, e.getMessage());
}
}
return true;
}
显然分两步执行,下面再仔细走一下该方法流程。
每个注解的查找与解析-findAndParseTargets
private Map<TypeElement, BindingClass> findAndParseTargets(RoundEnvironment env) {
Map<TypeElement, BindingClass> targetClassMap = new LinkedHashMap<>();
Set erasedTargetNames = new LinkedHashSet<>();
scanForRClasses(env);
//…下面是每个注解的解析
// Process each @BindArray element.
for (Element element : env.getElementsAnnotatedWith(BindArray.class)) {
if (!SuperficialValidation.validateElement(element)) continue;
try {
parseResourceArray(element, targetClassMap, erasedTargetNames);
} catch (Exception e) {
logParsingError(element, BindArray.class, e);
}
}
// Process each @BindView element.
for (Element element : env.getElementsAnnotatedWith(BindView.class)) {
// we don’t SuperficialValidation.validateElement(element)
// so that an unresolved View type can be generated by later processing rounds
try {
parseBindView(element, targetClassMap, erasedTargetNames);
} catch (Exception e) {
logParsingError(element, BindView.class, e);
}
}
//…
// Process each annotation that corresponds to a listener.
for (Class<? extends Annotation> listener : LISTENERS) {
findAndParseListener(env, listener, targetClassMap, erasedTargetNames);
}
// Try to find a parent binder for each.
for (Map.Entry<TypeElement, BindingClass> entry : targetClassMap.entrySet()) {
TypeElement parentType = findParentType(entry.getKey(), erasedTargetNames);
if (parentType != null) {
BindingClass bindingClass = entry.getValue();
BindingClass parentBindingClass = targetClassMap.get(parentType);
bindingClass.setParent(parentBindingClass);
}
}
return targetClassMap;
}
第一步
我们先看一下参数 RoundEnvironment 这个是什么呢?个人理解是注解框架里的一个工具什么工具呢?一个可以在处理器处理该处理器 用来查询注解信息的工具,当然包含你在getSupportedAnnotationTypes注册的注解。
第二步
创建了一个LinkedHashMap保证了先后的顺序就是先注解的先生成java文件,其实也没有什么先后无所谓。最后将其返回。
我们这里只分析一个具有代表性的BindView注解,其它的都是一样的,连代码都一毛一样。
在这之前先看一下Element这个类我们看一下官方注释
- Represents a program element such as a package, class, or method.
- Each element represents a static, language-level construct
- (and not, for example, a runtime construct of the virtual machine).
在注解处理器中,我们扫描 java 源文件,源代码中的每一部分都是Element的一个特定类型。换句话说:Element代表程序中的元素,比如说 包,类,方法。每一个元素代表一个静态的,语言级别的结构.
比如:
public class ClassA { // TypeElement
private int var_0; // VariableElement
public ClassA() {} // ExecuteableElement
public void setA( // ExecuteableElement
int newA // TypeElement
) {
}
}
可以看到类为TypeElement,变量为VariableElement,方法为ExecuteableElement
这些都是Element的子类,核对源码。
TypeElement aClass ;
for (Element e : aClass.getEnclosedElements()){ //获取所有的子节点
Element parent = e.getEnclosingElement(); // 获取父节点
}
Elements代表源代码,TypeElement代表源代码中的元素类型,例如类。然后,TypeElement并不包含类的相关信息。你可以从TypeElement获取类的名称,但你不能获取类的信息,比如说父类。这些信息可以通过TypeMirror获取。你可以通过调用element.asType()来获取一个Element的TypeMirror。
这个是对于理解源码的基础。
继续,我们看到了for循环查找所有包含BindView的注解。
parseBindView(element, targetClassMap, erasedTargetNames);
把element和targetClassMap传入
private void parseBindView(Element element, Map<TypeElement, BindingClass> targetClassMap,
Set erasedTargetNames) {
TypeElement enclosingElement = (TypeElement) element.getEnclosingElement();
//1.检查用户使用的合法性
// Start by verifying common generated code restrictions.
boolean hasError = isInaccessibleViaGeneratedCode(BindView.class, “fields”, element)
|| isBindingInWrongPackage(BindView.class, element);
// Verify that the target type extends from View.
TypeMirror elementType = element.asType();
if (elementType.getKind() == TypeKind.TYPEVAR) {
TypeVariable typeVariable = (TypeVariable) elementType;
elementType = typeVariable.getUpperBound();
}
if (!isSubtypeOfType(elementType, VIEW_TYPE) && !isInterface(elementType)) {
if (elementType.getKind() == TypeKind.ERROR) {
note(element, "@%s field with unresolved type (%s) "
- “must elsewhere be generated as a View or interface. (%s.%s)”,
BindView.class.getSimpleName(), elementType, enclosingElement.getQualifiedName(),
element.getSimpleName());
} else {
error(element, “@%s fields must extend from View or be an interface. (%s.%s)”,
BindView.class.getSimpleName(), enclosingElement.getQualifiedName(),
element.getSimpleName());
hasError = true;
}
}
// 不合法的直接返回
if (hasError) {
return;
}
//2.获取id 值
// Assemble information on the field.
int id = element.getAnnotation(BindView.class).value();
// 3.获取 BindingClass,有缓存机制, 没有则创建,下文会仔细分析
BindingClass bindingClass = targetClassMap.get(enclosingElement);
if (bindingClass != null) {
ViewBindings viewBindings = bindingClass.getViewBinding(getId(id));
if (viewBindings != null && viewBindings.getFieldBinding() != null) {
FieldViewBinding existingBinding = viewBindings.getFieldBinding();
error(element, “Attempt to use @%s for an already bound ID %d on ‘%s’. (%s.%s)”,
BindView.class.getSimpleName(), id, existingBinding.getName(),
enclosingElement.getQualifiedName(), element.getSimpleName());
return;
}
} else {
bindingClass = getOrCreateTargetClass(targetClassMap, enclosingElement);
}
//4 生成FieldViewBinding 实体
String name = element.getSimpleName().toString();
TypeName type = TypeName.get(elementType);
boolean required = isFieldRequired(element);
FieldViewBinding binding = new FieldViewBinding(name, type, required);
//5。加入到 bindingClass 成员变量的集合中
bindingClass.addField(getId(id), binding);
// Add the type-erased version to the valid binding targets set.
erasedTargetNames.add(enclosingElement);
}
element.getEnclosingElement();是什么呢?是父节点。就是上面我们说的。
基本的步骤就是上面的5步
1.检查用户使用的合法性
// Start by verifying common generated code restrictions.
boolean hasError = isInaccessibleViaGeneratedCode(BindView.class, “fields”, element)
|| isBindingInWrongPackage(BindView.class, element);
private boolean isInaccessibleViaGeneratedCode(Class<? extends Annotation> annotationClass,
String targetThing, Element element) {
boolean hasError = false;
// 得到父节点
TypeElement enclosingElement = (TypeElement) element.getEnclosingElement();
//判断修饰符,如果包含private or static 就会抛出异常。
// Verify method modifiers.
Set modifiers = element.getModifiers();
if (modifiers.contains(PRIVATE) || modifiers.contains(STATIC)) {
error(element, “@%s %s must not be private or static. (%s.%s)”,
annotationClass.getSimpleName(), targetThing, enclosingElement.getQualifiedName(),
element.getSimpleName());
hasError = true;
}
//判断父节点是否是类类型的,不是的话就会抛出异常
//也就是说BindView 的使用必须在一个类里
// Verify containing type.
if (enclosingElement.getKind() != CLASS) {
error(enclosingElement, “@%s %s may only be contained in classes. (%s.%s)”,
annotationClass.getSimpleName(), targetThing, enclosingElement.getQualifiedName(),
element.getSimpleName());
hasError = true;
}
//判断父节点如果是private 类,则抛出异常
// Verify containing class visibility is not private.
if (enclosingElement.getModifiers().contains(PRIVATE)) {
error(enclosingElement, “@%s %s may not be contained in private classes. (%s.%s)”,
annotationClass.getSimpleName(), targetThing, enclosingElement.getQualifiedName(),
element.getSimpleName());
hasError = true;
}
return hasError;
}
上面的代码里遇见注释了,这里说一下也就是我们在使用bindview注解的时候不能用使用
类不能是private修饰 ,可以是默认的或者public
//in adapter
private static final class ViewHolder {
//…
}
//成员变量不能是private修饰 ,可以是默认的或者public
@BindView(R.id.word)
private TextView word;
接下来还有一个方法isBindingInWrongPackage。
这个看名字也才出来个大概 就是不能在android ,java这种源码的sdk中使用。如果你的包名是以android或者java开头就会抛出异常。
private boolean isBindingInWrongPackage(Class<? extends Annotation> annotationClass,
Element element) {
//得到父节点
TypeElement enclosingElement = (TypeElement) element.getEnclosingElement();
String qualifiedName = enclosingElement.getQualifiedName().toString();
if (qualifiedName.startsWith(“android.”)) {
error(element, “@%s-annotated class incorrectly in Android framework package. (%s)”,
annotationClass.getSimpleName(), qualifiedName);
return true;
}
if (qualifiedName.startsWith(“java.”)) {
error(element, “@%s-annotated class incorrectly in Java framework package. (%s)”,
annotationClass.getSimpleName(), qualifiedName);
return true;
}
return false;
}
到这里合法性检查就完了,如果你使用不当,就会抛出异常。
// 。。。 异常抛出了
// 不合法的直接返回
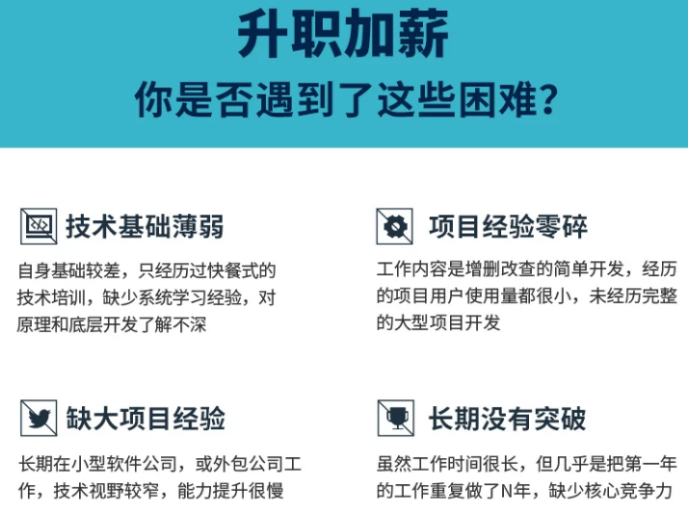
自我介绍一下,小编13年上海交大毕业,曾经在小公司待过,也去过华为、OPPO等大厂,18年进入阿里一直到现在。
深知大多数Android工程师,想要提升技能,往往是自己摸索成长或者是报班学习,但对于培训机构动则几千的学费,着实压力不小。自己不成体系的自学效果低效又漫长,而且极易碰到天花板技术停滞不前!
因此收集整理了一份《2024年Android移动开发全套学习资料》,初衷也很简单,就是希望能够帮助到想自学提升又不知道该从何学起的朋友,同时减轻大家的负担。

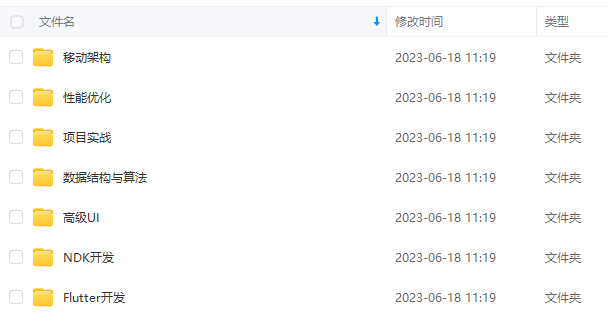
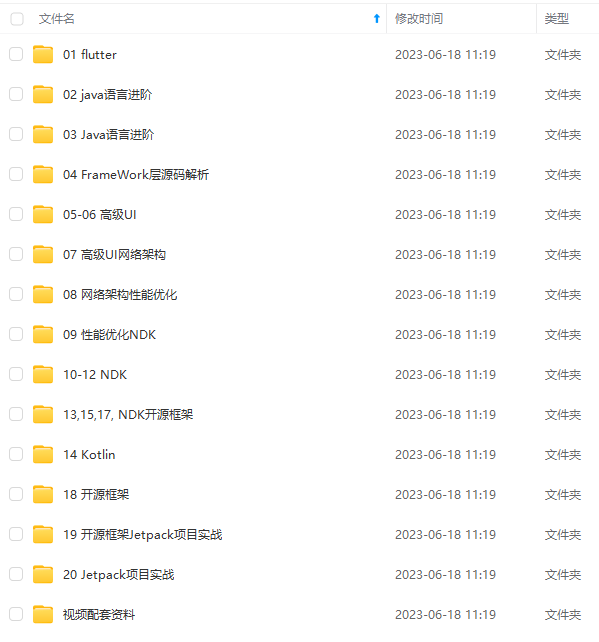
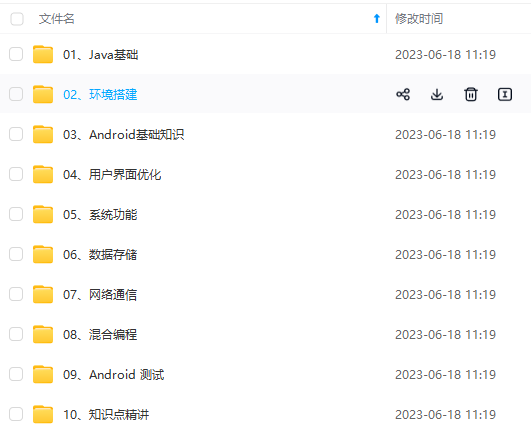
既有适合小白学习的零基础资料,也有适合3年以上经验的小伙伴深入学习提升的进阶课程,基本涵盖了95%以上Android开发知识点,真正体系化!
由于文件比较大,这里只是将部分目录大纲截图出来,每个节点里面都包含大厂面经、学习笔记、源码讲义、实战项目、讲解视频,并且后续会持续更新
如果你觉得这些内容对你有帮助,可以添加V获取:vip204888 (备注Android)

学习分享
在当下这个信息共享的时代,很多资源都可以在网络上找到,只取决于你愿不愿意找或是找的方法对不对了
很多朋友不是没有资料,大多都是有几十上百个G,但是杂乱无章,不知道怎么看从哪看起,甚至是看后就忘
如果大家觉得自己在网上找的资料非常杂乱、不成体系的话,我也分享一套给大家,比较系统,我平常自己也会经常研读。
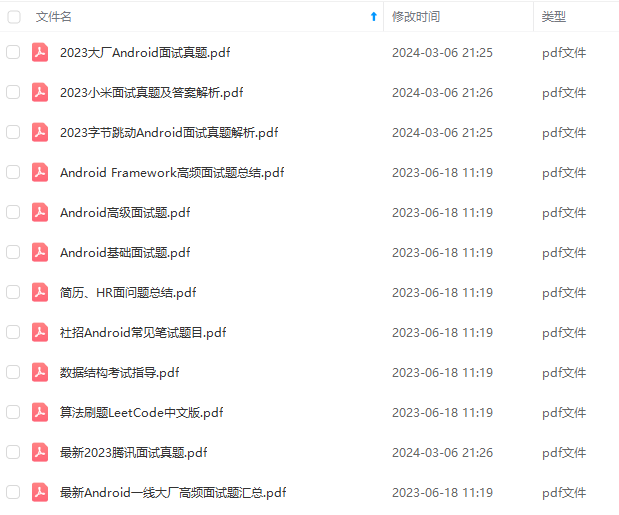
2021最新上万页的大厂面试真题

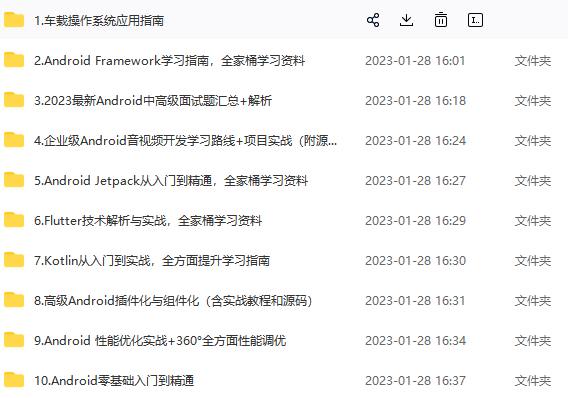
七大模块学习资料:如NDK模块开发、Android框架体系架构…

只有系统,有方向的学习,才能在段时间内迅速提高自己的技术。
这份体系学习笔记,适应人群:
第一,学习知识比较碎片化,没有合理的学习路线与进阶方向。
第二,开发几年,不知道如何进阶更进一步,比较迷茫。
第三,到了合适的年纪,后续不知道该如何发展,转型管理,还是加强技术研究。如果你有需要,我这里恰好有为什么,不来领取!说不定能改变你现在的状态呢!
由于文章内容比较多,篇幅不允许,部分未展示内容以截图方式展示 。
模块学习资料:如NDK模块开发、Android框架体系架构…**
[外链图片转存中…(img-O8lvJpUG-1711654533060)]
只有系统,有方向的学习,才能在段时间内迅速提高自己的技术。
这份体系学习笔记,适应人群:
第一,学习知识比较碎片化,没有合理的学习路线与进阶方向。
第二,开发几年,不知道如何进阶更进一步,比较迷茫。
第三,到了合适的年纪,后续不知道该如何发展,转型管理,还是加强技术研究。如果你有需要,我这里恰好有为什么,不来领取!说不定能改变你现在的状态呢!
由于文章内容比较多,篇幅不允许,部分未展示内容以截图方式展示 。


 118
118


 被折叠的 条评论
为什么被折叠?
被折叠的 条评论
为什么被折叠?
 到【灌水乐园】发言


