声明:本文仅限学习研究讨论,切忌做非法乱纪之事!
此类爆破针对用户名已知,密码未知并要进行验证码验证的场景
1.首先在GitHub上面下载插件,下载地址:
https://github.com/f0ng/captcha-killer-modified
2.启动本地验证码识别服务ddddocr:
(1).首先要下载ddddocr服务,在cmd命令行里面直接下载ddddocr的指令:
pip install ddddocr aiohttp -i http://mirrors.aliyun.com/pypi/simple/ --trusted-host mirrors.aliyun.com
(2).接着编写一个python文件(命名为codereg.py)来启动ddddocr:
import argparse
import ddddocr                       # 导入 ddddocr
from aiohttp import web
import base64

parser = argparse.ArgumentParser()

parser.add_argument("-p", help="http port",default=8888)
args = parser.parse_args()
ocr = ddddocr.DdddOcr()
port = args.p

auth_base64 = "f0ngauth" # 可自定义auth认证

async def handle_cb(request):
    if request.headers.get('Authorization') != 'Basic ' + auth_base64:  # 可自定义auth认证,不需要注释就好
        return web.Response(text='Forbidden', status='403')
    print(await request.text())
    img_base64 = await request.text()
    img_bytes = base64.b64decode(img_base64)
    # return web.Response(text=ocr.classification(img_bytes)[0:4]) 验证码取前四位
    # return web.Response(text=ocr.classification(img_bytes)[0:4].replace("0","o")) 验证码取前四位、验证码中的0替换为o
    return web.Response(text=ocr.classification(img_bytes)[0:4])

app = web.Application()
app.add_routes([
    web.post('/reg', handle_cb),
])

if __name__ == '__main__':
    web.run_app(app, port=port)
(3).在存放codereg.py文件的路径下打开cmd,输入python codereg.py:

(4).若出现下图,说明启动成功:

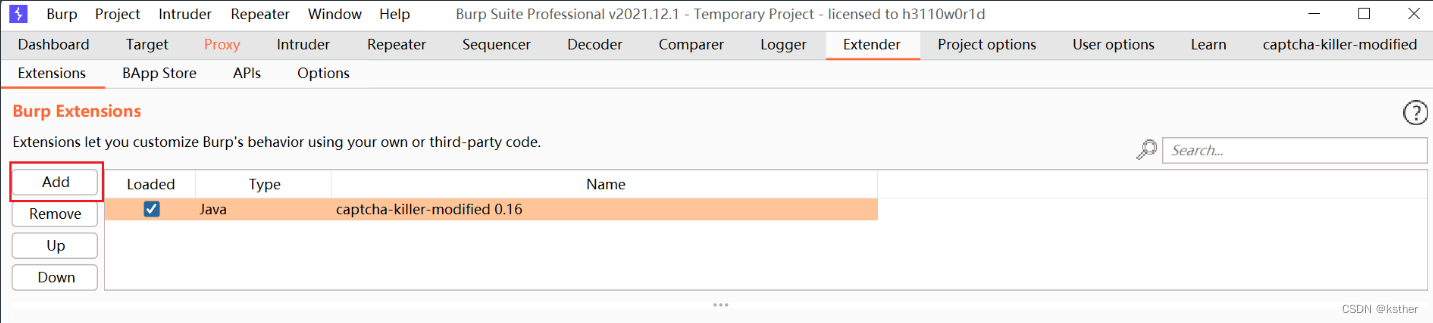
3.在bp中配置插件:
在bp的extender模块中,点击add,选择已下载的插件:
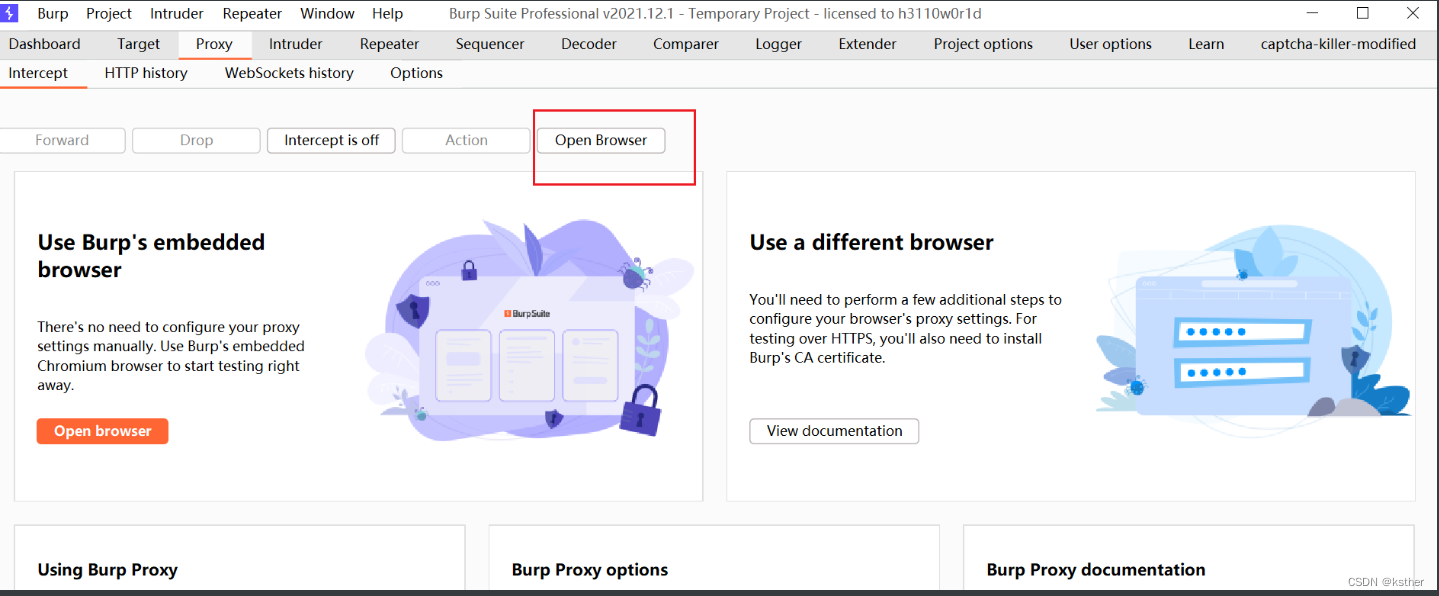
4.在proxy模块,打开bp自带的浏览器,先输入验证码的php文件地址,然后进行抓包,记得开启拦截:
5.然后把抓到的包发给captcha-killer-modified模块:
点击右键,按图示操作即可发送到captcha-killer-modified模块

6.点击captcha-killer-modified模块,在左下角模块复制这段代码:
POST /reg HTTP/1.1
Host: 127.0.0.1:8888
Authorization:Basic f0ngauth
User-Agent: Mozilla/5.0 (Macintosh; Intel Mac OS X 10.15; rv:97.0) Gecko/20100101 Firefox/97.0
Accept: text/html,application/xhtml+xml,application/xml;q=0.9,image/avif,image/webp,*/*;q=0.8
Accept-Language: zh-CN,zh;q=0.8,zh-TW;q=0.7,zh-HK;q=0.5,en-US;q=0.3,en;q=0.2
Accept-Encoding: gzip, deflate
Connection: keep-alive
Upgrade-Insecure-Requests: 1
Content-Type: application/x-www-form-urlencoded
Content-Length: 8332

<@BASE64><@IMG_RAW></@IMG_RAW></@BASE64>
接口和url要填写正确,检查是否能对验证码进行获取和验证
7.开始抓登录的包,输入登录的地址,在点击登录的时候进行抓包(还是点击右键,会有send to intruder这个选项),将抓到的包传到intruder模块
(1).使用的intruder模式是pitchfork模式,第一个爆破点是密码,第二个爆破点是验证码:

(2).第一个爆破选择普通的爆破即可:
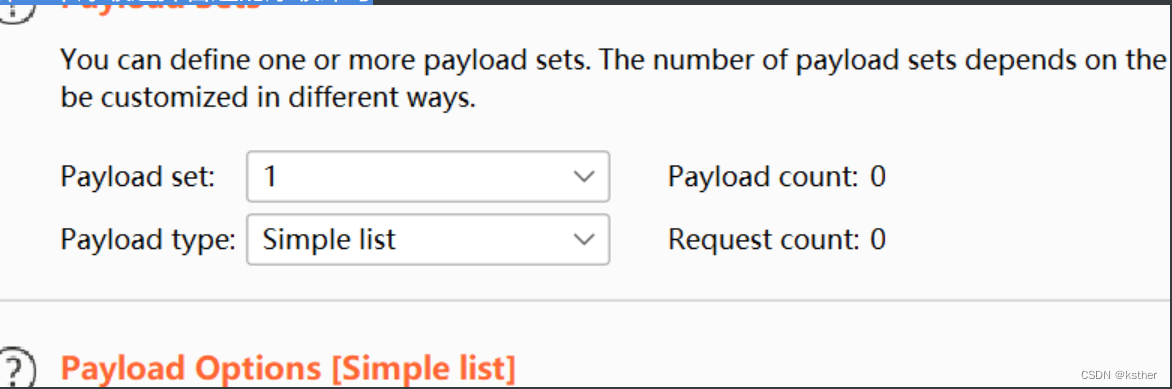
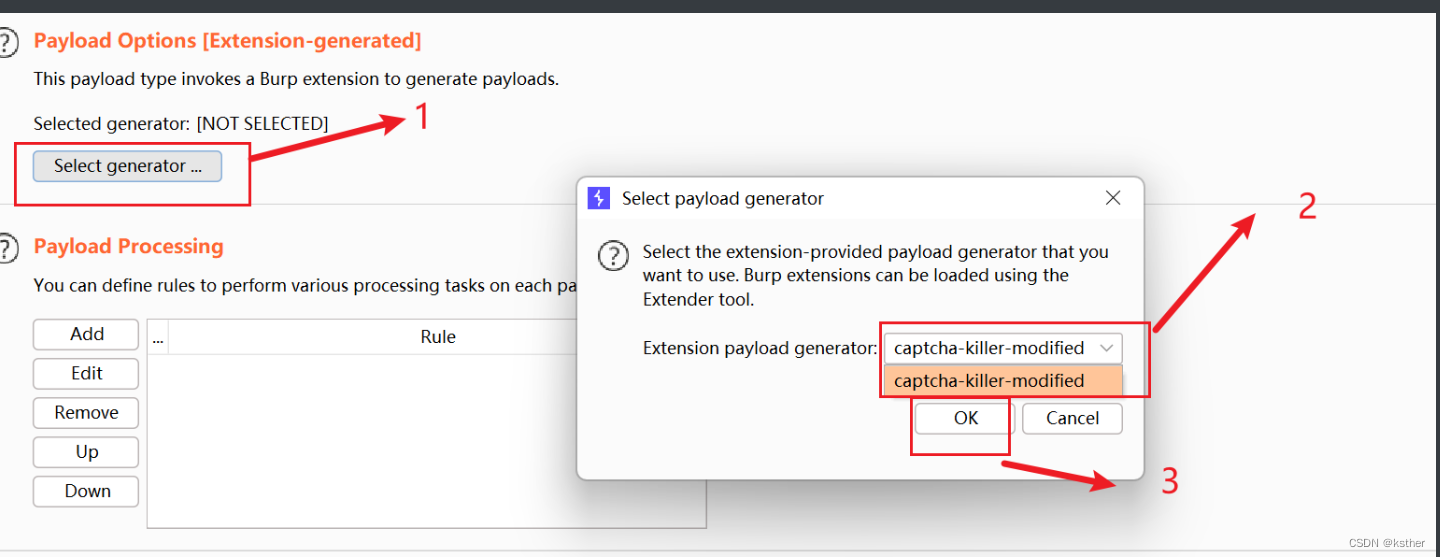
(3).第二个爆破点选择extension-generated,然后按下图进行操作:
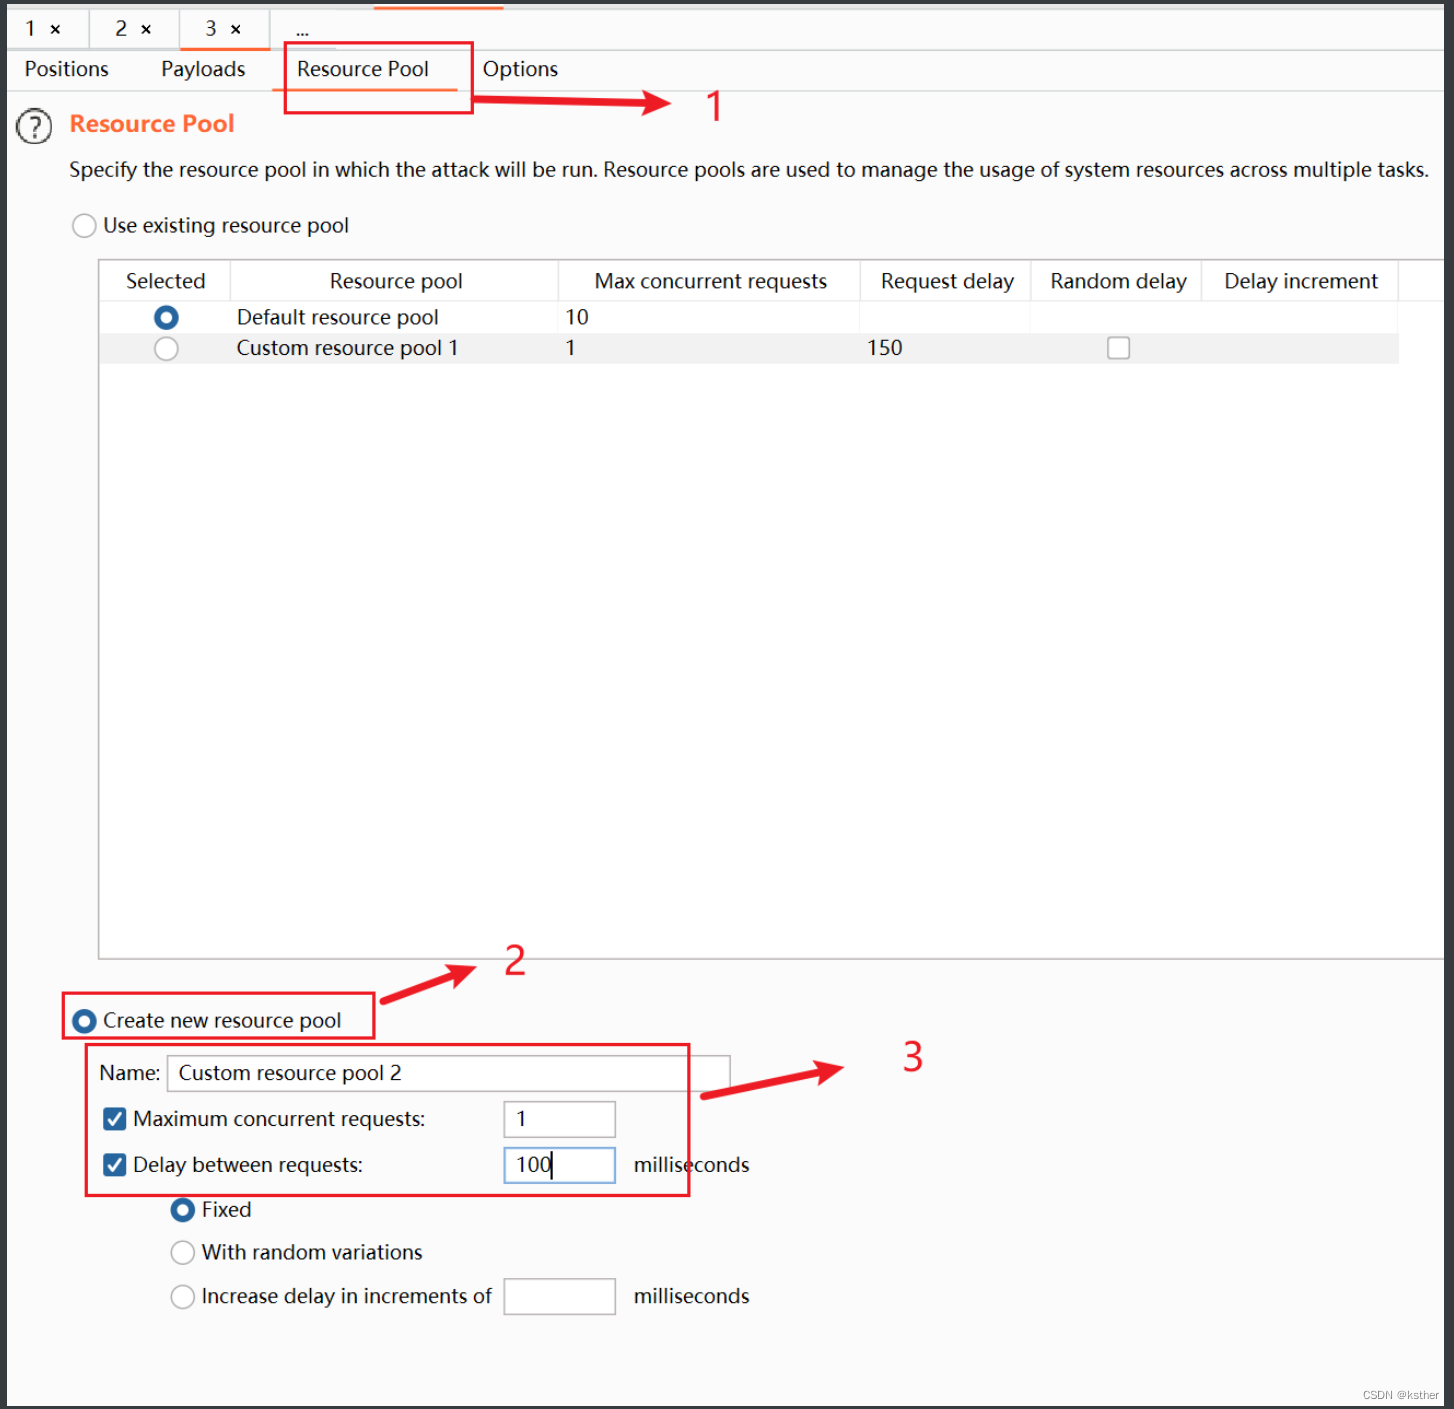
(4).点击resource pool,此爆破只能进行单线程,所以选择创建新线程并把最大线程改成1:
8.最后即可开始爆破


 1912
1912

 被折叠的 条评论
为什么被折叠?
被折叠的 条评论
为什么被折叠?
 到【灌水乐园】发言


