


目录
1、下载spring-framework-5.3.8-SNAPSHOT快照版本
2、解压spring-framework-5.3.8-SNAPSHOT压缩包
3、IDEA右键项目打开Open Module Settings
4、Project Structure --> Libraries
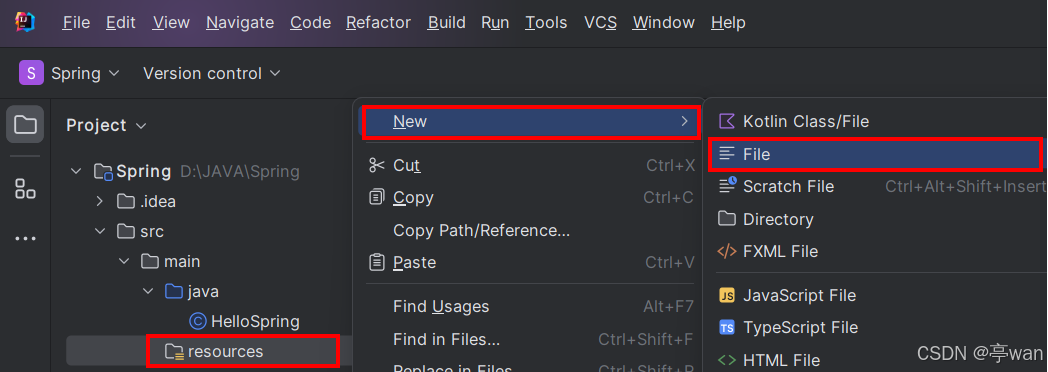
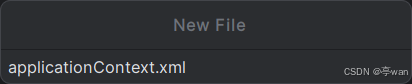
3、创建applicationContext.xml文件作为HelloSpring类的配置文件
基于Maven搭建Spring框架
1、创建一个Maven项目
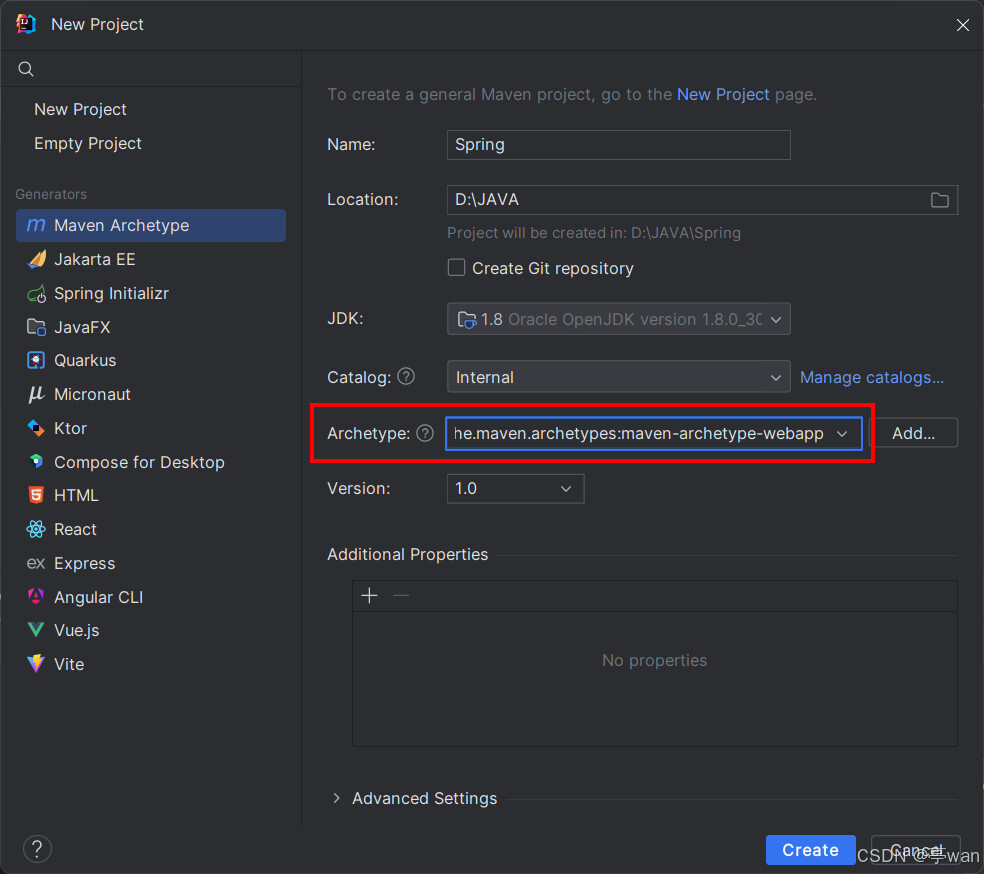
首先基于Maven搭建Spring框架,需要先创建一个Maven项目,如下图所示
Archetype根据自己的需求选择,此处博主选择的是
maven-archetype-webapp:创建一个基本的 Web 应用项目。
如果想创建其他的,如
maven-archetype-quickstart:用于创建一个简单的 Java 项目,包含基本的 Java 类和测试类
maven-archetype-plugin:用于创建一个 Maven 插件项目
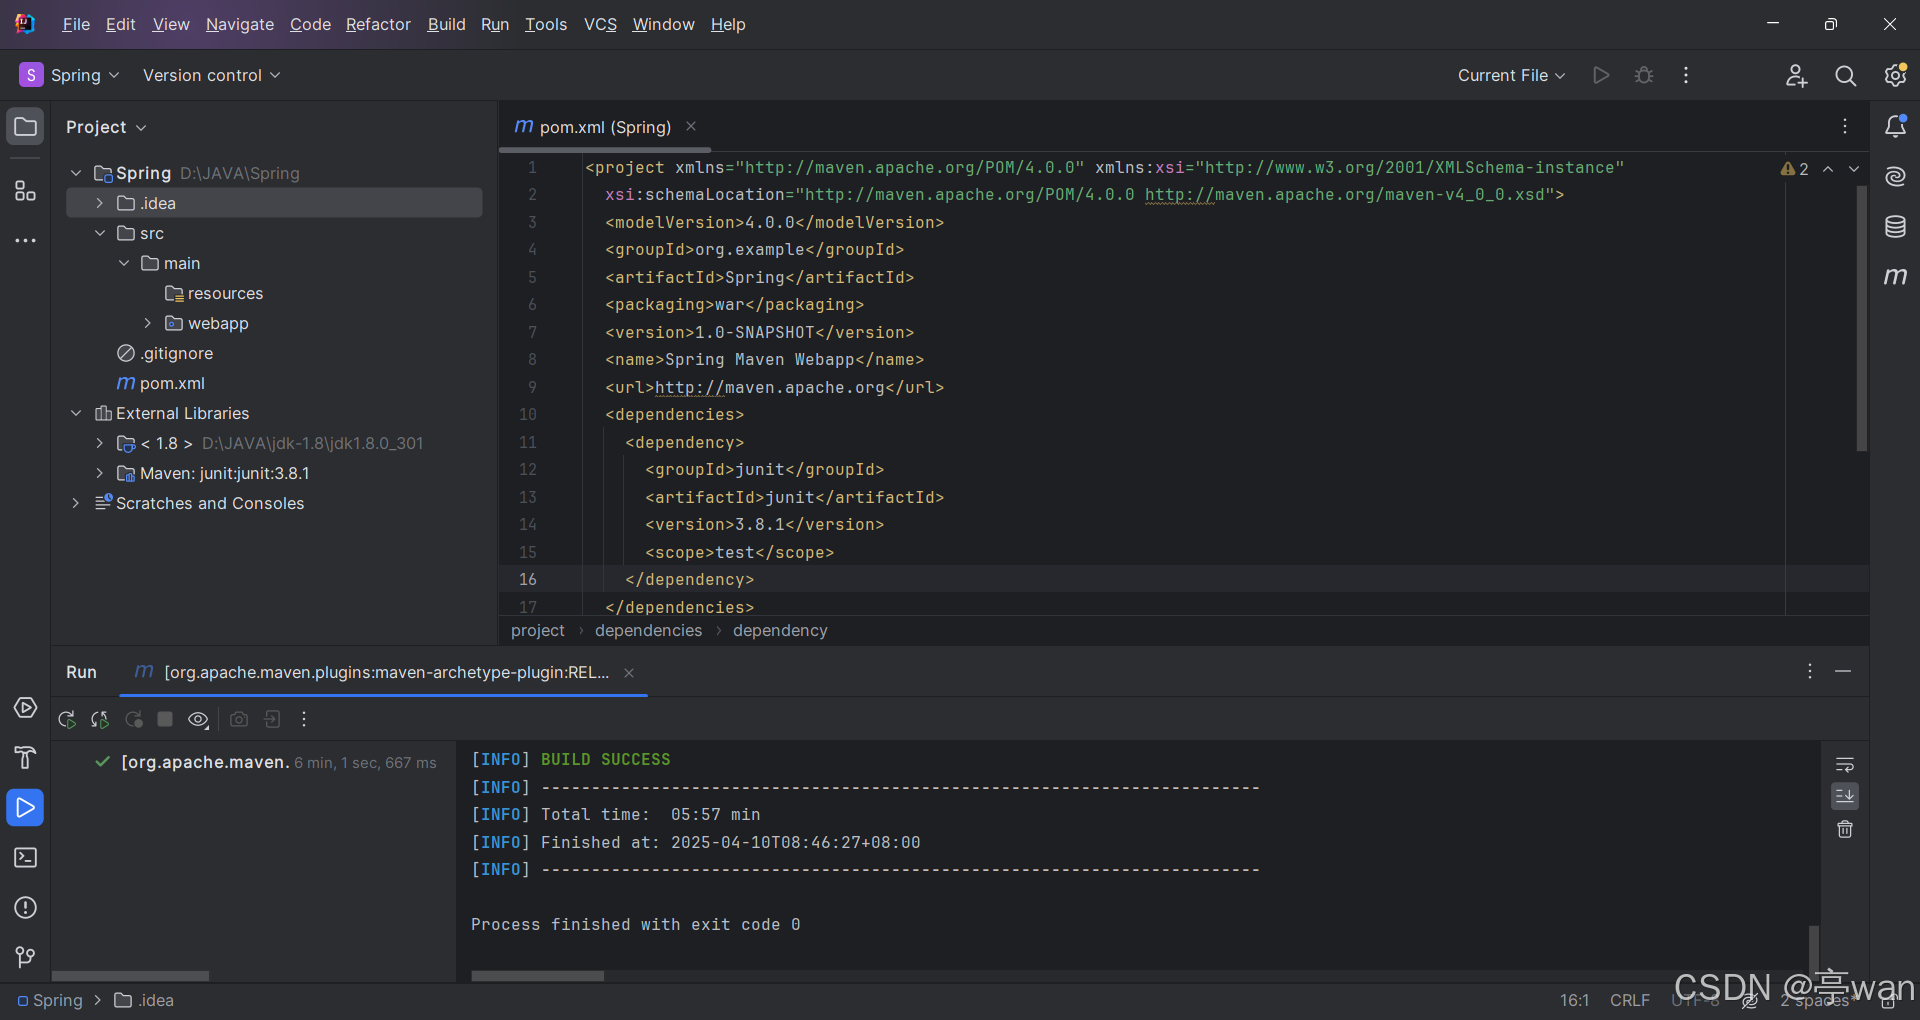
下图为刚创建完Maven项目,如图所示
2、pom.xml导入依赖
我们需要导入4个Spring基础包,1个依赖包
<!-- Spring 的基础包 Spring-core -->
<dependency>
<groupId>org.springframework</groupId>
<artifactId>spring-core</artifactId>
<version>5.3.8.RELEASE</version>
</dependency>
<!-- Spring 的基础包 Spring-beans -->
<dependency>
<groupId>org.springframework</groupId>
<artifactId>spring-beans</artifactId>
<version>5.3.8.RELEASE</version>
</dependency>
<!-- Spring 的基础包 Spring-context -->
<dependency>
<groupId>org.springframework</groupId>
<artifactId>spring-context</artifactId>
<version>5.3.8.RELEASE</version>
</dependency>
<!-- Spring 的基础包 Spring-expression -->
<dependency>
<groupId>org.springframework</groupId>
<artifactId>spring-expression</artifactId>
<version>5.3.8.RELEASE</version>
</dependency>
<!-- Spring 的依赖包 commons-logging -->
<dependency>
<groupId>commons-logging</groupId>
<artifactId>commons-logging</artifactId>
<version>1.2</version>
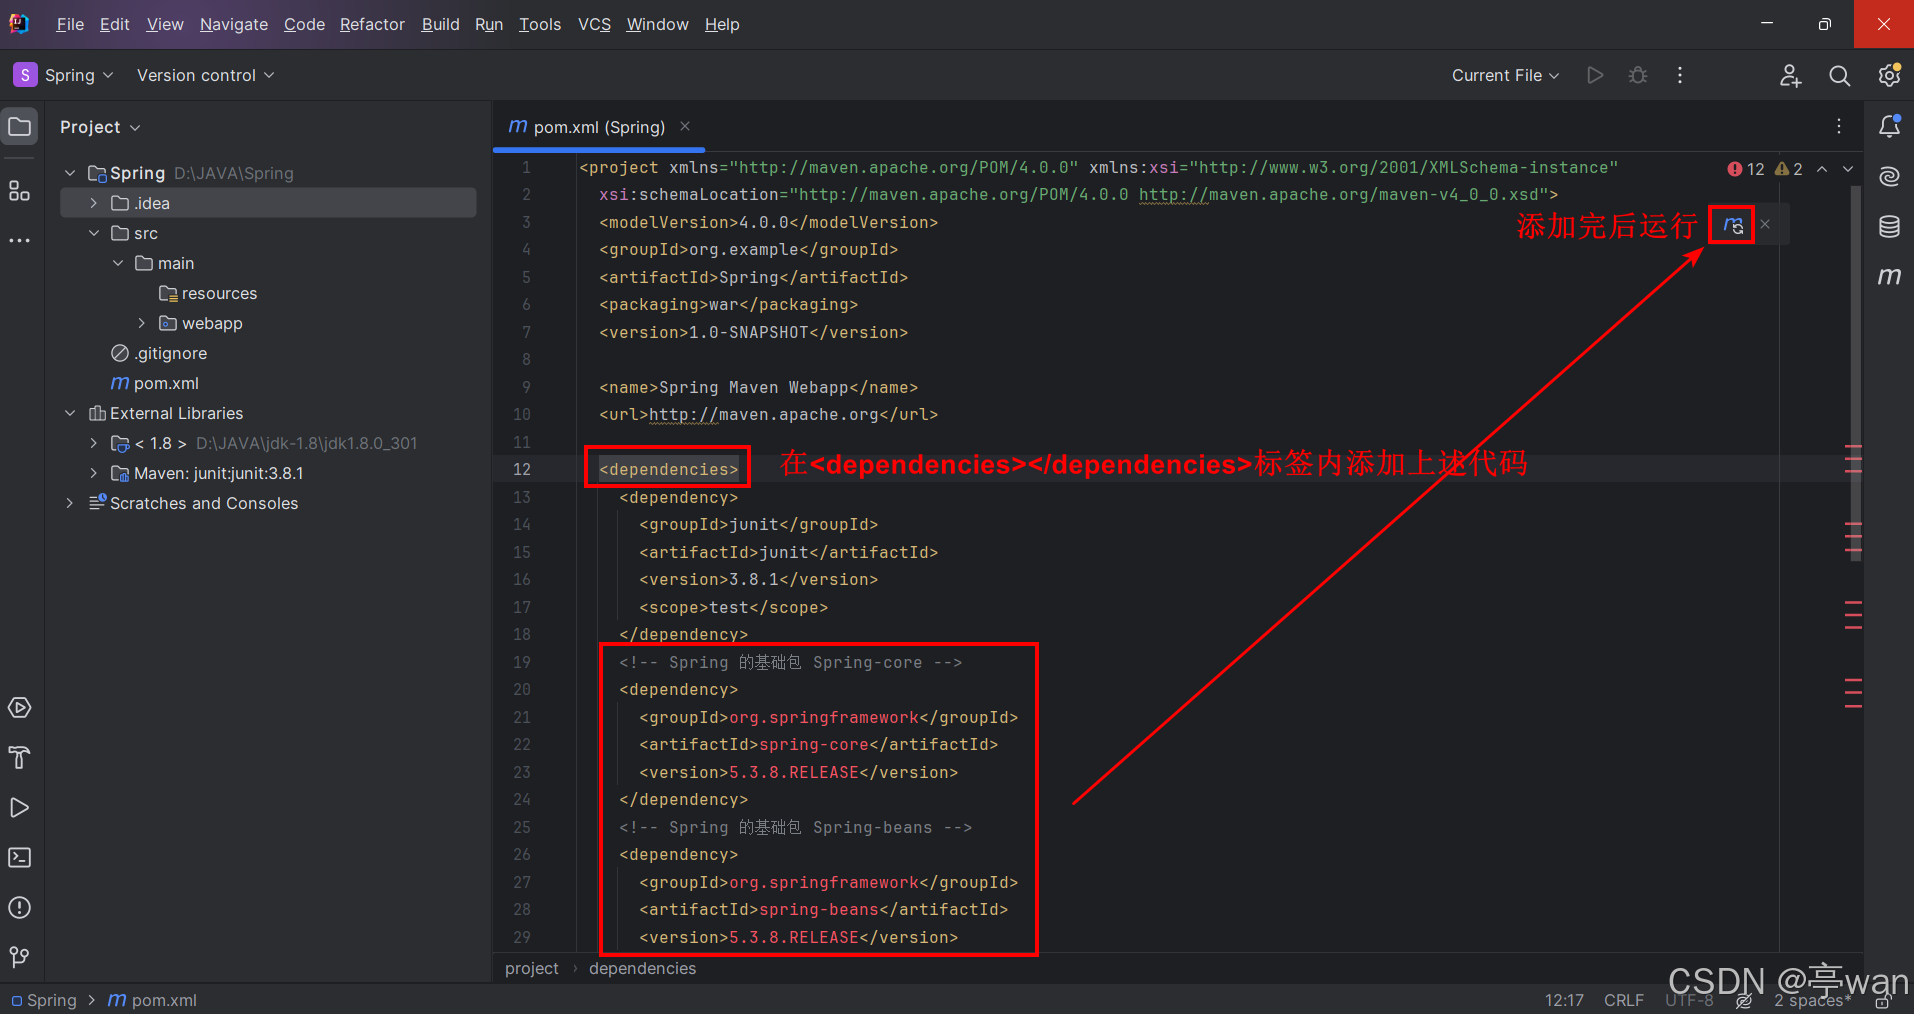
</dependency>如下图在<dependencies></dependencies>标签内添加上述代码
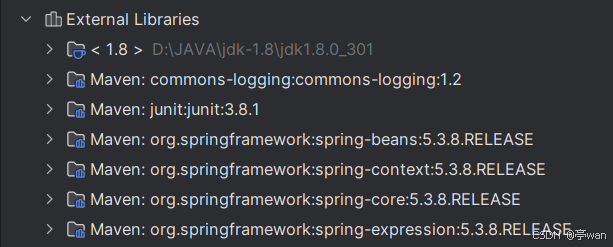
当我们正常导入依赖时,External Libraries会如下图所示出现Spring基础包和commons-logging依赖包
但也会有同学会出现下列情况,只导入了commons-logging依赖包,Spring基础包都报错了
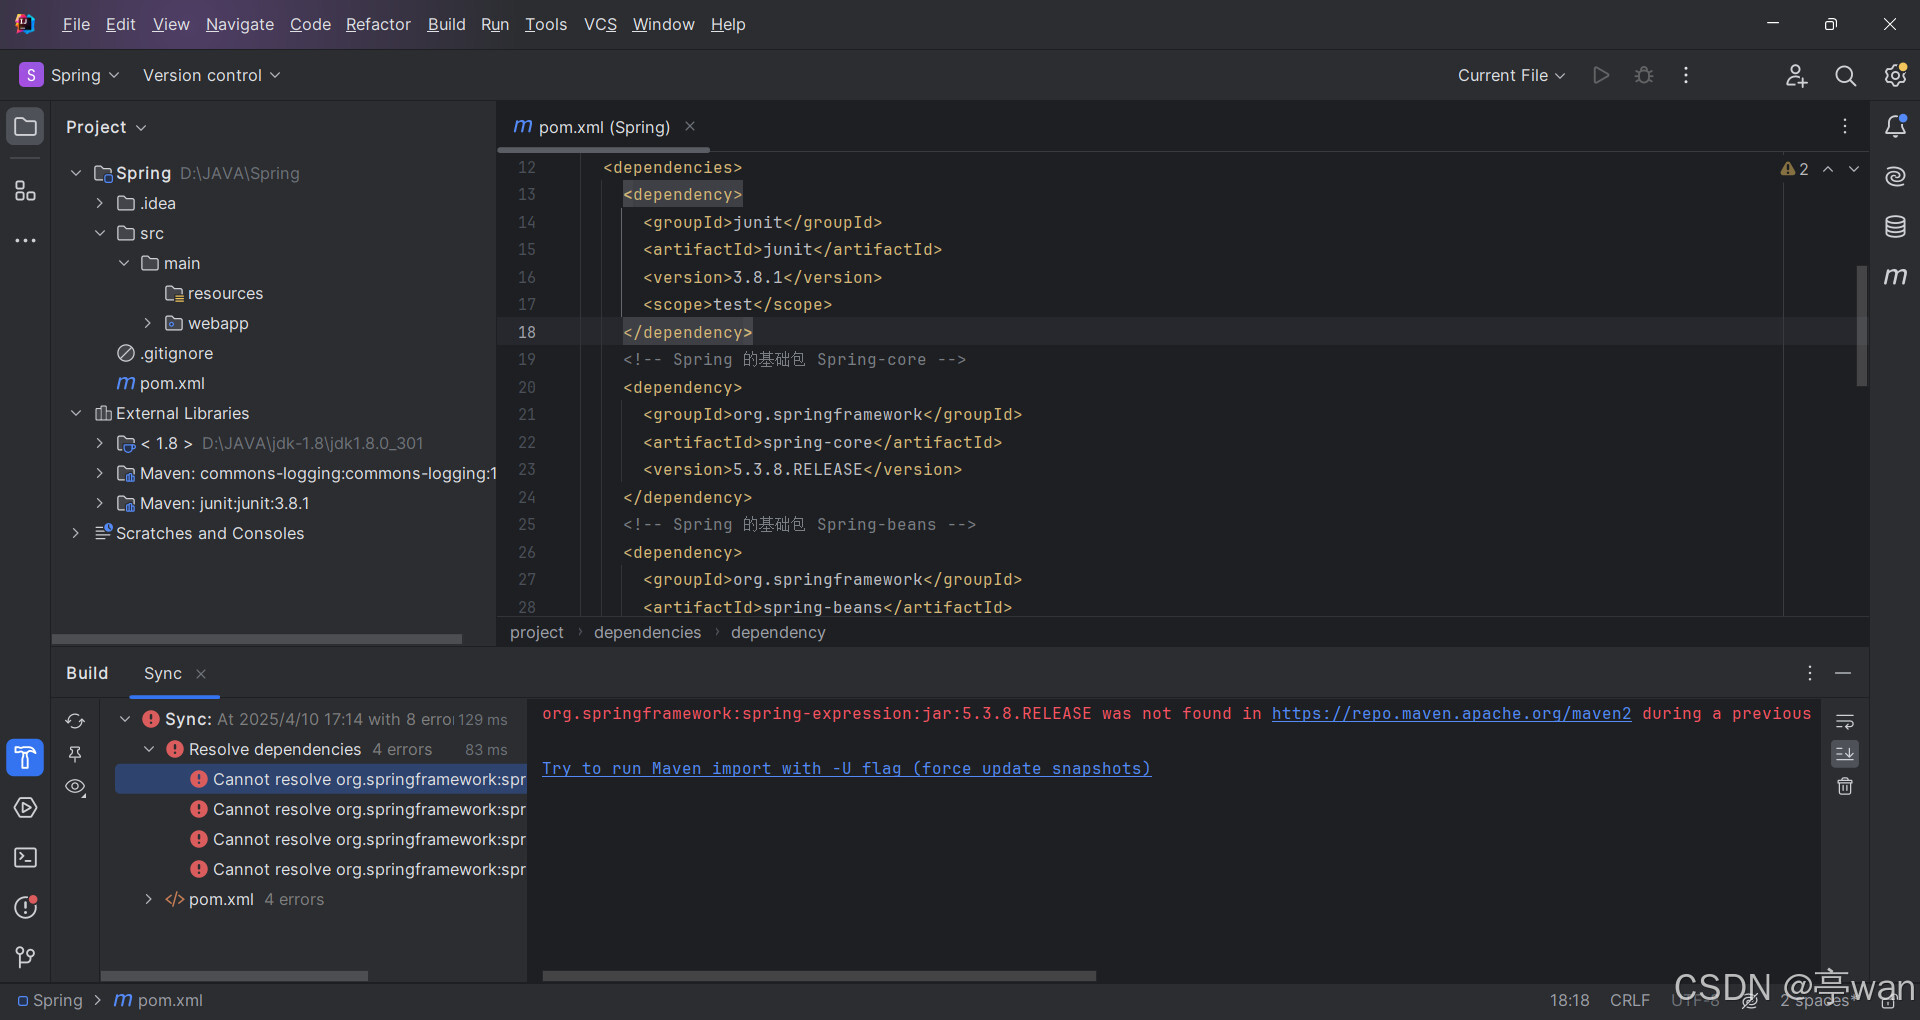
如果有同学已经尝试了其他博主的方法,可以直接跳转百分百解决pom.xml依赖导入失败
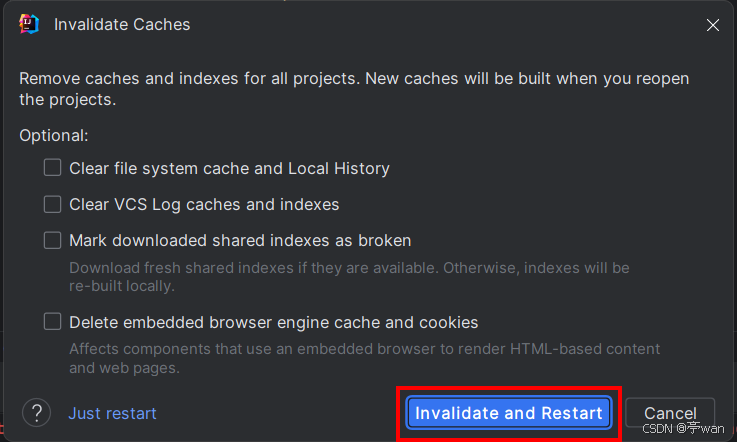
很多文章给出的方法是清理IDEA缓存,如下图

或者强制更新依赖,如下图
mvn clean install -U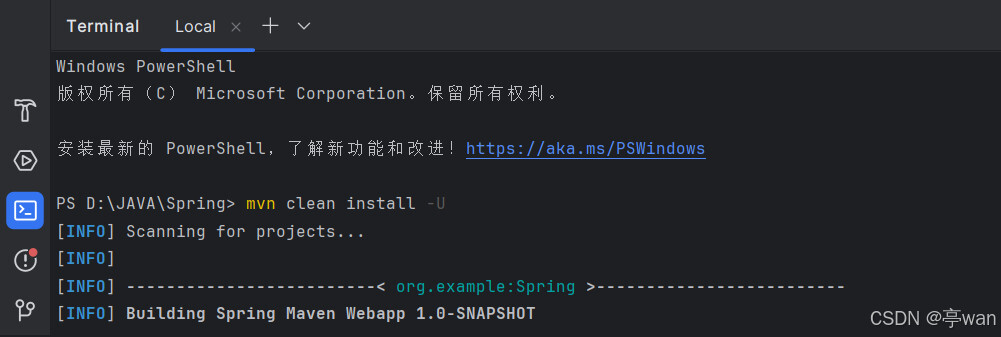
但博主用了上述方法都不行,想起来虽然我们代码运行不了,但是可以手动添加依赖
百分百解决pom.xml依赖导入失败
1、下载spring-framework-5.3.8-SNAPSHOT快照版本
下载地址:repo.spring.io
一直往下翻,博主这里选择的是5.3.8版本

点击spring-5.3.8-20210608.134139-50-dist.zip

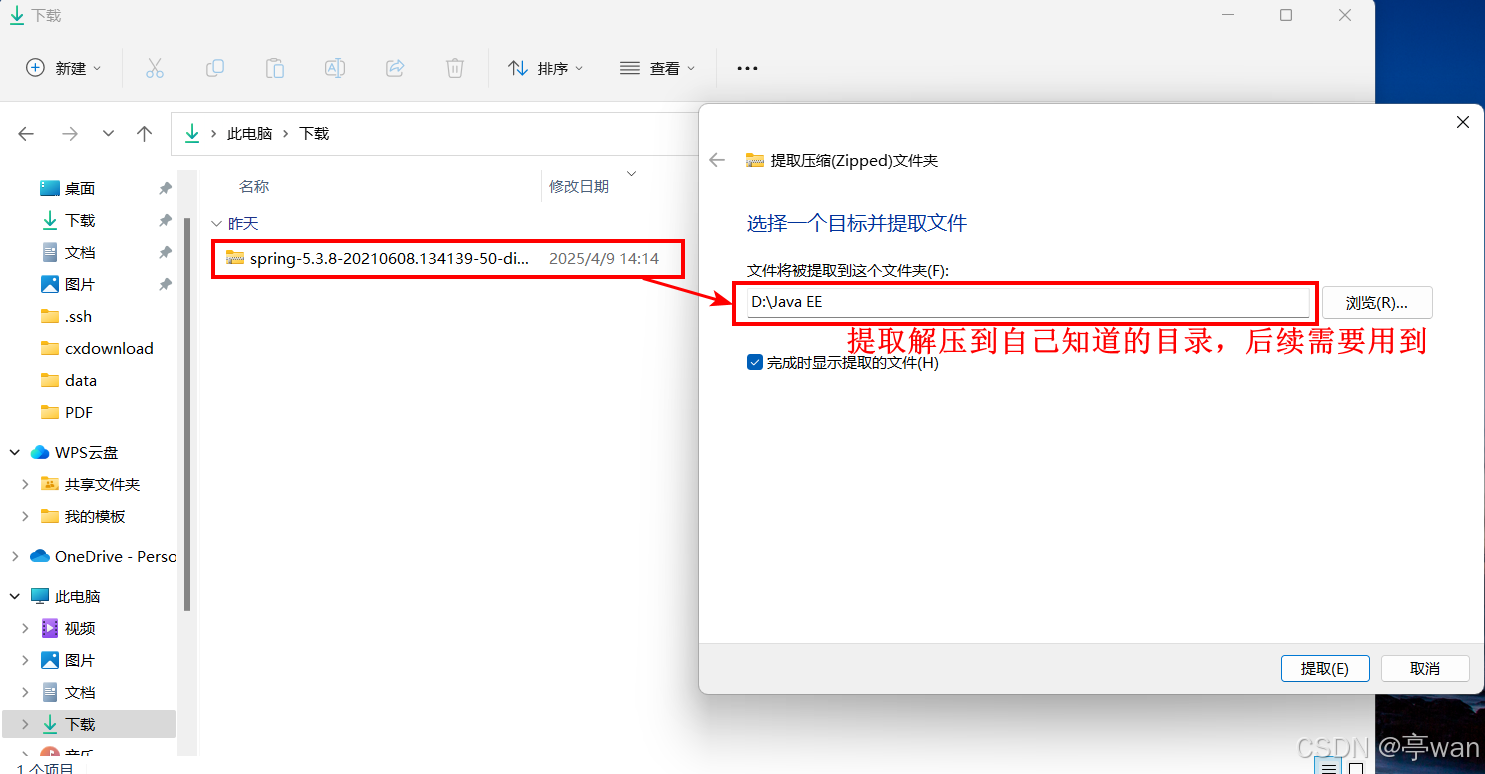
2、解压spring-framework-5.3.8-SNAPSHOT压缩包
3、IDEA右键项目打开Open Module Settings
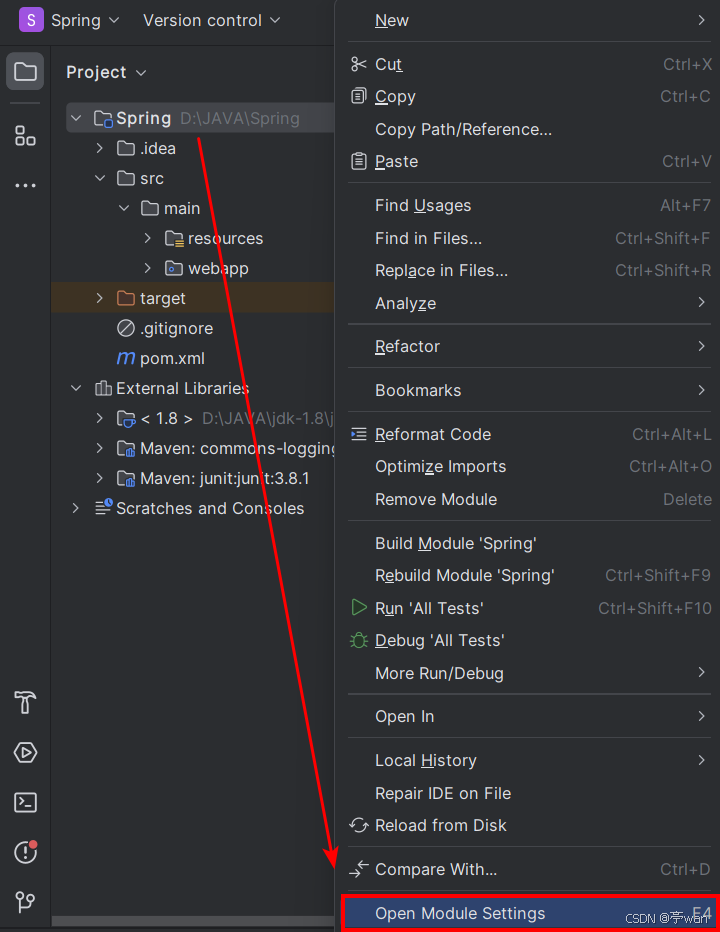
4、Project Structure --> Libraries
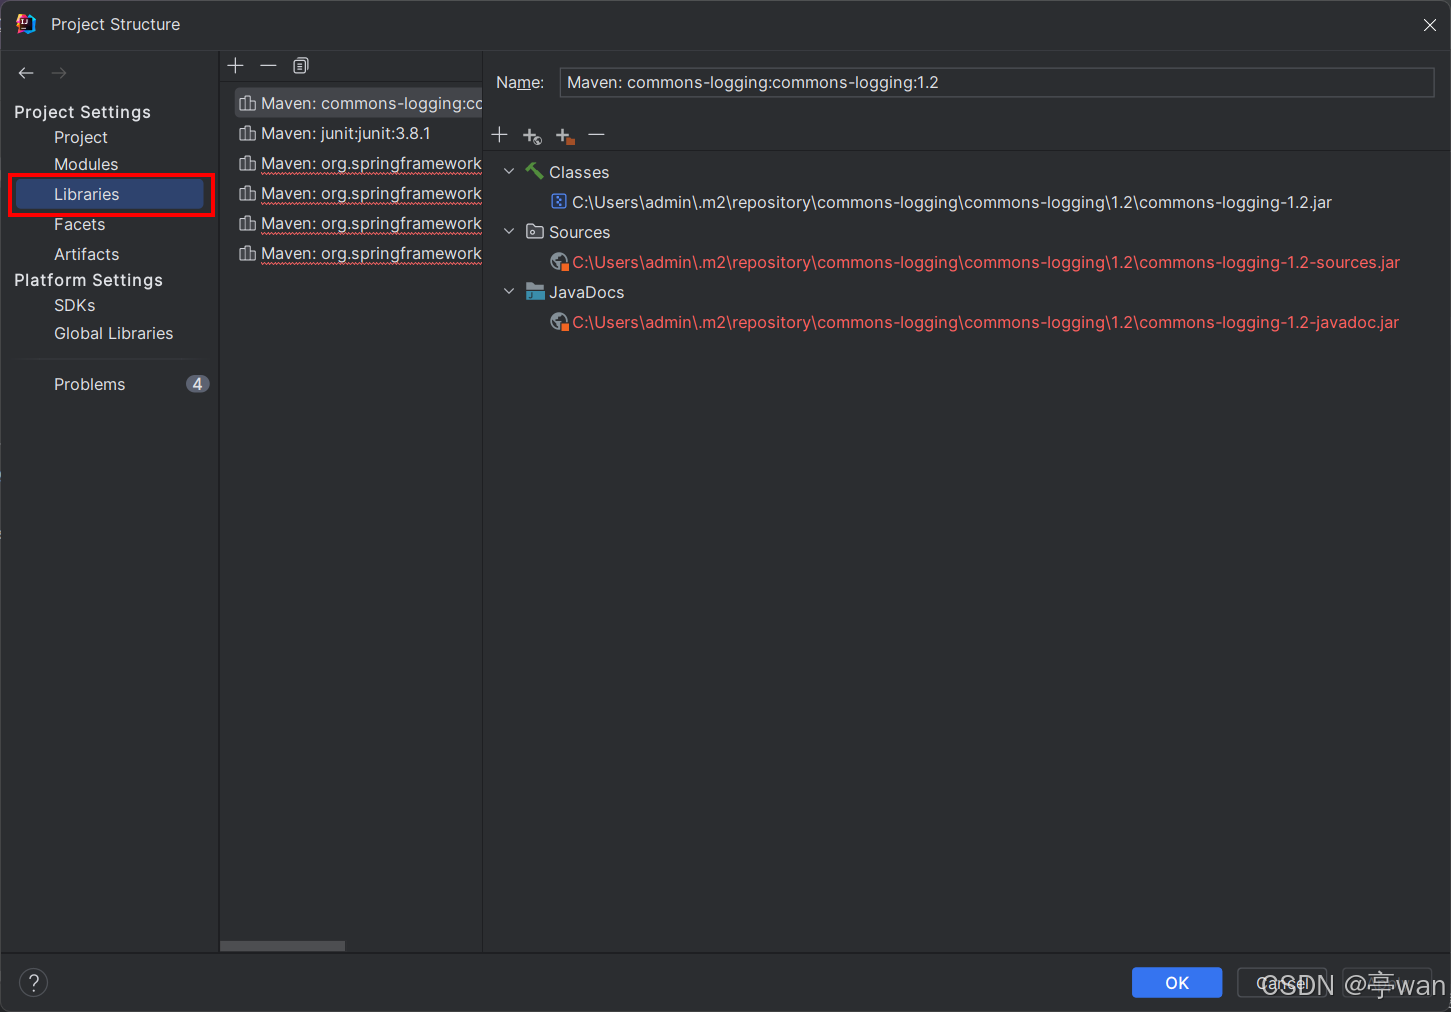
5、手动添加相对应的jar包
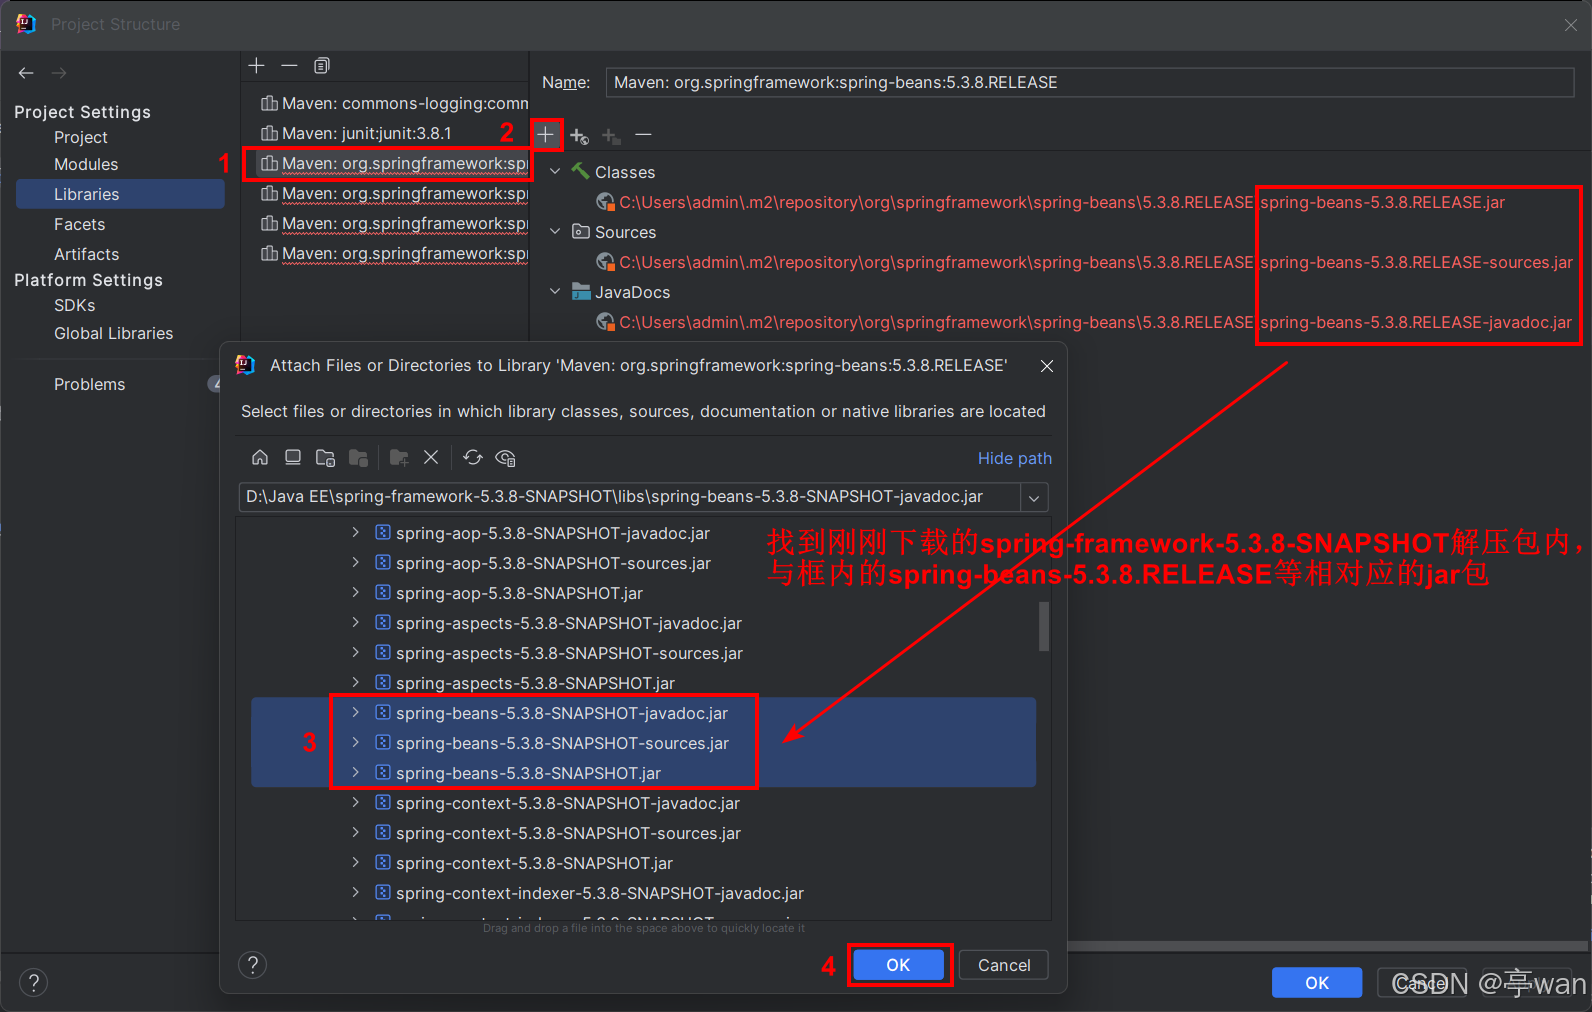
依次将4个spring基础包都添加后,点Apply添加依赖
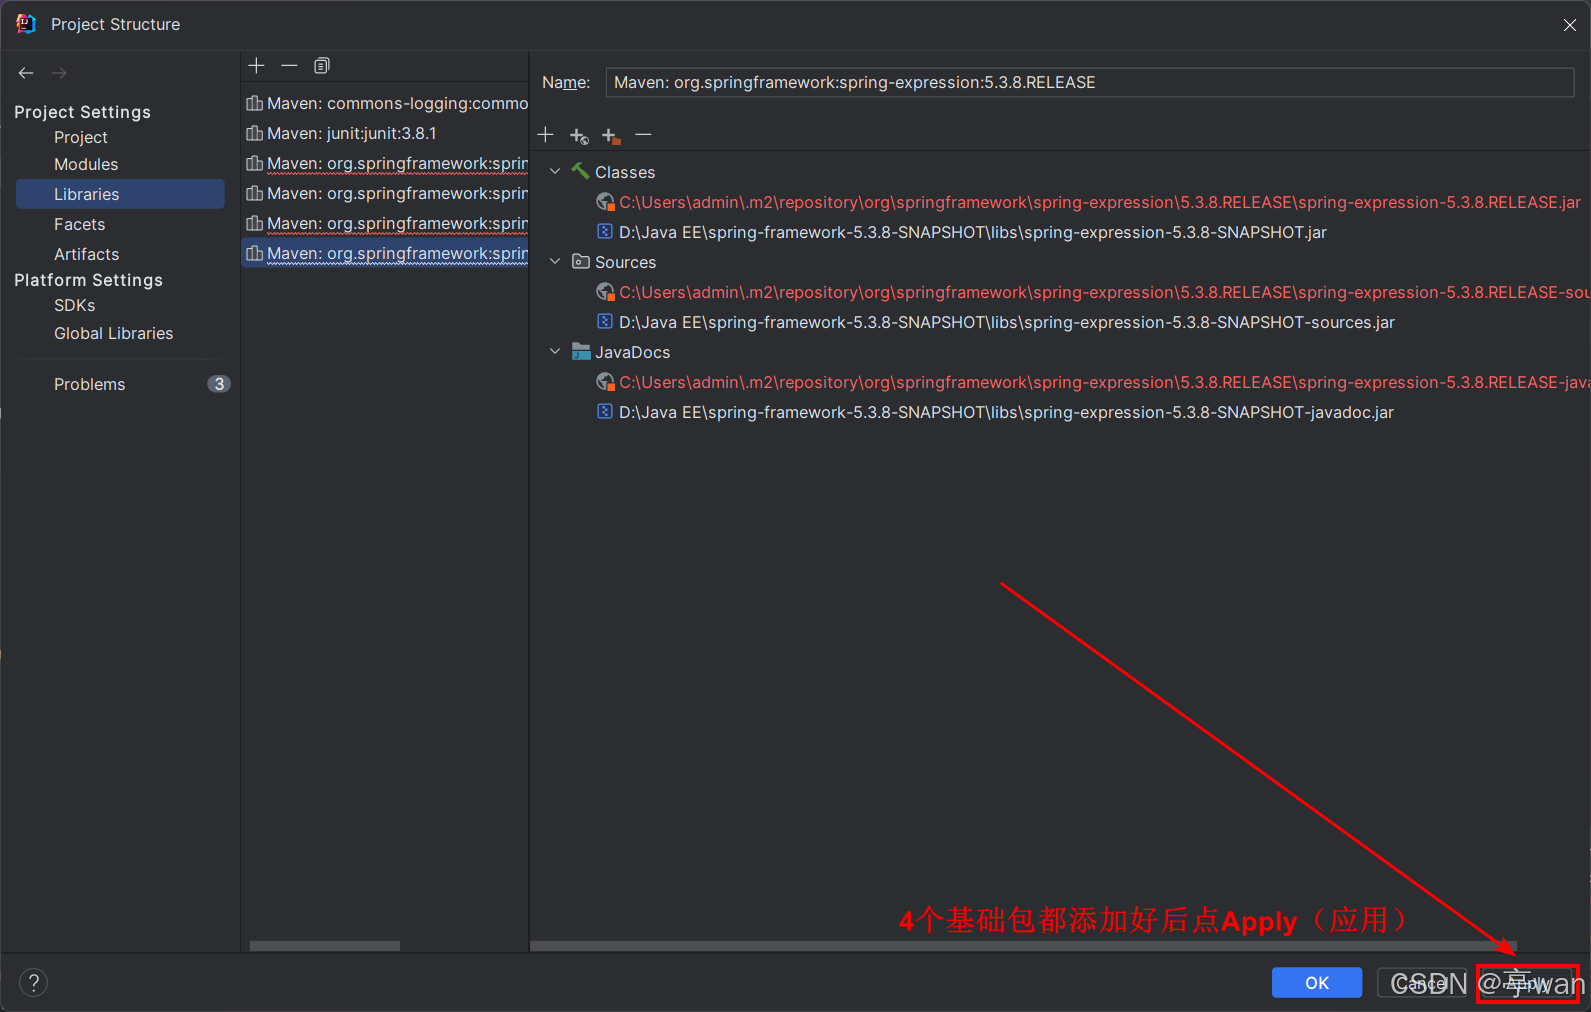
然后我们就可以如愿在External Libraries看到4个Spring基础包和commons-logging依赖包啦
演示Spring框架简单用法
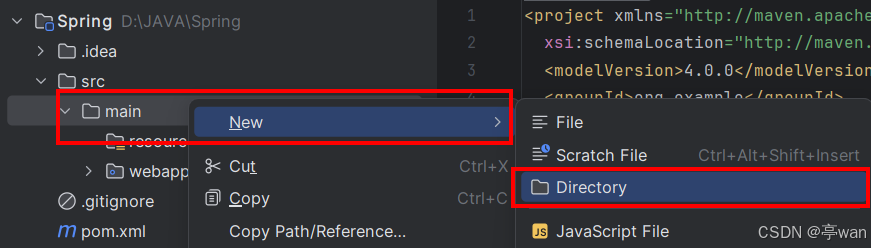
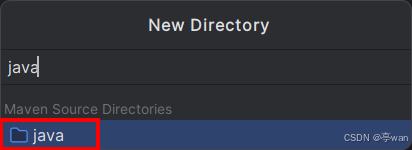
1、创建java目录
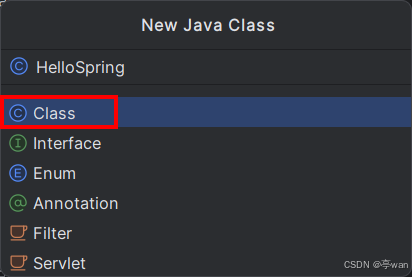
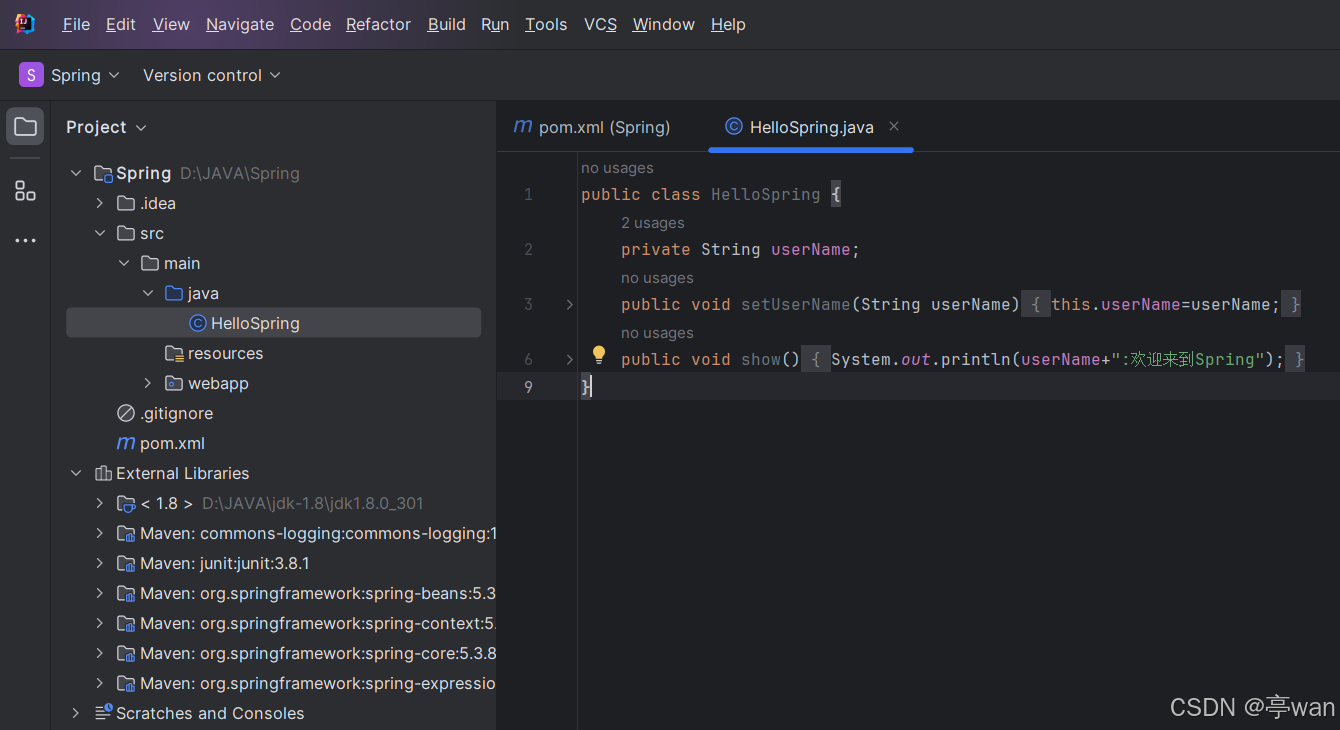
2、创建一个HelloSpring类
类中定义了userName属性和show()方法,用于输出CSDN:欢迎来到Spring
代码如下
public class HelloSpring {
    private String userName;
    public void setUserName(String userName){
        this.userName=userName;
    }
    public void show(){
        System.out.println(userName+":欢迎来到Spring");
    }
}
如图所示
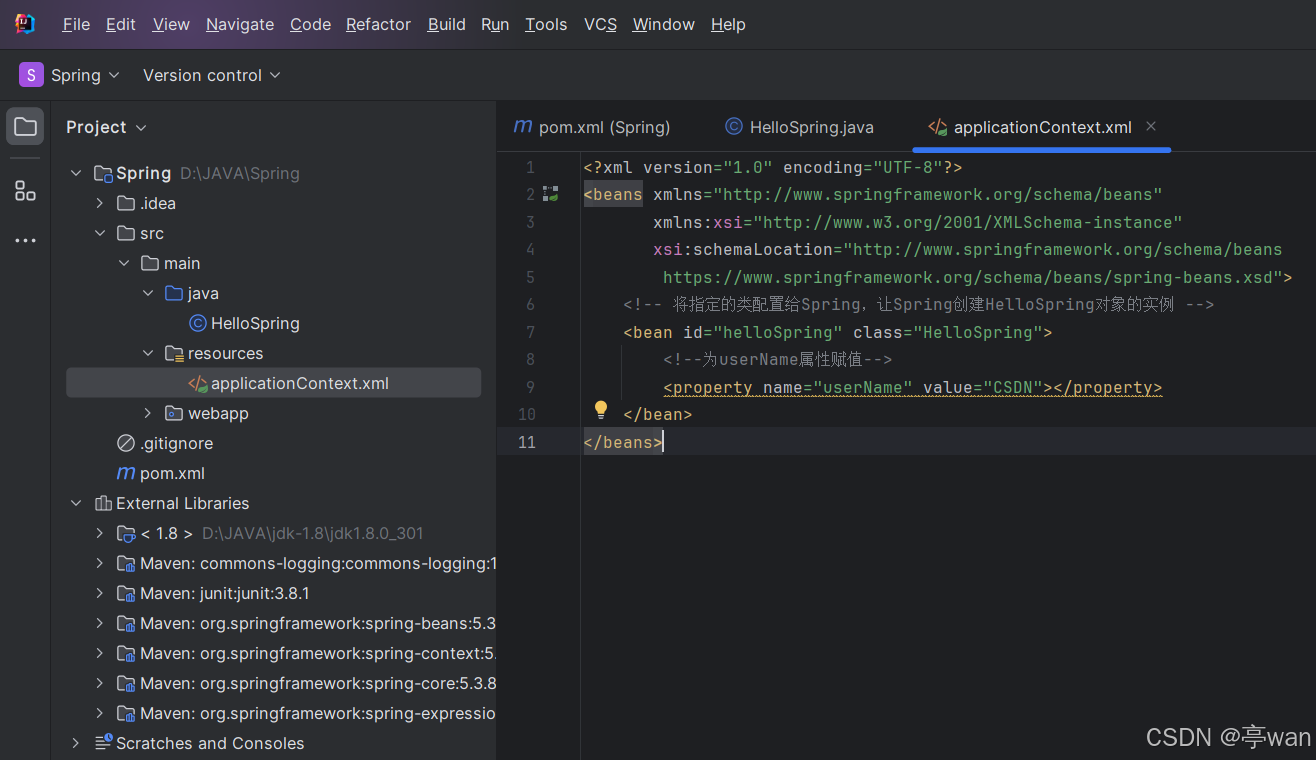
3、创建applicationContext.xml文件作为HelloSpring类的配置文件
代码如下
<?xml version="1.0" encoding="UTF-8"?>
<beans xmlns="http://www.springframework.org/schema/beans"
       xmlns:xsi="http://www.w3.org/2001/XMLSchema-instance"
       xsi:schemaLocation="http://www.springframework.org/schema/beans
        https://www.springframework.org/schema/beans/spring-beans.xsd">
    <!-- 将指定的类配置给Spring,让Spring创建HelloSpring对象的实例 -->
    <bean id="helloSpring" class="HelloSpring">
        <!--为userName属性赋值-->
        <property name="userName" value="CSDN"></property>
    </bean>
</beans>
如图所示
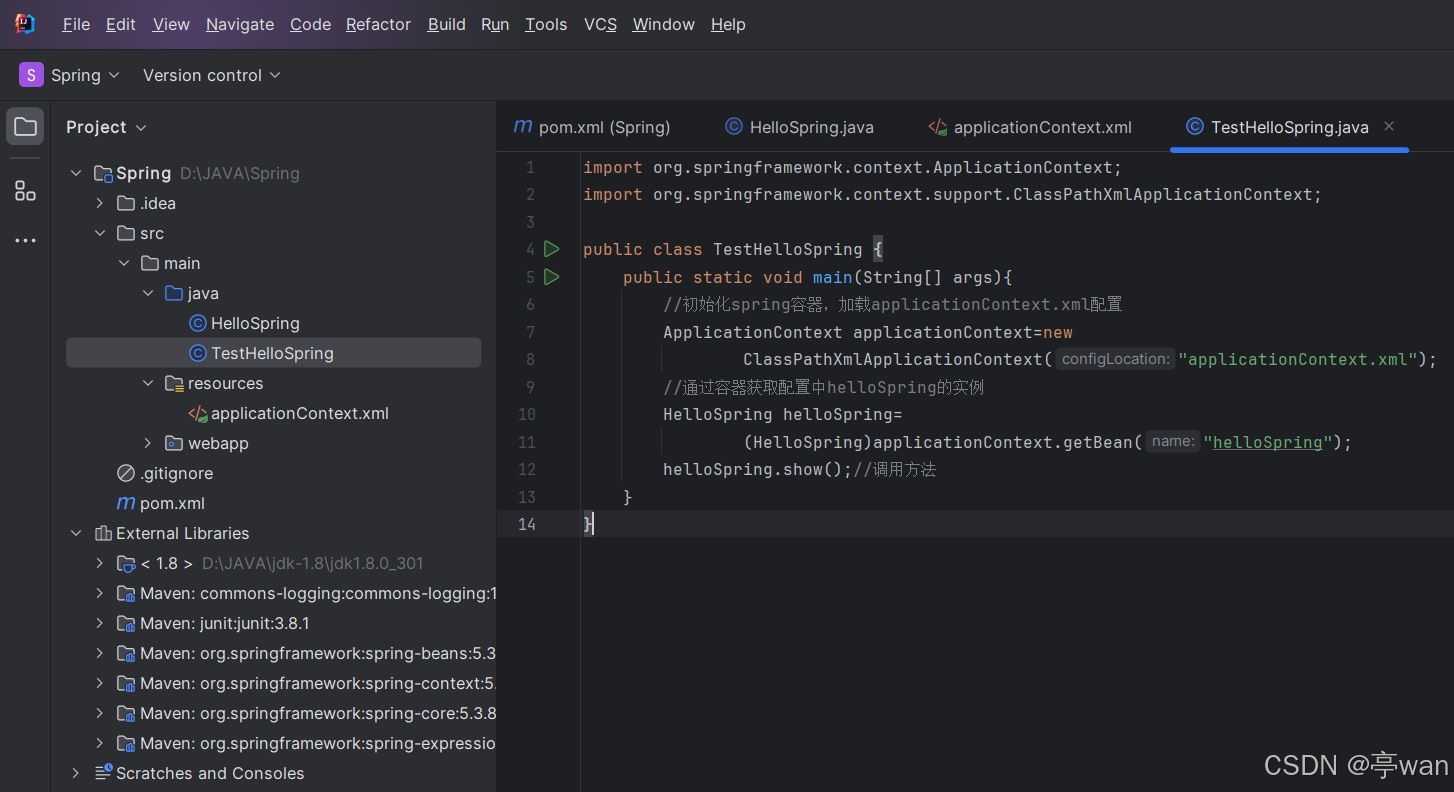
4、创建测试类TestHelloSpring
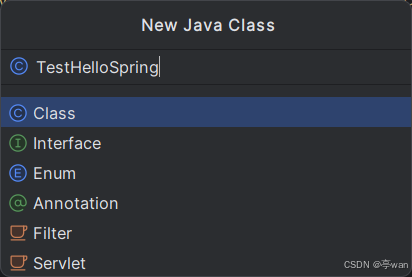
代码如下
import org.springframework.context.ApplicationContext;
import org.springframework.context.support.ClassPathXmlApplicationContext;
public class TestHelloSpring {
public static void main(String[] args){
//初始化spring容器,加载applicationContext.xml配置
ApplicationContext applicationContext=new
ClassPathXmlApplicationContext("applicationContext.xml");
//通过容器获取配置中helloSpring的实例
HelloSpring helloSpring=
(HelloSpring)applicationContext.getBean("helloSpring");
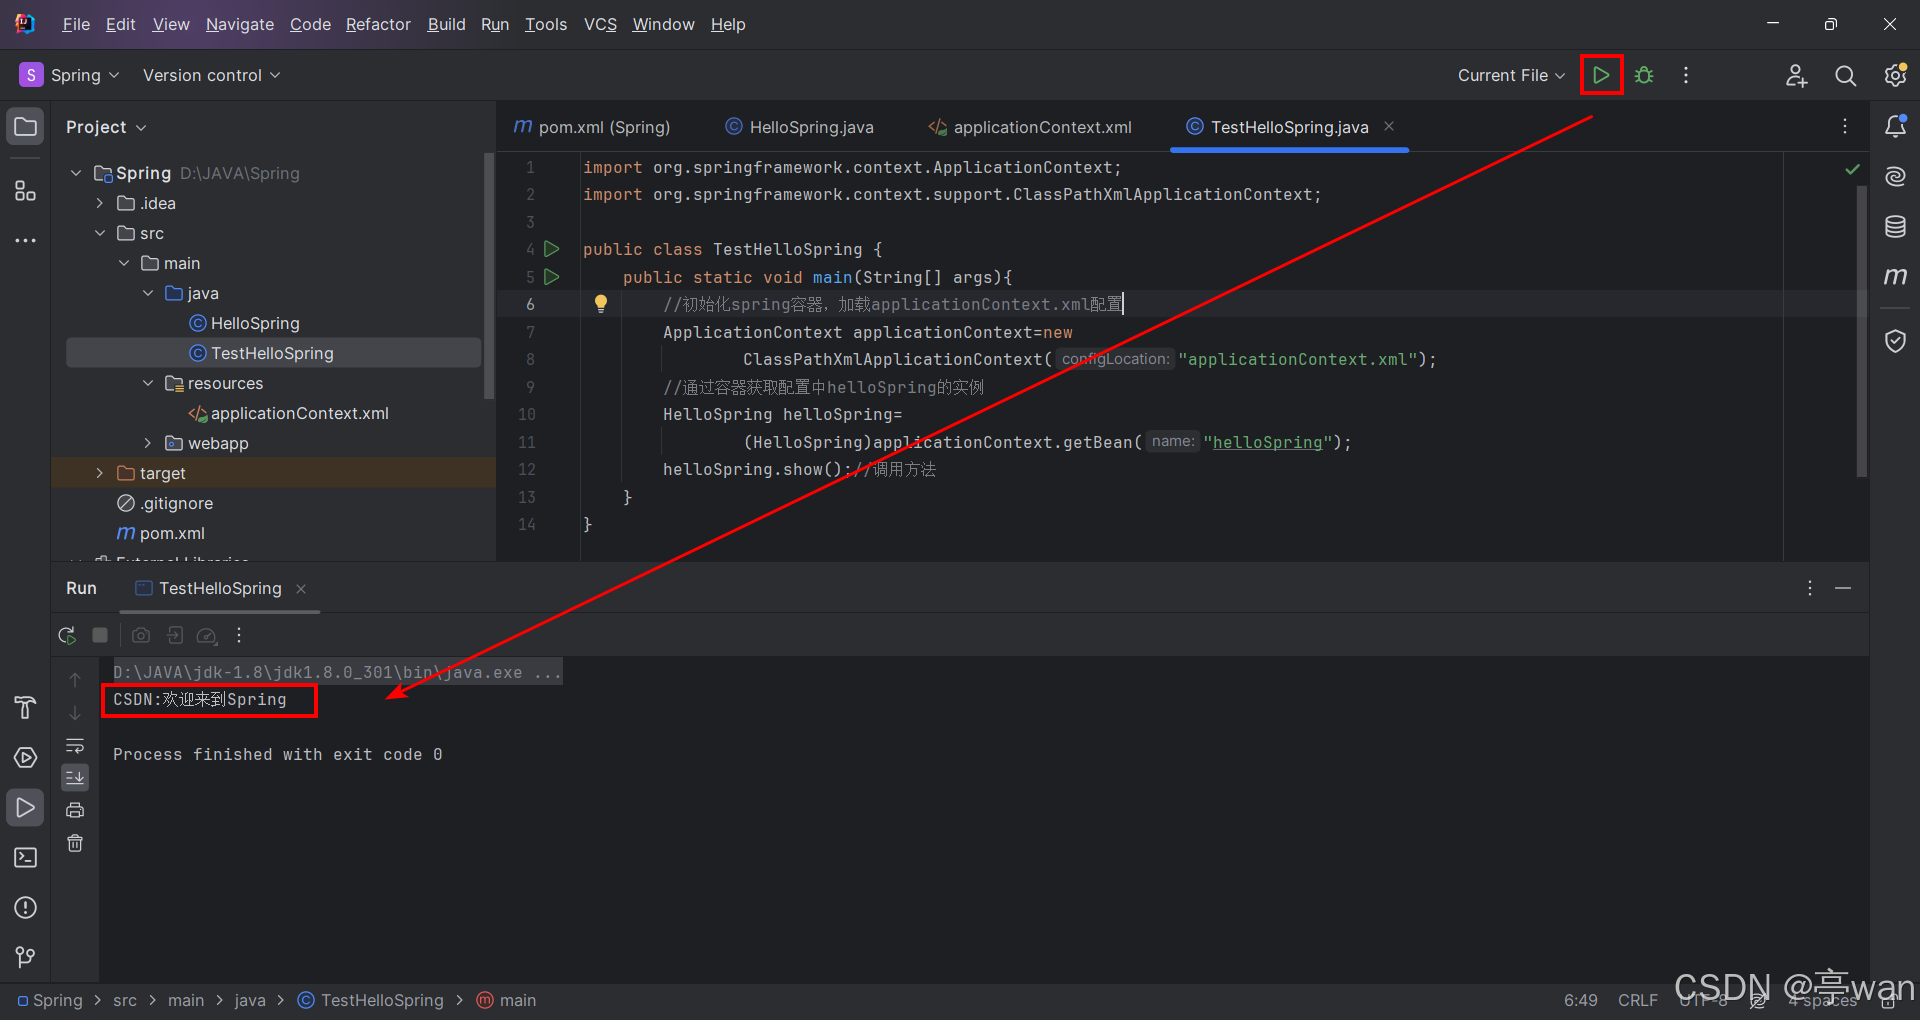
helloSpring.show();//调用方法
}
}如图所示
运行结果如下,恭喜我们的Spring框架装好啦


 被折叠的 条评论
为什么被折叠?
被折叠的 条评论
为什么被折叠?
 到【灌水乐园】发言


