


基于 @ohmos/calendar 实现打卡页面
1.先使用该命令获取@ohmos/calendar
ohpm install @ohmos/calendar
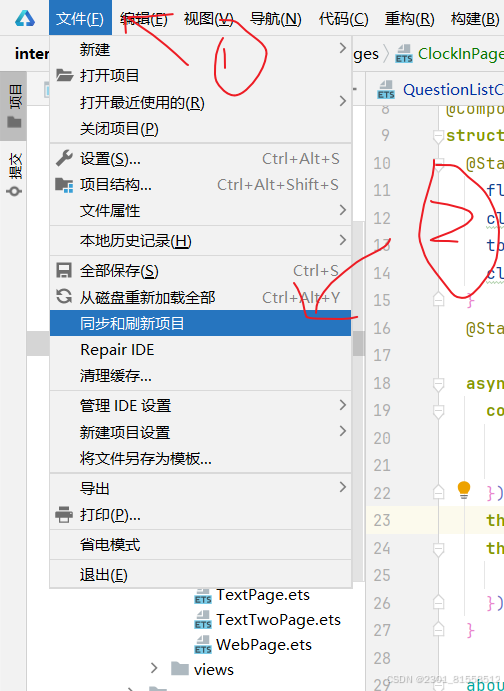
2.在左上角文件里面找到同步与刷新项目,点击同步与刷新项目
3. 实现日历功能
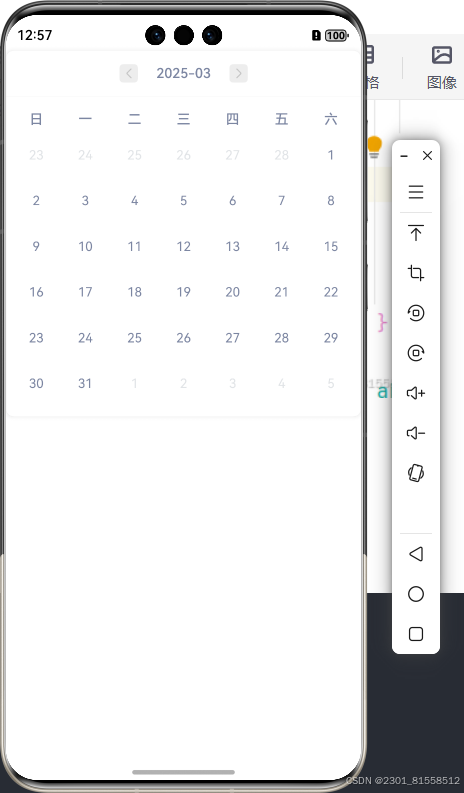
示例代码如下(HmCalendar是日历API):
import { HmCalendar } from '@ohmos/calendar'

@Entry
@Component
struct Index {
  build() {
    Column(){
      HmCalendar()
        .borderRadius(8)
        .border({ width: 0.5, color: '#ededed' })
        .shadow({ color: '#ededed', radius: 16 })
    }

  }
}
4.实现日历打卡:
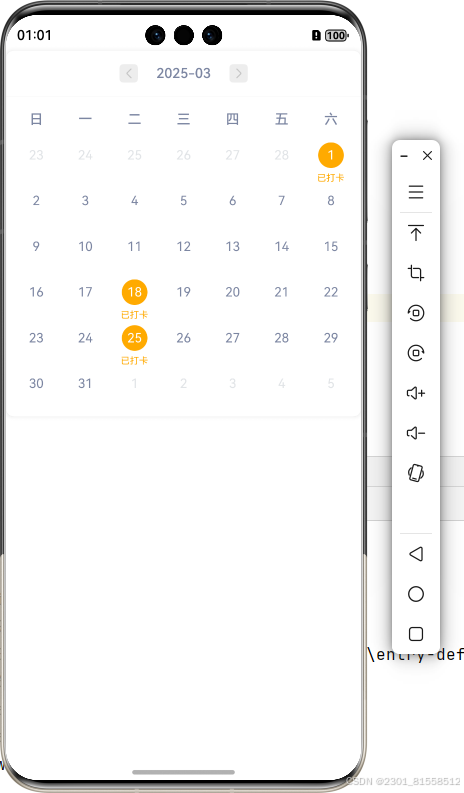
示例代码如下(已经包含详细讲解):
import { HmCalendar } from '@ohmos/calendar'

@Entry
@Component
struct Index {
  build() {
    Column(){
      HmCalendar({
        // 用来写被选择的日期,实现该日期打卡显示
        selectedDays: [
          { date: '2025-03-01' },
          { date: '2025-03-18' },
          { date: '2025-03-25' },
        ]
      })
        .borderRadius(8)
        .border({ width: 0.5, color: '#ededed' })
        .shadow({ color: '#ededed', radius: 16 })
    }

  }
}
注意date里面的字符串格式 ‘YYYY - MM - DD’
5.扩展
单周日历:
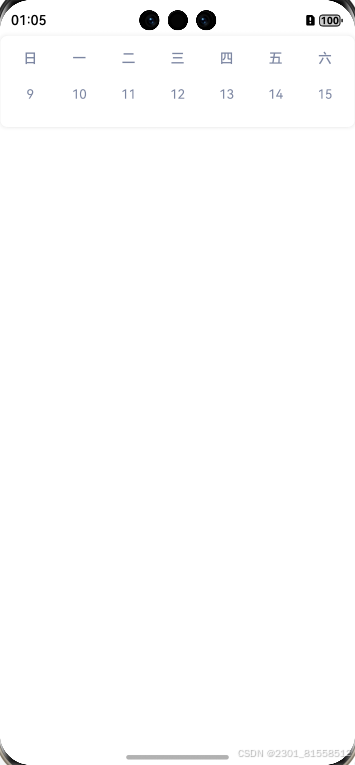
示例代码(已经包含详细讲解):
import { HmCalendar,HmCalendarType } from '@ohmos/calendar'

@Entry
@Component
struct Index {
  build() {
    Column(){
      HmCalendar({
        // 用来写被选择的日期,实现该日期打卡显示
        selectedDays: [
          { date: '2025-03-01' },
          { date: '2025-03-18' },
          { date: '2025-03-25' },
        ],
        // 选择日历的样式-单周日历
        type:HmCalendarType.WEEK
      })
        .borderRadius(8)
        .border({ width: 0.5, color: '#ededed' })
        .shadow({ color: '#ededed', radius: 16 })
    }

  }
}
迷你日历:
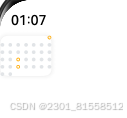
示例代码(已经包含详细讲解):
import { HmCalendar,HmCalendarType } from '@ohmos/calendar'

@Entry
@Component
struct Index {
  build() {
    Column(){
      HmCalendar({
        // 用来写被选择的日期,实现该日期打卡显示
        selectedDays: [
          { date: '2025-03-01' },
          { date: '2025-03-18' },
          { date: '2025-03-25' },
        ],
        // 选择日历的样式-迷你日历
        type:HmCalendarType.MONTH_DOT
      })
        .borderRadius(8)
        .border({ width: 0.5, color: '#ededed' })
        .shadow({ color: '#ededed', radius: 16 })
    }

  }
}
适用HarmonyOS NEXT / API12或以上版本


 2359
2359

 被折叠的 条评论
为什么被折叠?
被折叠的 条评论
为什么被折叠?
 到【灌水乐园】发言


