


当我们在用RadioButton作为底部导航栏时,会遇到从阿里矢量库下载的icon过大,而导致图片直接把内容挤没的情况,但是我们会发现RadioButton这个控件不能调节图片这种情况
这个时候有两种解决方法:
第一种解决方法就是直接通过调整图片资源的大小来实现,提供不同分辨率的图片资源版本,但是如果我们仅仅是打算做个demo,还要去别的软件进行一下图片资源大小的调整,很头大呢.....

这种情况我会使用第二种解决方法:我们一般习惯把图片放入drawable中然后使用@drawable/xx的方式调用我们的图片资源,然后发现这个图片好大,但是使用RadioButton不能更改图片大小啊!!! 这里我们可以看到右上角的图片分辨率是200*200
android:drawableTop="@drawable/xxx"这里直接使用以上代码不做处理的话一个底部导航栏啥也没有了.....其实我们可以把图片资源粘贴到mipmap文件下然后使用
android:drawableTop="@mipmap/xxx"以上代码,这样使用你的icon,效果很明显图片变小了很多,这是为什么呢?
 这是因为在 Android 中,
mipmap文件夹主要用于存放应用图标等资源系统会自动根据设备密度选择合适的资源版本,但是即使是这样的情况图片还是大啊怎么办?这时候,我们就需要通过设置CompoundDrawables来对RadioButton中的图片进行调整了,也就是通过java代码来调整下面上代码
<RelativeLayout xmlns:android="http://schemas.android.com/apk/res/android"
    xmlns:app="http://schemas.android.com/apk/res-auto"
    xmlns:tools="http://schemas.android.com/tools"
    android:layout_width="match_parent"
    android:layout_height="match_parent"
    tools:context=".ActivityBase">

    <RelativeLayout
        android:id="@+id/ly_top_bar"
        android:layout_width="match_parent"
        android:layout_height="48dp"
        android:background="@drawable/bg">

        <TextView
            android:id="@+id/txt_topbar"
            android:layout_width="match_parent"
            android:layout_height="match_parent"
            android:layout_centerInParent="true"
            android:gravity="center"
            android:text="信息"
            android:textColor="@color/black"
            android:textSize="18sp" />


        <View
            android:layout_width="match_parent"
            android:layout_height="2px"
            android:layout_alignParentBottom="true"
            android:background="@color/white" />

    </RelativeLayout>


    <RadioGroup
        android:id="@+id/rg_tab_bar"
        android:layout_width="match_parent"
        android:layout_height="56dp"
        android:layout_alignParentBottom="true"
        android:background="#FBFAFA"
        android:orientation="horizontal">

        <RadioButton
            android:id="@+id/rd_oprate"
            android:layout_width="wrap_content"
            android:layout_height="match_parent"
            android:layout_weight="1"
            android:button="@null"
            android:gravity="center"
            android:checked="true"
            android:drawableTop="@mipmap/operate"
            android:text="控制"
            android:textColor="@drawable/select_color"
            android:textSize="16sp"/>

        <RadioButton
            android:id="@+id/rd_message"
            android:button="@null"
            android:drawableTop="@mipmap/message"
            android:layout_width="wrap_content"
            android:layout_height="match_parent"
            android:layout_weight="1"
            android:textSize="16sp"
            android:gravity="center"
            android:textColor="@drawable/select_color"
            android:text="信息" />

        <RadioButton
            android:id="@+id/rd_social"
            android:button="@null"
            android:drawableTop="@mipmap/social"
            android:layout_width="wrap_content"
            android:layout_height="match_parent"
            android:layout_weight="1"
            android:gravity="center"
            android:textSize="16sp"
            android:textColor="@drawable/select_color"
            android:text="社区" />

        <RadioButton
            android:id="@+id/rd_setting"
            android:button="@null"
            android:drawableTop="@mipmap/setting"
            android:layout_width="wrap_content"
            android:layout_height="match_parent"
            android:layout_weight="1"
            android:gravity="center"
            android:textSize="16sp"
            android:textColor="@drawable/select_color"
            android:text="设置" />


    </RadioGroup>

    <View
        android:id="@+id/div_tab_bar"
        android:layout_width="match_parent"
        android:layout_height="2px"
        android:layout_above="@id/rg_tab_bar"
        android:background="@color/white" />


    <androidx.viewpager2.widget.ViewPager2
        android:id="@+id/ViewPager2"
        android:layout_width="match_parent"
        android:layout_height="match_parent"
        android:layout_above="@id/div_tab_bar"
        android:layout_below="@id/ly_top_bar">

    </androidx.viewpager2.widget.ViewPager2>

</RelativeLayout>
import androidx.appcompat.app.AppCompatActivity;
import android.graphics.drawable.Drawable;
import android.os.Bundle;
import android.widget.RadioButton;
import android.widget.RadioGroup;

public class ActivityBase extends AppCompatActivity implements RadioGroup.OnCheckedChangeListener {
    RadioButton rd_oprate, rd_message, rd_social, rd_setting;
    RadioGroup rg_tab_bar;
    @Override
    protected void onCreate(Bundle savedInstanceState) {
        super.onCreate(savedInstanceState);
        setContentView(R.layout.activity_base);
        initView();

    }

    private void initView() {

        rd_oprate = findViewById(R.id.rd_oprate);
        Drawable drawable = getResources().getDrawable(R.mipmap.operate);
        drawable.setBounds(0, 0, 90, 90);
        rd_oprate.setCompoundDrawables(null, drawable, null, null);

        rd_message = findViewById(R.id.rd_message);
        Drawable drawable1 = getResources().getDrawable(R.mipmap.message);
        drawable1.setBounds(0, 0, 90, 90);
        rd_message.setCompoundDrawables(null, drawable1, null, null);

        rd_social = findViewById(R.id.rd_social);
        Drawable drawable2 = getResources().getDrawable(R.mipmap.social);
        drawable2.setBounds(0, 0, 90, 90);
        rd_social.setCompoundDrawables(null, drawable2, null, null);

        rd_setting = findViewById(R.id.rd_setting);
        Drawable drawable3 = getResources().getDrawable(R.mipmap.setting);
        drawable3.setBounds(0, 0, 90, 90);
        rd_setting.setCompoundDrawables(null, drawable3, null, null);
    }


}
这样子就可以了
        rd_setting = findViewById(R.id.rd_setting);
        Drawable drawable3 = getResources().getDrawable(R.mipmap.setting);
        drawable3.setBounds(0, 0, 90, 90);
        rd_setting.setCompoundDrawables(null, drawable3, null, null);
我们来讲一下每行代码是干吗的:
第一行代码都懂是干嘛的我就不说了.
2. Drawable drawable3 = getResources().getDrawable(R.mipmap.setting);
这一行代码首先通过调用 `getResources()` 方法获取当前活动的上下文的资源对象,然后调用 `getDrawable()` 方法从资源中获取一个 `Drawable` 对象。`R.mipmap.setting` 是一个图片资源的 ID,它指向了一个图片资源。`getDrawable()` 方法用于从资源中获取 `Drawable` 对象。
3. drawable3.setBounds(0, 0, 90, 90);
具体来说,这里的参数 (0, 0, 90, 90) 将 Drawable 对象的边界设置为一个矩形区域,其左上角的坐标为 (0, 0),右下角的坐标为 (90, 90)。这意味着 Drawable 对象的宽度为 90 个单位,高度也为 90 个单位。
设置 Drawable 对象的边界可以影响它在绘制时的大小和位置。在这里,通过设置边界为 (0, 0, 90, 90),即指定了 Drawable 在绘制时的大小为 90x90 像素的矩形区域。这样就控制了 RadioButton 中图标的大小和位置。
4. rd_setting.setCompoundDrawables(null, drawable3, null, null);
setCompoundDrawables() 方法用于设置 RadioButton 的上、下、左、右四个方向的图标,其参数依次表示左、上、右、下四个方向的图标。在这里,我们将 drawable3 设置为 RadioButton 的上方图标,其他三个方向的图标都设置为 null,表示不在这些方向上显示图标。
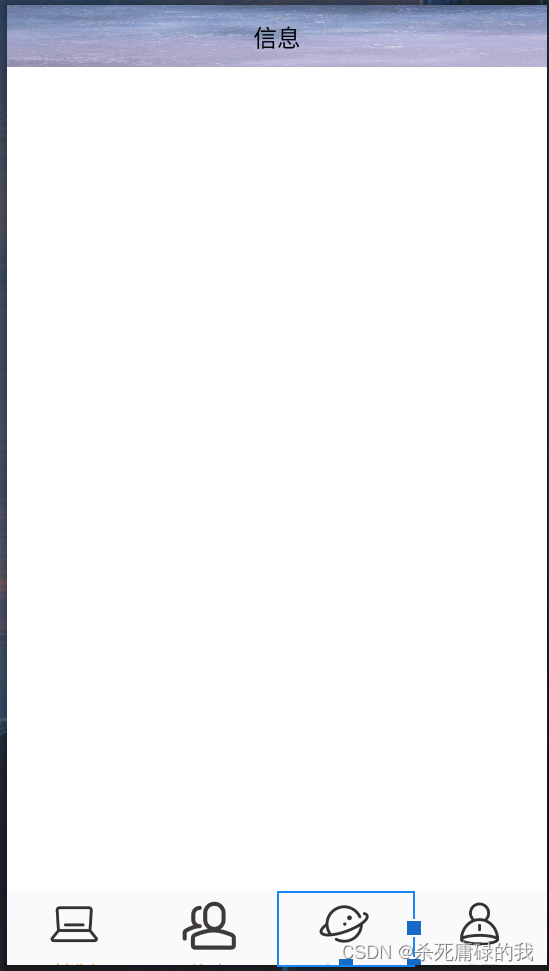
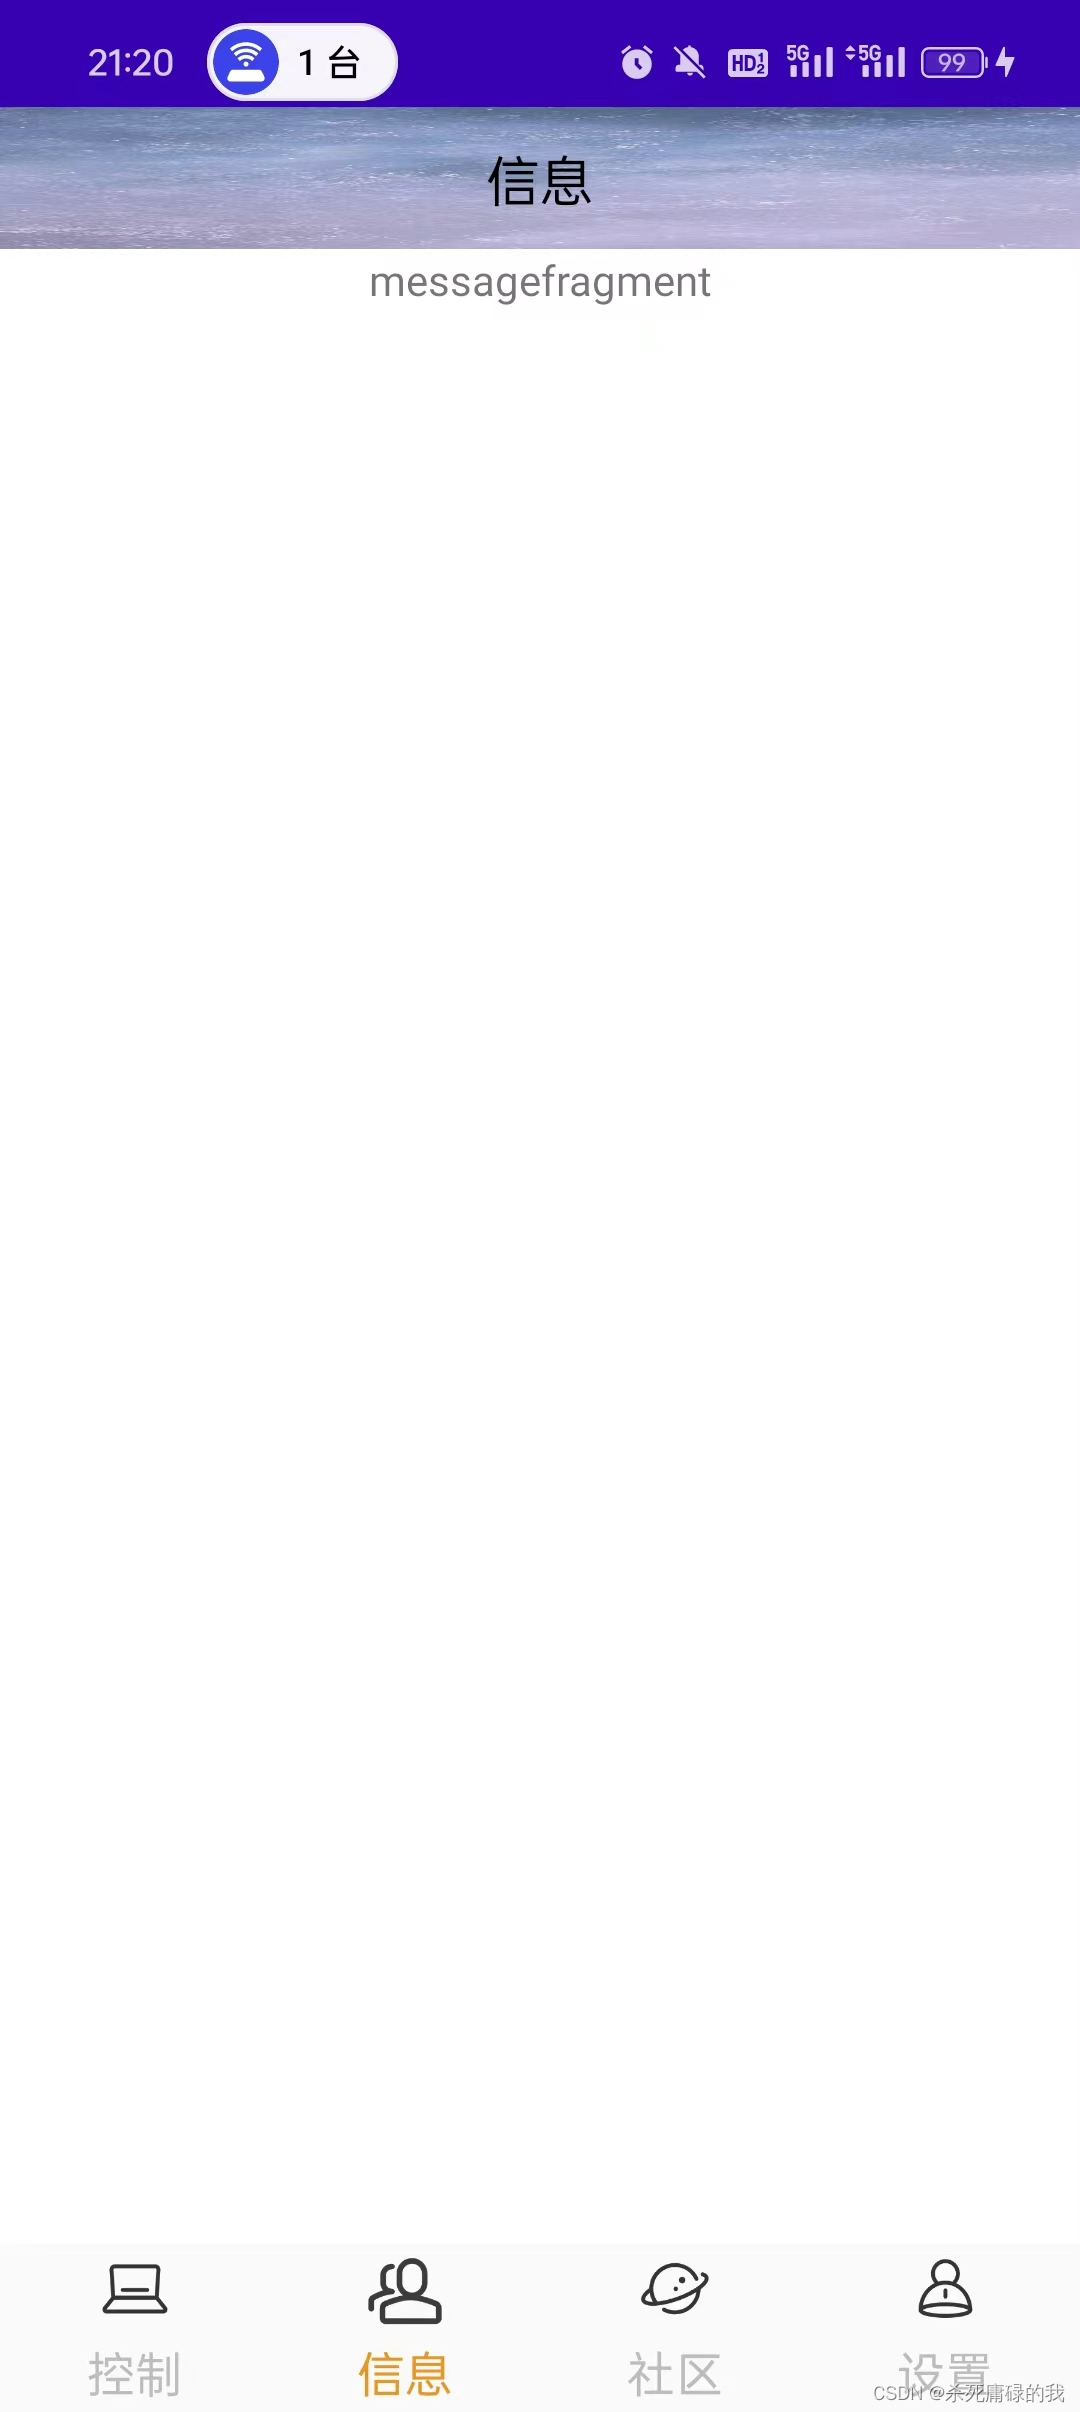 虚拟机和实机运行后的效果就会变成这样了.是不是很简单呢!


 621
621


 被折叠的 条评论
为什么被折叠?
被折叠的 条评论
为什么被折叠?
 到【灌水乐园】发言


