


前言
本文整理归纳以往的工作中用到的东西,现汇总成基础测试框架提供分享。
框架采用python3 + selenium3 + PO + yaml + ddt + unittest等技术编写成基础测试框架,能适应日常测试工作需要。
1、使用Page Object模式将页面定位和业务操作分开,分离测试对象(元素对象)和测试脚本(用例脚本),一个页面建一个对象类,提高用例的可维护性;
2、使用yaml管理页面控件元素数据和测试用例数据。例如元素ID等发生变化时,不需要去修改测试代码,只需要在对应的页面元素yaml文件中修改即可;
3、分模块管理,互不影响,随时组装,即拿即用。
1、测试框架分层设计

- 把常见的操作和查找封装成基础类,不管是什么产品,可直接拿来复用
- 业务层主要是封装对象页面类,一个页面建一个类,业务层页面继承基础层
- 用例层针对产品页面功能进行构造摸拟执行测试
- 框架层提供基础组件,支撑整个流程执行及功能扩展,给用例层提供各页面的元素数据、用例测试数据,测试报告输出等
2、测试框架目录结构

如下思维导图目录结构介绍:


3、编写用例方法
-
testinfo: -
2 - id: test_login001 -
3 title: 登录测试 -
4 info: 打开抽屉首页 -
5 testcase: -
6 - element_info: login-link-a -
7 find_type: ID -
8 operate_type: click -
9 info: 打开登录对话框 -
10 - element_info: mobile -
11 find_type: ID -
12 operate_type: send_keys -
13 info: 输入手机号 -
14 - element_info: mbpwd -
15 find_type: ID -
16 operate_type: send_keys -
17 info: 输入密码 -
18 - element_info: //input[@class='keeplogin'] -
19 find_type: XPATH -
20 operate_type: click -
21 info: 单击取消自动登录单选框 -
22 - element_info: //span[text()='登录'] -
23 find_type: XPATH -
24 operate_type: click -
25 info: 单击登录按钮 -
26 - element_info: userProNick -
27 find_type: ID -
28 operate_type: perform -
29 info: 鼠标悬停账户菜单 -
30 - element_info: //a[@class='logout'] -
31 find_type: XPATH -
32 operate_type: click -
33 info: 选择退出 -
34 check: -
35 - element_info: //div[@class='box-mobilelogin']/div[1]/span -
36 find_type: XPATH -
37 info: 检查输入手机号或密码,登录异常提示 -
38 - element_info: userProNick -
39 find_type: ID -
40 info: 成功登录 -
41 - element_info: reg-link-a -
42 find_type: ID -
43 info: 检查退出登录是否成功
例如,我们要新增登录功能测试用例:
首先,只需在testyaml目录下新增一个页面对象yaml文件,参考login.yaml格式编写即可。这些文件是提供给封装页面对象类调用并执行定位识别操作。
-
1 - -
2 id: test_login001.1 -
3 detail : 手机号和密码为空登录 -
4 screenshot : phone_pawd_empty -
5 data: -
6 phone: "" -
7 password: "" -
8 check : -
9 - 手机号不能为空 -
10 - -
11 id: test_login001.2 -
12 detail : 手机号为空登录 -
13 screenshot : phone_empty -
14 data : -
15 phone: "" -
16 password : aa -
17 check : -
18 - 手机号不能为空 -
19 - -
20 id: test_login001.3 -
21 detail : 密码为空登录 -
22 screenshot : pawd_empty -
23 data : -
24 phone : 13511112222 -
25 password: "" -
26 check : -
27 - 密码不能为空 -
28 - -
29 id: test_login001.4 -
30 detail : 非法手机号登录 -
31 screenshot : phone_error -
32 data : -
33 phone : abc -
34 password: aa -
35 check : -
36 - 手机号格式不对 -
37 - -
38 id: test_login001.5 -
39 detail : 手机号或密码不匹配 -
40 screenshot : pawd_error -
41 data : -
42 phone : 13511112222 -
43 password: aa -
44 check : -
45 - 账号密码错误 -
46 - -
47 id: test_login001.6 -
48 detail : 手机号和密码正确 -
49 screenshot : phone_pawd_success -
50 data : -
51 phone : 13865439800 -
52 password: ******** -
53 check : -
54 - yingoja -
55 -
56 login_data.yaml
其次,在testdata目录下新增一个login_data.yaml文件提供给登录接口传参的测试数据,编写格式参考login_data.yaml文件。
-
1 #!/usr/bin/env python -
2 # _*_ coding:utf-8 _*_ -
3 __author__ = 'YinJia' -
4 -
5 import os,sys -
6 sys.path.append(os.path.dirname(os.path.dirname(os.path.dirname(__file__)))) -
7 from config import setting -
8 from selenium.webdriver.support.select import Select -
9 from selenium.webdriver.common.action_chains import ActionChains -
10 from selenium.webdriver.common.by import By -
11 from public.page_obj.base import Page -
12 from time import sleep -
13 from public.models.GetYaml import getyaml -
14 -
15 testData = getyaml(setting.TEST_Element_YAML + '/' + 'login.yaml') -
16 -
17 class login(Page): -
18 """ -
19 用户登录页面 -
20 """ -
21 url = '/' -
22 dig_login_button_loc = (By.ID, testData.get_elementinfo(0)) -
23 def dig_login(self): -
24 """ -
25 首页登录 -
26 :return: -
27 """ -
28 self.find_element(*self.dig_login_button_loc).click() -
29 sleep(1) -
30 -
31 # 定位器,通过元素属性定位元素对象 -
32 # 手机号输入框 -
33 login_phone_loc = (By.ID,testData.get_elementinfo(1)) -
34 # 密码输入框 -
35 login_password_loc = (By.ID,testData.get_elementinfo(2)) -
36 # 取消自动登录 -
37 keeplogin_button_loc = (By.XPATH,testData.get_elementinfo(3)) -
38 # 单击登录 -
39 login_user_loc = (By.XPATH,testData.get_elementinfo(4)) -
40 # 退出登录 -
41 login_exit_loc = (By.ID, testData.get_elementinfo(5)) -
42 # 选择退出 -
43 login_exit_button_loc = (By.XPATH,testData.get_elementinfo(6)) -
44 -
45 def login_phone(self,phone): -
46 """ -
47 登录手机号 -
48 :param username: -
49 :return: -
50 """ -
51 self.find_element(*self.login_phone_loc).send_keys(phone) -
52 -
53 def login_password(self,password): -
54 """ -
55 登录密码 -
56 :param password: -
57 :return: -
58 """ -
59 self.find_element(*self.login_password_loc).send_keys(password) -
60 -
61 def keeplogin(self): -
62 """ -
63 取消单选自动登录 -
64 :return: -
65 """ -
66 self.find_element(*self.keeplogin_button_loc).click() -
67 -
68 def login_button(self): -
69 """ -
70 登录按钮 -
71 :return: -
72 """ -
73 self.find_element(*self.login_user_loc).click() -
74 -
75 def login_exit(self): -
76 """ -
77 退出系统 -
78 :return: -
79 """ -
80 above = self.find_element(*self.login_exit_loc) -
81 ActionChains(self.driver).move_to_element(above).perform() -
82 sleep(2) -
83 self.find_element(*self.login_exit_button_loc).click() -
84 -
85 def user_login(self,phone,password): -
86 """ -
87 登录入口 -
88 :param username: 用户名 -
89 :param password: 密码 -
90 :return: -
91 """ -
92 self.open() -
93 self.dig_login() -
94 self.login_phone(phone) -
95 self.login_password(password) -
96 sleep(1) -
97 self.keeplogin() -
98 sleep(1) -
99 self.login_button() -
100 sleep(1) -
101 -
102 phone_pawd_error_hint_loc = (By.XPATH,testData.get_CheckElementinfo(0)) -
103 user_login_success_loc = (By.ID,testData.get_CheckElementinfo(1)) -
104 exit_login_success_loc = (By.ID,testData.get_CheckElementinfo(2)) -
105 -
106 # 手机号或密码错误提示 -
107 def phone_pawd_error_hint(self): -
108 return self.find_element(*self.phone_pawd_error_hint_loc).text -
109 -
110 # 登录成功用户名 -
111 def user_login_success_hint(self): -
112 return self.find_element(*self.user_login_success_loc).text -
113 -
114 # 退出登录 -
115 def exit_login_success_hint(self): -
116 return self.find_element(*self.exit_login_success_loc).text
然后,在page_obj目录下新增一个loginPage.py文件,是用来封装登录页面对象类,执行登录测试流程操作。
-
1 #!/usr/bin/env python -
2 # _*_ coding:utf-8 _*_ -
3 __author__ = 'YinJia' -
4 -
5 -
6 import os,sys -
7 sys.path.append(os.path.dirname(os.path.dirname(__file__))) -
8 import unittest,ddt,yaml -
9 from config import setting -
10 from public.models import myunit,screenshot -
11 from public.page_obj.loginPage import login -
12 from public.models.log import Log -
13 -
14 try: -
15 f =open(setting.TEST_DATA_YAML + '/' + 'login_data.yaml',encoding='utf-8') -
16 testData = yaml.load(f) -
17 except FileNotFoundError as file: -
18 log = Log() -
19 log.error("文件不存在:{0}".format(file)) -
20 -
21 @ddt.ddt -
22 class Demo_UI(myunit.MyTest): -
23 """抽屉新热榜登录测试""" -
24 def user_login_verify(self,phone,password): -
25 """ -
26 用户登录 -
27 :param phone: 手机号 -
28 :param password: 密码 -
29 :return: -
30 """ -
31 login(self.driver).user_login(phone,password) -
32 -
33 def exit_login_check(self): -
34 """ -
35 退出登录 -
36 :return: -
37 """ -
38 login(self.driver).login_exit() -
39 -
40 @ddt.data(*testData) -
41 def test_login(self,datayaml): -
42 """ -
43 登录测试 -
44 :param datayaml: 加载login_data登录测试数据 -
45 :return: -
46 """ -
47 log = Log() -
48 log.info("当前执行测试用例ID-> {0} ; 测试点-> {1}".format(datayaml['id'],datayaml['detail'])) -
49 # 调用登录方法 -
50 self.user_login_verify(datayaml['data']['phone'],datayaml['data']['password']) -
51 po = login(self.driver) -
52 if datayaml['screenshot'] == 'phone_pawd_success': -
53 log.info("检查点-> {0}".format(po.user_login_success_hint())) -
54 self.assertEqual(po.user_login_success_hint(), datayaml['check'][0], "成功登录,返回实际结果是->: {0}".format(po.user_login_success_hint())) -
55 log.info("成功登录,返回实际结果是->: {0}".format(po.user_login_success_hint())) -
56 screenshot.insert_img(self.driver, datayaml['screenshot'] + '.jpg') -
57 log.info("-----> 开始执行退出流程操作") -
58 self.exit_login_check() -
59 po_exit = login(self.driver) -
60 log.info("检查点-> 找到{0}元素,表示退出成功!".format(po_exit.exit_login_success_hint())) -
61 self.assertEqual(po_exit.exit_login_success_hint(), '注册',"退出登录,返回实际结果是->: {0}".format(po_exit.exit_login_success_hint())) -
62 log.info("退出登录,返回实际结果是->: {0}".format(po_exit.exit_login_success_hint())) -
63 else: -
64 log.info("检查点-> {0}".format(po.phone_pawd_error_hint())) -
65 self.assertEqual(po.phone_pawd_error_hint(),datayaml['check'][0] , "异常登录,返回实际结果是->: {0}".format(po.phone_pawd_error_hint())) -
66 log.info("异常登录,返回实际结果是->: {0}".format(po.phone_pawd_error_hint())) -
67 screenshot.insert_img(self.driver,datayaml['screenshot'] + '.jpg') -
68 -
69 if __name__=='__main__': -
70 unittest.main()
最后,在testcase目录下创建测试用例文件login_sta.py,采用ddt数据驱动读取yaml测试数据文件
综上所述,编写用例方法只需要按以上四个步骤创建->编写即可。
执行如下主程序,可看输出的实际结果。
-
1 #!/usr/bin/env python -
2 # _*_ coding:utf-8 _*_ -
3 __author__ = 'YinJia' -
4 -
5 import os,sys -
6 sys.path.append(os.path.dirname(__file__)) -
7 from config import setting -
8 import unittest,time -
9 from package.HTMLTestRunner import HTMLTestRunner -
10 from public.models.newReport import new_report -
11 from public.models.sendmail import send_mail -
12 -
13 # 测试报告存放文件夹,如不存在,则自动创建一个report目录 -
14 if not os.path.exists(setting.TEST_REPORT):os.makedirs(setting.TEST_REPORT + '/' + "screenshot") -
15 -
16 def add_case(test_path=setting.TEST_DIR): -
17 """加载所有的测试用例""" -
18 discover = unittest.defaultTestLoader.discover(test_path, pattern='*_sta.py') -
19 return discover -
20 -
21 def run_case(all_case,result_path=setting.TEST_REPORT): -
22 """执行所有的测试用例""" -
23 now = time.strftime("%Y-%m-%d %H_%M_%S") -
24 filename = result_path + '/' + now + 'result.html' -
25 fp = open(filename,'wb') -
26 runner = HTMLTestRunner(stream=fp,title='抽屉新热榜UI自动化测试报告', -
27 description='环境:windows 7 浏览器:chrome', -
28 tester='Jason') -
29 runner.run(all_case) -
30 fp.close() -
31 report = new_report(setting.TEST_REPORT) #调用模块生成最新的报告 -
32 send_mail(report) #调用发送邮件模块 -
33 -
34 if __name__ =="__main__": -
35 cases = add_case() -
36 run_case(cases)
4、测试结果展示
- HTML报告日志

- HTML报告点击截图,弹出截图

- 测试报告通过的日志

- 自动截图存放指定的目录

- 邮件测试报告

总结:
感谢每一个认真阅读我文章的人!!!
作为一位过来人也是希望大家少走一些弯路,如果你不想再体验一次学习时找不到资料,没人解答问题,坚持几天便放弃的感受的话,在这里我给大家分享一些自动化测试的学习资源,希望能给你前进的路上带来帮助。
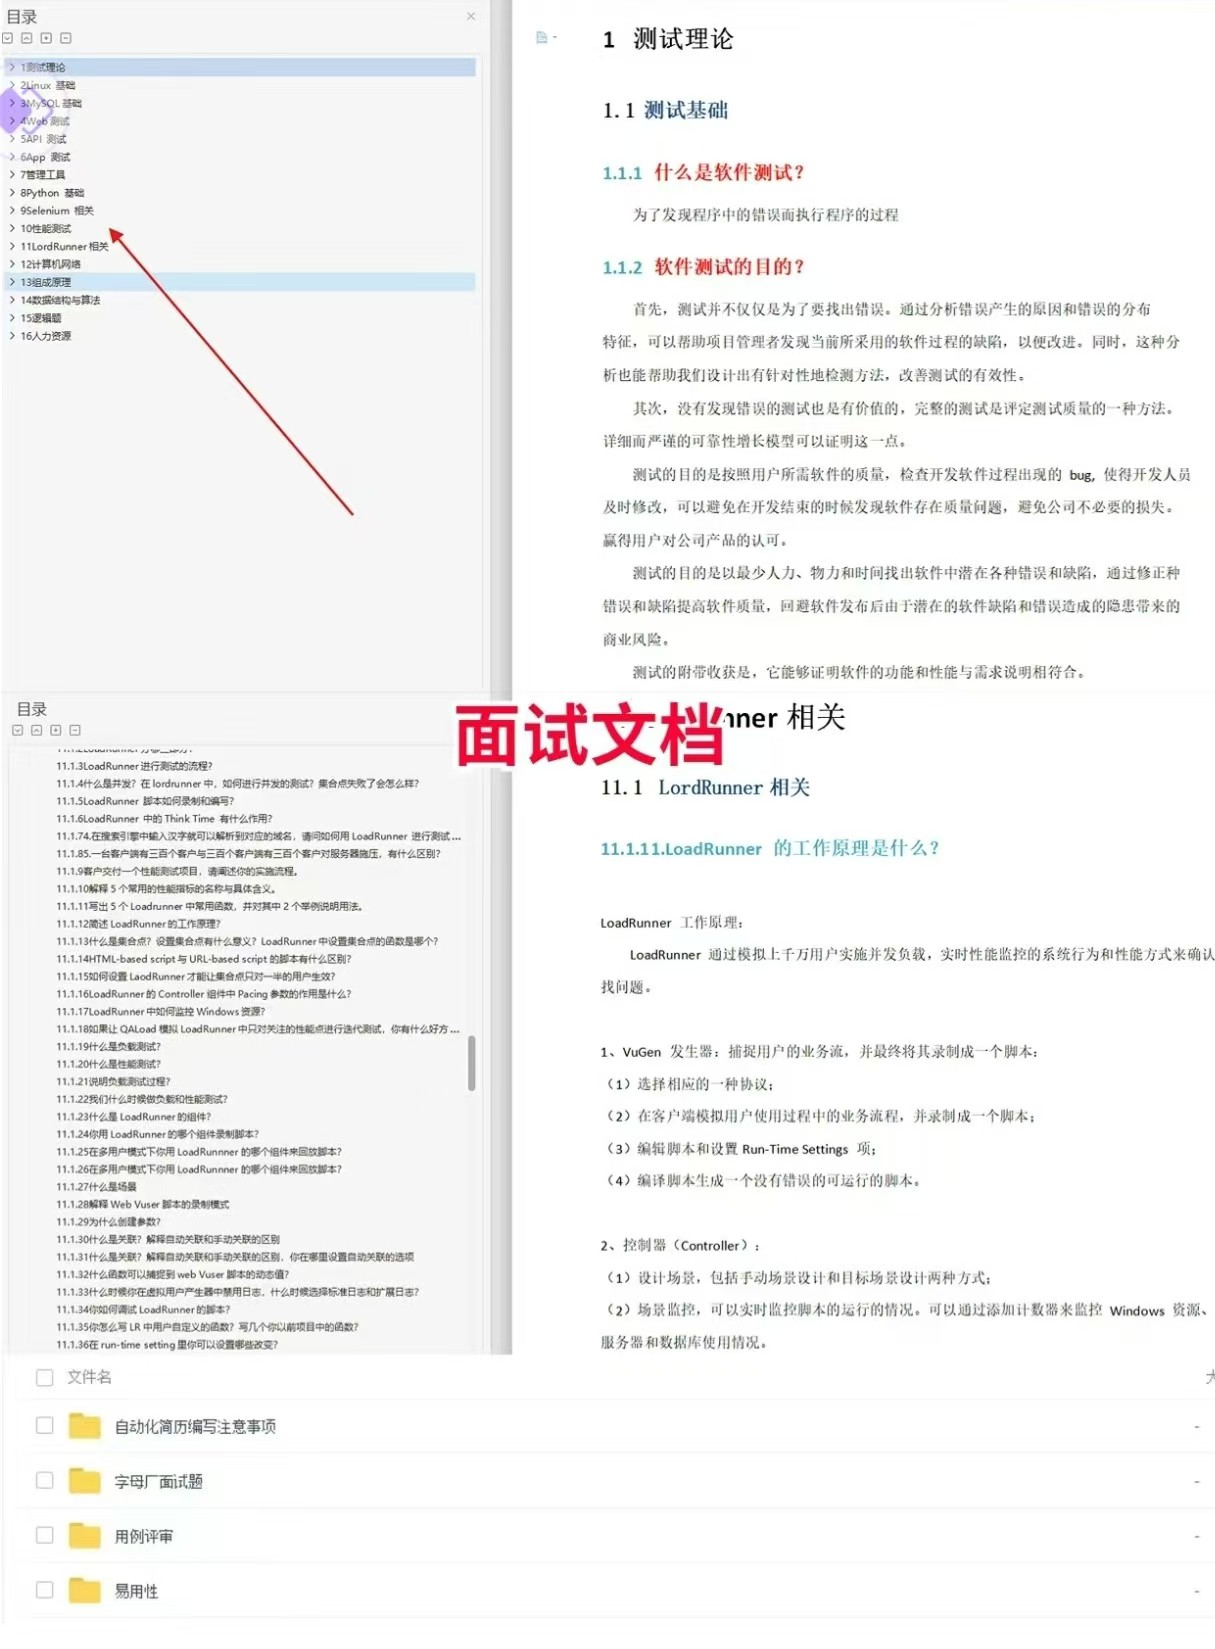
软件测试面试文档
我们学习必然是为了找到高薪的工作,下面这些面试题是来自阿里、腾讯、字节等一线互联网大厂最新的面试资料,并且有字节大佬给出了权威的解答,刷完这一套面试资料相信大家都能找到满意的工作。
视频文档获取方式:
这份文档和视频资料,对于想从事【软件测试】的朋友来说应该是最全面最完整的备战仓库,这个仓库也陪伴我走过了最艰难的路程,希望也能帮助到你!以上均可以分享,点下方小卡片即可自行领取。


 2504
2504

 被折叠的 条评论
为什么被折叠?
被折叠的 条评论
为什么被折叠?
 到【灌水乐园】发言


