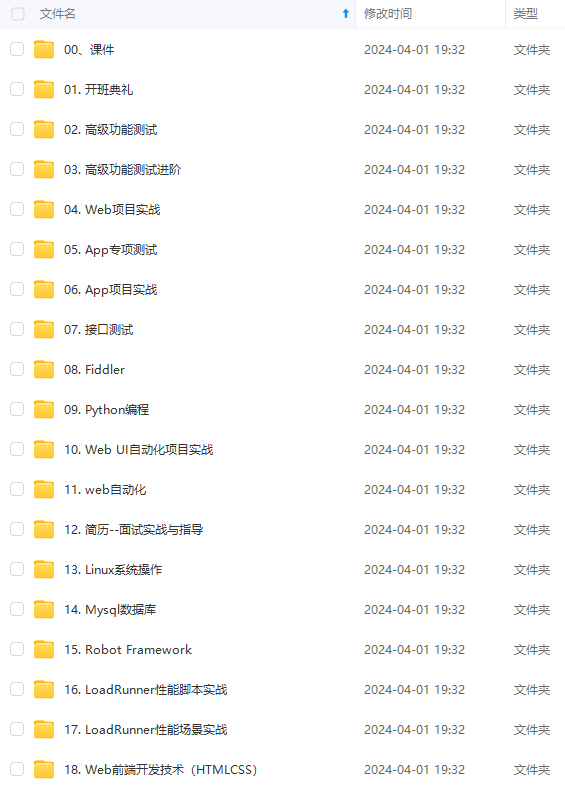
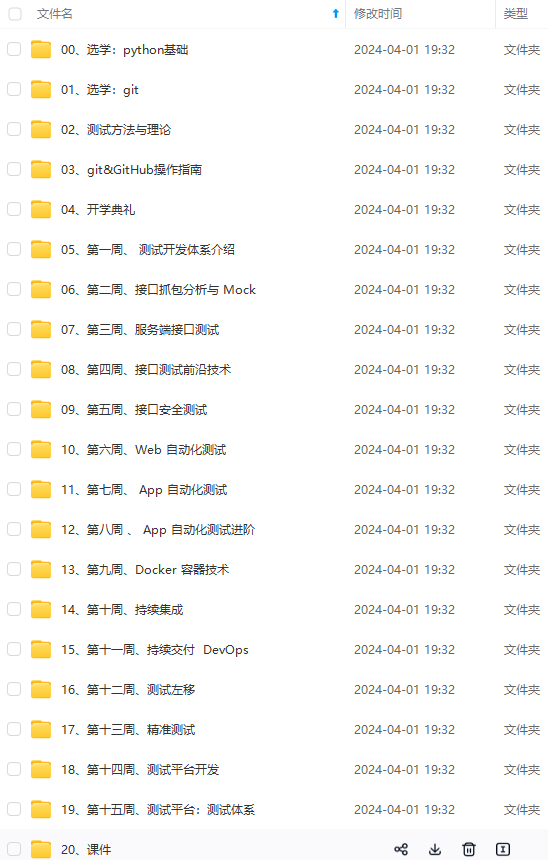
先自我介绍一下,小编浙江大学毕业,去过华为、字节跳动等大厂,目前阿里P7
深知大多数程序员,想要提升技能,往往是自己摸索成长,但自己不成体系的自学效果低效又漫长,而且极易碰到天花板技术停滞不前!
因此收集整理了一份《2024年最新软件测试全套学习资料》,初衷也很简单,就是希望能够帮助到想自学提升又不知道该从何学起的朋友。


既有适合小白学习的零基础资料,也有适合3年以上经验的小伙伴深入学习提升的进阶课程,涵盖了95%以上软件测试知识点,真正体系化!
由于文件比较多,这里只是将部分目录截图出来,全套包含大厂面经、学习笔记、源码讲义、实战项目、大纲路线、讲解视频,并且后续会持续更新
如果你需要这些资料,可以添加V获取:vip1024b (备注软件测试)

正文
return response, prompt
code_explaination, prompt_to_explain_code = explain_code(code)
print(code_explaination)
首先定义了一个gpt35的函数,这个函数的作用如下:
- 使用 text-davinci-002 模型,这是一个通过监督学习微调的生成文本的模型,希望生成目标明确的文本代码解释。
- 对 stop 做了特殊的设置,只要连续两个换行或者类似连续两个换行的情况出现,就中止数据的生成,避免模型一口气连测试代码也生成出来。
然后,通过一组精心设计的提示语,让GPT模型为我们来解释代码。
- 指定使用pytest的测试包。
- 把对应的测试代码提供给GPT模型。
- 让AI回答,要精确描述代码做了什么。
- 最后用 “-First” 开头,引导GPT模型,逐步分行描述要测试的代码。
输出结果:
the function takes an integer value representing days as its sole argument.
- Next, the
divmodfunction is used to calculate the number of years and days, the number of months and days, and the number of weeks and days. - Finally, a string is built up and returned that contains the number of years, months, weeks, and days.
2.3、让AI根据代码解释制定测试计划
def generate_a_test_plan(full_code_explaination, unit_test_package=“pytest”):
prompt_to_explain_a_plan = f"“”
A good unit test suite should aim to:
- Test the function’s behavior for a wide range of possible inputs
- Test edge cases that the author may not have foreseen
- Take advantage of the features of
{unit_test_package}to make the tests easy to write and maintain - Be easy to read and understand, with clean code and descriptive names
- Be deterministic, so that the tests always pass or fail in the same way
{unit_test_package} has many convenient features that make it easy to write and maintain unit tests. We’ll use them to write unit tests for the function above.
For this particular function, we’ll want our unit tests to handle the following diverse scenarios (and under each scenario, we include a few examples as sub-bullets):
-“”"
prompt = full_code_explaination+prompt_to_explain_a_plan
response = gpt35(prompt)
return response, prompt
test_plan, prompt_to_get_test_plan = generate_a_test_plan(prompt_to_explain_code+code_explaination)
print(test_plan)
针对生成的测试计划,对AI制定了几点要求:
- 测试用例要覆盖更广的范围。
- 测试用例的边界要涉及到作者无法想到的场景。
- 充分利用pytest的特性。
- 确保测试用例简洁、易理解。
- 测试用例的结果是确定的,要么成功、要么失败。
输出结果:
Normal inputs:
daysis a positive integerdaysis 0- Edge cases:
daysis a negative integerdaysis a floatdaysis a string- Invalid inputs:
daysisNonedaysis a list
2.4、根据测试计划生成测试代码
def generate_test_cases(function_to_test, unit_test_package=“pytest”):
starter_comment = “Below, each test case is represented by a tuple passed to the @pytest.mark.parametrize decorator”
prompt_to_generate_the_unit_test = f"“”
Before going into the individual tests, let’s first look at the complete suite of unit tests as a cohesive whole. We’ve added helpful comments to explain what each line does.
import {unit_test_package} # used for our unit tests
{function_to_test}
#{starter_comment}“”"
full_unit_test_prompt = prompt_to_explain_code + code_explaination + test_plan + prompt_to_generate_the_unit_test
unit_test_response, prompt_to_generate_the_unit_test = generate_test_cases(code)
print(unit_test_response)
输出结果:
@pytest.mark.parametrize(“days, expected”, [
(1, “1d”), # normal input
(7, “1w”), # normal input
(30, “1m”), # normal input
(365, “1y”), # normal input
(731, “2y”), # normal input
(-1, pytest.raises(ValueError)), # abnormal input
(0, pytest.raises(ValueError)), # abnormal input
(1.5, pytest.raises(TypeError)), # abnormal input
(“1”, pytest.raises(TypeError)), # abnormal input
])
def test_format_time(days, expected):
“”"
Test the format_time() function.
“”"
if isinstance(expected, type):
check that the expected result is a type, i.e. an exception
with pytest.raises(expected):
if so, check that the function raises the expected exception
format_time(days)
else:
otherwise, check that the function returns the expected value
assert format_time(days) == expected
2.5、通过AST库进行语法检查
最后我们最好还是要再检查一下生成的测试代码语法,这个可以通过Python的AST库来完成。检查代码的时候,我们不仅需要生成的测试代码,也需要原来的功能代码,不然无法通过语法检查。
import ast
code_output = prompt_to_generate_the_unit_test[code_start_index:] + unit_test_response
try:
ast.parse(code_output)
except SyntaxError as e:
print(f"Syntax error in generated code: {e}")
print(code_output)
输出结果:
import pytest # used for our unit tests
def format_time(days):
years, days = divmod(days, 365)
months, days = divmod(days, 30)
weeks, days = divmod(days, 7)
time_str = “”
if years > 0:
time_str += str(years) + “y”
if months > 0:
time_str += str(months) + “m”
if weeks > 0:
time_str += str(weeks) + “w”
if days > 0:
time_str += str(days) + “d”
return time_str
#Below, each test case is represented by a tuple passed to the @pytest.mark.parametrize decorator.
#The first element of the tuple is the name of the test case, and the second element is a list of arguments to pass to the function.
#The @pytest.mark.parametrize decorator allows us to write a single test function that can be used to test multiple input values.
@pytest.mark.parametrize(“test_input,expected”, [
(“Valid Inputs”, [
(0, “0d”), # test for 0 days
(1, “1d”), # test for 1 day
(7, “7d”), # test for 7 days
(30, “1m”), # test for 30 days
(365, “1y”), # test for 365 days
(400, “1y35d”), # test for 400 days
(800, “2y160d”), # test for 800 days
(3650, “10y”), # test for 3650 days
(3651, “10y1d”), # test for 3651 days
]),
(“Invalid Inputs”, [
(“string”, None), # test for string input
([], None), # test for list input
((), None), # test for tuple input
({}, None), # test for set input
({1: 1}, None), # test for dictionary input
(1.5, None), # test for float input
(None, None), # test for None input
]),
(“Edge Cases”, [
(10000000000, “274247y5m2w6d”), # test for large positive integer
(1, “1d”), # test for small positive integer
(-10000000000, “-274247y5m2w6d”), # test for large negative integer
(-1, “-1d”) # test for small negative integer
])
])
def test_format_time(test_input, expected):
This test function uses the @pytest.mark.parametrize decorator to loop through each test case.
The test_input parameter contains the name of the test case, and the expected parameter contains a list of arguments to pass to the function.
The test_input parameter is not used in the test, but is included for readability.
for days, expected_result in expected:
For each argument in the expected parameter, we call the format_time() function and compare the result to the expected result.
assert format_time(days) == expected_result
从上面看到有些测试用例跟预期还是有差距的,比如:
@pytest.mark.parametrize(“test_input,expected”, [
(“Valid Inputs”, [
(7, “7d” -> “1w”), # test for 7 days
(30, “1m”), # test for 30 days
(365, “1y”), # test for 365 days
(400, “1y35d” -> “1y1m5d”), # test for 400 days
(800, “2y160d” -> “2y5m1w3d”), # test for 800 days
(3650, “10y”), # test for 3650 days
(3651, “10y1d”), # test for 3651 days
]),
三、用LangChain进一步封装
OpenAI 的大语言模型,只是提供了简简单单的 Completion 和 Embedding 这样两个核心接口,通过合理使用这两个接口,我们完成了各种各样复杂的任务。
- 通过提示语(Prompt)里包含历史的聊天记录,我们能够让 AI 根据上下文正确地回答问题。
- 通过将 Embedding 提前索引好存起来,我们能够让 AI 根据外部知识回答问题。
- 而通过多轮对话,将 AI 返回的答案放在新的问题里,我们能够让 AI 帮我们给自己的代码撰写单元测试。
llama-index 专注于为大语言模型的应用构建索引,虽然 Langchain 也有类似的功能,但这一点并不是 Langchain 的主要卖点。Langchain 的第一个卖点其实就在它的名字里,也就是链式调用。
3.1、通过 Langchain 实现自动化撰写单元测试
上面通过多步提示语自动给代码写单元测试。Langchain可以顺序地通过多个Prompt调用OpenAI的GPT模型,这个能力用来实现自动化测试的功能正好匹配。
from langchain import PromptTemplate, OpenAI, LLMChain
from langchain.chains import SequentialChain
import ast
def write_unit_test(function_to_test, unit_test_package=“pytest”):
解释源代码的步骤
explain_code = “”“”# How to write great unit tests with {unit_test_package}
In this advanced tutorial for experts, we’ll use Python 3.8 and {unit_test_package} to write a suite of unit tests to verify the behavior of the following function.
{function_to_test}
Before writing any unit tests, let’s review what each element of the function is doing exactly and what the author’s intentions may have been.
- First,“”"
explain_code_template = PromptTemplate(
input_variables=[“unit_test_package”, “function_to_test”],
template=explain_code
)
explain_code_llm = OpenAI(model_name=“text-davinci-002”, temperature=0.4, max_tokens=1000,
top_p=1, stop=[“\n\n”, “\n\t\n”, “\n \n”])
explain_code_step = LLMChain(llm=explain_code_llm, prompt=explain_code_template, output_key=“code_explaination”)
创建测试计划示例的步骤
test_plan = “”"
A good unit test suite should aim to:
- Test the function’s behavior for a wide range of possible inputs
- Test edge cases that the author may not have foreseen
- Take advantage of the features of
{unit_test_package}to make the tests easy to write and maintain - Be easy to read and understand, with clean code and descriptive names
- Be deterministic, so that the tests always pass or fail in the same way
{unit_test_package} has many convenient features that make it easy to write and maintain unit tests. We’ll use them to write unit tests for the function above.
For this particular function, we’ll want our unit tests to handle the following diverse scenarios (and under each scenario, we include a few examples as sub-bullets):
-“”"
test_plan_template = PromptTemplate(
input_variables=[“unit_test_package”, “function_to_test”, “code_explaination”],
template=explain_code+“{code_explaination}”+test_plan
)
test_plan_llm = OpenAI(model_name=“text-davinci-002”, temperature=0.4, max_tokens=1000,
top_p=1, stop=[“\n\n”, “\n\t\n”, “\n \n”])
test_plan_step = LLMChain(llm=test_plan_llm, prompt=test_plan_template, output_key=“test_plan”)
撰写测试代码的步骤
starter_comment = “Below, each test case is represented by a tuple passed to the @pytest.mark.parametrize decorator”
prompt_to_generate_the_unit_test = “”"
Before going into the individual tests, let’s first look at the complete suite of unit tests as a cohesive whole. We’ve added helpful comments to explain what each line does.
import {unit_test_package} # used for our unit tests
{function_to_test}
#{starter_comment}“”"
unit_test_template = PromptTemplate(
input_variables=[“unit_test_package”, “function_to_test”, “code_explaination”, “test_plan”, “starter_comment”],
template=explain_code+“{code_explaination}”+test_plan+“{test_plan}”+prompt_to_generate_the_unit_test
)
unit_test_step = LLMChain(llm=unit_test_llm, prompt=unit_test_template, output_key=“unit_test”)
sequential_chain = SequentialChain(chains=[explain_code_step, test_plan_step, unit_test_step],
input_variables=[“unit_test_package”, “function_to_test”, “starter_comment”],
verbose=True)
answer = sequential_chain.run(unit_test_package=unit_test_package, function_to_test=function_to_test,
starter_comment=starter_comment)
return f"“”#{starter_comment}“”"+answer
code = “”"
def format_time(days):
years, days = divmod(days, 365)
months, days = divmod(days, 30)
weeks, days = divmod(days, 7)
time_str = “”
if years > 0:
time_str += str(years) + “y”
网上学习资料一大堆,但如果学到的知识不成体系,遇到问题时只是浅尝辄止,不再深入研究,那么很难做到真正的技术提升。
需要这份系统化的资料的朋友,可以添加V获取:vip1024b (备注软件测试)

一个人可以走的很快,但一群人才能走的更远!不论你是正从事IT行业的老鸟或是对IT行业感兴趣的新人,都欢迎加入我们的的圈子(技术交流、学习资源、职场吐槽、大厂内推、面试辅导),让我们一起学习成长!
)
months, days = divmod(days, 30)
weeks, days = divmod(days, 7)
time_str = “”
if years > 0:
time_str += str(years) + “y”
网上学习资料一大堆,但如果学到的知识不成体系,遇到问题时只是浅尝辄止,不再深入研究,那么很难做到真正的技术提升。
需要这份系统化的资料的朋友,可以添加V获取:vip1024b (备注软件测试)
[外链图片转存中…(img-Ho3Xhofe-1713281979324)]
一个人可以走的很快,但一群人才能走的更远!不论你是正从事IT行业的老鸟或是对IT行业感兴趣的新人,都欢迎加入我们的的圈子(技术交流、学习资源、职场吐槽、大厂内推、面试辅导),让我们一起学习成长!


 191
191


 被折叠的 条评论
为什么被折叠?


