Springboot 整合 SpringCloud组件-Config 配置中心 ConfigServer (六)

4.0.0

org.springframework.boot

spring-boot-starter-parent

2.1.6.RELEASE

com.cloud

config-server

0.0.1-SNAPSHOT

config-server

Demo project for Spring Boot

<java.version>1.8</java.version>

<spring-cloud.version>Finchley.RELEASE</spring-cloud.version>

org.springframework.cloud

spring-cloud-config-server

org.springframework.cloud

spring-cloud-starter-netflix-eureka-client

2.0.0.RELEASE

org.springframework.boot

spring-boot-starter-test

test

org.springframework.cloud

spring-cloud-dependencies

${spring-cloud.version}

pom

import

org.springframework.boot

spring-boot-maven-plugin

然后是application.yml:

eureka:

instance:

#以IP地址注册到服务中心,相互注册使用IP地址

preferIpAddress: true

instance-id: s p r i n g . c l o u d . c l i e n t . i p − a d d r e s s : {spring.cloud.client.ip-address}: spring.cloud.client.ipaddress:{server.port}

client:

serviceUrl:

defaultZone: http://localhost:8761/eureka/

server:

port: 8888

spring:

cloud:

config:

server:

git:

uri: https://github.com/JCcccT/TestConfig.git

searchPaths: testInfo

default-label: master

application:

name: config-server

这里,我需要给初学者特意讲下, config-server

1.在配置文件里面是将这个配置中心也注册到了Eureka注册中心里去了,这个并不是强制的,也可以不注册到EurekaServer的

2.git的uri,怎么获取的呢,如下图:

3.searchPaths 这个是搜查具体配置文件的路径,因为我的配置文件 名为:client-test-dev.properties,而这个文件放在了文件夹testInfo里;

4.这个配置文件起名字也是有讲究的,

一共支持以下几种方式:

  1. /{application}/{profile}[/{label}]

  2. /{application}-{profile}.yml

  3. /{label}/{application}-{profile}.yml

  4. /{application}-{profile}.properties
    自我介绍一下,小编13年上海交大毕业,曾经在小公司待过,也去过华为、OPPO等大厂,18年进入阿里一直到现在。

深知大多数Java工程师,想要提升技能,往往是自己摸索成长或者是报班学习,但对于培训机构动则几千的学费,着实压力不小。自己不成体系的自学效果低效又漫长,而且极易碰到天花板技术停滞不前!

因此收集整理了一份《2024年Java开发全套学习资料》,初衷也很简单,就是希望能够帮助到想自学提升又不知道该从何学起的朋友,同时减轻大家的负担。img

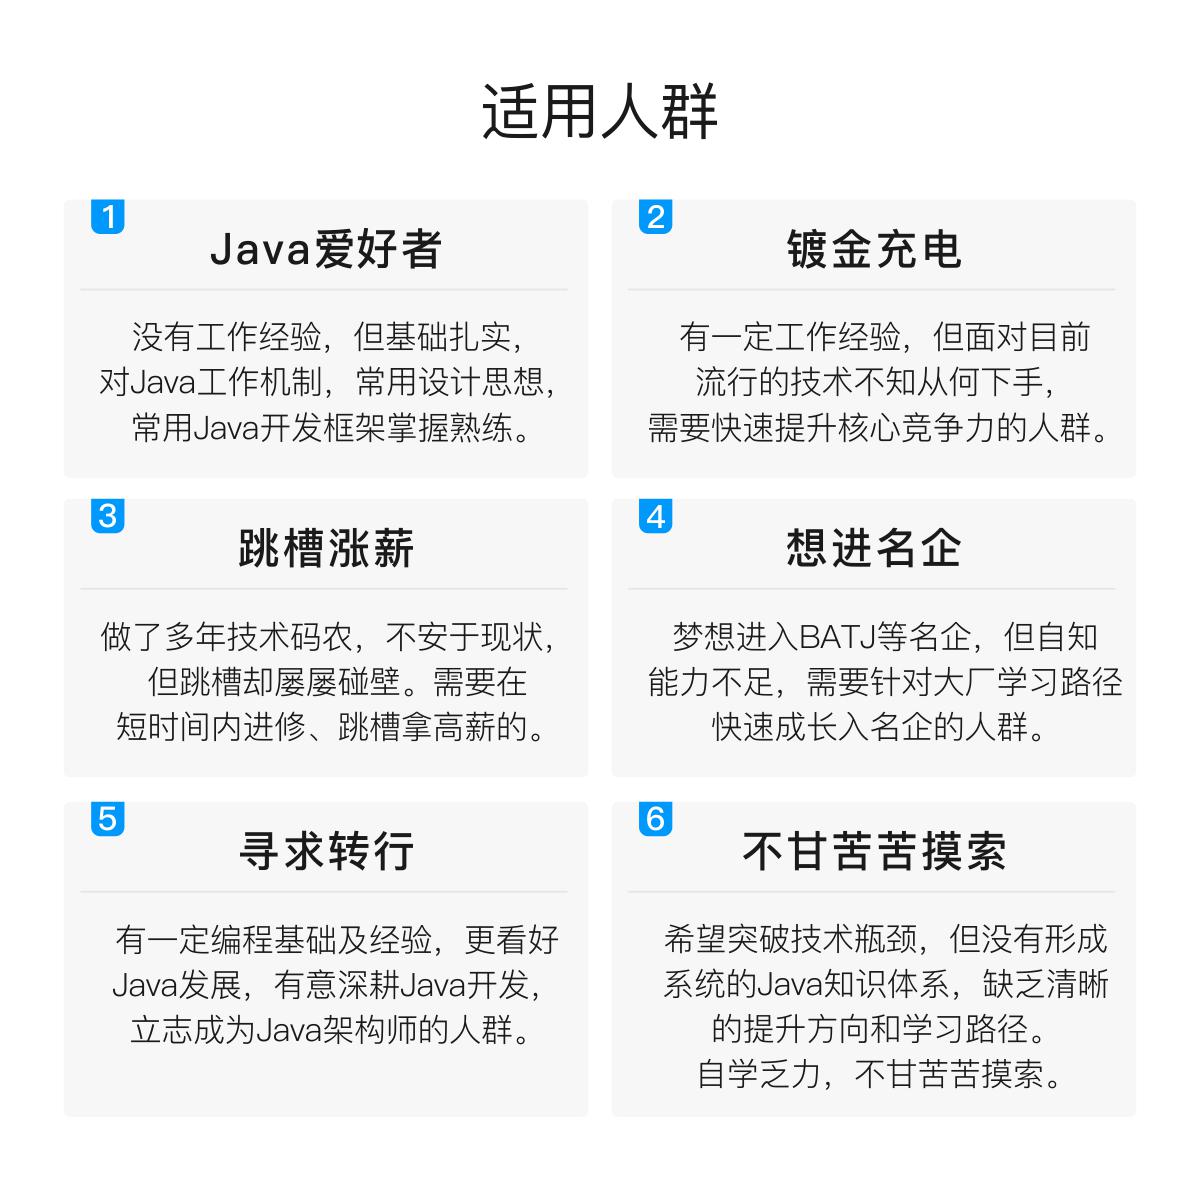
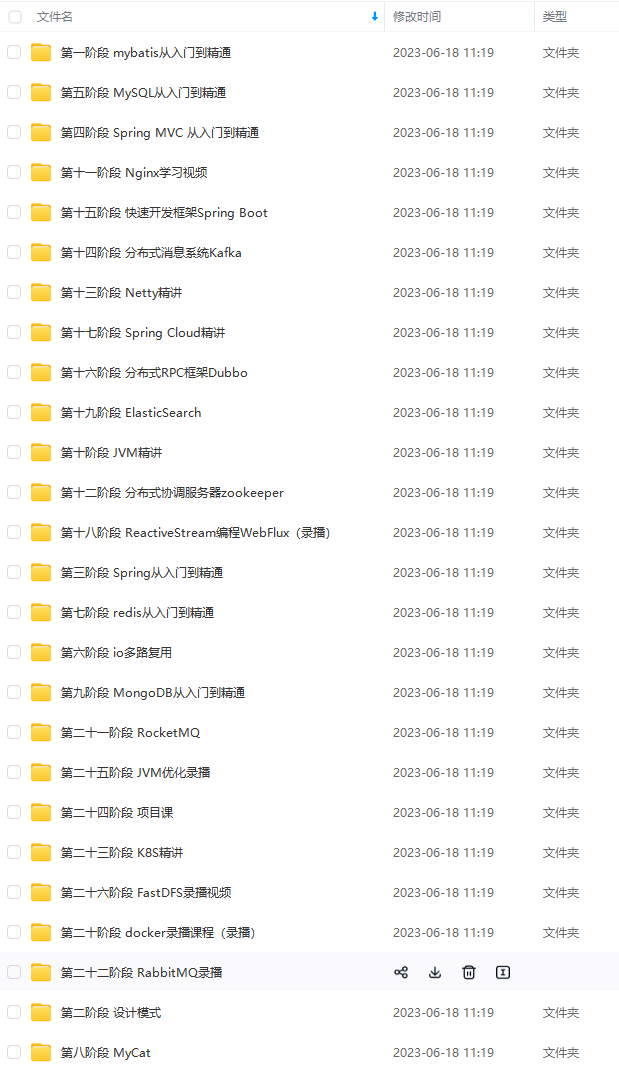
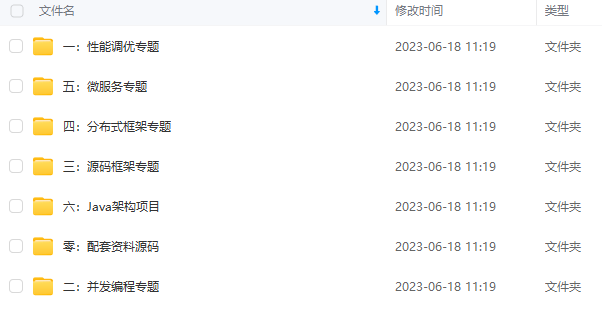
既有适合小白学习的零基础资料,也有适合3年以上经验的小伙伴深入学习提升的进阶课程,基本涵盖了95%以上Java开发知识点,真正体系化!

由于文件比较大,这里只是将部分目录截图出来,每个节点里面都包含大厂面经、学习笔记、源码讲义、实战项目、讲解视频,并且会持续更新!

如果你觉得这些内容对你有帮助,可以扫码获取!!(备注Java获取)

img

最后

无论是哪家公司,都很重视基础,大厂更加重视技术的深度和广度,面试是一个双向选择的过程,不要抱着畏惧的心态去面试,不利于自己的发挥。同时看中的应该不止薪资,还要看你是不是真的喜欢这家公司,是不是能真的得到锻炼。

针对以上面试技术点,我在这里也做一些分享,希望能更好的帮助到大家。

《互联网大厂面试真题解析、进阶开发核心学习笔记、全套讲解视频、实战项目源码讲义》点击传送门即可获取!
img-Ccv7piSG-1713307466309)]

[外链图片转存中…(img-DgYhWSQ1-1713307466309)]

[外链图片转存中…(img-ovLGsi3m-1713307466310)]

《互联网大厂面试真题解析、进阶开发核心学习笔记、全套讲解视频、实战项目源码讲义》点击传送门即可获取!

  • 13
    点赞
  • 9
    收藏
    觉得还不错? 一键收藏
  • 0
    评论
Spring Security OAuth2 Authorization Server 是一个基于 Spring Security 的 OAuth2 认证服务器,用于管理 OAuth2 模式下的授权和令牌。 要将 Spring Boot 与 Spring Security OAuth2 Authorization Server 集成,可以遵循以下步骤: 1. 添加依赖 在 pom.xml 文件中添加以下依赖: ```xml <dependency> <groupId>org.springframework.security</groupId> <artifactId>spring-security-oauth2-authorization-server</artifactId> <version>0.2.1</version> </dependency> ``` 2. 配置认证服务器 创建一个配置类,用于配置 OAuth2 认证服务器。这个类需要继承 AuthorizationServerConfigurerAdapter 类,并且实现 configure 方法。 ```java @Configuration public class OAuth2AuthorizationServerConfig extends AuthorizationServerConfigurerAdapter { @Override public void configure(ClientDetailsServiceConfigurer clients) throws Exception { // 配置客户端信息 clients.inMemory() .withClient("client") .secret("{noop}secret") .authorizedGrantTypes("authorization_code", "refresh_token") .redirectUris("http://localhost:8080/client") .scopes("read", "write"); } @Override public void configure(AuthorizationServerSecurityConfigurer security) throws Exception { // 配置安全性 security.checkTokenAccess("isAuthenticated()"); } @Override public void configure(AuthorizationServerEndpointsConfigurer endpoints) throws Exception { // 配置端点 endpoints.authenticationManager(authenticationManager); } } ``` 上面的代码中,我们配置了一个名为 "client" 的客户端,使用了授权码模式和刷新令牌模式。授权成功后,将重定向到 "http://localhost:8080/client" 页面。 3. 配置 Spring Security 为了使 OAuth2 认证服务器正常工作,需要配置 Spring Security。可以创建一个配置类,用于配置 Spring Security。 ```java @Configuration @EnableWebSecurity public class SecurityConfig extends WebSecurityConfigurerAdapter { @Override protected void configure(HttpSecurity http) throws Exception { // 配置 HTTP 安全性 http.authorizeRequests() .antMatchers("/oauth2/authorize").authenticated() .and().formLogin().and().csrf().disable(); } @Override protected void configure(AuthenticationManagerBuilder auth) throws Exception { // 配置身份认证管理器 auth.inMemoryAuthentication() .withUser("user").password("{noop}password").roles("USER"); } } ``` 在上面的代码中,我们配置了 HTTP 安全性和身份认证管理器。只有经过身份认证的用户才能访问 "/oauth2/authorize" 端点。 4. 启动应用程序 现在可以启动应用程序,并访问 "http://localhost:8080/oauth2/authorize?response_type=code&client_id=client&redirect_uri=http://localhost:8080/client" 来进行授权。授权成功后,将重定向到 "http://localhost:8080/client" 页面。 以上就是整合 Spring Boot 和 Spring Security OAuth2 Authorization Server 的基本步骤。

“相关推荐”对你有帮助么?

  • 非常没帮助
  • 没帮助
  • 一般
  • 有帮助
  • 非常有帮助
提交
评论
添加红包

请填写红包祝福语或标题

红包个数最小为10个

红包金额最低5元

当前余额3.43前往充值 >
需支付:10.00
成就一亿技术人!
领取后你会自动成为博主和红包主的粉丝 规则
hope_wisdom
发出的红包
实付
使用余额支付
点击重新获取
扫码支付
钱包余额 0

抵扣说明:

1.余额是钱包充值的虚拟货币,按照1:1的比例进行支付金额的抵扣。
2.余额无法直接购买下载,可以购买VIP、付费专栏及课程。

余额充值