最后
面试题千万不要死记,一定要自己理解,用自己的方式表达出来,在这里预祝各位成功拿下自己心仪的offer。
开源分享:【大厂前端面试题解析+核心总结学习笔记+真实项目实战+最新讲解视频】


虚拟列表是按需显示的一种技术,可以根据用户的滚动,不必渲染所有列表项,而只是渲染可视区域内的一部分列表元素的技术。
虚拟列表原理:

如图所示,当列表中有成千上万个列表项的时候,我们如果采用虚拟列表来优化。就需要只渲染可视区域( viewport )内的 item8 到 item15 这8个列表项。由于列表中一直都只是渲染8个列表元素,这也就保证了列表的性能。
代码实现
这里我们使用 vue-virtual-scroll-list 轮子,一个 vue 组件支持大量数据列表,具有高滚动性能。
1、安装 vue-virtual-scroll-list 跟 element-ui
npm i element-ui vue-virtual-scroll-list --save
里面的一些参数可以参考文档:https://github.com/tangbc/vue-virtual-scroll-list/blob/master/README.md
Required props:

Commonly used:

Public methods:You can call these methods via ref:
比如:定位到选择的项目时,我就使用了下面两个方法。

另外事件的发射参考了:https://tangbc.github.io/vue-virtual-scroll-list/#/keep-state

2、编写 select-virtual-list 组件
这里我们使用 el-popover 跟 el-input 加上 vue-virtual-scroll-list 去实现自定义虚拟选择器组件 select-virtual-list。
新建文件 src\components\SelectVirtualList\index.vue
<template>
    <el-popover
 v-model="visibleVirtualList"
 popper-class="select-virtual-list-popover"
 trigger="click"
 placement="bottom-start"
 :width="width">
        <virtual-list v-if="visibleVirtualList"
 ref="virtualListRef"
 class="virtual-list"
 :data-key="'id'"
 :keeps="keeps"
 :data-sources="dataList"
 :data-component="itemComponent"
 :extra-props="{ curId }"
 :estimate-size="estimateSize"
 :item-class="'list-item-custom-class'"
 ></virtual-list>
        <el-input slot="reference"
 v-model="curValue"
 :style="`width:${width}px;`"
 :size="size"
 :placeholder="placeholder"
 @input="handleInput"
 ></el-input>
    </el-popover>
</template>

<script>
import VirtualList from 'vue-virtual-scroll-list';
import VirtualItem from './VirtualItem.vue';
export default {
 name: 'SelectVirtualList',
 props: {
 width: {
 type: Number,
 default: 250
 },
 size: {
 type: String,
 default: "small"
 },
 placeholder: {
 type: String,
 default: "请选择"
 },
 dataList: {
 type: Array,
 default: () => {
 return [];
 }
 },
 // 虚拟列表在真实 dom 中保持渲染的项目数量
 keeps: {
 type: Number,
 default: 30
 },
 // 每个项目的估计大小,如果更接近平均大小,则滚动条长度看起来更准确。 建议分配自己计算的平均值。
 estimateSize: {
 type: Number,
 default: 32
 },
 // input输入触发方法
 virtualInputCall: Function,
 // 点击每个项目触发方法
 virtualClickItemCall: Function
 },
 components: {
 VirtualList
 },
 watch: {
 visibleVirtualList(n) {
 if(n) {
 // 当展示虚拟列表时,需要定位到选择的位置
 this.$nextTick(() => {
 let temp = this.curIndex ? this.curIndex : 0;
 // 方法一:手动设置滚动位置到指定索引。
 this.$refs.virtualListRef.scrollToIndex(temp - 1);
 // 方法二:手动将滚动位置设置为指定的偏移量。
 // this.$refs.virtualListRef.scrollToOffset(this.estimateSize \* (temp - 1));
 })
 }
 }
 },
 data () {
 return {
 curId: "", // 当前选择的 id
 curValue: "", // 当前选择的值
 curIndex: null, // 当前选择的索引
 visibleVirtualList: false, // 是否显示虚拟列表
 itemComponent: VirtualItem, // 由 vue 创建/声明的渲染项组件,它将使用 data-sources 中的数据对象作为渲染道具并命名为:source。
 };
 },
 created() {
 // 监听点击子组件
 this.$on('clickVirtualItem', (item) => {
 this.curId = item.id;
 this.curValue = item.name;
 this.curIndex = item.index;
 this.visibleVirtualList = false;
 console.log("item--->", item)
 this.virtualClickItemCall && this.virtualClickItemCall(item);
 })
 },
 methods: {
 // 输入框改变
 handleInput(val) {
 console.log("val--->", val);
 if(!val) {
 this.curId = "";
 this.curIndex = null;
 }
 this.virtualInputCall && this.virtualInputCall(val);
 }
 }
};
</script>

<style lang='scss'>
.el-popover.el-popper.select-virtual-list-popover {
 height: 300px;
 padding: 0;
 border: 1px solid #E4E7ED;
 border-radius: 4px;
 background-color: #FFFFFF;
 box-shadow: 0 2px 12px 0 rgba(0, 0, 0, 0.1);
 box-sizing: border-box;
 .virtual-list {
 width: 100%;
 height: calc(100% - 20px);
 padding: 10px 0;
 overflow-y: auto;
 }
}
::-webkit-scrollbar {
 width: 8px;
 height: 8px;
 background-color: #fff;
}
::-webkit-scrollbar-thumb {
 background-color: #aaa !important;
 border-radius: 10px !important;
}
::-webkit-scrollbar-track {
 background-color: transparent !important;
 border-radius: 10px !important;
 -webkit-box-shadow: none !important;
}
</style>
新建子组件文件 src\components\SelectVirtualList\VirtualItem.vue
<template>
<div :class="['virtual-item', {'is-selected': curId === source.id}]" @click="handleClick">
<span>{{source.name}}</span>
</div>
</template>
<script>
export default {
name: 'VirtualItem',
props: {
curId: {
type: String,
default: ""
},
source: {
type: Object,
default () {
return {}
}
},
},
methods: {
dispatch(componentName, eventName, ...rest) {
let parent = this.$parent || this.$root;
let name = parent.$options.name;
while (parent && (!name || name !== componentName)) {
parent = parent.$parent;
if (parent) {
name = parent.$options.name;
}
}
if (parent) {
parent.$emit.apply(parent, [eventName].concat(rest));
}
},
handleClick() {
// 通知 SelectVirtualList 组件,点击了项目
this.dispatch('SelectVirtualList', 'clickVirtualItem', this.source);
}
}
}
</script>
<style lang="scss" scoped>
### 前端框架
前端框架太多了,真的学不动了,别慌,其实对于前端的三大马车,Angular、React、Vue 只要把其中一种框架学明白,底层原理实现,其他两个学起来不会很吃力,这也取决于你以后就职的公司要求你会哪一个框架了,当然,会的越多越好,但是往往每个人的时间是有限的,对于自学的学生,或者即将面试找工作的人,当然要选择一门框架深挖原理。
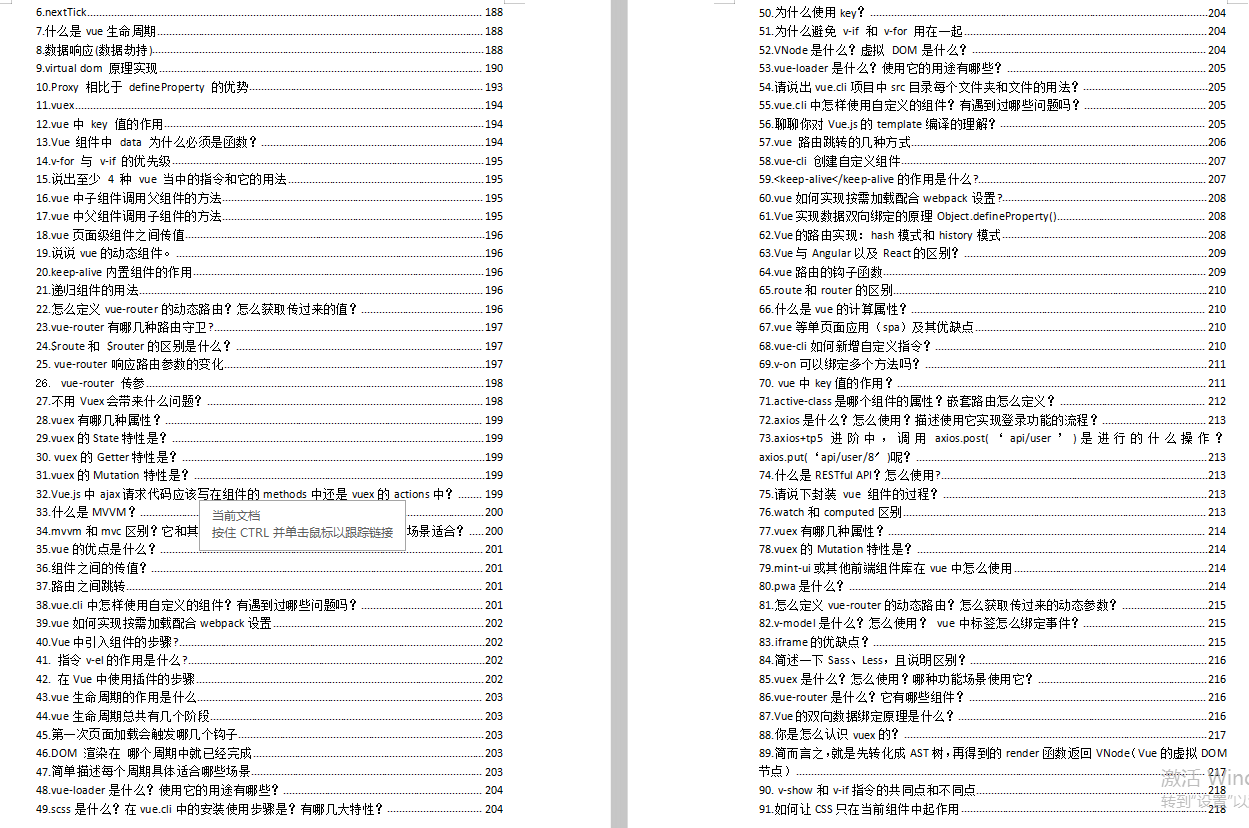
以 Vue 为例,我整理了如下的面试题。

**[如果你觉得对你有帮助,可以戳这里获取:【大厂前端面试题解析+核心总结学习笔记+真实项目实战+最新讲解视频】](https://bbs.csdn.net/forums/4304bb5a486d4c3ab8389e65ecb71ac0)**
个人的时间是有限的,对于自学的学生,或者即将面试找工作的人,当然要选择一门框架深挖原理。
以 Vue 为例,我整理了如下的面试题。

**[如果你觉得对你有帮助,可以戳这里获取:【大厂前端面试题解析+核心总结学习笔记+真实项目实战+最新讲解视频】](https://bbs.csdn.net/forums/4304bb5a486d4c3ab8389e65ecb71ac0)**


 1039
1039

 被折叠的 条评论
为什么被折叠?


