


- 编写HTML代码,实现如图11-12所示页面效果。要求使用CSS样式表统一定义
table和td标记样式,分别如下:
table标记样式:边框为8px、线型为双线、颜色为#0000ff。
td标记样式:边框为lpx、线型为solid、颜色为black、水平居中对齐。
两个嵌套表格背景颜色分别为#ffffee和#fefefe。
外表宽度为300px、居中对齐、单元间距和单元格边距均为0。
两个子表宽度为80%、居中对齐、边框为1px。
<!doctype html>
<html lang="en">
<head>
    <meta char set="utf-8">
    <title>实验9</title>
    <style type="text/css">
        table{border:8px double #0000ff;}
        td{border:1px solid black;}
        table.bc1{background-color: #ffffee;}
        table.bc2{background-color: #fefefe;}
        #wai{width:300px;text-align:center;border-spacing:0;}
        #nei{width:80%;margin:0 auto;border:8px double #0000ff;}
    </style>
</head>

<body>
<table id="wai">
<tr>
<td>1</td>
<td rowspan="2">2</td>
<td>
    <table id="nei" class="bc1">
        <tr>
        <td>a</td>
        <td rowspan="2">b</td>
        <td>c</td>
        </tr>
        <tr>
        <td>d</td>
        <td>f</td>
        </tr>
        <tr>
        <td>g</td>
        <td>h</td>
        <td>i</td>
        </tr>
    </table>
</td>
</tr>

<tr>
<td>
    <table id="nei" class="bc2">
        <tr>
        <td>a</td>
        <td colspan="2">b</td>

        </tr>
        <tr>
        <td>d</td>
        <td>e</td>
        <td>f</td>
        </tr>
        <tr>
        <td>g</td>
        <td>h</td>
        <td>i</td>
        </tr>
    </table>
</td>
<td>6</td>
</tr>

<tr>
<td>7</td>
<td>8</td>
<td>9</td>
</tr>
</table>

</body>
</html> 
2.采用表格布局完成CASIO计算器外观设计,其中表格的每一个单元格均需要设计带边框,设计效果如下图所示。
<!doctype html>
<html lang="en">
 <head>
        <meta charset="UTF-8">
        <title>练习2</title>
        <style type="text/css">
            #wrap{
                width:410px;
                height:450px;
                background-color:rgb(230,230,130);
                z-index:0;
            }
            #result{
                height:60px;
                width:390px;
                border:solid 1px;
                z-index:1;
                position:absolute;
                top:50px;
                left:20px;
                background-color:white;
            }
            #op{
                height:310px;
                width:390px;
                z-index:1;
                position:absolute;
                top:115px;
                left:20px;
            }
            td{
                border:solid 1px black;
                width:58px;
                height:40px;
                margin:10px;
                cursor:pointer;
            }
        </style>
    </head>
    <body>
        <div id="wrap">
        <img src="casio.jpg"></img>
            <div id="result"></div>
            <div id="op">
                <table cellspacing="30" border="1">
                    <tr align="center">
                        <td>1</td>
                        <td>2</td>
                        <td>3</td>
                        <td>+</td>
                    </tr>
                    <tr align="center">
                        <td>4</td>
                        <td>5</td>
                        <td>6</td>
                        <td>-</td>
                    </tr>
                    <tr align="center">
                        <td>7</td>
                        <td>8</td>
                        <td>9</td>
                        <td>*</td>
                    </tr>
                    <tr align="center">
                        <td>0</td>
                        <td>=</td>
                        <td>CE</td>
                        <td>/</td>
                    </tr>
                </table>
            </div>
        </div>
    </body>
</html>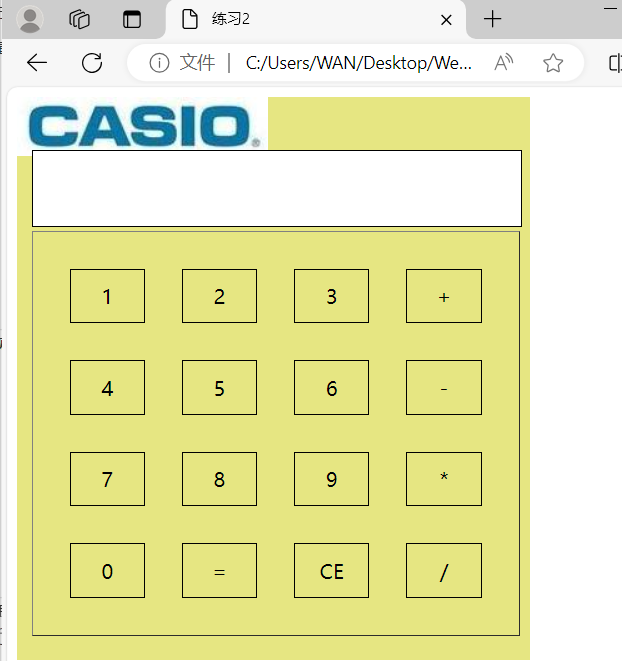
3.编写程序实现如下图所示的登陆界面
<!DOCTYPE html>
<html>
<head>
<meta charset="UTF-8">
<title>练习3</title>
<style type="text/css">
fieldset {
width: 300px;
height: 150px;
border: 3px solid blue;
text-align: center;
}
</style>
</head>
<body>
<form>
<fieldset>
<legend align="center">登录页面</legend>
用户名:<input type="text" size="20"><br>
密 码:<input type="password" size="20"><br>
类 型:
<input type="radio" />管理员
<input type="radio" />普通用户<br>
<input type="checkbox">记住密码
<input type="checkbox">自动登录<br>
<input type="submit" value="提交">
<input type="reset" value="重置">
</fieldset>
</form>
</body>
</html>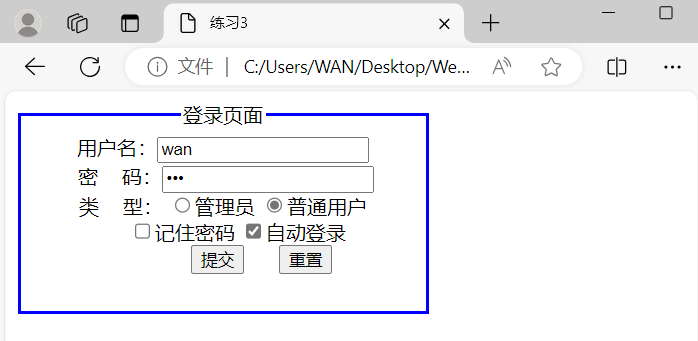
4.利用表单和表单元素设计简单的应聘页面,如下图所示,写出实现的HTML代码。
<!DOCTYPE html>
<html>
    <head>
        <meta charset="UTF-8">
        <title>练习4</title>
    </head>
    <body>
        <form>
            <font size="4"><strong>希望工作地点:</strong></font>
            <select name="didian">
                <option value="1">北京</option>
                <option value="2">广州</option>
                <option value="3">深圳</option>
                <option value="4">上海</option>
            </select>
            <font size="4"><strong>月薪要求:</strong></font><input type="text" size="10">
            <input type="checkbox">要求提供过渡住房<br>
            <font size="4"><strong>请选择应聘行业:</strong></font><br>
            <select size="8">
                <option selected>计算机软件</option>
                <option>计算机硬件</option>
                <option>计算机服务</option>
                <option>通信/电信/网络设备</option>
                <option>互联网/电子商务</option>
                <option>网络游戏</option>
                <option>电子技术/半导体/集成电路</option>
                <option>仪器仪表/工业自动化</option>
            </select>
            <input type="submit" value="提交">
            <input type="reset" value="重置">
        </form>
    </body>
</html>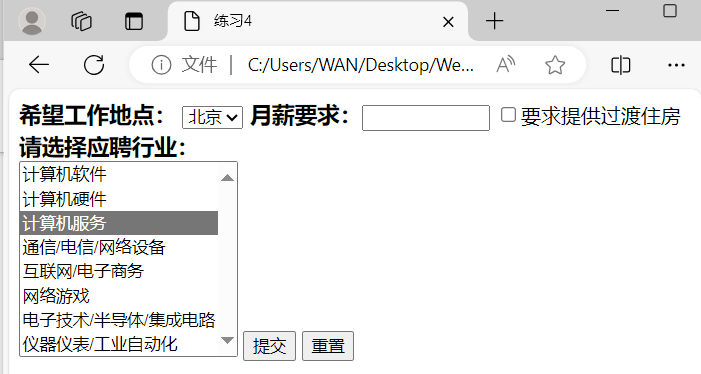
下面是随便记的笔记
border-spacing是指设置或检索当表格边框独立时,行和单元格的边框在横向和纵向上的间距
z-index 属性设置元素的堆叠顺序
position 属性规定元素的定位类型,一般分为三种,一种是相对定位relative,一种是绝对定位absolute,一种是固定定位fixed
绝对定位是CSS中常用的一种定位方式,通过设置元素的top、right、bottom、left属性,实现元素在父容器中的具体位置定位
top:元素的顶部与父容器顶部之间的距离。可以是一个具体的像素值,也可以是一个百分比值。
right:元素的右侧与父容器右侧之间的距离
bottom:元素的底部与父容器底部之间的距离
left:元素的左侧与父容器左侧之间的距离
margin属性用于在一个声明中设置所有当前或者指定元素所有外边距的宽度,或者设置各边上外边距的宽度。
cursor属性定义了鼠标指针放在一个元素边界范围内时所用的光标形状
<strong>加粗</strong>


 被折叠的 条评论
为什么被折叠?
被折叠的 条评论
为什么被折叠?
 到【灌水乐园】发言


