


安全在公有云服务中占很大的比重,而日志分析服务可以很有效的分析日志规避部分风 险。请在华为云上创建一个 X86 架构的云主机,镜像使用 CentOS7.9。自行配置 YUM 源安 装 Docker 服务,然后使用提供的 sepb_elk_latest.tar 镜像安装 ELK 服务,安装完成后,进行 添加数据操作,将 ELK 监控目标节点所需安装的 RPM 安装包下载到本地云主机的/root 目 录下。
所需软件包
filebeat-7.13.2-x86_64.rpm
sepb_elk_latest.tar
docker-repo.tar.gz
下载软件包
- 将索取软件包下载至root目录下
[root@localhost ~]# curl -O http://172.16.100.216/Public_Cloud/filebeat-7.13.2-x86_64.rpm
[root@localhost ~]# curl -O http://172.16.100.216/Public_Cloud/docker-repo.tar.gz
[root@localhost ~]# curl -O http://172.16.100.216/Public_Cloud/sepb_elk_latest.tar
配置安装Docker,导入镜像
- 配置源
# 解压docker-repo.tar.gz
[root@localhost ~]# tar -zxvf docker-repo.tar.gz -C /opt/
# 配置Docker源
[root@localhost ~]# cd /etc/yum.repos.d/
[root@localhost yum.repos.d]# mv * /home/
[root@localhost yum.repos.d]# cat local.repo
[centos]
name=centos
baseurl=http://172.16.100.216/centos
gpgcheck=0
enabled=1
[Docker]
name=Docker
baseurl=file:///opt/docker-repo
gpgcheck=0
enabled=1
# 清理原有的源
[root@localhost yum.repos.d]# yum clean all
Loaded plugins: fastestmirror
Cleaning repos: Docker
# 生成缓存
[root@localhost yum.repos.d]# yum makecache
Loaded plugins: fastestmirror
Determining fastest mirrors
Docker                                                                                 | 3.0 kB  00:00:00
centos                                                                                 | 3.6 kB  00:00:00
(1/7): Docker/filelists_db                                                             | 138 kB  00:00:00
(2/7): Docker/primary_db                                                               | 161 kB  00:00:00
(3/7): Docker/other_db                                                                 |  80 kB  00:00:00
(4/7): centos/group_gz                                                                 | 153 kB  00:00:00
(5/7): centos/filelists_db                                                             | 3.3 MB  00:00:00
(6/7): centos/primary_db                                                               | 3.3 MB  00:00:00
(7/7): centos/other_db                                                                 | 1.3 MB  00:00:00
Metadata Cache Created
- 安装Docker
# 安装Docker
[root@localhost ~]# yum install -y docker-ce
# 启动Docker
[root@localhost ~]# systemctl enable  docker --now
Created symlink from /etc/systemd/system/multi-user.target.wants/docker.service to /usr/lib/systemd/system/docker.service.
- 导入镜像
[root@localhost ~]# docker load -i sepb_elk_latest.tar
启动容器
修改配置文件,不然启动报错
[root@localhost ~]# vim /etc/sysctl.conf
添加
vm.max_map_count = 262144
# 生效
[root@localhost ~]# sysctl -p
vm.max_map_count = 262144
# 启动容器
[root@localhost ~]# docker run -it -d -p 5601:5601 -p 9200:9200 -p 5044:5044  --name elk -e ES_MIN_MEM=512m -e ES_MAX_MEM=1024m sebp/elk:latest
浏览器访问
- http://IP:5601(华为云注意放通安全组)

安装filebeat,并配置连接elastic
- 安装
[root@localhost ~]# yum install -y filebeat-7.13.2-x86_64.rpm
- 配置连接 (默认就是连接elastic的,所以output可以不用改)
# 修改配置文件
[root@localhost ~]# vi /etc/filebeat/filebeat.yml
filebeat.inputs:
- type: log
  enabled: true
  paths:
    - /var/log/yum.log


output.elasticsearch:
  hosts: ["localhost:9200"]
- 启动filebeat
# 设置开机自启并现在启动
[root@localhost ~]# systemctl enable filebeat --now
Created symlink from /etc/systemd/system/multi-user.target.wants/filebeat.service to /usr/lib/systemd/system/filebeat.service.
- 查看状态
[root@localhost ~]# systemctl status filebeat
● filebeat.service - Filebeat sends log files to Logstash or directly to Elasticsearch.
   Loaded: loaded (/usr/lib/systemd/system/filebeat.service; enabled; vendor preset: disabled)
   Active: active (running) since Mon 2022-11-28 04:20:52 EST; 1min 1s ago
     Docs: https://www.elastic.co/beats/filebeat
 Main PID: 12835 (filebeat)
    Tasks: 9
   Memory: 124.6M
   CGroup: /system.slice/filebeat.service
           └─12835 /usr/share/filebeat/bin/filebeat --environment systemd -c /etc/filebeat/filebeat.yml --path.home /usr/share/filebeat --path.config /etc...
浏览器设置
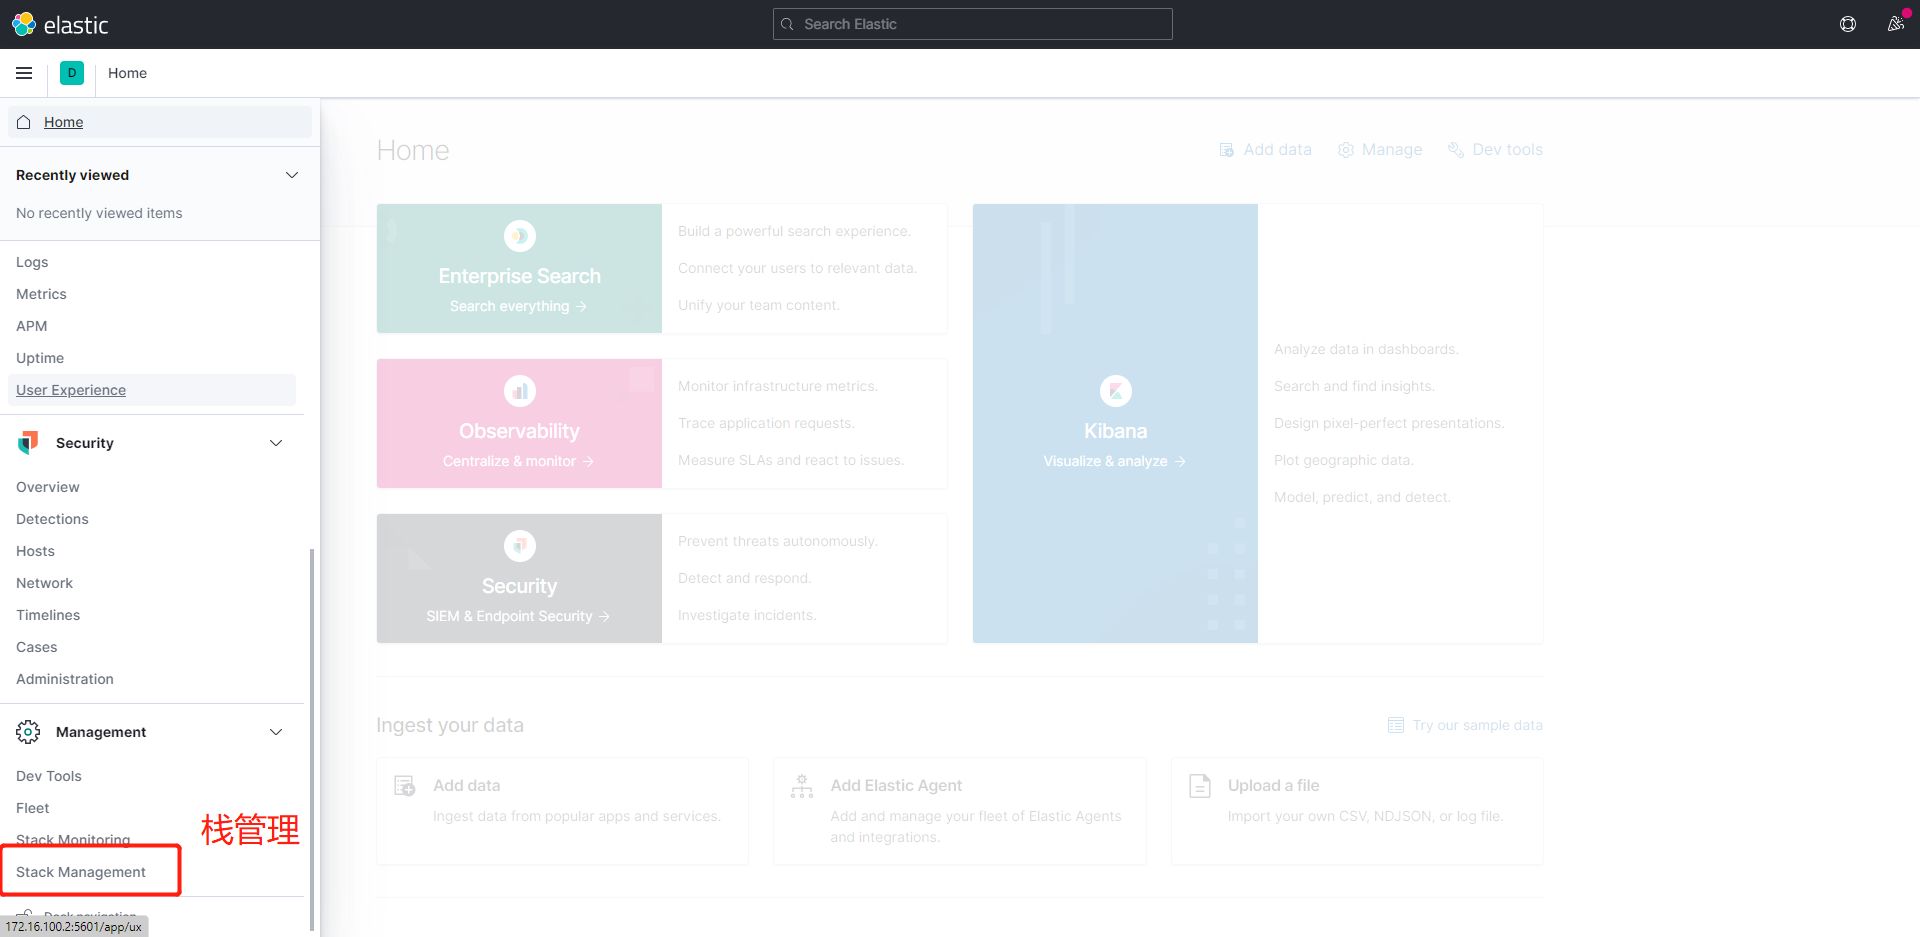

我们发现就已经有了
接下来就开始配置
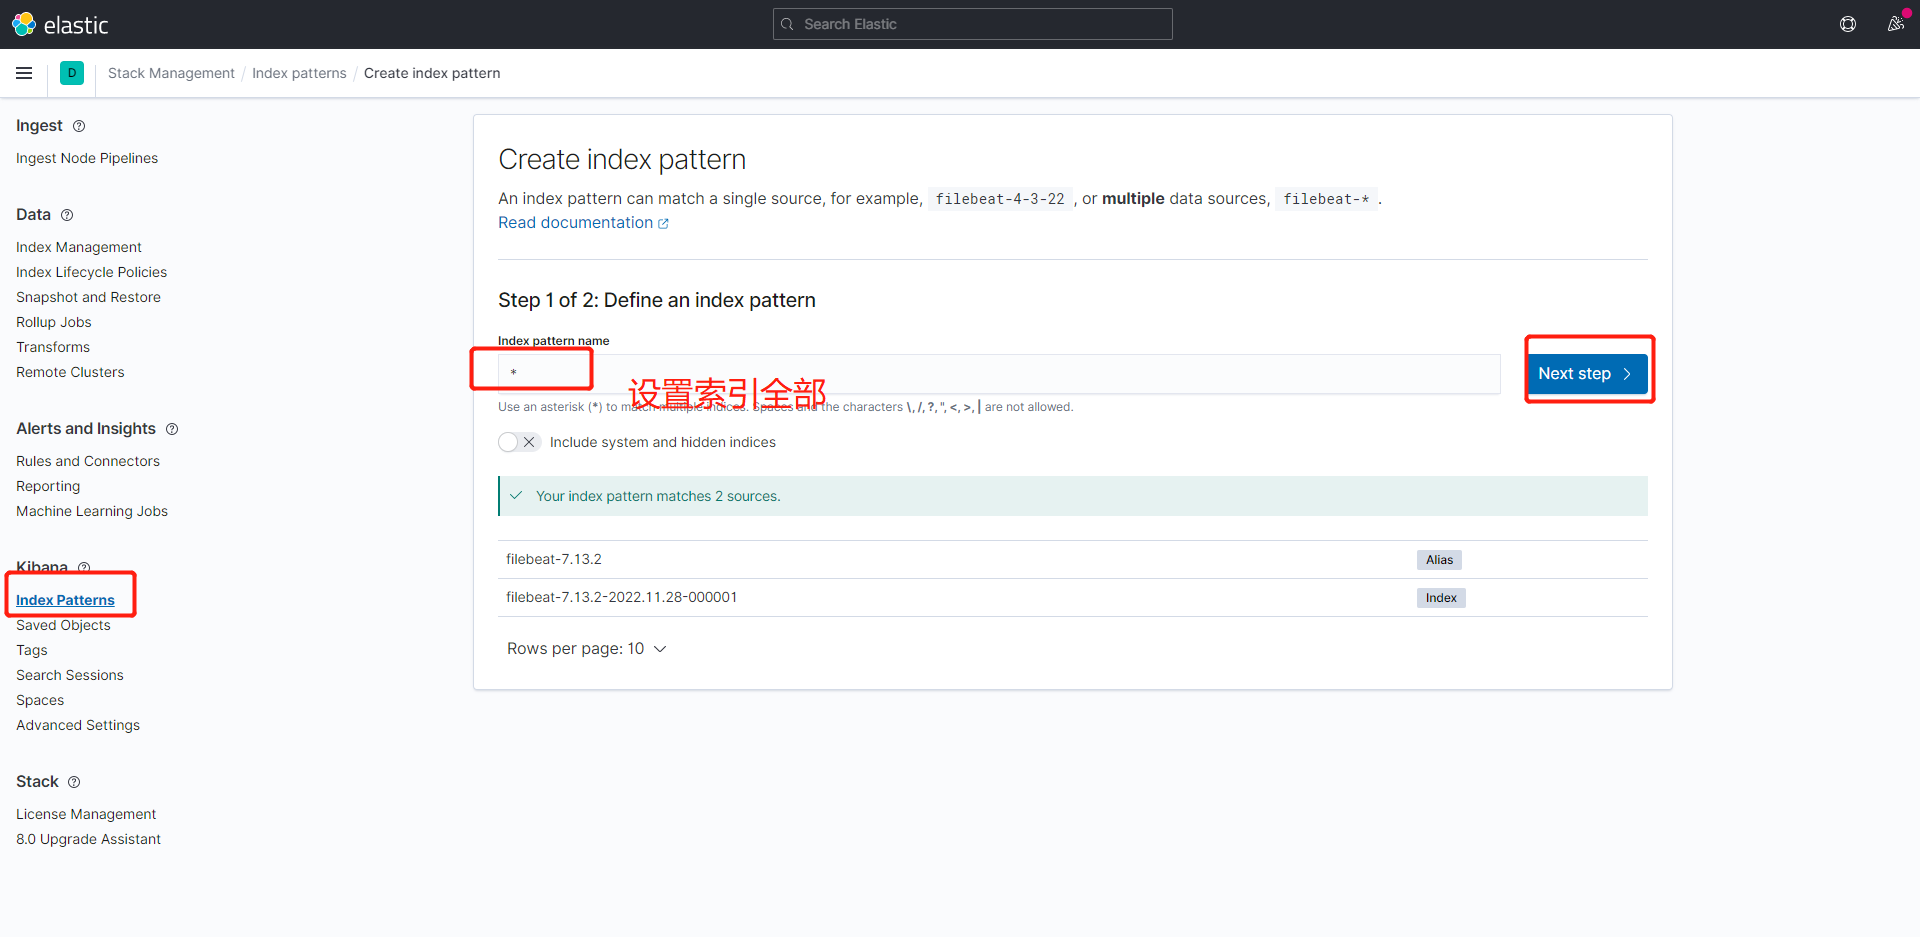
下一步

下一步
[外链图片转存失败,源站可能有防盗链机制,建议将图片保存下来直接上传(img-BRaE7acr-1673924973567)(https://childish.oss-cn-hangzhou.aliyuncs.com/img/202211281730013.png)]
下一步

就会发现有数据了

我们下载一个httpd看看
root@localhost ~]# yum install -y httpd
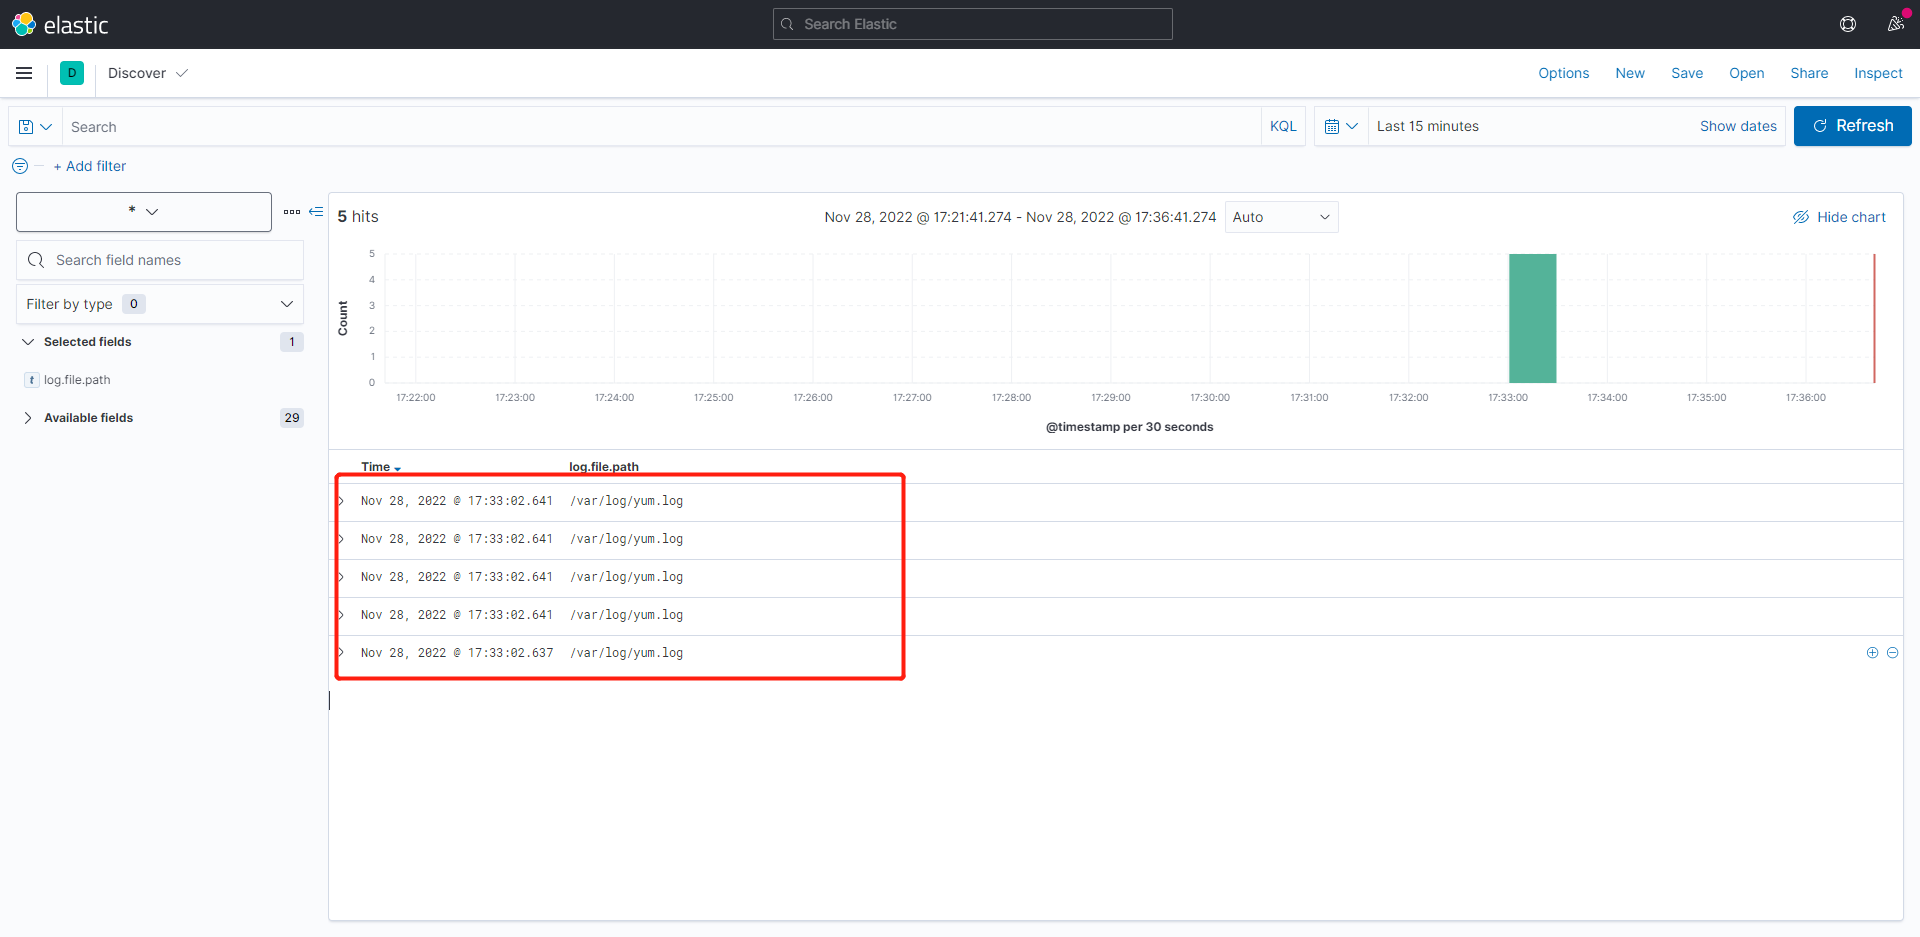
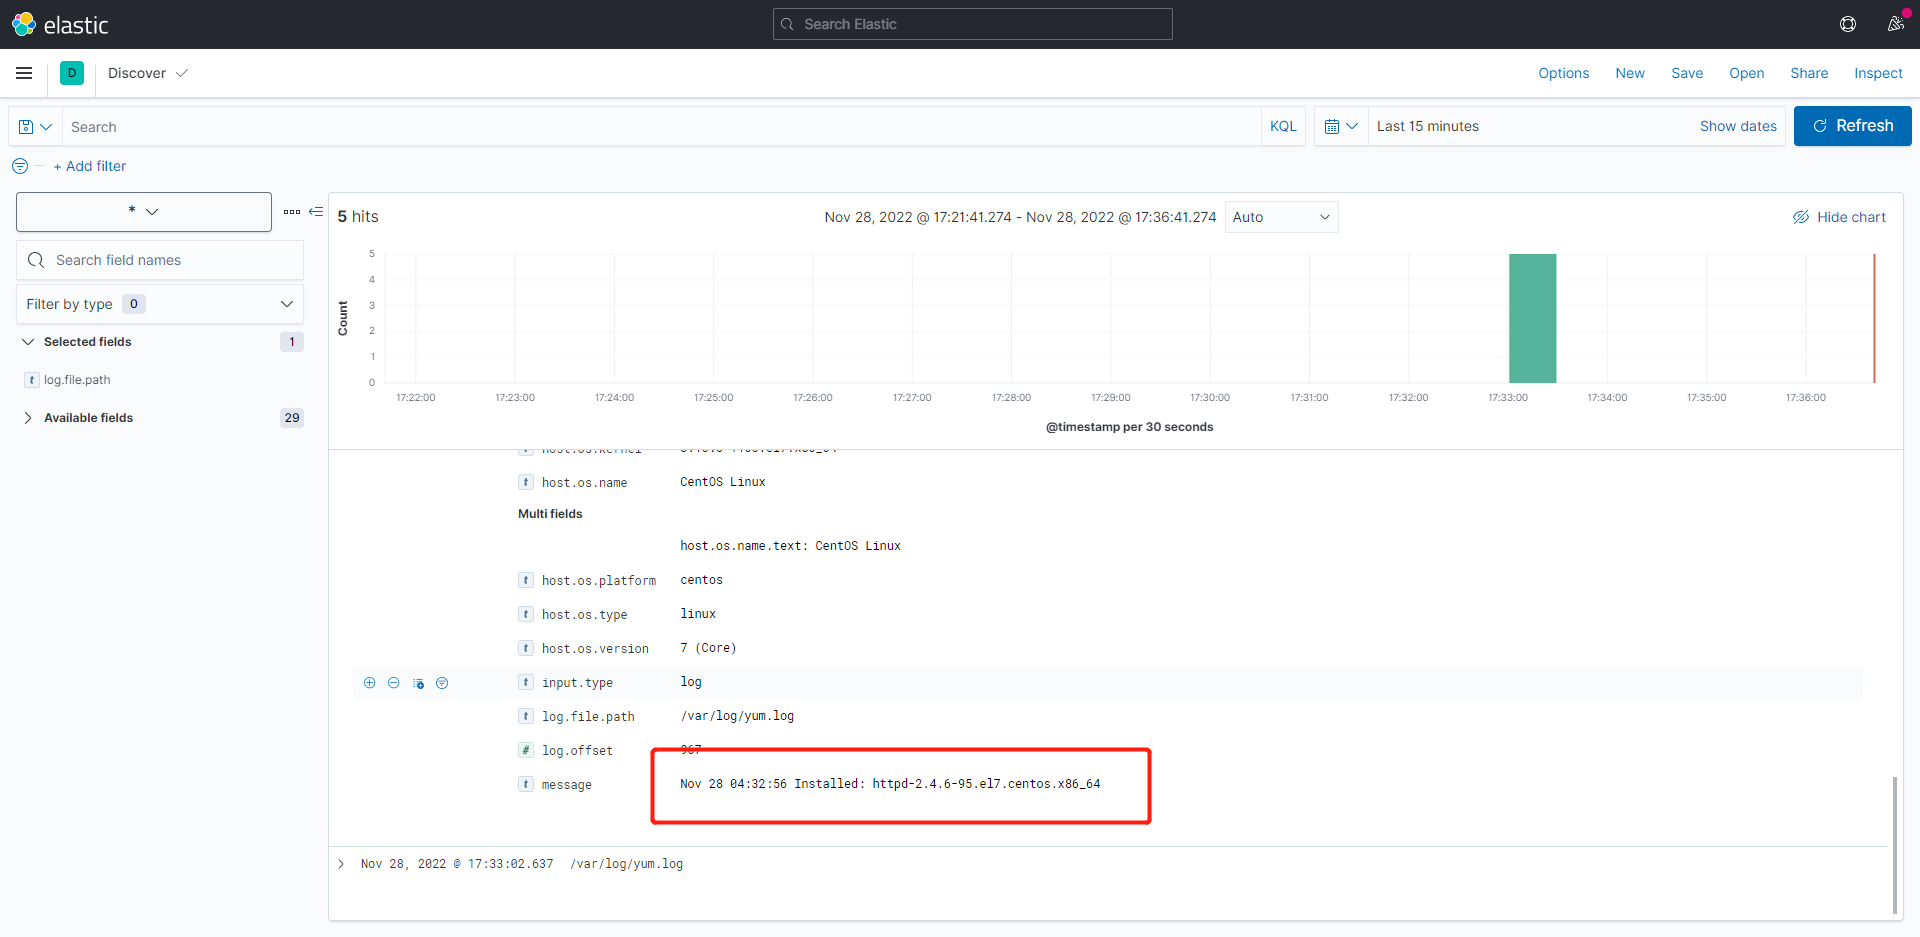
随便打开一个看到就是下载httpd的


 872
872


 被折叠的 条评论
为什么被折叠?
被折叠的 条评论
为什么被折叠?
 到【灌水乐园】发言


