


总体的设计思路
设计网页的思路涉及多个方面,从前端的页面结构和样式,到后端的数据处理和逻辑实现。
1.确定网站的需求和功能
首先要明确网站的功能需求,比如用户注册登录、博客文章发布和展示、评论系统等。
2.选择技术栈
选择适合的框架和工具。对于Python,常用的Web框架包括Flask和Django。
3. 设置项目结构
合理的项目结构有助于组织代码,方便后续的维护和扩展。
4. 前端设计
前端主要负责网页的展示和用户交互,可以使用HTML、CSS和JavaScript。
5. 后端设计
后端负责业务逻辑处理、数据库操作、用户验证等。
6. 数据库设计
设计数据库模型,确定需要存储的数据及其关系。
7. 集成前后端
通过API接口将前端和后端集成起来,实现数据的交互。
8. 测试和部署
进行充分的测试,确保功能和性能满足需求,然后部署到服务器上。
实操应用
我们可以使用Flask框架来实现一个简单的博客网站。
步骤1:安装Flask
首先,你需要安装Flask。可以使用pip来安装:
pip install flask
步骤2:创建项目结构
创建一个项目目录,结构如下:
my_blog/
├── static/
│   └── styles.css
├── templates/
│   ├── layout.html
│   ├── home.html
│   └── post.html
|   └── new_post.html
├── app.py
└── blogdata.py
步骤3:设置Flask应用
在app.py中编写以下代码:
from flask import Flask, render_template, request, redirect, url_for
from blogdata import get_posts, get_post, add_post

app = Flask(__name__)

@app.route('/')
def home():
    posts = get_posts()
    return render_template('home.html', posts=posts)

@app.route('/post/<int:post_id>')
def post(post_id):
    post = get_post(post_id)
    return render_template('post.html', post=post)

@app.route('/new', methods=['GET', 'POST'])
def new_post():
    if request.method == 'POST':
        title = request.form['title']
        content = request.form['content']
        add_post(title, content)
        return redirect(url_for('home'))
    return render_template('new_post.html')

if __name__ == '__main__':
    app.run(debug=True)
步骤4:创建博客数据处理
在blogdata.py中模拟一些博客数据及操作:
posts = [
    {
        'id': 1,
        'title': 'First Post',
        'content': 'This is the content of the first post.'
    },
    {
        'id': 2,
        'title': 'Second Post',
        'content': 'This is the content of the second post.'
    }
]

def get_posts():
    return posts

def get_post(post_id):
    for post in posts:
        if post['id'] == post_id:
            return post
    return None

def add_post(title, content):
    new_post = {
        'id': len(posts) + 1,
        'title': title,
        'content': content
    }
    posts.append(new_post)
步骤5:创建HTML模板
在templates目录下创建以下HTML文件:
layout.html
<!doctype html>
<html lang="en">
<head>
<meta charset="UTF-8">
<meta name="viewport" content="width=device-width, initial-scale=1.0">
<title>我的博客</title>
<link rel="stylesheet" href="{{ url_for('static', filename='styles.css') }}">
</head>
<body>
<header>
<h1>我的博客</h1>
<nav>
<a href="{{ url_for('home') }}">Home</a>
<a href="{{ url_for('new_post') }}">New Post</a>
</nav>
</header>
<main>
{% block content %}{% endblock %}
</main>
<footer>
<p>© 2024 我的博客</p>
</footer>
</body>
</html>home.html
{% extends 'layout.html' %}

{% block content %}
    <h2>Blog Posts</h2>
    <ul>
        {% for post in posts %}
            <li>
                <a href="{{ url_for('post', post_id=post.id) }}">{{ post.title }}</a>
            </li>
        {% endfor %}
    </ul>
{% endblock %}
post.html
{% extends 'layout.html' %}

{% block content %}
    <h2>{{ post.title }}</h2>
    <p>{{ post.content }}</p>
    <a href="{{ url_for('home') }}">Back to Home</a>
{% endblock %}
new_post.html
{% extends 'layout.html' %}

{% block content %}
    <h2>New Post</h2>
    <form method="POST">
        <div>
            <label for="title">Title:</label>
            <input type="text" id="title" name="title">
        </div>
        <div>
            <label for="content">Content:</label>
            <textarea id="content" name="content"></textarea>
        </div>
        <button type="submit">Add Post</button>
    </form>
{% endblock %}
步骤6:创建样式文件
在static目录下创建styles.css
body {
    font-family: Arial, sans-serif;
    margin: 0;
    padding: 0;
    background-color: #f4f4f4;
}

header {
    background-color: #333;
    color: white;
    padding: 1rem;
    text-align: center;
}

nav a {
    color: white;
    margin: 0 1rem;
    text-decoration: none;
}

main {
    padding: 2rem;
}

footer {
    text-align: center;
    padding: 1rem;
    background-color: #333;
    color: white;
    position: fixed;
    bottom: 0;
    width: 100%;
}
运行Flask应用
最后,在pycharm中运行app.py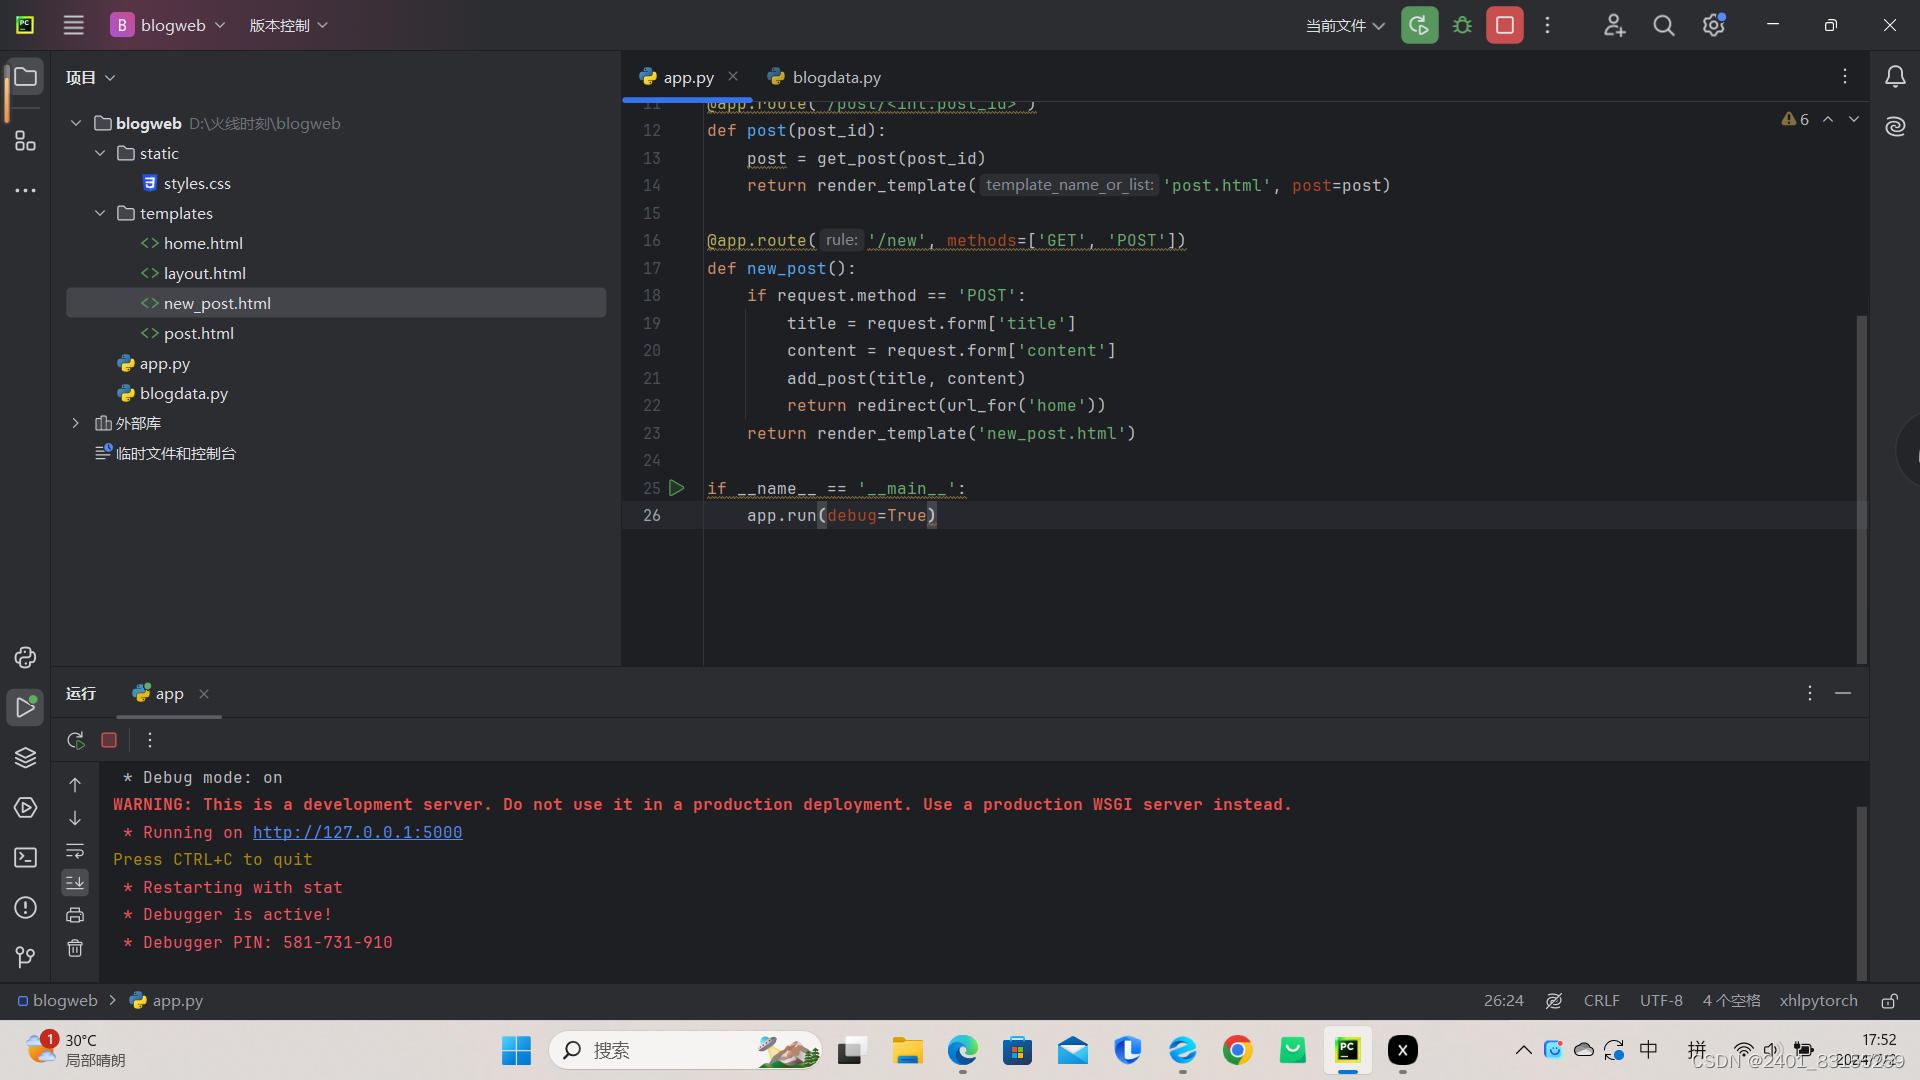
打开浏览器,访问http://127.0.0.1:5000,你就可以看到你创建的博客网页了。


 被折叠的 条评论
为什么被折叠?
被折叠的 条评论
为什么被折叠?
 到【灌水乐园】发言


