android:layout_height=“match_parent”
tools:context=“com.jiuxing.constraintlayout.MainActivity”>
<android.support.constraint.Placeholder
android:id=“@+id/placeholder”
android:layout_width=“50dp”
android:layout_height=“50dp”
android:layout_marginStart=“64dp”
android:layout_marginTop=“48dp”
app:content=“@+id/iv”
app:layout_constraintStart_toStartOf=“parent”
app:layout_constraintTop_toTopOf=“parent” />
</android.support.constraint.ConstraintLayout>
- 控件iv和Placeholder都需要设置宽高尺寸(否者Crash), 但是具体以iv尺寸为准.
- 位置坐标由Placeholder决定, iv可以不用设置
PlaceHolder之所以强大在于同时也提供代码设置内容id
// 设置内容视图
View getContent()
void setContentId(int id)
如果PlaceHolder没有设置内容那么同样想显示怎么办
// 设置空
void setEmptyVisibility(int visibility)
int getEmptyVisibility()
示例:
要求在创建视图的时候就设置好, 否则后面设置无效(例如在onCreate方法中就设置)
place.setEmptyVisibility(View.VISIBLE);
Circular Position
涉及到三个属性
app:layout_constraintCircle=“@id/btn_invoke”
app:layout_constraintCircleRadius=“100dp”
app:layout_constraintCircleAngle=“80”
示例:
效果图:
- 使用环形定位会导致之前的约束坐标失效
- 角度和半径默认为零, 所以不设置角度和半径只指定圆形就会完全重叠
强制约束
在1.1之前如果布局属性是wrap_content将无法遵守约束, 这一问题现在可以通过以下属性修复了;
app:layout_constrainedWidth=”true”
Percent Dimensions
说到Percent Dimensions就不得不说ConstraintLayout中的0dp问题,当控件设置为0dp的时候(0dp的称呼又叫match_constraint),默认的行为是撑开(spread),占满可用空间,但是这个行为是可以用layout_constraintWidth_default 属性来设置的。在 ConstraintLayout 1.0.x中,这个属性还可以把它设置为wrap。而到了1.1.x,它又有了一个新的值:percent,允许我们设置控件占据可用空间的百分比。
下面的TextView控件将占据剩余宽度的50%和剩余高度的50%。
<TextView
android:id=“@+id/textView6”
android:layout_width=“0dp”
android:layout_height=“0dp”
app:layout_constraintHeight_default=“percent”
app:layout_constraintHeight_percent=“0.5”
app:layout_constraintWidth_default=“percent”
app:layout_constraintWidth_percent=“0.5” />
布局属性
除了布局编辑器写布局也应该要了解布局的属性, 不然有些问题你看不出来的.
编辑器属性
该属性并不会在Android上有任何影响, 只会影响AS的布局编辑器坐标
tools:layout_editor_absoluteY=“246dp”
tools:layout_editor_absoluteX=“36dp”
布局编辑器
真机上
约束
一个控件有四个约束点/ 十二个约束属性(左和右有各有两个属性start和end以及right和left)
约束只能是同一水平下才能相互约束, 例如左和右之间能约束, 左不能和上下约束点关联.
约束并不是相互关联的关系. 而是
// 和父布局关联约束
app:layout_constraintBottom_toBottomOf=“parent”
app:layout_constraintLeft_toLeftOf=“parent”
app:layout_constraintRight_toRightOf=“parent”
app:layout_constraintTop_toTopOf=“parent”
// 和其他控件关联约束
app:layout_constraintLeft_toRightOf=“@+id/button3”
app:layout_constraintRight_toLeftOf=“@+id/button3”
app:layout_constraintTop_toBottomOf=“@id/button3”
app:layout_constraintBottom_toTopOf=“@id/button3”
layout_constraintStart_toEndOf
layout_constraintStart_toStartOf
layout_constraintEnd_toStartOf
layout_constraintEnd_toEndOf
文字基准线
有些控件是包含文字内容的, 所以约束布局的控件有一个文字基准线约束. 默认是隐藏,需要点击开关显示.
layout_constraintBaseline_toBaselineOf
注意: 使用了文字基准线对齐就不需要使用上下约束了
百分比偏移
通过小数点(百分比)控制控件在屏幕垂直/水平的百分比位置.
注意: 只有水平位置(上下/左右约束点都添加了约束)都添加约束, 该控件才支持百分比偏移
app:layout_constraintHorizontal_bias=“0.0”
app:layout_constraintVertical_bias=“0.69”
注意: 如果是约束的ConstraintLayout, 不需要这两个属性也可以设置百分比偏移
边距
一般的边距没什么好讲的. 和以前一样.
android:layout_marginStart
android:layout_marginEnd
android:layout_marginLeft
android:layout_marginTop
android:layout_marginRight
android:layout_marginBottom
因为约束布局控件之前的关联性太强, 如果一个布局隐藏(gone)就可能导致整个布局的位置移动. 所以ConstraintLayout拥有隐藏边距属性
ConstraintLayout中使用Gone属性值
根据官方图可以看出Constraintlayout如果控件被隐藏并不会像其他布局一样坐标变成0,0点. 只是margin和宽高变成0.
layout_goneMarginStart
layout_goneMarginEnd
layout_goneMarginLeft
layout_goneMarginTop
layout_goneMarginRight
layout_goneMarginBottom
以上边距属性会根据其约束的控件是否是隐藏(invisible不算)来生效, 同时margin失效.
宽高比
通过设置宽或者高中的一个为match_constraint(0dp), 就可以设置控件的宽高比
matc_constraint的宽或高会根据另一边的尺寸变化来符合比例
宽高比分两种:
宽:高
app:layout_constraintDimensionRatio=“2:1”
很简单就是宽比高, 默认受约束的就是match_constraint(0dp)的一边.
受约束的会根据另一边发生尺寸比例的变化(如果是match_constraint和wrap_content时1:1比例会发生尺寸变化成正方形)
自定义
app:layout_constraintDimensionRatio=“w,2:1”
我理解为颠倒了比例. w即设置比例为高比宽, h为宽比高. 实际操作体验吧
宽高
宽高属性值
- Fixed 固定值
- Wrap_Content 包裹值
- Match_Constraint “0dp”
Match_Constraint
理论上ConstraintLayout的宽高不再使用match_parent这一属性值. 取而代之的是0dp(称为match_constraint).
**Important: **
MATCH_PARENTis not supported for widgets contained in aConstraintLayout, though similar behavior can be defined by usingMATCH_CONSTRAINTwith the corresponding left/right or top/bottom constraints being set to"parent".
官方说明match_parent在ConstraintLayout中不被支持
match_constraint只有在水平或者垂直拥有两条方向的约束时才有效, 即匹配剩余全部空间. 如果只有水平只存在一条或者没有约束相当于wrap_content.
示例图:
如果你强行使用编辑器会自动帮你转换成固定dp值, 不过如果你仅仅是约束ConstraintLayout布局并没有问题.不能理解我说的什么自己动手试试.
链模式
两个空间相互约束就会产生一个锁链. (注意布局编辑器中是无法通过拖动约束点相互约束, 我认为是bug)
只能通过多选居中的方式或者直接XML编辑.
app:layout_constraintHorizontal_chainStyle=“packed”
链接在一起主要是可以设置不同的样式达到适配父容器宽度或者高度的效果. 注: 一个链还有第一个控件才需要设置(chainStyle)样式.
根据样式有三种参数值:
- Spread 均布(默认样式)
- Spread inside 头尾靠边, 其他中间均布
- Packed 居中靠齐
官方有一张介绍图
虽然看着有五个,实际上属性还是那三个. 不过有加入权重和百分比偏移. Bias是偏移, weighted是权重.
权重
和LinearLayout的wight属性一样. 不过只支持spread和spread_inside有效.
layout_constraintHorizontal_weight
同样可以编辑属性也可以鼠标修改
宽高约束
wrap_content不受约束的限制 (这一问题在ConstraintLayout1.1被解决)
app:layout_constrainedWidth=”true|false”
app:layout_constrainedHeight=”true|false”
Optimizer
需要知道的是,当我们使用 MATCH_CONSTRAINT 时,ConstraintLayout 将不得不对控件进行 2 次测量,而测量的操作是昂贵的。
而优化器(Optimizer)的作用就是对 ConstraintLayout 进行优化,对应设置给 ConstraintLauyout 的属性是:
- layout_optimizationLevel。
可设置的值有:
- none:不应用优化。
- standard:仅优化直接约束和屏障约束(默认的)。
- direct:优化直接约束。
- barrier:优化屏障约束。
- chain:优化链约束(实验)。
- dimensions:优化尺寸测量(实验)。
在设置值时,可以设置多个,如:
app:layout_optimizationLevel=“direct|barrier|dimensions”
ConstraintSet
修改ConstraintLayout官方不推荐使用ConstraintLayout.LayoutParams而是推荐使用ConstraintSet
ConstraintSet可以直接通过代码创建或改变约束/改变Margin等操作, 并且都提供方法而非成员变量.
如果你想修改ConstraintLayout中任意一个控件的属性都需要进行以下三个步骤.
步骤:
- 克隆或者加载XMl布局
- 修改属性
- 应用到新的布局上
示例:
public class MainActivity extends AppCompatActivity {
ConstraintSet mConstraintSet = new ConstraintSet(); // create a Constraint Set
ConstraintLayout mConstraintLayout; // cache the ConstraintLayout
@Override
protected void onCreate(Bundle savedInstanceState) {
super.onCreate(savedInstanceState);
setContentView(R.layout.state1);
Context context = this;
mConstraintLayout = (ConstraintLayout) findViewById(R.id.activity_main);
mConstraintSet.clone(mConstraintLayout); // 克隆一个布局到ConstraintSet
}
public void onClick(View view) {
TransitionManager.beginDelayedTransition(mConstraintLayout); // 一行代码添加动画
mConstraintSet1.applyTo(mConstraintLayout); // 应用到新的布局
}
}
官方示例, 但是我发现我是无效.
克隆
复制一个ConstraintLayout布局到ConstraintSet中. 后面可以对ConstraintSet进行修改(即对复制的布局修改).
void clone (ConstraintSet set)
void clone (ConstraintLayout constraintLayout)
void clone (Context context,
int constraintLayoutId)
创建约束
这仅仅指的是创建一条约束, 一个控件可以存在n条约束. 最少两条才能确定位置.
需要注意的是START和LEFT本身是可以并存的. 不要混用
void connect(int startID, int startSide, int endID, int endSide)
void connect(int startID, int startSide, int endID, int endSide, int margin)
示例:
// 克隆布局
mConstraintSet = new ConstraintSet();
mConstraintSet.clone(mBinding.root);
// 用三条约束连接两个控件
mConstraintSet.connect(R.id.btn_3, ConstraintSet.LEFT, R.id.btn, ConstraintSet.RIGHT, 100);
mConstraintSet.connect(R.id.btn_3, ConstraintSet.TOP, R.id.btn, ConstraintSet.TOP);
mConstraintSet.connect(R.id.btn_3, ConstraintSet.BOTTOM, R.id.btn, ConstraintSet.BOTTOM);
// 应用布局
mConstraintSet.applyTo(mBinding.root);
垂直居中
void centerVertically(int viewId, int toView)
void centerVertically(int centerID,
int topId,
int topSide,
int topMargin,
int bottomId,
int bottomSide,
int bottomMargin,
float bias)
示例: 相对父布局垂直居中
mConstraintSet.centerVertically(R.id.btn_3, ConstraintSet.PARENT_ID);
相对其他控件垂直居中
mConstraintSet.centerVertically(R.id.btn_3, R.id.btn);
错误示例: 如果你使用TOP或者BOTTOM之类的属性, 只会贴靠顶部… 并不会居中
mConstraintSet.centerVertically(R.id.btn_3, ConstraintSet.TOP);
注意如果你在第二种方法垂直居中使用了LEFT或RIGHT会导致程序停止
水平居中
水平居中同样不能使用TOP或者BOTTOM, 并且Rtl和不包含Rtl有使用上的区别
void centerHorizontally(int centerID,
int leftId,
int leftSide,
int leftMargin,
int rightId,
int rightSide,
int rightMargin,
float bias)
void centerHorizontally(int viewId,
int toView)
// 只能使用LEFT/RIGHT 否者Crash
void centerHorizontallyRtl(int viewId,
int toView)
void centerHorizontallyRtl(int centerID,
int startId,
int startSide,
int startMargin,
int endId,
int endSide,
int endMargin,
float bias)
// 只能使用START/END
示例:
// 居中父布局
mConstraintSet.centerHorizontallyRtl(R.id.btn_3, ConstraintSet.PARENT_ID);
mConstraintSet.centerHorizontallyRtl(R.id.btn_3, R.id.btn, ConstraintSet.START, 0, R.id.btn_2, ConstraintSet.END, 0, 0.5f);
自我介绍一下,小编13年上海交大毕业,曾经在小公司待过,也去过华为、OPPO等大厂,18年进入阿里一直到现在。
深知大多数初中级安卓工程师,想要提升技能,往往是自己摸索成长,但自己不成体系的自学效果低效又漫长,而且极易碰到天花板技术停滞不前!
因此收集整理了一份《2024年最新Android移动开发全套学习资料》送给大家,初衷也很简单,就是希望能够帮助到想自学提升又不知道该从何学起的朋友,同时减轻大家的负担。
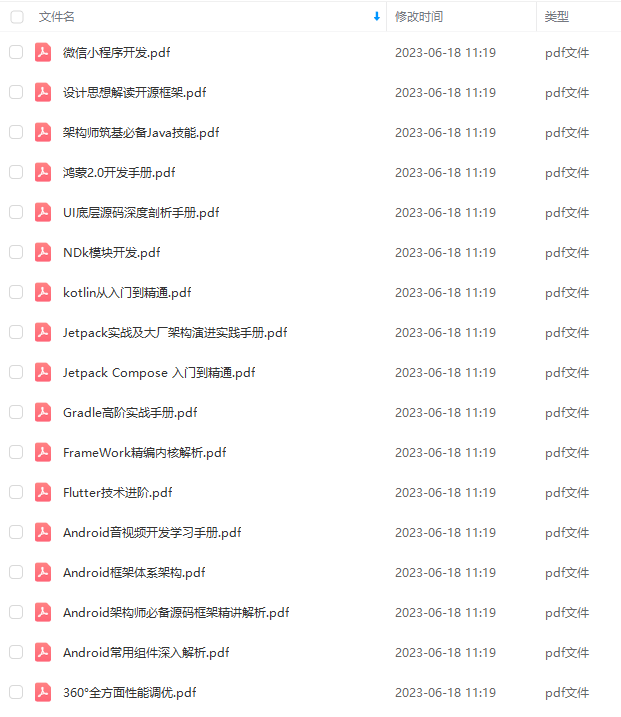
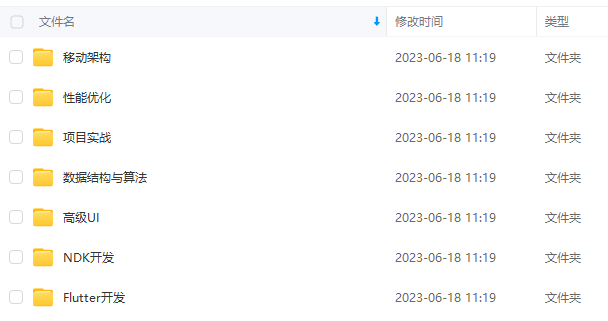
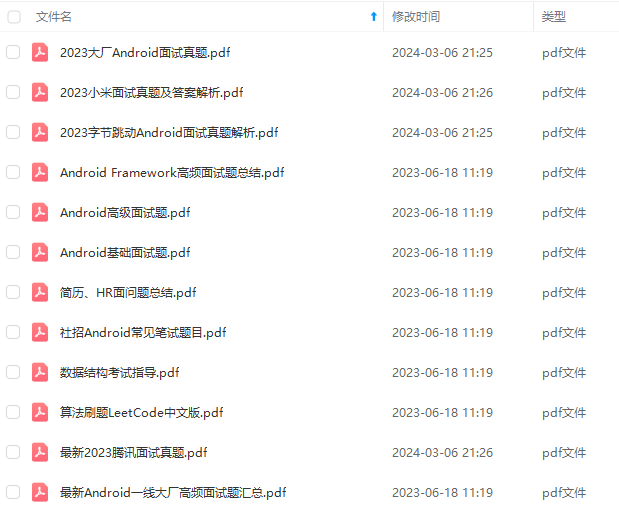
由于文件比较大,这里只是将部分目录截图出来,每个节点里面都包含大厂面经、学习笔记、源码讲义、实战项目、讲解视频
如果你觉得这些内容对你有帮助,可以添加下面V无偿领取!(备注Android)

总结
最后对于程序员来说,要学习的知识内容、技术有太多太多,要想不被环境淘汰就只有不断提升自己,从来都是我们去适应环境,而不是环境来适应我们!
这里附上上述的技术体系图相关的几十套腾讯、头条、阿里、美团等公司2021年的面试题,把技术点整理成了视频和PDF(实际上比预期多花了不少精力),包含知识脉络 + 诸多细节,由于篇幅有限,这里以图片的形式给大家展示一部分。
相信它会给大家带来很多收获:


上述【高清技术脑图】以及【配套的架构技术PDF】可以关注我免费获取
含大厂面经、学习笔记、源码讲义、实战项目、讲解视频**
如果你觉得这些内容对你有帮助,可以添加下面V无偿领取!(备注Android)
[外链图片转存中…(img-qHjiIoYk-1710656662889)]
总结
最后对于程序员来说,要学习的知识内容、技术有太多太多,要想不被环境淘汰就只有不断提升自己,从来都是我们去适应环境,而不是环境来适应我们!
这里附上上述的技术体系图相关的几十套腾讯、头条、阿里、美团等公司2021年的面试题,把技术点整理成了视频和PDF(实际上比预期多花了不少精力),包含知识脉络 + 诸多细节,由于篇幅有限,这里以图片的形式给大家展示一部分。
相信它会给大家带来很多收获:
[外链图片转存中…(img-Xpiq6Zsi-1710656662889)]
[外链图片转存中…(img-CUeF9Dfp-1710656662890)]
上述【高清技术脑图】以及【配套的架构技术PDF】可以关注我免费获取
当程序员容易,当一个优秀的程序员是需要不断学习的,从初级程序员到高级程序员,从初级架构师到资深架构师,或者走向管理,从技术经理到技术总监,每个阶段都需要掌握不同的能力。早早确定自己的职业方向,才能在工作和能力提升中甩开同龄人。


 1266
1266


 被折叠的 条评论
为什么被折叠?


