


}
这里使用的是指针,这样多个任务就可以共享一组命名空间,修改指定的命名空间,对所有属于该命名空间的任务都是可见的。
/*
* A structure to contain pointers to all per-process
* namespaces - fs (mount), uts, network, sysvipc, etc.
*
* The pid namespace is an exception – it’s accessed using
* task_active_pid_ns. The pid namespace here is the
* namespace that children will use.
*
* ‘count’ is the number of tasks holding a reference.
* The count for each namespace, then, will be the number
* of nsproxies pointing to it, not the number of tasks.
*
* The nsproxy is shared by tasks which share all namespaces.
* As soon as a single namespace is cloned or unshared, the
* nsproxy is copied.
*/
struct nsproxy {
atomic_t count;
struct uts_namespace *uts_ns;
struct ipc_namespace *ipc_ns;
struct mnt_namespace *mnt_ns;
struct pid_namespace *pid_ns_for_children;
struct net *net_ns;
struct cgroup_namespace *cgroup_ns;
};
nsproxy 由共享所有命名空间的任务共享。 一旦cloned or unshared共享单个命名空间,就会复制 nsproxy。
clone系统调用有参数选项选择是否可以控制是与父进程共享命名空间还是建立新的命名空间。
unshare系统调用可以将进程的命名空间从父进程分离。
除此之外还有setns系统调用,可以将当前进程加入到已有的 namespace 中。
Linux中namespace提供了6种隔离功能:
| namespace | 隔离资源 |
| --- | --- |
| uts\_namespace | 主机名和域名信息 ,UTS:UNIX Timesharing System |
| ipc\_namespace | 进程间通信(信号量,消息队列和共享内存) |
| mnt\_namespace | (文件系统)挂载点 |
| pid\_namespace | 进程号PID |
| net | 网络协议栈 |
| cgroup\_namespace | 控制组根目录 |

### 1.2 查看进程命名空间
查看当前进程的的命名空间,可以看到这些 namespace 文件都是链接文件。链接文件的内容的格式为 xxx:[inode number]。其中的 xxx 为 namespace 的类型,inode number 则用来标识一个 namespace,我们也可以把它理解为 namespace 的 ID。如果两个进程的某个 namespace 文件指向同一个链接文件,即两个进程的namespace ID相同,说明其相关资源在同一个 namespace 中。

### 1.3 nsproxy\_cachep
static struct kmem_cache *nsproxy_cachep;
int __init nsproxy_cache_init(void)
{
nsproxy_cachep = KMEM_CACHE(nsproxy, SLAB_PANIC);
return 0;
}
定义一个nsproxy\_cachep高速缓存全局变量,采用slab分配器。
/*
* Please use this macro to create slab caches. Simply specify the
* name of the structure and maybe some flags that are listed above.
*
* The alignment of the struct determines object alignment. If you
* f.e. add ____cacheline_aligned_in_smp to the struct declaration
* then the objects will be properly aligned in SMP configurations.
*/
#define KMEM_CACHE(__struct, __flags) kmem_cache_create(#__struct,
sizeof(struct __struct), __alignof__(struct __struct),
(__flags), NULL)
KMEM\_CACHE宏用来创建slab caches,等价于:
kmem_cache_create(“nsproxy”, sizeof(struct nsproxy), __alignof__(struct nsproxy), (0x00040000UL), NULL)
这样就创建一个名为nsproxy的高速缓存,其中放的对象类型就是struct nsproxy,该高速缓存存放的都是struct nsproxy对象,


然后需要struct nsproxy对象调用kmem\_cache\_alloc分配struct nsproxy对象即可:
static inline struct nsproxy *create_nsproxy(void)
{
struct nsproxy *nsproxy;
nsproxy = kmem\_cache\_alloc(nsproxy_cachep, GFP_KERNEL);
if (nsproxy)
	atomic\_set(&nsproxy->count, 1);
return nsproxy;
}
### 1.5 chroot


chroot(change root directory):也是一种简单的资源隔离技术,允许把当前目录变成根目录一样,用于限定用户使用真正的根目录,可以将进程限制到文件系统的某一部分。


chroot增加了系统的安全性,限制了用户的权力,在经过 chroot 之后,在新根下将访问不到旧系统的根目录结构和文件,这样就增强了系统的安全性。这个一般是在登录 (login) 前使用 chroot,以此达到用户不能访问一些特定的文件。使用 chroot 后,系统读取的是新根下的目录和文件,这是一个与原系统根下文件不相关的目录结构。
SYSCALL_DEFINE1(chroot, const char __user *, filename)
{
struct path path;
int error;
unsigned int lookup_flags = LOOKUP_FOLLOW | LOOKUP_DIRECTORY;
error = user\_path\_at(AT_FDCWD, filename, lookup_flags, &path);
......


error = inode\_permission(path.dentry->d_inode, MAY_EXEC | MAY_CHDIR);

......

error = security\_path\_chroot(&path);


set\_fs\_root(current->fs, &path);
.....
}
(1)
 user\_path\_at函数根据文件名filename从当前目录开始查找获取 struct path 结构体。


(2)
 inode\_permission函数根据 struct path 结构体 找到 d\_inode,检查给定 inode 的访问权限(检查 inode 的读/写/执行权限)
// linux-4.10.1/include/linux/path.h
struct path {
struct vfsmount *mnt;
struct dentry *dentry;
};
// linux-4.10.1/include/linux/dcache.h
struct dentry {
…
struct inode *d_inode; /* Where the name belongs to - NULL is * negative */
…
};
(3)
 set\_fs\_root就是最关键的函数,把当前进程的文件系统的root设置为path。
set_fs_root(current->fs, &path);
/*
* Replace the fs->{rootmnt,root} with {mnt,dentry}. Put the old values.
* It can block.
*/
void set_fs_root(struct fs_struct *fs, const struct path *path)
{
struct path old_root;
path\_get(path);
spin\_lock(&fs->lock);
write\_seqcount\_begin(&fs->seq);
old_root = fs->root;
fs->root = \*path;
write\_seqcount\_end(&fs->seq);
spin\_unlock(&fs->lock);
if (old_root.dentry)
	path\_put(&old_root);
}
struct fs_struct {
…
struct path root, pwd;
…
};
其中:
 root:根目录的目录项。
 pwd:当前工作目录的目录项。


(4)
 chroot 修改了进程的 root 目录的核心操作就是修改了 当前进程(struct task\_struct) 的 current->fs->root = 当前文件名filename的struct path。
 这样当前进程就认为 filename 是根目录,因为 fs->root 存的是 filename 目录的 path 结构。


chroot仅仅是在访问文件系统目录的时候,限定了用户的根目录。


## 二、uts\_namespace


### 2.1 init\_nsproxy


假如不指定ns,那么默认所有进程在创建的时候,都会指定一个默认的ns:init\_nsproxy。
 比如 init\_pid\_ns :
 进程号命名空间用来隔离进程号,对应的结构体是pid\_namespace。每个进程号命名空间独立分配进程号。进程号命名空间按层次组织成一棵树,初始进程号命名空间是树的根,对应全局变量init\_pid\_ns,所有进程默认属于初始进程号命名空间。
extern struct nsproxy init_nsproxy;
struct nsproxy init_nsproxy = {
.count = ATOMIC_INIT(1),
.uts_ns = &init_uts_ns,
#if defined(CONFIG_POSIX_MQUEUE) || defined(CONFIG_SYSVIPC)
.ipc_ns = &init_ipc_ns,
#endif
.mnt_ns = NULL,
.pid_ns_for_children = &init_pid_ns,
#ifdef CONFIG_NET
.net_ns = &init_net,
#endif
#ifdef CONFIG_CGROUPS
.cgroup_ns = &init_cgroup_ns,
#endif
};
init\_nsproxy定义了初始的全局命名空间,其中维护了指向各个子系统初始化的命名空间对象的指针。


### 2.2 init\_uts\_ns
struct new_utsname {
char sysname[__NEW_UTS_LEN + 1];
char nodename[__NEW_UTS_LEN + 1];
char release[__NEW_UTS_LEN + 1];
char version[__NEW_UTS_LEN + 1];
char machine[__NEW_UTS_LEN + 1];
char domainname[__NEW_UTS_LEN + 1];
};
这些字符串存储了系统名Linux,发行版,内核版本,机器等等,可以通过uname查看,也可以在/proc/sys/kernel/下查看:

struct uts_namespace {
struct kref kref;
struct new_utsname name;
struct user_namespace *user_ns;
struct ucounts *ucounts;
struct ns_common ns;
};
extern struct uts_namespace init_uts_ns;
struct uts_namespace init_uts_ns = {
.kref = {
.refcount = ATOMIC_INIT(2),
},
.name = {
.sysname = UTS_SYSNAME,
.nodename = UTS_NODENAME,
.release = UTS_RELEASE,
.version = UTS_VERSION,
.machine = UTS_MACHINE,
.domainname = UTS_DOMAINNAME,
},
.user_ns = &init_user_ns,
.ns.inum = PROC_UTS_INIT_INO,
#ifdef CONFIG_UTS_NS
.ns.ops = &utsns_operations,
#endif
};
EXPORT_SYMBOL_GPL(init_uts_ns);
init\_uts\_ns是uts\_ns的初始化配置,相关的预处理器常数在内核中各处定义,通过编译内核顶层Makefile动态生成。
 系统名是固定的:
#define UTS_SYSNAME “Linux”
## 三、创建namespace


### 3.1 fork


以fork为例:
SYSCALL_DEFINE0(fork)
–>_do_fork()
–>copy_process()
–>copy_namespaces()
–>create_new_namespaces()
### 3.2 copy\_namespaces
/*
* called from clone. This now handles copy for nsproxy and all
* namespaces therein.
*/
int copy_namespaces(unsigned long flags, struct task_struct *tsk)
{
struct nsproxy *old_ns = tsk->nsproxy;
struct user_namespace *user_ns = task_cred_xxx(tsk, user_ns);
struct nsproxy *new_ns;
if (likely(!(flags & (CLONE_NEWNS | CLONE_NEWUTS | CLONE_NEWIPC |
		      CLONE_NEWPID | CLONE_NEWNET |
		      CLONE_NEWCGROUP)))) {
	get\_nsproxy(old_ns);
	return 0;
}

if (!ns\_capable(user_ns, CAP_SYS_ADMIN))
	return -EPERM;

/\*
* CLONE_NEWIPC must detach from the undolist: after switching
* to a new ipc namespace, the semaphore arrays from the old
* namespace are unreachable. In clone parlance, CLONE_SYSVSEM
* means share undolist with parent, so we must forbid using
* it along with CLONE_NEWIPC.
*/
if ((flags & (CLONE_NEWIPC | CLONE_SYSVSEM)) ==
(CLONE_NEWIPC | CLONE_SYSVSEM))
return -EINVAL;
new_ns = create\_new\_namespaces(flags, tsk, user_ns, tsk->fs);
if (IS\_ERR(new_ns))
	return  PTR\_ERR(new_ns);

tsk->nsproxy = new_ns;
return 0;
}
如果 clone 的参数里面没有 CLONE\_NEWNS | CLONE\_NEWUTS | CLONE\_NEWIPC | CLONE\_NEWPID | CLONE\_NEWNET | CLONE\_NEWCGROUP,就返回原来的 namespace,调用 get\_nsproxy。
 get\_nsproxy函数只是将struct nsproxy成员的count加1。
static inline void get_nsproxy(struct nsproxy *ns)
{
atomic_inc(&ns->count);
}
相对应有个函数put\_nsproxy将struct nsproxy成员的count减1,这个函数每次减1时会判断count是否等于0,等于0就释放掉调用free\_nsproxy释放掉命名空间资源。
static inline void put_nsproxy(struct nsproxy *ns)
{
if (atomic_dec_and_test(&ns->count)) {
free_nsproxy(ns);
}
}
get\_nsproxy 和 put\_nsproxy 操作类似于C++中的智能指针操作。


### 3.3 create\_new\_namespaces


如果 clone 的参数里面有 CLONE\_NEWNS | CLONE\_NEWUTS | CLONE\_NEWIPC | CLONE\_NEWPID | CLONE\_NEWNET | CLONE\_NEWCGROUP标志位,调用create\_new\_namespaces
/*
* Create new nsproxy and all of its the associated namespaces.
* Return the newly created nsproxy. Do not attach this to the task,
* leave it to the caller to do proper locking and attach it to task.
*/
static struct nsproxy *create_new_namespaces(unsigned long flags,
struct task_struct *tsk, struct user_namespace *user_ns,
struct fs_struct *new_fs)
{
struct nsproxy *new_nsp;
int err;
new_nsp = create\_nsproxy();
if (!new_nsp)
	return ERR\_PTR(-ENOMEM);

new_nsp->mnt_ns = copy\_mnt\_ns(flags, tsk->nsproxy->mnt_ns, user_ns, new_fs);
if (IS\_ERR(new_nsp->mnt_ns)) {
	err = PTR\_ERR(new_nsp->mnt_ns);
	goto out_ns;
}

new_nsp->uts_ns = copy\_utsname(flags, user_ns, tsk->nsproxy->uts_ns);
if (IS\_ERR(new_nsp->uts_ns)) {
	err = PTR\_ERR(new_nsp->uts_ns);
	goto out_uts;
}

new_nsp->ipc_ns = copy\_ipcs(flags, user_ns, tsk->nsproxy->ipc_ns);
if (IS\_ERR(new_nsp->ipc_ns)) {
	err = PTR\_ERR(new_nsp->ipc_ns);
	goto out_ipc;
}

new_nsp->pid_ns_for_children =
	copy\_pid\_ns(flags, user_ns, tsk->nsproxy->pid_ns_for_children);
if (IS\_ERR(new_nsp->pid_ns_for_children)) {
	err = PTR\_ERR(new_nsp->pid_ns_for_children);
	goto out_pid;
}

new_nsp->cgroup_ns = copy\_cgroup\_ns(flags, user_ns,
				    tsk->nsproxy->cgroup_ns);
if (IS\_ERR(new_nsp->cgroup_ns)) {
	err = PTR\_ERR(new_nsp->cgroup_ns);
	goto out_cgroup;
}

new_nsp->net_ns = copy\_net\_ns(flags, user_ns, tsk->nsproxy->net_ns);
if (IS\_ERR(new_nsp->net_ns)) {
	err = PTR\_ERR(new_nsp->net_ns);
	goto out_net;
}

return new_nsp;
......
}
创建新的nsproxy及其所有关联的名称空间,返回新创建的nsproxy。


#### 3.3.1 copy\_utsname


比如copy\_utsname:如果没有标志位CLONE\_NEWUTS,则返回old\_ns,如果设置了创建新的new\_ns。
// linux-4.10.1/kernel/utsname.c
/*
* Copy task tsk’s utsname namespace, or clone it if flags
* specifies CLONE_NEWUTS. In latter case, changes to the
* utsname of this process won’t be seen by parent, and vice
* versa.
*/
struct uts_namespace *copy_utsname(unsigned long flags,
struct user_namespace *user_ns, struct uts_namespace *old_ns)
{
struct uts_namespace *new_ns;
先自我介绍一下,小编浙江大学毕业,去过华为、字节跳动等大厂,目前在阿里
深知大多数程序员,想要提升技能,往往是自己摸索成长,但自己不成体系的自学效果低效又漫长,而且极易碰到天花板技术停滞不前!
因此收集整理了一份《2024年最新Linux运维全套学习资料》,初衷也很简单,就是希望能够帮助到想自学提升又不知道该从何学起的朋友。
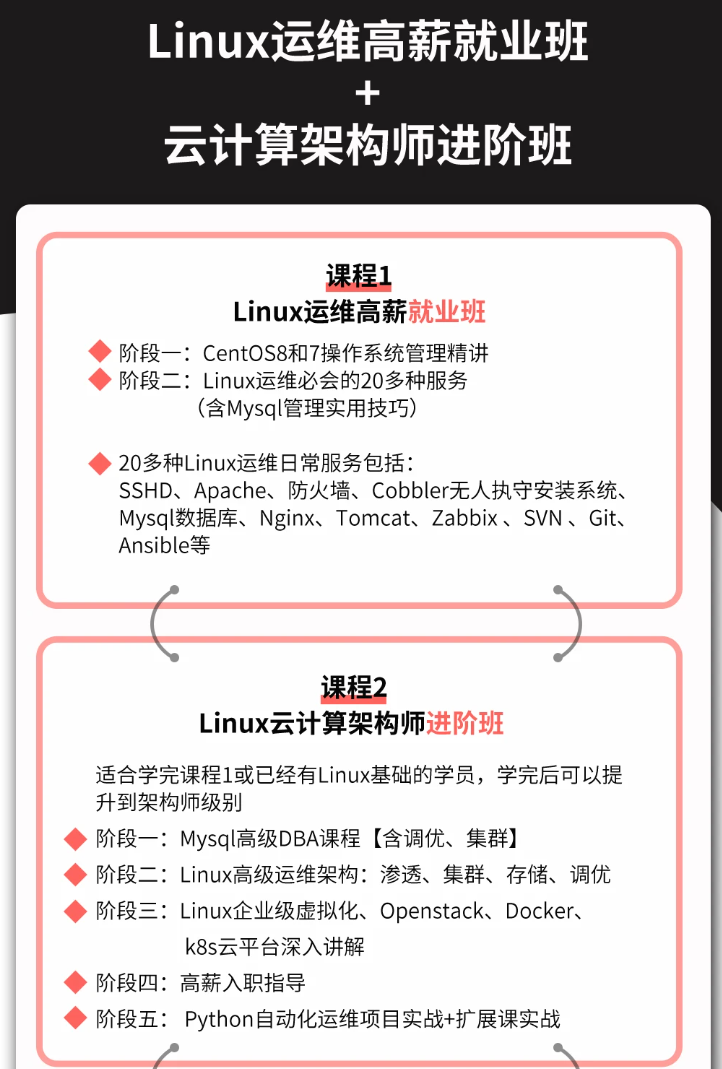


既有适合小白学习的零基础资料,也有适合3年以上经验的小伙伴深入学习提升的进阶课程,涵盖了95%以上运维知识点,真正体系化!
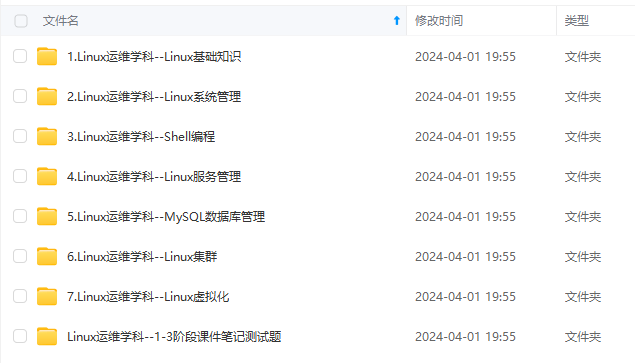
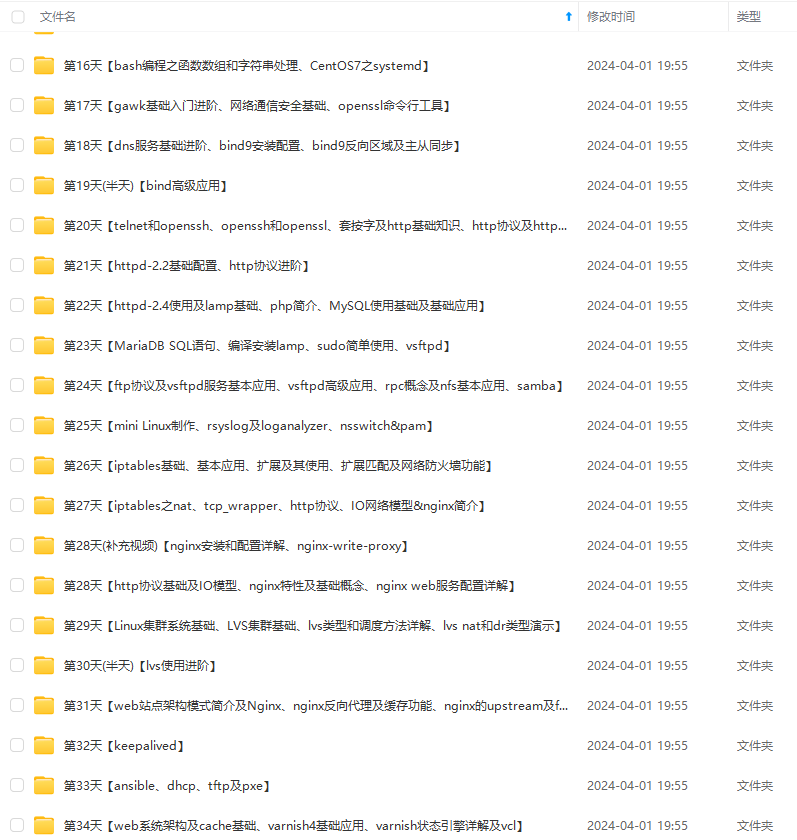
由于文件比较多,这里只是将部分目录截图出来,全套包含大厂面经、学习笔记、源码讲义、实战项目、大纲路线、讲解视频,并且后续会持续更新
要提升技能,往往是自己摸索成长,但自己不成体系的自学效果低效又漫长,而且极易碰到天花板技术停滞不前!**
因此收集整理了一份《2024年最新Linux运维全套学习资料》,初衷也很简单,就是希望能够帮助到想自学提升又不知道该从何学起的朋友。
[外链图片转存中…(img-zgzT2GTR-1714137014400)]
[外链图片转存中…(img-4RS3MGQn-1714137014401)]
[外链图片转存中…(img-lGuN8Qlo-1714137014401)]
[外链图片转存中…(img-r5IlfKPz-1714137014402)]
[外链图片转存中…(img-XjCz9Zka-1714137014402)]
既有适合小白学习的零基础资料,也有适合3年以上经验的小伙伴深入学习提升的进阶课程,涵盖了95%以上运维知识点,真正体系化!
由于文件比较多,这里只是将部分目录截图出来,全套包含大厂面经、学习笔记、源码讲义、实战项目、大纲路线、讲解视频,并且后续会持续更新


 1064
1064

 被折叠的 条评论
为什么被折叠?
被折叠的 条评论
为什么被折叠?
 到【灌水乐园】发言


