


compute the area of the bounding boxes and grab the indexes to sort
(in the case that no probabilities are provided, simply sort on the
bottom-left y-coordinate)
area = (x2 - x1 + 1) * (y2 - y1 + 1)
idxs = y2
if probabilities are provided, sort on them instead
if probs is not None:
idxs = probs
sort the indexes
idxs = np.argsort(idxs)
keep looping while some indexes still remain in the indexes list
while len(idxs) > 0:
grab the last index in the indexes list and add the index value
to the list of picked indexes
last = len(idxs) - 1
i = idxs[last]
pick.append(i)
find the largest (x, y) coordinates for the start of the bounding
box and the smallest (x, y) coordinates for the end of the bounding
box
xx1 = np.maximum(x1[i], x1[idxs[:last]])
yy1 = np.maximum(y1[i], y1[idxs[:last]])
xx2 = np.minimum(x2[i], x2[idxs[:last]])
yy2 = np.minimum(y2[i], y2[idxs[:last]])
compute the width and height of the bounding box
w = np.maximum(0, xx2 - xx1 + 1)
h = np.maximum(0, yy2 - yy1 + 1)
compute the ratio of overlap
overlap = (w * h) / area[idxs[:last]]
delete all indexes from the index list that have overlap greater
than the provided overlap threshold
idxs = np.delete(idxs, np.concatenate(([last],
np.where(overlap > overlapThresh)[0])))
return only the bounding boxes that were picked
return boxes[pick].astype(“int”)
image_types = (“.jpg”, “.jpeg”, “.png”, “.bmp”, “.tif”, “.tiff”)
def list_images(basePath, contains=None):
return the set of files that are valid
return list_files(basePath, validExts=image_types, contains=contains)
def list_files(basePath, validExts=None, contains=None):
loop over the directory structure
for (rootDir, dirNames, filenames) in os.walk(basePath):
loop over the filenames in the current directory
for filename in filenames:
if the contains string is not none and the filename does not contain
the supplied string, then ignore the file
if contains is not None and filename.find(contains) == -1:
continue
determine the file extension of the current file
ext = filename[filename.rfind(“.”):].lower()
check to see if the file is an image and should be processed
if validExts is None or ext.endswith(validExts):
construct the path to the image and yield it
imagePath = os.path.join(rootDir, filename)
yield imagePath
def resize(image, width=None, height=None, inter=cv2.INTER_AREA):
dim = None
(h, w) = image.shape[:2]
如果高和宽为None则直接返回
if width is None and height is None:
return image
检查宽是否是None
if width is None:
计算高度的比例并并按照比例计算宽度
r = height / float(h)
dim = (int(w * r), height)
高为None
else:
计算宽度比例,并计算高度
r = width / float(w)
dim = (width, int(h * r))
resized = cv2.resize(image, dim, interpolation=inter)
return the resized image
return resized
nms函数:非极大值抑制。
list_images:读取图片。
resize:等比例改变大小。
construct the argument parse and parse the arguments
ap = argparse.ArgumentParser()
ap.add_argument(“-i”, “–images”, default=‘test1’, help=“path to images directory”)
args = vars(ap.parse_args())
初始化 HOG 描述符/人物检测器
hog = cv2.HOGDescriptor()
hog.setSVMDetector(cv2.HOGDescriptor_getDefaultPeopleDetector())
定义输入图片的文件夹路径。
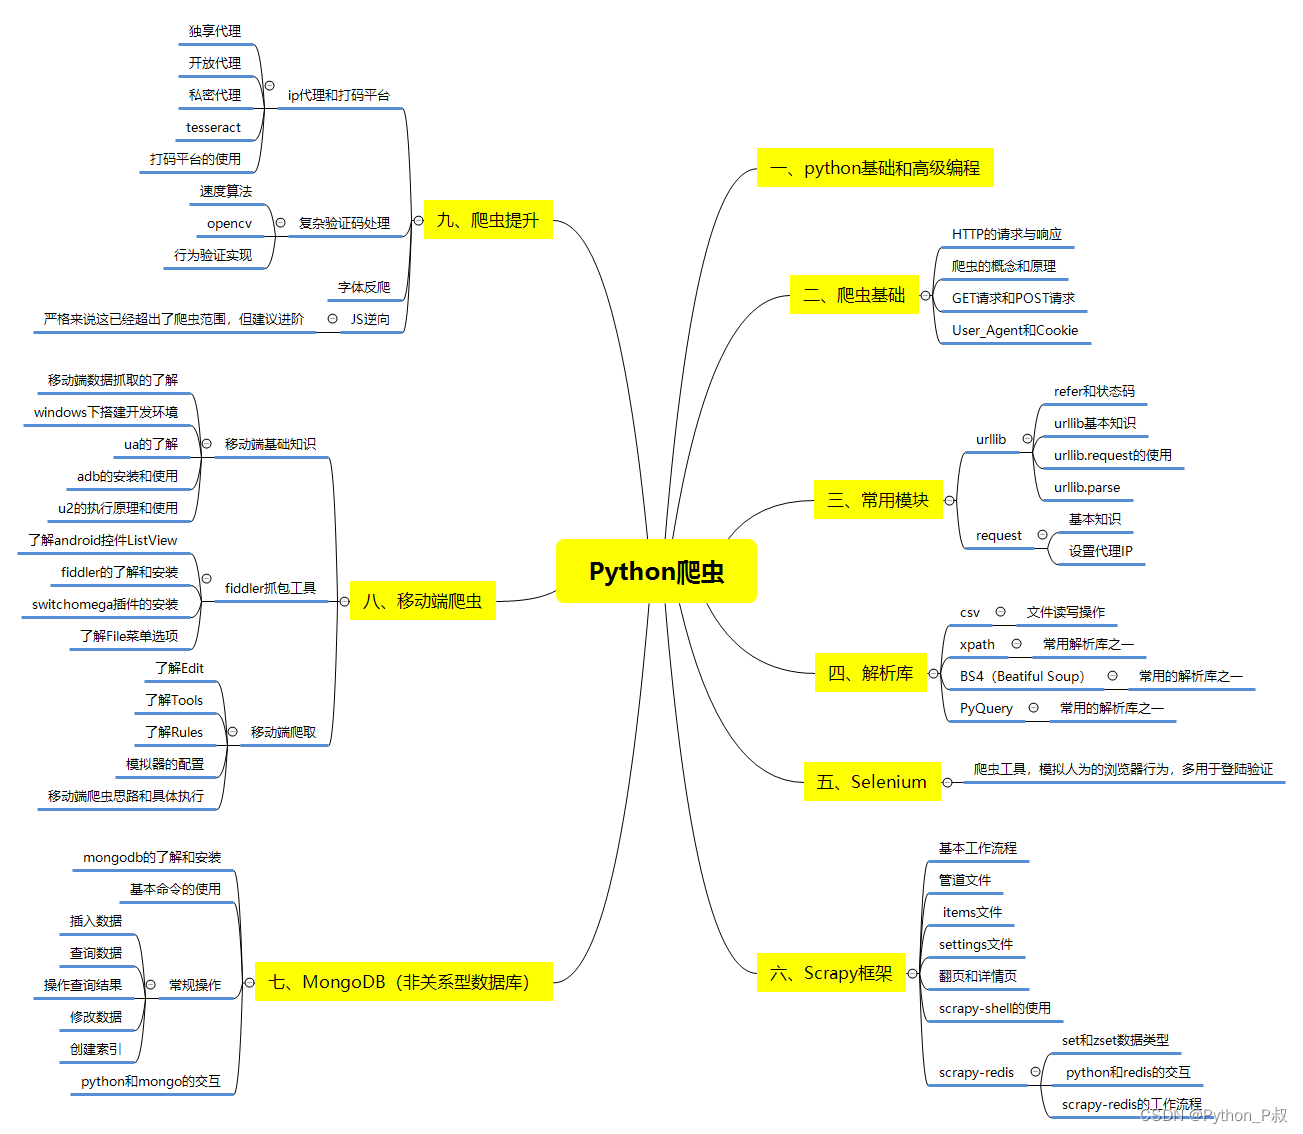
一、Python所有方向的学习路线
Python所有方向的技术点做的整理,形成各个领域的知识点汇总,它的用处就在于,你可以按照下面的知识点去找对应的学习资源,保证自己学得较为全面。

二、Python必备开发工具
工具都帮大家整理好了,安装就可直接上手!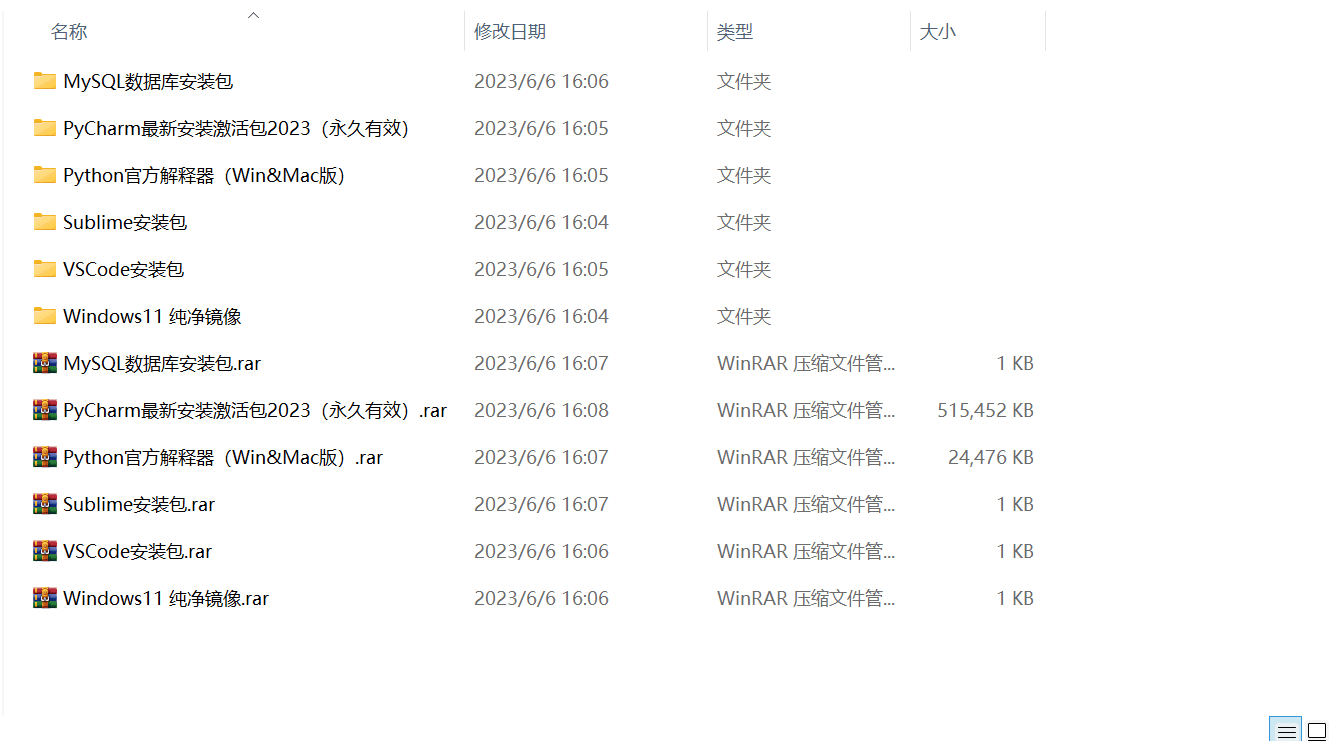
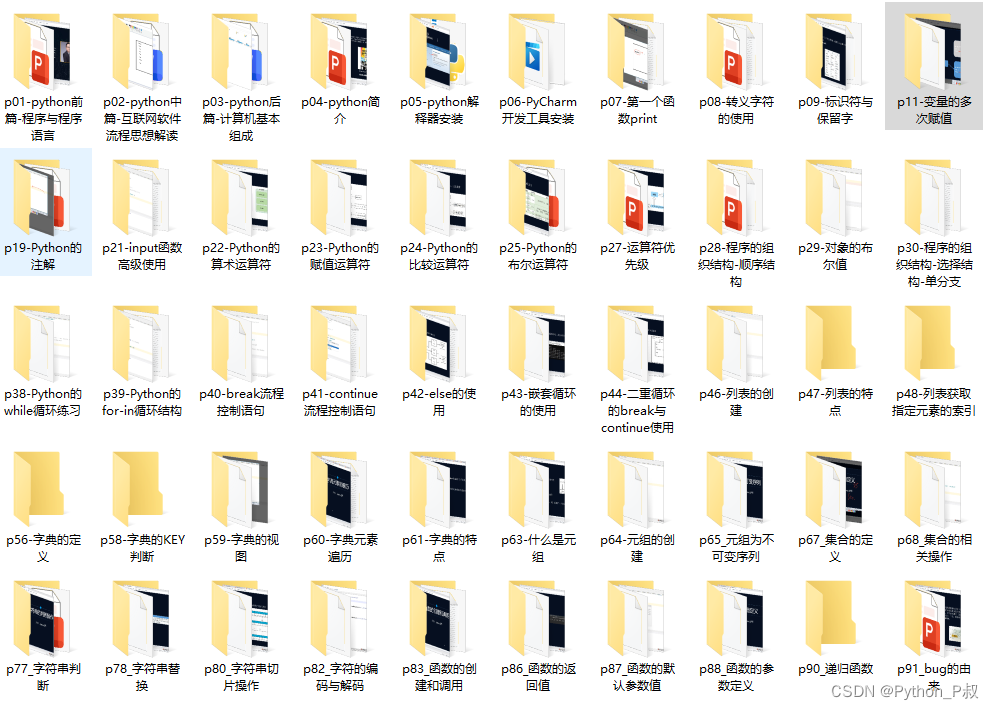
三、最新Python学习笔记
当我学到一定基础,有自己的理解能力的时候,会去阅读一些前辈整理的书籍或者手写的笔记资料,这些笔记详细记载了他们对一些技术点的理解,这些理解是比较独到,可以学到不一样的思路。

四、Python视频合集
观看全面零基础学习视频,看视频学习是最快捷也是最有效果的方式,跟着视频中老师的思路,从基础到深入,还是很容易入门的。
五、实战案例
纸上得来终觉浅,要学会跟着视频一起敲,要动手实操,才能将自己的所学运用到实际当中去,这时候可以搞点实战案例来学习。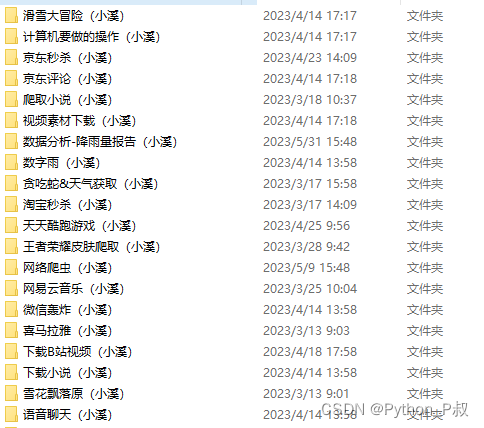
六、面试宝典
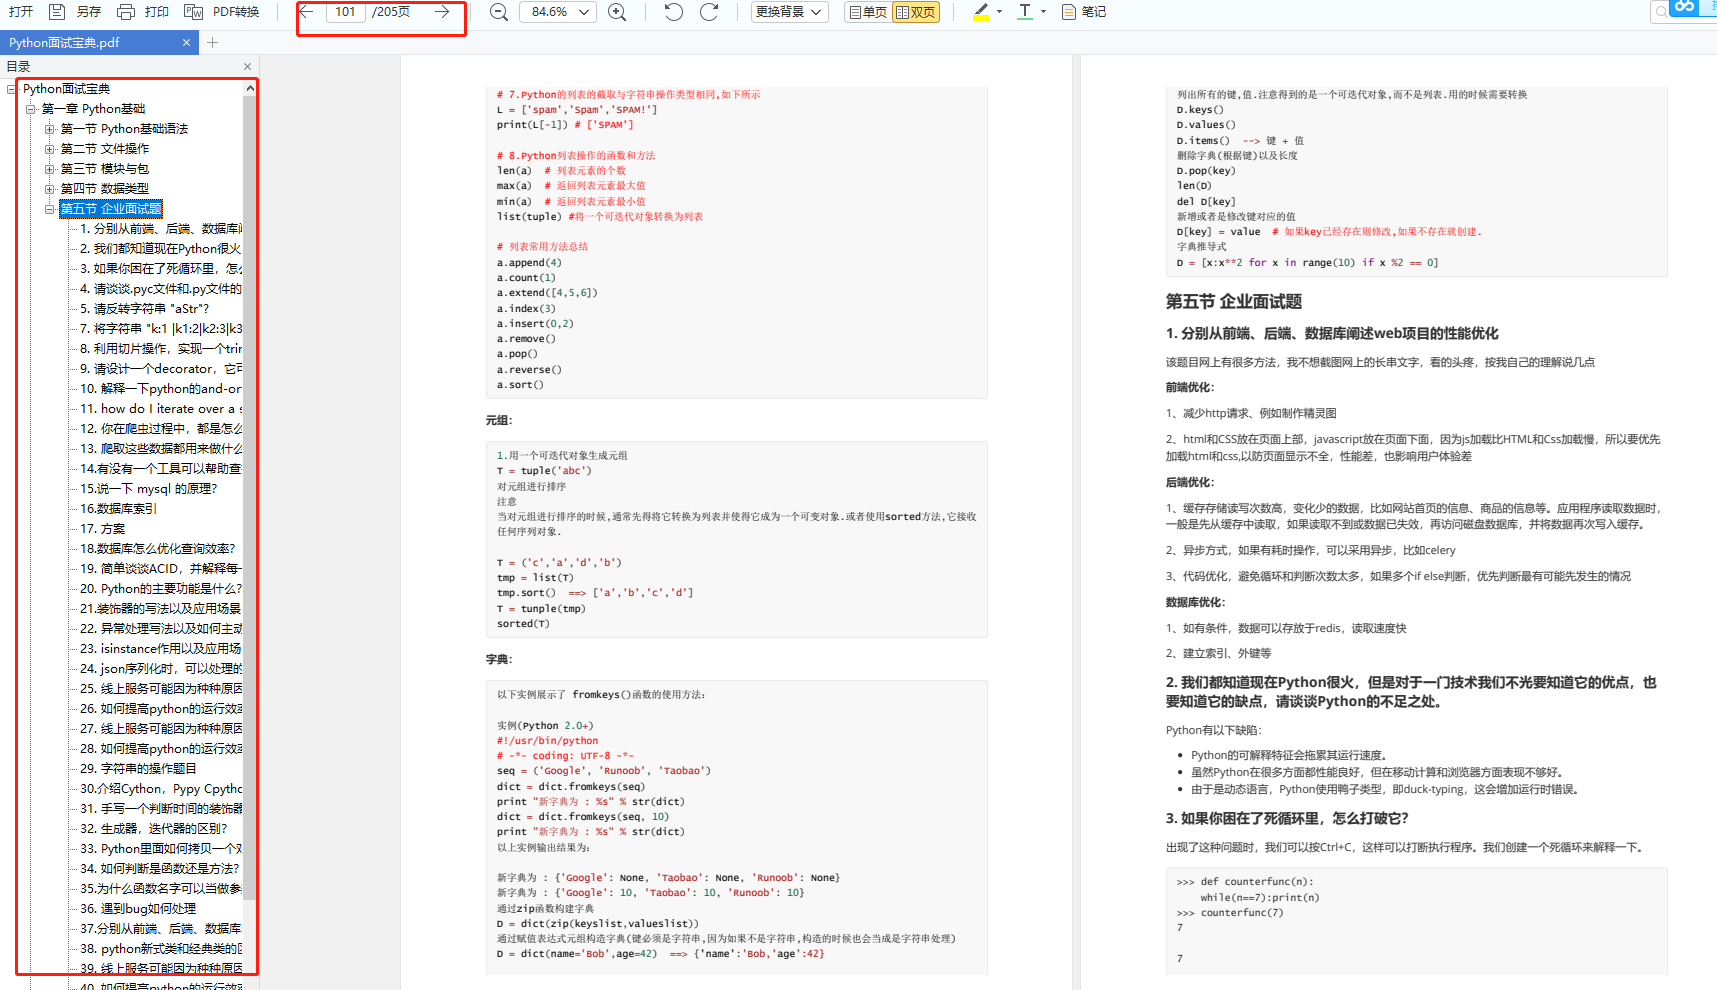
简历模板
小编13年上海交大毕业,曾经在小公司待过,也去过华为、OPPO等大厂,18年进入阿里一直到现在。
深知大多数初中级Python工程师,想要提升技能,往往是自己摸索成长或者是报班学习,但自己不成体系的自学效果低效又漫长,而且极易碰到天花板技术停滞不前!
因此收集整理了一份《2024年Python爬虫全套学习资料》送给大家,初衷也很简单,就是希望能够帮助到想自学提升又不知道该从何学起的朋友,同时减轻大家的负担。
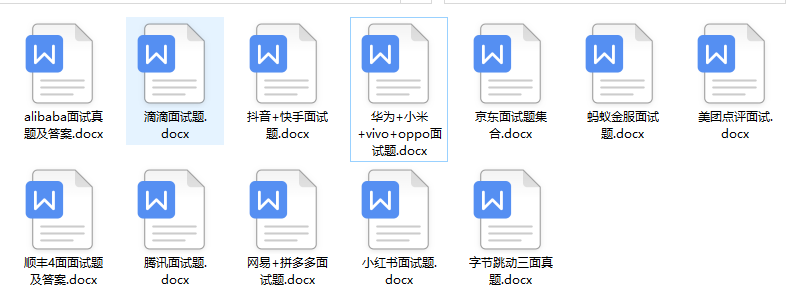
由于文件比较大,这里只是将部分目录截图出来,每个节点里面都包含大厂面经、学习笔记、源码讲义、实战项目、讲解视频
如果你觉得这些内容对你有帮助,可以添加下面V无偿领取!(备注:python)

,而且极易碰到天花板技术停滞不前!**
因此收集整理了一份《2024年Python爬虫全套学习资料》送给大家,初衷也很简单,就是希望能够帮助到想自学提升又不知道该从何学起的朋友,同时减轻大家的负担。
由于文件比较大,这里只是将部分目录截图出来,每个节点里面都包含大厂面经、学习笔记、源码讲义、实战项目、讲解视频
如果你觉得这些内容对你有帮助,可以添加下面V无偿领取!(备注:python)
[外链图片转存中…(img-I1FIqoKw-1711021230139)]


 1102
1102


 被折叠的 条评论
为什么被折叠?
被折叠的 条评论
为什么被折叠?
 到【灌水乐园】发言


