


我们都知道,http基于tcp,每次通信都需要通过三握手建立连接,然而在高并发的情况下,连接的频繁建立和释放会使得性能低下。因此,出现了keep-alive机制,即在数据传输完毕的一定时间(timeout)内,继续持有连接(keep-alive)。
-
目的:减少创建tcp链接的次数,
-
方法:在一定时间内(timeout),保证链接keepalive,从而复用
-
重要的结构体解析
-
connections : connection 缓存池,类似于上篇博文的线程池。用Deque 实现,是一个双端列表,支持在头尾插入元素,
-
excutor : 线程池,用来检测闲置socket并对其进行清理。
-
RealConnection:Connection的实现类代表着一条经过了三次握手了的链接(其中又包含了多个流)
-
StreamAllocation 作用:为一次"请求"寻找"连接"并建立"流"
-
请求:也就是我们使用的时候调用的Call
-
链接:即RealConnection,也就是一个socket
-
流:http发展过程中应用的多路复用技术,如果有多个流都是连接在一个host和port上,那么它们就可以共同使用同一个socket链接,这样做的好处就是可以减少TCP三次握手的时间
-
类比
连接池也就是链接的复用,可以比作成《超人总动员中》冰冻超人Frozone的滑道。

当他想要从起点到达终点的时候,会建立一条滑道(RealConnection)),滑道会因温差而融化,但显然每次都从新创建会消耗很多资源,于是其更新技术,让滑道能够保持一段时间。其中每条滑道又分为了不同的干道,类似我们的公路。一条路上可以并行跑好多车辆,也就是链接中的流。 
源码解析:
源码位于RealConnectionPool中,可以自行ctrl shift F 进去。现在的版本利用Kotlin实现,同样的下载3.8.0
- put :将新的connection 放进列表并 执行清理闲置连接的线程(第三部分详细解析)
fun put(connection: RealConnection) {
connection.assertThreadHoldsLock()
connections.add(connection)
cleanupQueue.schedule(cleanupTask)//执行清理闲置连接的线程
}
- get,创建connection对象,遍历缓存池,如果满足条件,就中缓存池中取出该连接,返回给request。
@Nullable RealConnection get(Address address, StreamAllocation streamAllocation, Route route) {
assert (Thread.holdsLock(this));
for (RealConnection connection : connections) {
if (connection.isEligible(address, route)) {
streamAllocation.acquire(connection);
return connection;
}
}
return null;
}
//acquire跟踪进去为:
reportedAcquired设置为true,
并向connection持有的allocations中增加了一条新的流的弱引用
也就是往这条连接中增加了一条流。
而其中的条件为isEligible,跟踪进去可以看到,具体的条件为
- 当前这次连接的最大并发数没有达到上限
- 两个address的其他参数相同
- 两个address的url的host相同
若满足以上条件,则说明host是相同的可以直接复用,如果不满足以上条件的话,仍旧有机会使用连接(将连接合并):
- 首先这个连接需要使用HTTP/2
- 要与复用前的Ip address相同,且不能使用代理
- 这个连接的服务器证书授权中,必须包括新的主机。
- 锁定证书(certificatePinner)必须匹配主机
public boolean isEligible(Address address, @Nullable Route route) {
// If this connection is not accepting new streams, we’re done.
if (allocations.size() >= allocationLimit || noNewStreams) return false;
// If the non-host fields of the address don’t overlap, we’re done.
if (!Internal.instance.equalsNonHost(this.route.address(), address)) return false;
// If the host exactly matches, we’re done: this connection can carry the address.
if (address.url().host().equals(this.route().address().url().host())) {
return true; // This connection is a perfect match.
}
// At this point we don’t have a hostname match. But we still be able to carry the request if
// our connection coalescing requirements are met. See also:
// https://hpbn.co/optimizing-application-delivery/#eliminate-domain-sharding
// https://daniel.haxx.se/blog/2016/08/18/http2-connection-coalescing/
// 1. This connection must be HTTP/2.
if (http2Connection == null) return false;
// 2. The routes must share an IP address. This requires us to have a DNS address for both
// hosts, which only happens after route planning. We can’t coalesce connections that use a
// proxy, since proxies don’t tell us the origin server’s IP address.
if (route == null) return false;
if (route.proxy().type() != Proxy.Type.DIRECT) return false;
if (this.route.proxy().type() != Proxy.Type.DIRECT) return false;
if (!this.route.socketAddress().equals(route.socketAddress())) return false;
// 3. This connection’s server certificate’s must cover the new host.
if (route.address().hostnameVerifier() != OkHostnameVerifier.INSTANCE) return false;
if (!supportsUrl(address.url())) return false;
// 4. Certificate pinning must match the host.
try {
address.certificatePinner().check(address.url().host(), handshake().peerCertificates());
} catch (SSLPeerUnverifiedException e) {
return false;
}
return true; // The caller’s address can be carried by this connection.
}
- 连接池的清理和回收
在put方法中已经用过了连接池的清理和回收 executor.execute(cleanupRunnable);现在变来详细看下其所做的事情:跟踪进入cleanupRunnable,发现其逻辑为定时执行cleanup,其中的定时等待是加入了同步锁,不允许打断。
自我介绍一下,小编13年上海交大毕业,曾经在小公司待过,也去过华为、OPPO等大厂,18年进入阿里一直到现在。
深知大多数Android工程师,想要提升技能,往往是自己摸索成长或者是报班学习,但对于培训机构动则几千的学费,着实压力不小。自己不成体系的自学效果低效又漫长,而且极易碰到天花板技术停滞不前!
因此收集整理了一份《2024年Android移动开发全套学习资料》,初衷也很简单,就是希望能够帮助到想自学提升又不知道该从何学起的朋友,同时减轻大家的负担。
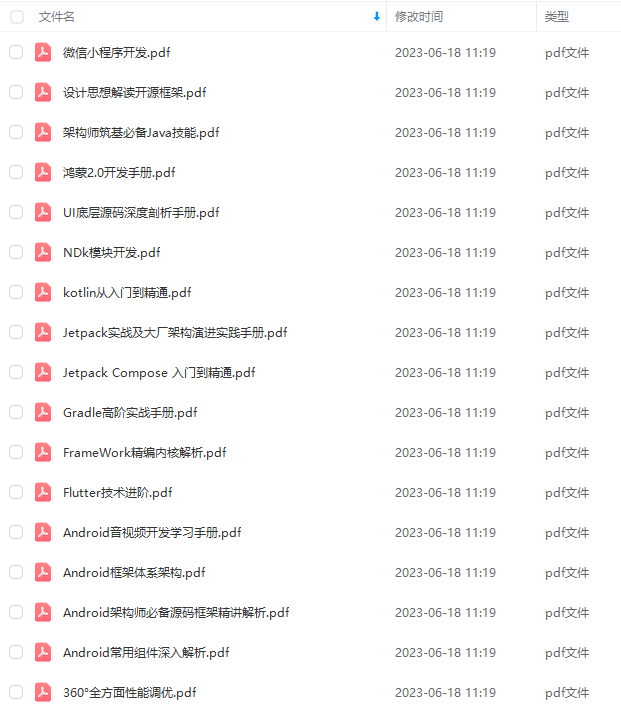
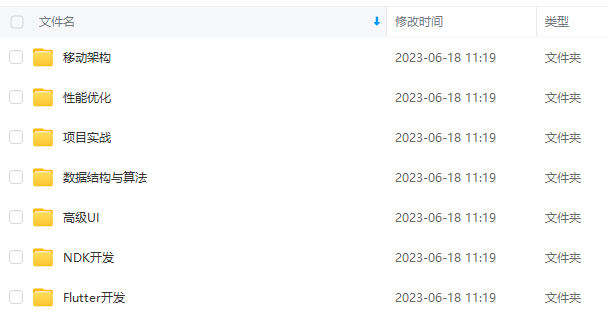
既有适合小白学习的零基础资料,也有适合3年以上经验的小伙伴深入学习提升的进阶课程,基本涵盖了95%以上Android开发知识点,真正体系化!
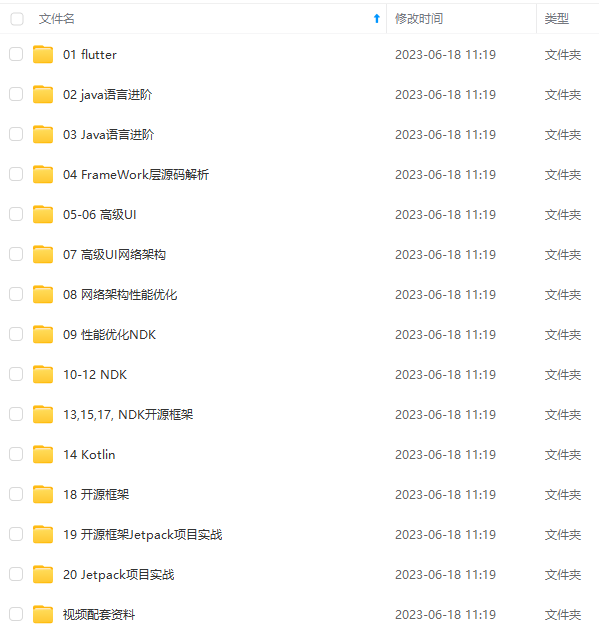
由于文件比较大,这里只是将部分目录大纲截图出来,每个节点里面都包含大厂面经、学习笔记、源码讲义、实战项目、讲解视频,并且后续会持续更新
如果你觉得这些内容对你有帮助,可以添加V获取:vip204888 (备注Android)

总结
写到这里也结束了,在文章最后放上一个小小的福利,以下为小编自己在学习过程中整理出的一个关于Flutter的学习思路及方向,从事互联网开发,最主要的是要学好技术,而学习技术是一条慢长而艰苦的道路,不能靠一时激情,也不是熬几天几夜就能学好的,必须养成平时努力学习的习惯,更加需要准确的学习方向达到有效的学习效果。
由于内容较多就只放上一个大概的大纲,需要更及详细的学习思维导图的
还有高级UI、性能优化、架构师课程、NDK、混合式开发(ReactNative+Weex)微信小程序、Flutter全方面的Android进阶实践技术资料,并且还有技术大牛一起讨论交流解决问题。

导图的
还有高级UI、性能优化、架构师课程、NDK、混合式开发(ReactNative+Weex)微信小程序、Flutter全方面的Android进阶实践技术资料,并且还有技术大牛一起讨论交流解决问题。**
[外链图片转存中…(img-jy4gh1FQ-1711693121539)]


 902
902


 被折叠的 条评论
为什么被折叠?
被折叠的 条评论
为什么被折叠?
 到【灌水乐园】发言


