


<strong>export TZ='Asia/Shanghai'</strong>
执行完成之后需要重新登录系统或刷新 ~/.bashrc 生效。
<strong>source ~/.bashrc
</strong>
更改Linux系统时区
要更改 Linux 系统整个系统范围的时区可以使用如下命令:
<strong>sudo rm -f /etc/localtime
sudo ln -s /usr/share/zoneinfo/Asia/Shanghai /etc/localtime</strong>
注意:/usr/share/zoneinfo/Asia/Shanghai 中的具体时区请用自己获取到的 TZ 值进行替换。
使用Systemd更改Linux系统时区
如果你使用的 Linux 系统使用 Systemd,还可以使用 timedatectl 命令来更改 Linux 系统范围的时区。在 Systemd 下有一个名为 systemd-timedated 的系统服务负责调整系统时钟和时区,我们可以使用 timedatectl 命令对此系统服务进行配置。
sudo timedatectl set-timezone 'Asia/Shanghai'

date 设置时间
用 -s选项可以设置系统时间:
#date -s "20201015 10:10:15"                  #设置具体系统时间
#date           #查看时间和日期
hwclock命令参数:
- -r, --show 读取并打印硬件时钟(read hardware clock and print result)
- -s, --hctosys 将硬件时钟同步到系统时钟(set the system time from the hardware clock)
- -w, --systohc 将系统时钟同步到硬件时钟(set the hardware clock to the current system time)
显示硬件时钟
[root@ ~]# hwclock
2010年11月06日 星期六 21时09分28秒  -0.134840 seconds
[root@~]# hwclock -r
2010年11月06日 星期六 21时09分33秒  -0.469123 seconds
[root@ ~]# hwclock --show
2010年11月06日 星期六 21时09分45秒  -0.127548 seconds
修改日期并同步到硬件时钟
[root@new55 ~]# date
2010年 11月 06日 星期六 21:11:57 CST
[root@new55 ~]# date 11062112     <== 格式 mmddHHMM,即 月日时分
2010年 11月 06日 星期六 21:12:00 CST
[root@new55 ~]# hwclock -w
[root@new55 ~]# hwclock
2010年11月06日 星期六 21时12分13秒  -0.648818 seconds
注:要使系统时间准确,最好还是使用ntp方式。
ntpdate命令是使用NTP协议来从网络同步时间的命令。NTP=Network Time Protocol 网络时间协议。
[root@ ~]# ntpdate 0.rhel.pool.ntp.org
 6 Nov 21:17:55 ntpdate[4829]: step time server 123.146.124.28 offset -1.025258 sec
[root@ ~]# date
2010年 11月 06日 星期六 21:17:59 CST
[root@ ~]# hwclock -w
三、Ubuntu配置Linux的时钟同步
Ubuntu系统默认的时钟同步服务器是ntp.ubuntu.com,Debian则是0.debian.pool.ntp.org等, 各Linux发行版都有自己的NTP官方服务器。身在中国,使用这些都会有高延迟,但对时钟同步这件事来说影响不大。
安装
一般timesync是预装的。如果没有,可以使用以下命令手动安装。
sudo apt install systemd-timesyncd

#它和ntp是冲突的,二者只能安装一个。
配置
修改/etc/systemd/timesyncd.conf,把NTP设为华为内绿区可达的NTP服务器。
[Time]
NTP=ntp7.aliyun.com
NTP=ntp6.aliyun.com
修改完成后,需要restart后这个配置才生效。
sudo systemctl restart systemd-timesyncd.service
如果以上systemd-timesyncd.service因为什么原因而不存在,则可通过以下命令修复:
sudo dpkg-reconfigure systemd-timesyncd
查看效果
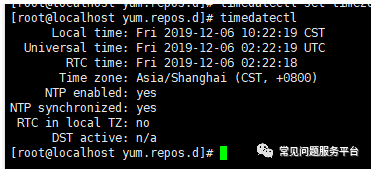
一般查看日期与时间是使用date。使用timedatectl可以查看到更多时钟同步相关信息。
$ timedatectl status
               Local time: 二 2020-09-22 20:06:05 CST
           Universal time: 二 2020-09-22 12:06:05 UTC
                 RTC time: 二 2020-09-22 12:06:05
                Time zone: Asia/Shanghai (CST, +0800)
System clock synchronized: yes
              NTP service: active
          RTC in local TZ: no
国内NTP服务器列表
以下给出一些阿里云的NTP列表,可以通过ping择优使用。
ntp1.aliyun.com
ntp2.aliyun.com
ntp3.aliyun.com
ntp4.aliyun.com
ntp5.aliyun.com
ntp6.aliyun.com
ntp7.aliyun.com
四、Ubuntu时区及语言环境设置(亲测)
- 修改系统时区设置
dpkg-reconfigure tzdata,选择城市(Shanghai)就可以.
-
修改locale(语言)
-
修改/var/lib/locales/supported.d/local,直接改成:
zh_CN.UTF-8 UTF-8
- dpkg-reconfigure locales
- 修改/etc/default/locale:
LANG="zh\_CN.UTF-8"
LANGUAGE="zh\_CN:zh"
- reboot
扩展
NTP时间服务器配置
yum install ntp ntpdate -y
NTP服务器监听端口为UDP的123,那就需要在本地防火墙开启运行客户端访问123端口
# vi /etc/sysconfig/iptables

-A INPUT -m state NEW -m udp -p udp --dport 123 -j ACCEPT
修改ntp.conf配置文件
#cp /etc/ntp.conf /etc/ntp.coonf.bak
vi /etc/ntp.conf 只修改如下两行,把#号去掉即可
server 127.127.1.0       # local clock
fudge 127.127.1.0 stratum 10
以守护进程启动ntpd
#/etc/init.d/ntpd start 即可
#ntpq -p
(注意 * : ntpd启动后,客户机要等几分钟再与其进行时间同步,否则回提示"no server suitable for synchronization found"错误。)
配置时间同步客户机
#crontab -e
增加一行,在每天的6点10分与时间同步服务器进行同步
10 06 * * * /usr/sbin/ntpdate ntp-server 的ip >>/usr/local/logs/crontab/ntpdate.log
备注 : 如果客户机没有ntpdate,可以yum -y install ntp即可!
以下是ntp服务器配置文件内容(局域网NTP,如果需要跟外网同步,添加外网server即可)
#driftfile /var/lib/ntp/drift
#restrict default kod nomodify notrap nopeer noquery
restrict -6 default kod nomodify notrap nopeer noquery
restrict 127.0.0.1
restrict -6 ::1
server 127.127.1.0 # local clock
fudge 127.127.1.0 stratum 10
includefile /etc/ntp/crypto/pw
keys /etc/ntp/keys
下面是参数详解:

自此 NTP 服务搭建完毕,然后在所有客户端 crontab 里面添加如下语句:
0 0 * * * /usr/sbin/ntpdate 10.0.0.155 >>/data/logs/ntp.log 2>&1
NTP 时间服务器安装配置
NTP 服务器监听端口为 UDP 的 123,那就需要在本地防火墙开启运行客户端访问 123
端口,vi /etc/sysconfig/iptables 添加如下规则:
-A INPUT -m state --state NEW -m udp -p udp --dport 123 -j ACCEPT
关闭防火墙的命令:
service stop firewalld
关闭 Selinux 软件服务:
Setenforce 0 临时关闭
Sestatus 查看 selinux 的状态,为 disabled 就 OK 了。
NTP 时间服务器配置:
yum install ntp ntpdate -y 即可!
修改 ntp.conf 配置文件
cp /etp/ntp.conf /etc/ntp.conf.bak
vi /etc/ntp.conf 只修改如下两行,把#号去掉即可!
server 127.127.1.0 # local clock
fudge 127.127.1.0 stratum 10
以守护进程启动 ntpd
/etc/init.d/ntpd start 即可
(注意*: ntpd 启动后,客户机要等几分钟再与其进行时间同步,否则会提示“no server suitable for synchronization found”错误。)
配置时间同步客户机
crontab -e
增加一行,在每天的 6 点 10 分与时间同步服务器进行同步
10  06  \*  \*  \*  /usr/sbin/ntpdate  ntp-server 的
ip >>/usr/local/logs/crontab/ntpdate.log
备注:如果客户机没有 ntpdate,可以 yum –y install ntp 即可!
以下是 ntp 服务器配置文件内容(局域网 NTP,如果需要跟外网同步,添加外网 server 即
可)
driftfile /var/lib/ntp/drift
restrict default kod nomodify notrap nopeer noquery
restrict -6 default kod nomodify notrap nopeer noquery
restrict 127.0.0.1
restrict -6 ::1
server 127.127.1.0 # local clock
fudge 127.127.1.0 stratum 10
includefile /etc/ntp/crypto/pw
keys /etc/ntp/keys
自此 NTP 服务搭建完毕,然后在所有客户端 crontab 里面添加如下语句:
0 0 \* \* \* /usr/sbin/ntpdate 10.0.0.155 >>/data/logs/ntp.log 2>&1
centos修改时区,同步时间
查看当前系统时区
ls -la /etc/localtime
查看支持的时区
timedatectl list-timezones    # 查看所有时区
timedatectl list-timezones | grep Asia  # 查看亚洲时区
修改时区
修改为上海时区
timedatectl set-timezone Asia/Shanghai
查看修改后的时区
timedatectl
同步时间
安装 ntpdate
yum install ntpdate
查看ntp服务器的时间
ntpdate -q time.windows.com
同步时间
ntpdate time.windows.com
写入硬件时间
查询硬件时间
sudo hwclock -r
把当前时间写入硬件
sudo hwclock -w
Linux服务器时间同步那些事
内外网集群的时间同步①
- Server端:可以访问外网的机器
- Client端:在内网里的机器
一、server端安装ntp校时包,修改独立主机
rm -rf /etc/localtime #先清除原有的链接文件
ln -s /usr/share/zoneinfo/Asia/Shanghai /etc/localtime #修改时区到东8区。
date -R #查看的时区设置。
接下来调整系统时间与时间服务器同步
Debian系统安装NTP校时包:
代码如下:
apt-get install ntpdate #安装ntp
CentOS系统安装NTP校时包:
代码如下:
yum -y install ntpdate ntp #安装ntp
Ubuntu系统安装NTP校时包:
代码如下:
sudo apt-get install -y ntpdate ntp
二、server端修改/etc/ntp.conf配置文件
编辑 /etc/ntp.conf
server cn.pool.ntp.org
restrict default nomodifynotrapnoquery
restrict 127.0.0.1   # 开启内部递归网络接口 lo
restrict 192.168.9.0 mask 255.255.255.0 nomodify notrap #在内部子网里面的客户端可以 进行网络校时,但不能修改NTP服务器的时间参数
由于配置的是本地时间 ,所以还需要配置一个使用系统时钟作为时间源的NTP服务器,需要在/etc/ntp.conf文件中添加如下的记录
server 127.127.1.0
fudge 127.127.1.0 stratum 10
然后保存退出
接着输入下面的命令:
ntpdate -d cn.pool.ntp.org #调试查看时间差异
ntpdate cn.pool.ntp.org #手动校准系统时间
date -R # 检查时间是否同步
三、server端修改ntpd 的系统配置
vi /etc/sysconfig/ntpd
SYNC_HWCLOCK=yes #同步独立主机的硬件时钟
然后:wq退出
chkconfig --levels 235 ntpd on #配置开机启动ntp服务,定期同步时间
/etc/init.d/ntpd start#启动ntp同步
四、client端配置ntpd服务
注:client端保证与server端的网络通畅
编辑/etc/ntp.conf文件,前面的这两行注释掉
#restrict default kod nomodify notrap nopeer noquery
#restrict -6 default kod nomodify notrap nopeer noquery

#server 0.centos.pool.ntp.org iburst
#server 1.centos.pool.ntp.org iburst
#server 2.centos.pool.ntp.org iburst
#server 3.centos.pool.ntp.org iburst
在里面加上
restrict 服务端地址 nomodify
server 服务端地址 prefer
service ntpd start启动ntpd服务
chkconfig ntpd on 加入开机启动项
五、检查ntpd的工作情况(网络连通性(是否开放了123端口)和同步情况)
ntpq -p查看是否能正确输出
date -R 每台机器查看时间
linux下防火墙规则如果极严格的话可能会影响ntpd对时,打开 sport 123 即可
iptables -I INPUT -p udp -m udp --sport 123 -j ACCEPT
内网linux服务器之间时间同步②
首先设置主机器,先设置时区,在修改配置文件
rm -rf /etc/localtime #先清除原有的链接文件
ln -s /usr/share/zoneinfo/Asia/Shanghai /etc/localtime #修改时区到东8区。
date -R #查看的时区设置。将本机时间修改为标准时间
hwclock --systohc && hwclock -w 使用系统时间刷入硬件时间
编辑/etc/ntp.conf文件
在里面加上
restrict 127.0.0.1   # 开启内部递归网络接口 lo
restrict 192.168.5.0 mask 255.255.255.0 nomodify #在内部子网里面的客户端可以 进行网络校时,但不能修改NTP服务器的时间参数
由于配置的是本地时间 ,所以还需要配置一个使用系统时钟作为时间源的NTP服务器,需要在/etc/ntp.conf文件中添加如下的记录:
server 127.127.1.0
fudge 127.127.1.0 stratun 10
在以上的记录中:
指定的IP地址是一个“伪”IP地址,确定本地系统为时间源。
指定的IP地址127.127.1.1告诉NTP使用内部时钟作为时间源。
"fudge"定义了这个时钟的级别,如果没有这个记录,节点就是一级服务器。将级别重新定义为10是个好的办法,这样客户端在查询这个服务器的时候就会知道这个服务器不是一个可靠的时间源.
这种时间同步的方式只应该在本地的网络不能使用外部的时间源的时候使用
启动ntp服务
service ntpd start
设置开机启动
chkconfig ntpd on
然后配置客户端,在192.168.5.103这台主机上面,编辑/etc/crontab这个文件,用于设置此节点每分钟要像主服务器同步时间
设置如下:
\* \* \* \* \* root /usr/sbin/ntpdate 192.168.5.102;/sbin/hwclock -w
查看时间是否一致
最后提及一点,ntp服务,默认只会同步系统时间。如果想要让ntp同时同步硬件时间,可以设置/etc/sysconfig/ntpd文件。
在/etc/sysconfig/ntpd文件中,添加 SYNC_HWCLOCK=yes 这样,就可以让硬件时间与系统时间一起同步。
自动脚本如下:
#!/bin/bash
cat << EOF  >> /etc/ntp.conf
restrict 127.0.0.1
restrict 192.168.5.0 mask 255.255.255.0 nomodify
server 127.127.1.0
fudge 127.127.1.0 stratun 10
EOF
service ntp restart
chkconfig ntpd on
#客户端修改内容
echo >>
更新脚本2
#!/bin/bash
#备份源文件
mv /etc/localtime /etc/localtimebak
#修改时区为东八区
ln -s /usr/share/zoneinfo/Asia/Shanghai /etc/localtime
#校准当前时间
date -s "2017-10-24 12:09:38"
#使用系统时间刷入硬件时间
hwclock --systohc
#修改配置文件
cat << EOF  >> /etc/ntp.conf
restrict 127.0.0.1
restrict 192.168.9.0 mask 255.255.255.0 nomodify
server 127.127.1.0
fudge 127.127.1.0 stratun 10
EOF
#重启开机自启
service ntpd restart
chkconfig ntpd on
外网单台机器设置时间同步③
一、安装ntp校时包,修改独立主机
rm -rf /etc/localtime #先清除原有的链接文件
ln -s /usr/share/zoneinfo/Asia/Shanghai /etc/localtime #修改时区到东8区。
date -R #查看的时区设置。
接下来调整系统时间与时间服务器同步
Debian系统安装NTP校时包:
代码如下:
apt-get install ntpdate #安装ntp
CentOS系统安装NTP校时包:
代码如下:
yum -y install ntpdate ntp #安装ntp
Ubuntu系统安装NTP校时包:
代码如下:
sudo apt-get install -y ntpdate ntp
二、修改/etc/ntp.conf配置文件
vi /etc/ntp.conf 就会看到以下内容:
server 0.centos.ntp.org
server time.windows.com
server time.nist.gov
这是默认的ntp同步服务器,大家可以自己改,全球ntp服务器地址:http://www.pool.ntp.org/
cn.pool.ntp.org //这中国的ntp服务器
我改成了:
server cn.pool.ntp.org
server time-a.nist.gov
server time.windows.com
server time.nist.gov
然后保存退出
接着输入下面的命令:
ntpdate -d cn.pool.ntp.org #调试查看时间差异
ntpdate cn.pool.ntp.org #同步时间
date -R # 检查时间是否同步
三、修改ntp 的系统配置
vi /etc/sysconfig/ntpd
SYNC_HWCLOCK=yes #同步独立主机的硬件时钟
然后:wq退出
chkconfig --levels 235 ntpd on #配置开机启动ntp服务,定期同步时间
/etc/init.d/ntpd start#启动ntp同步
自动脚本如下:
#!/bin/bash
#备份源文件
mv /etc/localtime /etc/localtimebak
#修改时区为东八区
ln -s /usr/share/zoneinfo/Asia/Shanghai /etc/localtime
#安装ntp服务
yum -y install ntpdate ntp
#修改/etc/ntp.conf
cat << EOF  >> /etc/ntp.conf
server cn.pool.ntp.org
server time-a.nist.gov
server time.windows.com
server time.nist.gov
EOF
#调试查看时间差异
ntpdate -d cn.pool.ntp.org
#同步时间
ntpdate cn.pool.ntp.org && echo "SYNC\_HWCLOCK=yes" >>/etc/sysconfig/ntpd || echo "Setting Filed!"
#自启动
chkconfig --levels 235 ntpd on
/etc/init.d/ntpd start
echo `date`
**先自我介绍一下,小编浙江大学毕业,去过华为、字节跳动等大厂,目前在阿里**
**深知大多数程序员,想要提升技能,往往是自己摸索成长,但自己不成体系的自学效果低效又漫长,而且极易碰到天花板技术停滞不前!**
**因此收集整理了一份《2024年最新Linux运维全套学习资料》,初衷也很简单,就是希望能够帮助到想自学提升又不知道该从何学起的朋友。**
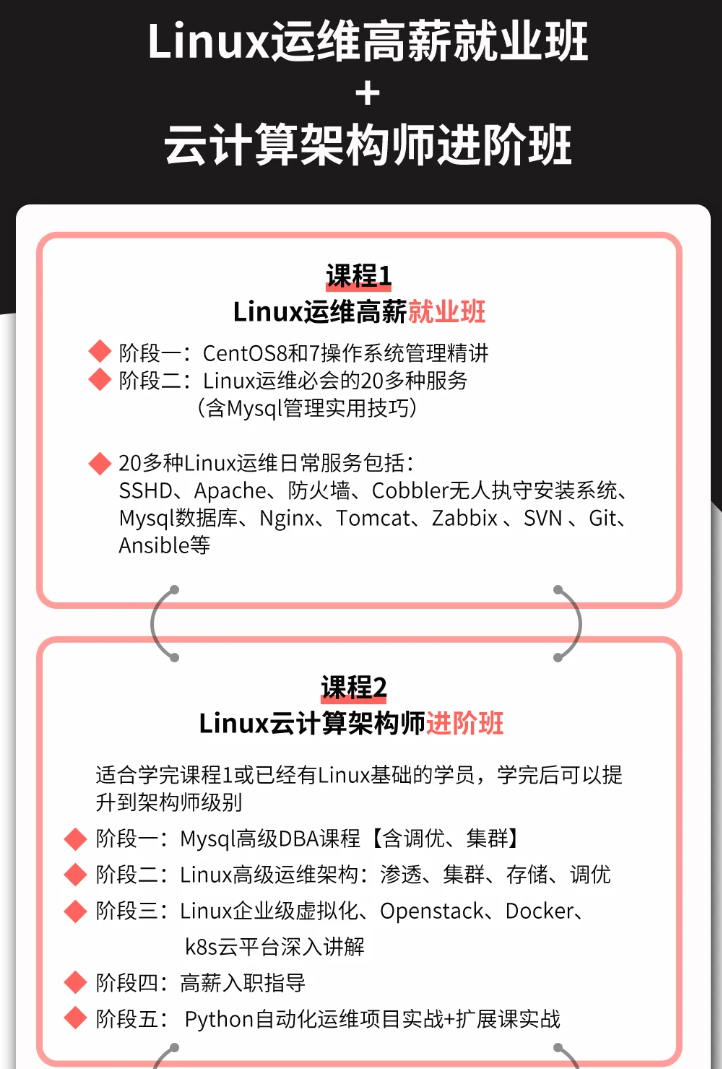
**既有适合小白学习的零基础资料,也有适合3年以上经验的小伙伴深入学习提升的进阶课程,涵盖了95%以上运维知识点,真正体系化!**
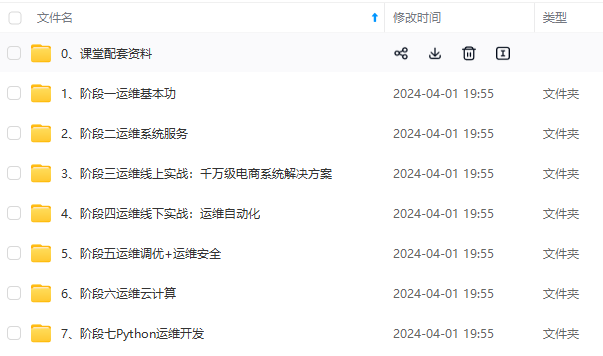
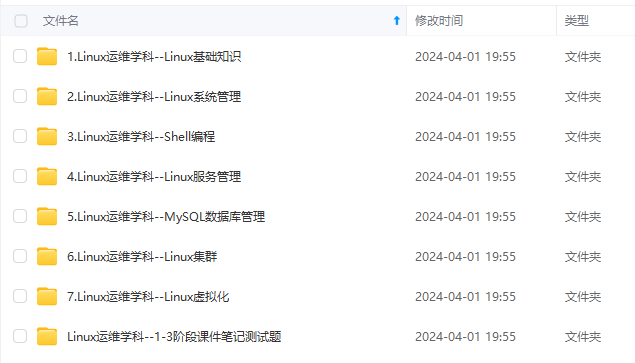
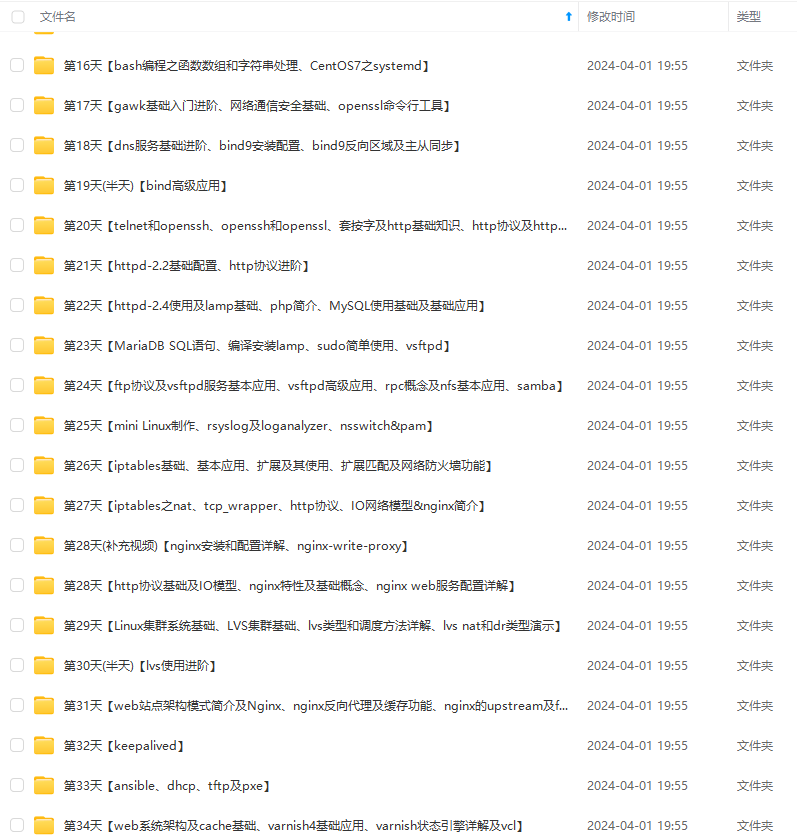
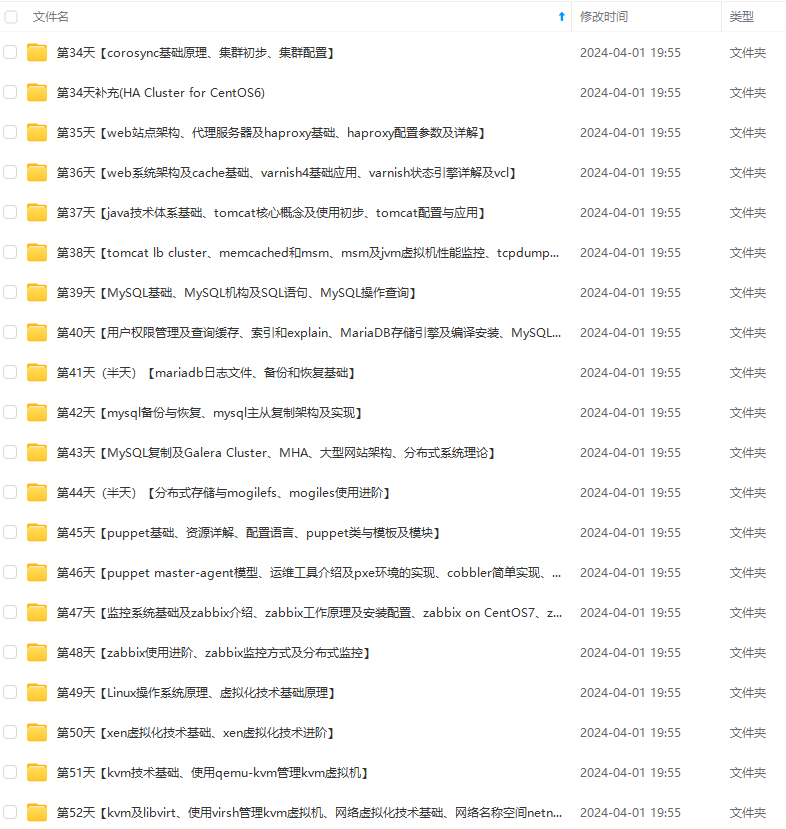
**由于文件比较多,这里只是将部分目录截图出来,全套包含大厂面经、学习笔记、源码讲义、实战项目、大纲路线、讲解视频,并且后续会持续更新**
**[需要这份系统化的资料的朋友,可以点击这里获取!](https://bbs.csdn.net/topics/618542503)**
时间差异
ntpdate -d cn.pool.ntp.org
#同步时间
ntpdate cn.pool.ntp.org && echo "SYNC\_HWCLOCK=yes" >>/etc/sysconfig/ntpd || echo "Setting Filed!"
#自启动
chkconfig --levels 235 ntpd on
/etc/init.d/ntpd start
echo `date`
**先自我介绍一下,小编浙江大学毕业,去过华为、字节跳动等大厂,目前在阿里**

**深知大多数程序员,想要提升技能,往往是自己摸索成长,但自己不成体系的自学效果低效又漫长,而且极易碰到天花板技术停滞不前!**

**因此收集整理了一份《2024年最新Linux运维全套学习资料》,初衷也很简单,就是希望能够帮助到想自学提升又不知道该从何学起的朋友。**
[外链图片转存中...(img-O3Xbe9s6-1714534081376)]
[外链图片转存中...(img-U5FLWqbu-1714534081377)]
[外链图片转存中...(img-JPKcSD5p-1714534081377)]
[外链图片转存中...(img-p9cxzkzt-1714534081377)]
[外链图片转存中...(img-7A6geYac-1714534081378)]

**既有适合小白学习的零基础资料,也有适合3年以上经验的小伙伴深入学习提升的进阶课程,涵盖了95%以上运维知识点,真正体系化!**

**由于文件比较多,这里只是将部分目录截图出来,全套包含大厂面经、学习笔记、源码讲义、实战项目、大纲路线、讲解视频,并且后续会持续更新**

**[需要这份系统化的资料的朋友,可以点击这里获取!](https://bbs.csdn.net/topics/618542503)**


 3047
3047


 被折叠的 条评论
为什么被折叠?
被折叠的 条评论
为什么被折叠?
 到【灌水乐园】发言


