


======================================================================
标识JMH进行Benchmark时所使用的模式。
-
Throughput:吞吐量。比如“1秒内可以执行多少次调用”,单位是ops/time -
AverageTime:每次调用的平均耗时。比如“每次调用平均耗时xxx毫秒”,单位是time/ops -
SampleTime:随机取样,最后输出取样结果的分布。比如“99%的调用在xxx毫秒内,99.99%的调用在xxx毫秒以内” -
SingleShotTime:只运行一次,往往同时设置warmup=0,一般用于测试冷启动的性能。
上面的这些模式并不是只能使用某一个,这些模式是可以被组合使用的,比如
@BenchmarkMode({Mode.AverageTime, Mode.SampleTime})
通过State可以指定一个对象的作用范围,jmh通过scope来进行实例化和共享操作。@State可以被继承使用,如果父类定义了该注解,子类则无需定义。由于jmh可以进行多线程测试,所以不同的scope的隔离级别如下:
-
Scope.Benchmark:全局共享,所有的测试线程共享同一个实例对象。可以用来测试有状态的实例在多线程下的性能。 -
Scope.Group:同一个线程组内部的线程共享一个实例对象。 -
Scope.Thread:每个线程获取到都是不一样的实例对象。
在上面字符串拼接性能测试的样例中,我们使用的就是Scope.Benchmark
输出结果的时间单位,咱们上面用的是纳秒,即TimeUnit.NANOSECONDS
程序预热所需要的一些参数,可以用在类或者方法上。由于JVM存在JIT机制,所以一般前几次的效率都可能会不太理想,所以需要让程序先预热一下再跑。这样可以保证测试结果的准确性。参数如下:
-
iterations:预热的次数,默认值是org.openjdk.jmh.runner.Defaults#WARMUP_ITERATIONS=5 -
time:每次预热执行的时长,默认值是org.openjdk.jmh.runner.Defaults#WARMUP_TIME=10秒 -
timeUnit:上面那个时长对应的单位类型,默认是秒 -
batchSize:每个操作的基准方法调用次数,默认值是org.openjdk.jmh.runner.Defaults#WARMUP_BATCHSIZE=1。1就代表一次一次的调用,如果是2那就代表2次2次的调用。
这个参数与@Warmup中的参数完全一样,只是@Warmup是用在预热上,预热结果不算入最终的结果中。而@Measurement是指实际测试时的参数。
默认值是org.openjdk.jmh.runner.Defaults#MEASUREMENT_FORKS=5,可以手动指定。@Fork
中设置是多少,那jmh执行测试时就会创建多少个独立的进程来进行测试。但是需要注意的是,不管有多少个进程进行测试,他们都是串行的。当fork为0时,表示不需要进行fork。官方解释是这样的:
JVMs are notoriously good at profile-guided optimizations. This is bad for benchmarks, because different tests can mix their profiles together, and then render the “uniformly bad” code for every test. Forking (running in a separate process) each test can help to evade this issue.
JMH will fork the tests by default.
翻译成人话就是说,首先因为JVM存在profile-guided optimizations
的特性,但是这样的特性是不利于进行基准测试的。因为不同的测试方法会混在一起,最后会导致结果出现偏差。为了避免这样的偏差才有了@Fork的存在。关于这个偏差的问题可以参考官方的这个例子:code-tools/jmh: 2be2df7dbaf8 jmh-samples/src/main/java/org/openjdk/jmh/samples/JMHSample_12_Forking.java
所以为了避免这样的问题,我们可以设置@Fork(1)这样每一个测试的方法都会跑在不同的jvm进程中,也就避免了相互影响。
每一个测试进程(JVM)中的线程数。
用来指定某个参数的多种情况,比如上面字符串的例子中的:
@Param({“10”, “100”, “1000”})
private int size;
特别适合用来测试一个函数在不同的参数输入的情况下的性能。只能用在字段上,同时必须使用@State注解声明隔离级别。
==================================================================
我们都知道获取随机数可以使用Random,同时在官方文档中也强调Random虽然是线程安全的,但是如果在多线程的情况下,最好还是使用ThreadLocalRandom
。那么,Random与ThreadLocalRandom在效率上相差多少呢?我们在实际使用过程中该如何选择呢?
@BenchmarkMode({Mode.AverageTime})
@OutputTimeUnit(TimeUnit.NANOSECONDS)
@Warmup(time = 1, iterations = 3)
@Measurement(time = 1, iterations = 5)
@Fork(1)
@Threads(5)
@State(value = Scope.Benchmark)
public class RandomTest {
private final Random random = new Random();
private final ThreadLocal randomThreadLocalHolder = ThreadLocal.withInitial(Random::new);
public static void main(String[] args) throws RunnerException {
Options opt = new OptionsBuilder()
.include(RandomTest.class.getSimpleName())
.result(“RandomTest_result.json”)
.resultFormat(ResultFormatType.JSON).build();
new Runner(opt).run();
}
@Benchmark
public int random() {
return random.nextInt();
}
@Benchmark
public int randomThreadLocalHolder() {
return randomThreadLocalHolder.get().nextInt();
}
@Benchmark
public int threadLocalRandom() {
return ThreadLocalRandom.current().nextInt();
}
}
看下结果:
Benchmark Mode Cnt Score Error Units
RandomTest.random avgt 5 423.784 ± 20.159ns/op
RandomTest.randomThreadLocalHolder avgt 5 11.369 ± 0.509ns/op
RandomTest.threadLocalRandom avgt 5 4.322 ± 0.374ns/op
从结果上看ThreadLocalRandom.current().nextInt()
完胜,而且效率差别非常大。同时我们也没必要自己搞ThreadLocal来封装Random。因为JDK提供的ThreadLocalRandom.current()就已经是天花板了。
@BenchmarkMode({Mode.AverageTime})
@OutputTimeUnit(TimeUnit.NANOSECONDS)
@Warmup(time = 1, iterations = 3)
@Measurement(time = 1, iterations = 5)
@Fork(1)
@Threads(10)
@State(value = Scope.Benchmark)
public class HotWriteTest {
private final LongAdder longAdder = new LongAdder();
private final AtomicLong atomicLong = new AtomicLong();
public static void main(String[] args) throws RunnerException {
Options opt = new OptionsBuilder()
.include(HotWriteTest.class.getSimpleName())
.result(“HotWriteTest_result.json”)
.resultFormat(ResultFormatType.JSON).build();
new Runner(opt).run();
}
@Benchmark
public void longAdder() {
longAdder.increment();
}
@Benchmark
public void atomicLong() {
atomicLong.incrementAndGet();
}
}
测试结果:
Benchmark Mode Cnt Score Error Units
HotWriteTest.atomicLong avgt 5 210.160 ± 27.965 ns/op
HotWriteTest.longAdder avgt 5 14.293 ± 2.339 ns/op
SpringBoot工程如下:
public interface IQueue {
void put(Object o) throws InterruptedException;
Object take() throws InterruptedException;
}
@Component(“arrayQueue”)
public class ArrayQueue implements IQueue {
private static final ArrayBlockingQueue QUEUE = new ArrayBlockingQueue<>(100000);
@Override
public void put(Object o) throws InterruptedException {
QUEUE.put(o);
}
@Override
public Object take() throws InterruptedException {
return QUEUE.take();
}
}
@Component(“linkedQueue”)
public class LinkedQueue implements IQueue {
private static final LinkedBlockingQueue QUEUE = new LinkedBlockingQueue<>(100000);
@Override
public void put(Object o) throws InterruptedException {
QUEUE.put(o);
}
@Override
public Object take() throws InterruptedException {
return QUEUE.take();
}
}
@SpringBootApplication(scanBasePackages = “com.example.jmh”)
public class SpringBootApp {
public static void main(String[] args) {
ConfigurableApplicationContext context = SpringApplication.run(SpringBootApp.class, args);
IQueue arrayQueue = context.getBean(“arrayQueue”, IQueue.class);
IQueue linkedQueue = context.getBean(“linkedQueue”, IQueue.class);
}
}
测试代码如下:
@BenchmarkMode({Mode.AverageTime})
@OutputTimeUnit(TimeUnit.NANOSECONDS)
@Warmup(time = 1, iterations = 2)
@Measurement(time = 1, iterations = 3)
@Fork(1)
@State(Scope.Group)
public class SpringBootTest {
private ConfigurableApplicationContext applicationContext;
private IQueue arrayQueue;
private IQueue linkedQueue;
public static void main(String[] args) throws RunnerException {
Options opt = new OptionsBuilder()
.include(SpringBootTest.class.getSimpleName())
.result(“SpringBootTest.json”)
.resultFormat(ResultFormatType.JSON).build();
new Runner(opt).run();
}
@Setup
public void init() {
applicationContext = SpringApplication.run(SpringBootApp.class);
arrayQueue = applicationContext.getBean(“arrayQueue”, IQueue.class);
linkedQueue = applicationContext.getBean(“linkedQueue”, IQueue.class);
}
@TearDown
public void down() {
applicationContext.close();
}
@Group(“arrayQueue”)
@GroupThreads(2)
@Benchmark
public void arrayQueuePut() throws InterruptedException {
arrayQueue.put(new Object());
}
@Group(“arrayQueue”)
@GroupThreads(10)
@Benchmark
public Object arrayQueueGet() throws InterruptedException {
return arrayQueue.take();
}
@Group(“linkedQueue”)
@GroupThreads(2)
@Benchmark
public void linkedQueuePut() throws InterruptedException {
linkedQueue.put(new Object());
}
自我介绍一下,小编13年上海交大毕业,曾经在小公司待过,也去过华为、OPPO等大厂,18年进入阿里一直到现在。
深知大多数Java工程师,想要提升技能,往往是自己摸索成长或者是报班学习,但对于培训机构动则几千的学费,着实压力不小。自己不成体系的自学效果低效又漫长,而且极易碰到天花板技术停滞不前!
因此收集整理了一份《2024年Java开发全套学习资料》,初衷也很简单,就是希望能够帮助到想自学提升又不知道该从何学起的朋友,同时减轻大家的负担。


既有适合小白学习的零基础资料,也有适合3年以上经验的小伙伴深入学习提升的进阶课程,基本涵盖了95%以上Java开发知识点,真正体系化!
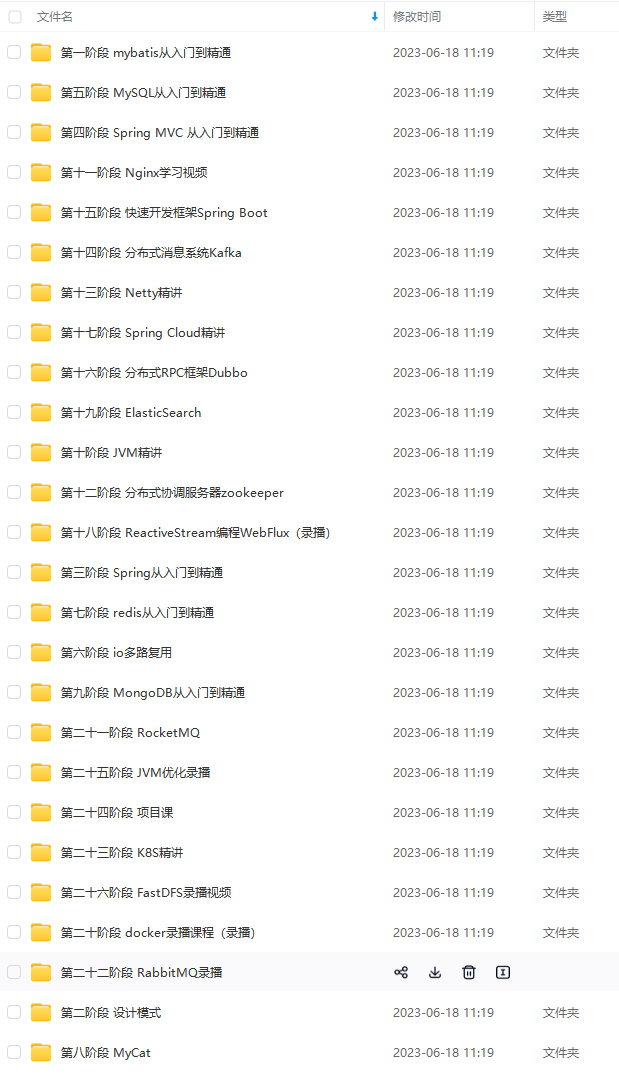
由于文件比较大,这里只是将部分目录大纲截图出来,每个节点里面都包含大厂面经、学习笔记、源码讲义、实战项目、讲解视频,并且后续会持续更新
如果你觉得这些内容对你有帮助,可以添加V获取:vip1024b (备注Java)

最后


由于篇幅原因,就不多做展示了
17752720)]
[外链图片转存中…(img-RF8Cq0Ps-1712017752720)]
[外链图片转存中…(img-LP8grN5E-1712017752720)]
既有适合小白学习的零基础资料,也有适合3年以上经验的小伙伴深入学习提升的进阶课程,基本涵盖了95%以上Java开发知识点,真正体系化!
由于文件比较大,这里只是将部分目录大纲截图出来,每个节点里面都包含大厂面经、学习笔记、源码讲义、实战项目、讲解视频,并且后续会持续更新
如果你觉得这些内容对你有帮助,可以添加V获取:vip1024b (备注Java)
[外链图片转存中…(img-gY72tTua-1712017752721)]
最后
[外链图片转存中…(img-oW9VnJzV-1712017752721)]
[外链图片转存中…(img-EHUz5FQ6-1712017752721)]
[外链图片转存中…(img-Mn3UJrwp-1712017752722)]
[外链图片转存中…(img-deen34hK-1712017752722)]
[外链图片转存中…(img-dneIGaTK-1712017752722)]
[外链图片转存中…(img-YHXw9yTN-1712017752723)]
由于篇幅原因,就不多做展示了


 2万+
2万+


 被折叠的 条评论
为什么被折叠?
被折叠的 条评论
为什么被折叠?
 到【灌水乐园】发言


