


本地调试
在项目根目录下的 pacakge.json 中增加如下内容:
{
“bin”: {
“ts-cli”: “./bin/ts-cli.js”
}
}
bin 表示命令(ts-cli)的可执行文件的位置,接下来在项目根目录执行 npm link,将 package.json 中的属性 bin 的值路径添加全局链接,在命令行中执行 ts-cli 就会执行 ./bin/ts-cli.js 文件
当用户安装带有 bin 字段的包时,如果是全局安装,npm 将会使用符号链接把这些文件链接到/usr/local/node_modules/.bin/(即全局的 node_modules/.bin 中);如果是本地安装,会链接到./node_modules/.bin/。
开发结束可执行 npm unlink ts-cli 去掉 ts-cli 的链接,如果不幸你执行 npm link 命令之后你改变了你的目录名,在 unlink 时会无效,只能手动去全局的 node_modules 中删除对应的软连接
在项目根目录下添加 bin 目录,然后在 bin 目录下新建 ts-cli.js,文件内容如下:
#!/usr/bin/env node
// 将构建目录(lib)下的 index.js 作为脚手架的入口
require(‘…/lib/index’)
接下来正式进入开发阶段
开发
–
这是源码的一个目录结构

/src/index.ts
import { program } from ‘commander’;
import create from ‘./order/create’;
// ts-cli -v、ts-cli --version
// 临时禁用规则,保证这里可以通过 require 方法获取 package.json 中的版本号
/* eslint-disable @typescript-eslint/no-var-requires */
program
.version(${require('../package.json').version}, ‘-v --version’)
.usage(‘ [options]’);
// ts-cli create newPro
program
.command(‘create ’)
.description(‘Create new project from => ts-cli create yourProjectName’)
.action(async (name: string) => {
// 创建命令具体做的事情都在这里,name 是你指定的 newPro
await create(name);
});
program.parse(process.argv);
/src/order/create.ts
/**
- create 命令的具体任务
*/
import {
changePackageInfo,
end,
initProjectDir,
installDevEnviroment,
installFeature,
installTSAndInit,
installTypesNode,
isFileExist,
selectFeature,
} from ‘…/utils/create’;
// create 命令
export default async function create(projecrName: string): Promise {
// 判断文件是否已经存在
isFileExist(projecrName);
// 选择需要的功能
const feature = await selectFeature();
// 初始化项目目录
initProjectDir(projecrName);
// 改写项目的 package.json 基本信息,比如 name、description
changePackageInfo(projecrName);
// 安装 typescript 并初始化
installTSAndInit();
// 安装 @types/node
installTypesNode();
// 安装开发环境,支持实时编译
installDevEnviroment();
// 安装 feature
installFeature(feature);
// 结束
end(projecrName);
}
/src/utils/create.ts
/**
- create 命令需要用到的所有方法
*/
import {
getProjectPath,
PackageJSON,
JSON,
printMsg,
readJsonFile,
writeJsonFile,
clearConsole,
} from ‘…/utils/common’;
import { existsSync } from ‘fs’;
import { prompt } from ‘inquirer’;
import { blue, cyan, gray, red, yellow } from ‘chalk’;
import * as shell from ‘shelljs’;
import * as installFeatureMethod from ‘./installFeature’;
/**
-
验证当前目录下是否已经存在指定文件,如果存在则退出进行
-
@param filename 文件名
*/
export function isFileExist(filename: string): void {
// 文件路径
const file = getProjectPath(filename);
// 验证文件是否已经存在,存在则推出进程
if (existsSync(file)) {
printMsg(red(${file} 已经存在));
process.exit(1);
}
}
/**
-
交互式命令行,让用户自己选择需要的功能
-
return [‘ESLint’, ‘Prettier’, ‘CZ’]
*/
export async function selectFeature(): Promise<Array> {
// 清空命令行
clearConsole();
// 输出信息
/* eslint-disable @typescript-eslint/no-var-requires */
printMsg(blue(TS CLI v${require('../../package.json').version}));
printMsg(‘Start initializing the project:’);
printMsg(‘’);
// 选择功能,这里配合 下面的 installFeature 方法 和 ./installFeature.ts 文件为脚手架提供了良好的扩展机制
// 将来扩展其它功能只需要在 choices 数组中增加配置项,然后在 ./installFeature.ts 文件中增加相应的安装方法即可
const { feature } = await prompt([
{
name: ‘feature’,
type: ‘checkbox’,
message: ‘Check the features needed for your project’,
choices: [
{ name: ‘ESLint’, value: ‘ESLint’ },
{ name: ‘Prettier’, value: ‘Prettier’ },
{ name: ‘CZ’, value: ‘CZ’ },
],
},
]);
return feature as Array;
}
/**
- 初始化项目目录
*/
export function initProjectDir(projectName: string): void {
shell.exec(mkdir ${projectName});
shell.cd(projectName);
shell.exec(‘npm init -y’);
}
/**
- 改写项目中 package.json 的 name、description
*/
export function changePackageInfo(projectName: string): void {
const packageJSON: PackageJSON = readJsonFile(‘./package.json’);
packageJSON.name = packageJSON.description = projectName;
writeJsonFile(‘./package.json’, packageJSON);
}
/**
- 安装 typescript 并初始化
*/
export function installTSAndInit(): void {
// 安装 typescript 并执行命令 tsc --init 生成 tsconfig.json
shell.exec(‘npm i typescript -D && npx tsc --init’);
// 覆写 tsconfig.json
const tsconfigJson: JSON = {
compileOnSave: true,
compilerOptions: {
target: ‘ES2018’,
module: ‘commonjs’,
moduleResolution: ‘node’,
experimentalDecorators: true,
emitDecoratorMetadata: true,
inlineSourceMap: true,
noImplicitThis: true,
noUnusedLocals: true,
stripInternal: true,
pretty: true,
declaration: true,
outDir: ‘lib’,
baseUrl: ‘./’,
paths: {
‘': ['src/’],
},
},
exclude: [‘lib’, ‘node_modules’],
};
writeJsonFile(‘./tsconfig.json’, tsconfigJson);
// 创建 src 目录和 /src/index.ts
shell.exec(‘mkdir src && touch src/index.ts’);
}
/**
-
安装 @types/node
-
这是 node.js 的类型定义包
*/
export function installTypesNode(): void {
shell.exec(‘npm i @types/node -D’);
}
/**
- 安装开发环境,支持实时编译
*/
export function installDevEnviroment(): void {
shell.exec(‘npm i ts-node-dev -D’);
/**
-
在 package.json 的 scripts 中增加如下内容
-
“dev:comment”: “启动开发环境”,
-
“dev”: “ts-node-dev --respawn --transpile-only src/index.ts”
*/
const packageJson = readJsonFile(‘./package.json’);
packageJson.scripts[‘dev:comment’] = ‘启动开发环境’;
packageJson.scripts[‘dev’] =
‘ts-node-dev --respawn --transpile-only src/index.ts’;
writeJsonFile(‘./package.json’, packageJson);
}
/**
-
安装用户选择的功能
-
@param feature 功能列表
*/
export function installFeature(feature: Array): void {
feature.forEach((item) => {
const func = (installFeatureMethod[
install${item}
] as unknown) as () => void;
func();
});
// 安装 husky 和 lint-staged
installHusky(feature);
// 安装构建工具
installFeatureMethod.installBuild(feature);
}
/**
-
安装 husky 和 lint-staged,并根据功能设置相关命令
-
@param feature 用户选择的功能列表
*/
function installHusky(feature: Array): void {
// feature 副本
const featureBak = JSON.parse(JSON.stringify(feature));
// 设置 hook
const hooks = {};
// 判断用户是否选择了 CZ,有则设置 hooks
if (featureBak.includes(‘CZ’)) {
hooks[‘commit-msg’] = ‘commitlint -E HUSKY_GIT_PARAMS’;
}
// 设置 lintStaged
const lintStaged: Array = [];
if (featureBak.includes(‘ESLint’)) {
lintStaged.push(‘eslint’);
}
if (featureBak.includes(‘Prettier’)) {
lintStaged.push(‘prettier’);
}
installFeatureMethod.installHusky(hooks, lintStaged);
}
/**
- 整个项目安装结束,给用户提示信息
*/
export function end(projectName: string): void {
printMsg(Successfully created project ${yellow(projectName)});
printMsg(‘Get started with the following commands:’);
printMsg(‘’);
printMsg(${gray('$')} ${cyan('cd ' + projectName)});
printMsg(${gray('$')} ${cyan('npm run dev')});
printMsg(‘’);
}
/src/utils/installFeature.ts
/**
- 实现各个功能的安装方法
*/
import * as shell from ‘shelljs’;
import { writeFileSync } from ‘fs’;
import { PackageJSON, printMsg, readJsonFile, writeJsonFile } from ‘./common’;
import { red } from ‘chalk’;
/**
- 安装 ESLint
*/
export function installESLint(): void {
shell.exec(
‘npm i eslint @typescript-eslint/parser @typescript-eslint/eslint-plugin -D’,
);
// 添加 .eslintrc.js
const eslintrc = `module.exports = {
“env”: {
“es2021”: true,
“node”: true
},
“extends”: [
“eslint:recommended”,
“plugin:@typescript-eslint/recommended”
],
“parser”: “@typescript-eslint/parser”,
“parserOptions”: {
“ecmaVersion”: 12,
“sourceType”: “module”
},
“plugins”: [
“@typescript-eslint”
],
“rules”: {
}
};
`;
try {
writeFileSync(‘./.eslintrc.js’, eslintrc, { encoding: ‘utf-8’ });
} catch (err) {
printMsg(${red('Failed to write .eslintrc.js file content')});
printMsg(${red('Please add the following content in .eslintrc.js')});
printMsg(${red(eslintrc)});
}
// 改写 package.json
const packageJson = readJsonFile(‘./package.json’);
packageJson.scripts[‘eslint:comment’] =
‘使用 ESLint 检查并自动修复 src 目录下所有扩展名为 .ts 的文件’;
packageJson.scripts[‘eslint’] = ‘eslint --fix src --ext .ts --max-warnings=0’;
writeJsonFile(‘./package.json’, packageJson);
}
/**
- 安装 Prettier
*/
export function installPrettier(): void {
shell.exec(‘npm i prettier -D’);
// 添加 .prettierrc.js
const prettierrc = `module.exports = {
// 一行最多 80 字符
printWidth: 80,
// 使用 2 个空格缩进
tabWidth: 2,
// 不使用 tab 缩进,而使用空格
useTabs: false,
// 行尾需要有分号
semi: true,
// 使用单引号代替双引号
singleQuote: true,
// 对象的 key 仅在必要时用引号
quoteProps: ‘as-needed’,
// jsx 不使用单引号,而使用双引号
jsxSingleQuote: false,
// 末尾使用逗号
trailingComma: ‘all’,
// 大括号内的首尾需要空格 { foo: bar }
bracketSpacing: true,
// jsx 标签的反尖括号需要换行
jsxBracketSameLine: false,
// 箭头函数,只有一个参数的时候,也需要括号
arrowParens: ‘always’,
// 每个文件格式化的范围是文件的全部内容
rangeStart: 0,
rangeEnd: Infinity,
// 不需要写文件开头的 @prettier
requirePragma: false,
// 不需要自动在文件开头插入 @prettier
insertPragma: false,
// 使用默认的折行标准
proseWrap: ‘preserve’,
// 根据显示样式决定 html 要不要折行
htmlWhitespaceSensitivity: ‘css’,
// 换行符使用 lf
endOfLine: ‘lf’
};
`;
自我介绍一下,小编13年上海交大毕业,曾经在小公司待过,也去过华为、OPPO等大厂,18年进入阿里一直到现在。
深知大多数Java工程师,想要提升技能,往往是自己摸索成长或者是报班学习,但对于培训机构动则几千的学费,着实压力不小。自己不成体系的自学效果低效又漫长,而且极易碰到天花板技术停滞不前!
因此收集整理了一份《2024年Java开发全套学习资料》,初衷也很简单,就是希望能够帮助到想自学提升又不知道该从何学起的朋友,同时减轻大家的负担。
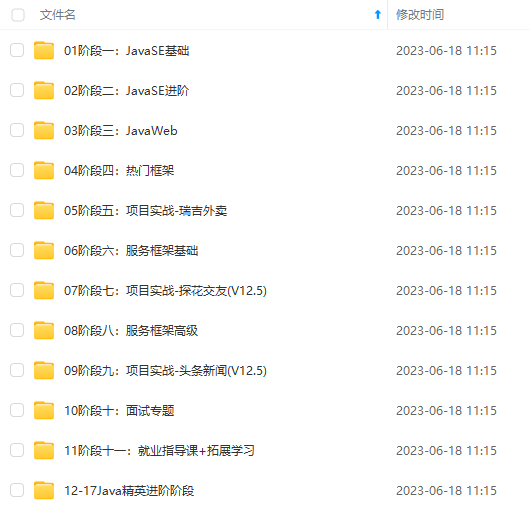
既有适合小白学习的零基础资料,也有适合3年以上经验的小伙伴深入学习提升的进阶课程,基本涵盖了95%以上Java开发知识点,真正体系化!
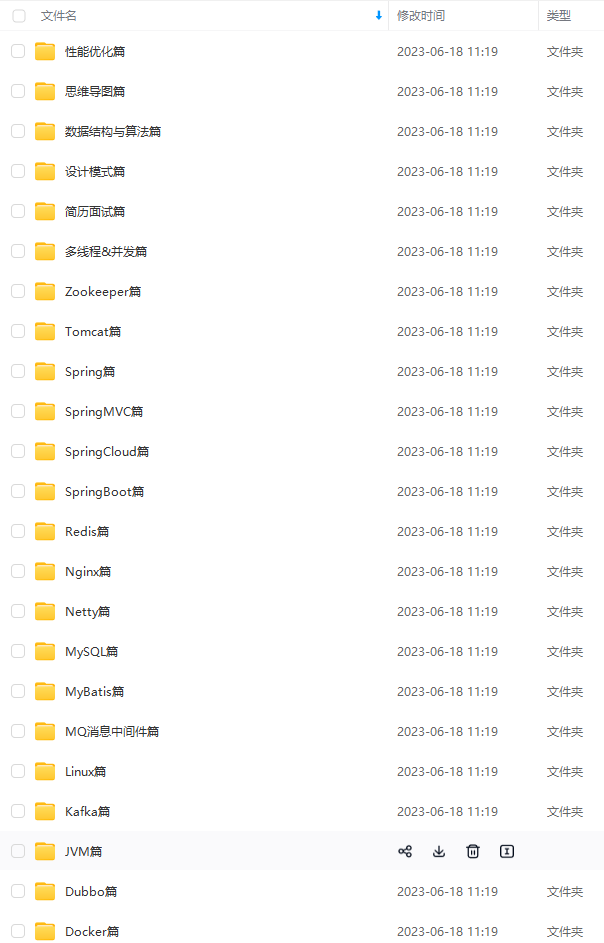
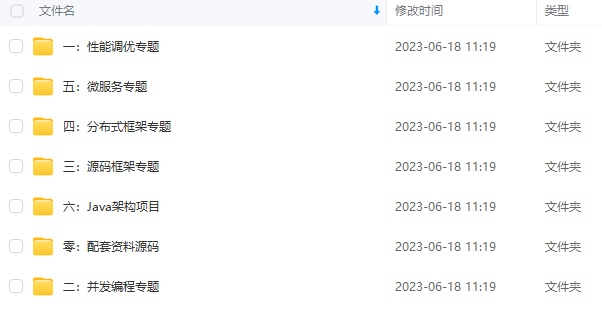
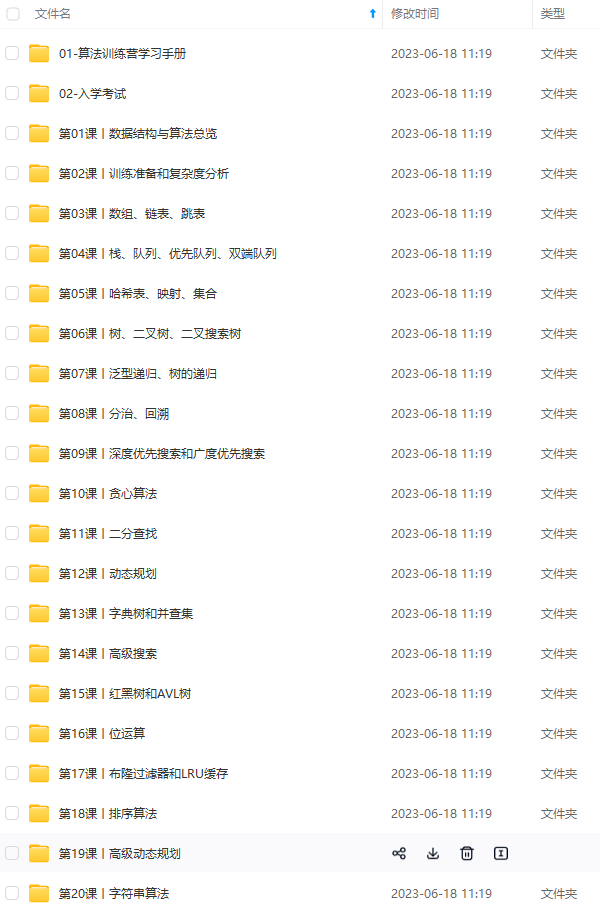
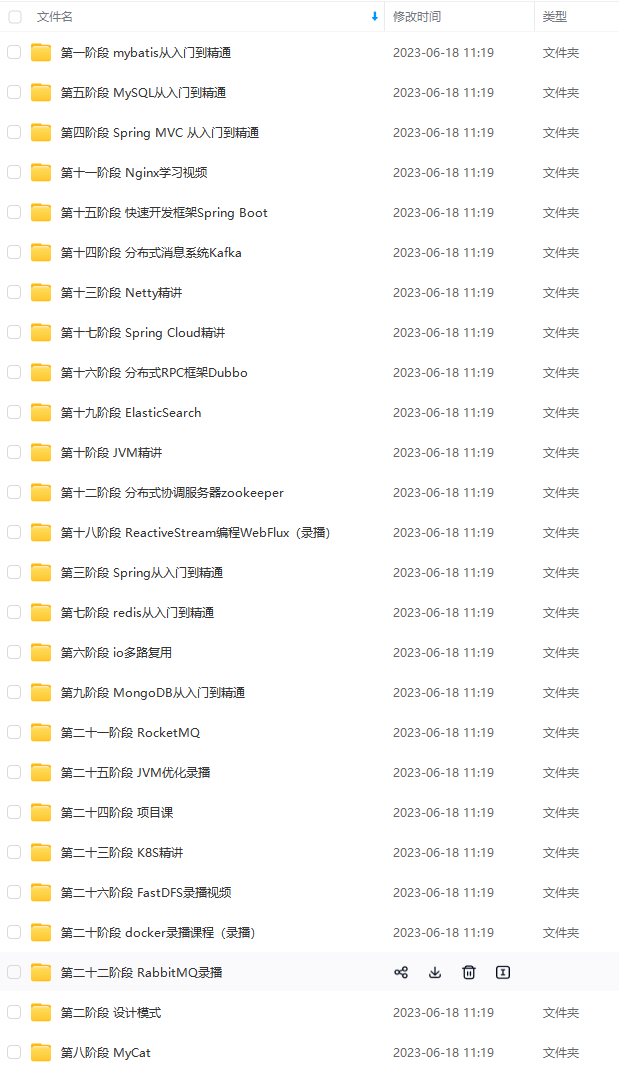
由于文件比较大,这里只是将部分目录大纲截图出来,每个节点里面都包含大厂面经、学习笔记、源码讲义、实战项目、讲解视频,并且后续会持续更新
如果你觉得这些内容对你有帮助,可以添加V获取:vip1024b (备注Java)

Docker步步实践
目录文档:


①Docker简介
②基本概念
③安装Docker

④使用镜像:

⑤操作容器:

⑥访问仓库:

⑦数据管理:

⑧使用网络:

⑨高级网络配置:

⑩安全:

⑪底层实现:

⑫其他项目:

一个人可以走的很快,但一群人才能走的更远。如果你从事以下工作或对以下感兴趣,欢迎戳这里加入程序员的圈子,让我们一起学习成长!
AI人工智能、Android移动开发、AIGC大模型、C C#、Go语言、Java、Linux运维、云计算、MySQL、PMP、网络安全、Python爬虫、UE5、UI设计、Unity3D、Web前端开发、产品经理、车载开发、大数据、鸿蒙、计算机网络、嵌入式物联网、软件测试、数据结构与算法、音视频开发、Flutter、IOS开发、PHP开发、.NET、安卓逆向、云计算
③安装Docker
[外链图片转存中…(img-4ZD4zQvB-1712443825298)]
④使用镜像:
[外链图片转存中…(img-bJswHkPo-1712443825298)]
⑤操作容器:
[外链图片转存中…(img-GtZBmidJ-1712443825298)]
⑥访问仓库:
[外链图片转存中…(img-A1yvAHY7-1712443825299)]
⑦数据管理:
[外链图片转存中…(img-AUZddwg6-1712443825299)]
⑧使用网络:
[外链图片转存中…(img-JuHvszQg-1712443825299)]
⑨高级网络配置:
[外链图片转存中…(img-Rd8cWAyO-1712443825300)]
⑩安全:
[外链图片转存中…(img-7tJKxSdI-1712443825300)]
⑪底层实现:
[外链图片转存中…(img-hLcQwOMe-1712443825300)]
⑫其他项目:
[外链图片转存中…(img-T76dQ64D-1712443825301)]
一个人可以走的很快,但一群人才能走的更远。如果你从事以下工作或对以下感兴趣,欢迎戳这里加入程序员的圈子,让我们一起学习成长!
AI人工智能、Android移动开发、AIGC大模型、C C#、Go语言、Java、Linux运维、云计算、MySQL、PMP、网络安全、Python爬虫、UE5、UI设计、Unity3D、Web前端开发、产品经理、车载开发、大数据、鸿蒙、计算机网络、嵌入式物联网、软件测试、数据结构与算法、音视频开发、Flutter、IOS开发、PHP开发、.NET、安卓逆向、云计算


 1494
1494


 被折叠的 条评论
为什么被折叠?
被折叠的 条评论
为什么被折叠?
 到【灌水乐园】发言


